Leaderboard
Popular Content
Showing content with the highest reputation on 12/27/2021 in all areas
-
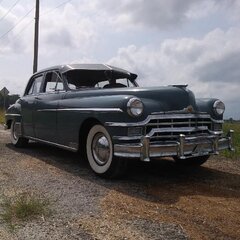
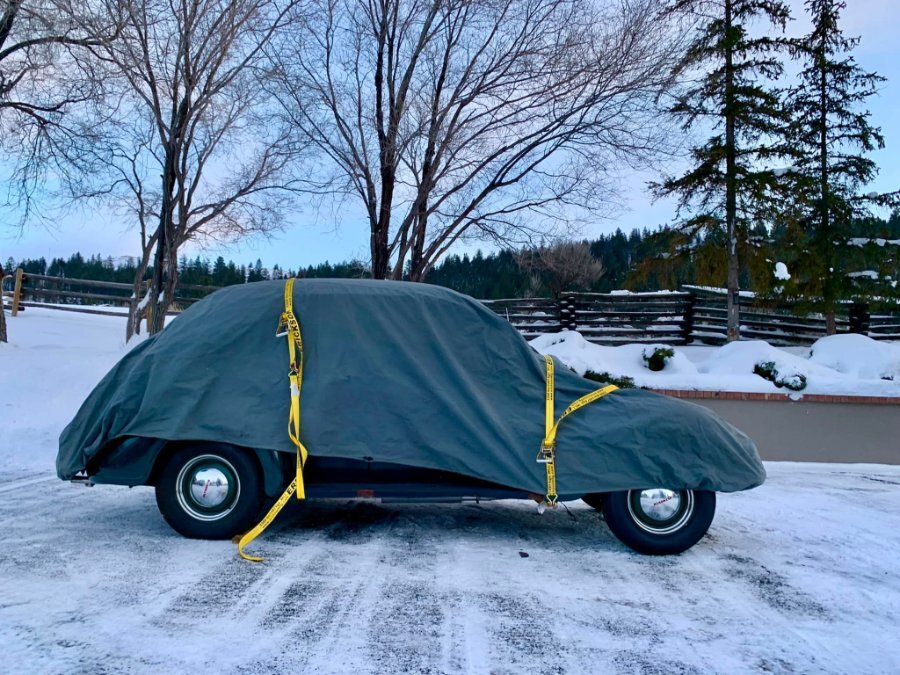
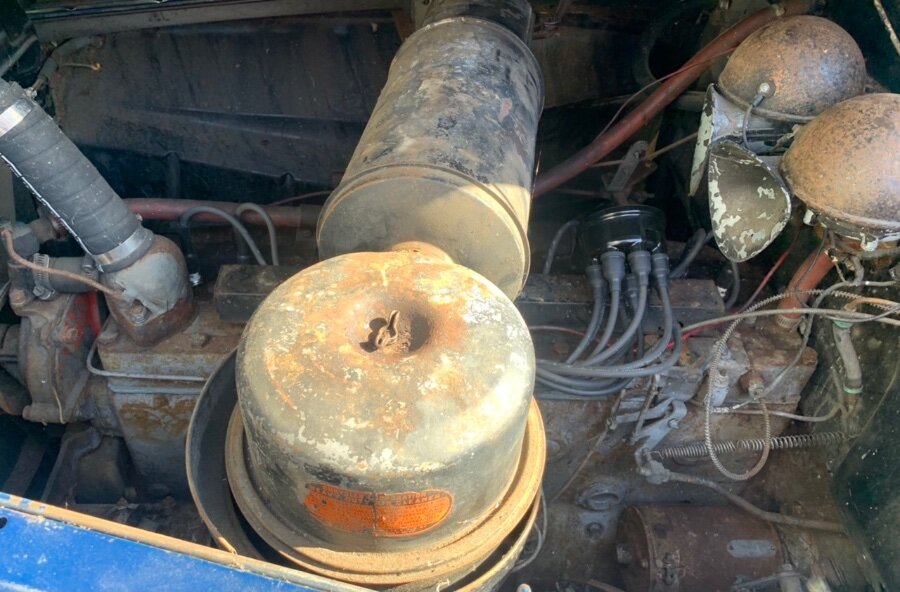
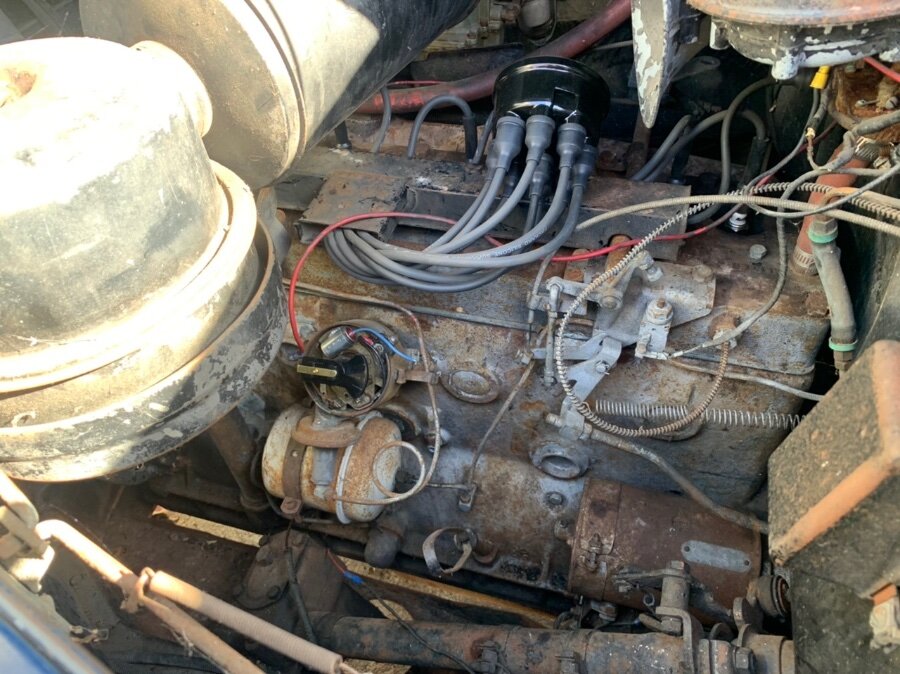
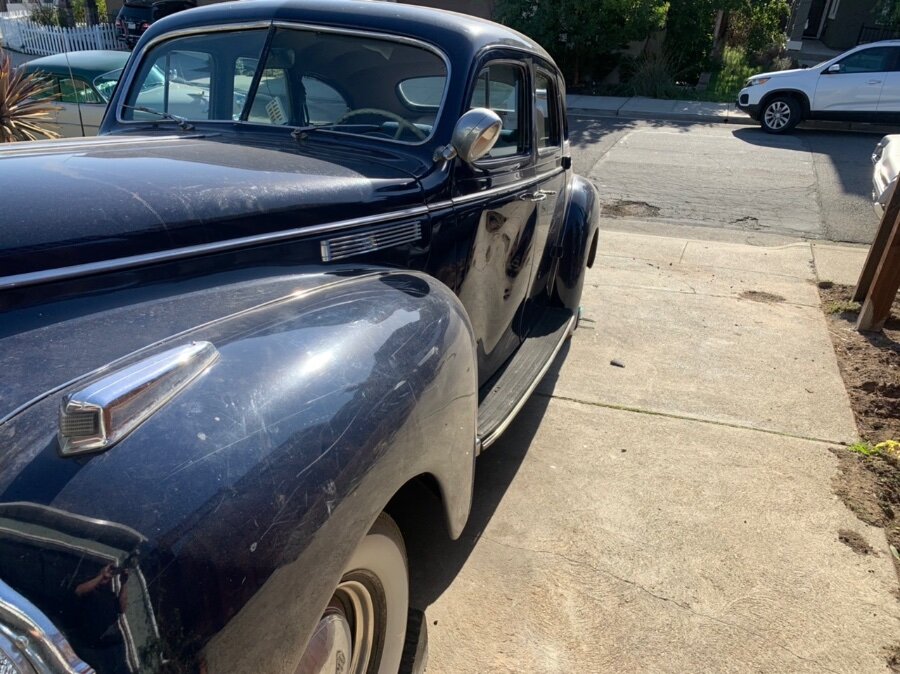
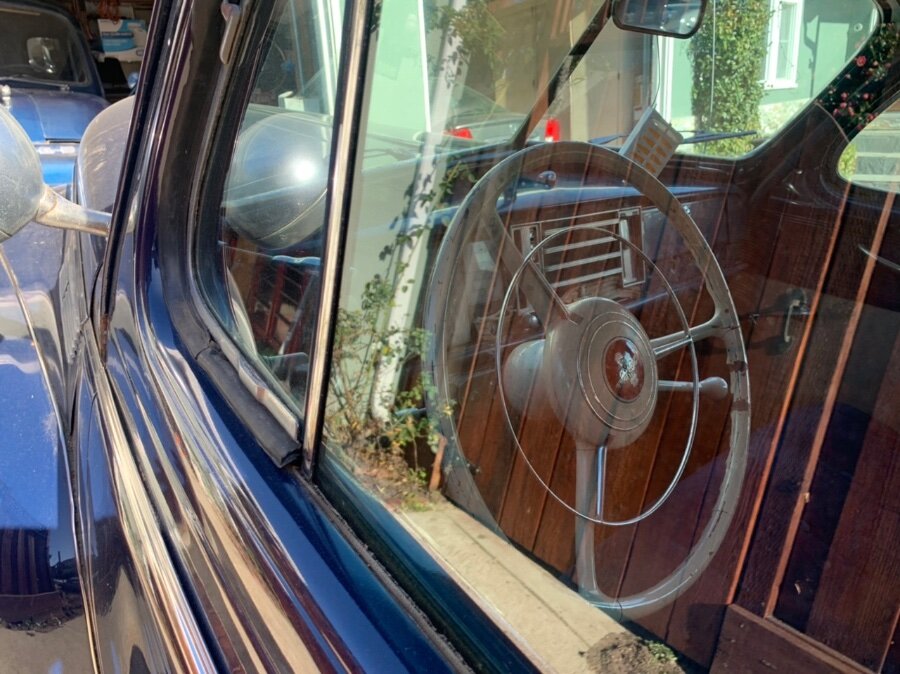
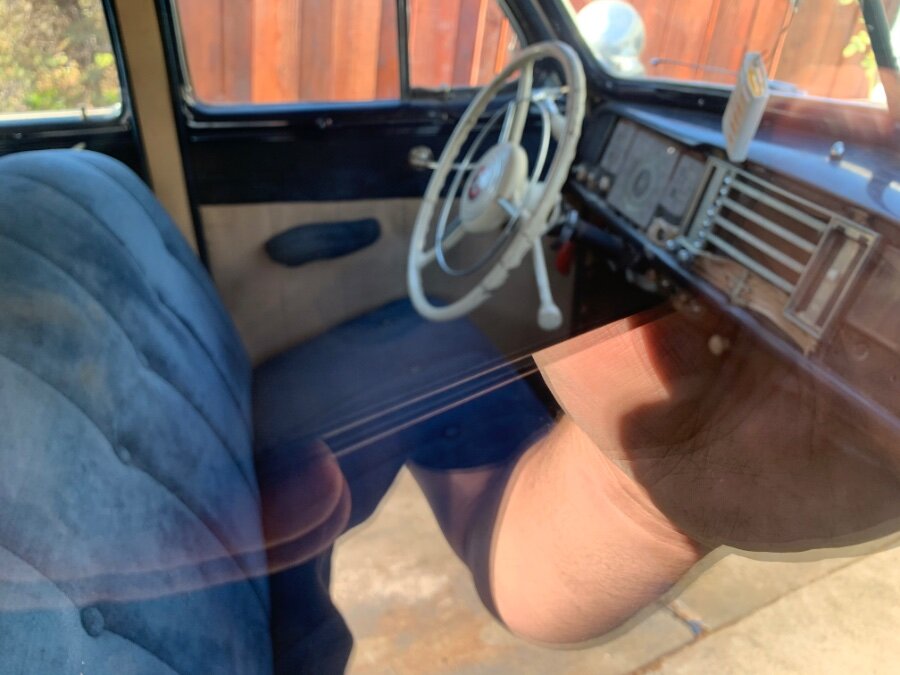
Hello friends, This is my build thread for my 1948 Chrysler Windsor. I've had several ad-hoc threads, but no cohesive thread as Elise (not to be confused with my 1950 B2B also named Elise). This build thread is special - as my son and I (and the rest of family) have entered into the 2022 Great Race with Elise. We are VERY excited, and I am excited to get Elise into proper shape for the rally race. There are many things on my list of to-do items, and I would like to share my preparation journey with you all, and also document the race. This is a really special event for my three boys and myself to participate. I particularly enjoy the process as well as teaching them how the vehicle works, and learning myself as I go. Most of my preparation has to happen over the next 6 weeks, but on my near term list of to do items include: 1. Rebuild Carburetor 2. Install Alternator 3. Fix frayed wiring 4. Tune up (points, cap, rotor, timing, wires) 5. Electric fan 6. new tires (balance/align) 7. Brakes - adjust 8. Change oils 9. Race Speedometer 10. 7 wire turn signals (rewire turns for brake+turn and flashers) 11. Miscellaneous survival requirements for race 12. Optima battery 13. Figure out how to get to RI and Back from ND cheaply 14. Practice runs (50, 100, 500 miles) 15. 200 mile tank minimum Elise is overall in very good shape, and generally has been driven lightly over the last 24 years (3 thousand miles). Well maintained, and has always run well, but this race will double the total miles.4 points
-
4 points
-
3 points
-
3 points
-
3 points
-
Got things fixed finally. Bogging was caused by a bad vacuum advance in the first dizzy. Lack of spark in second dizzy was a bad condenser (thanks for the tip Mr Adams). It’s a shame that brand new tune up parts are so hit or miss. I found one in my parts stash that says made in the USA so hopefully it lasts awhile. Thanks everyone for your help.2 points
-
It doesn’t matter what brand you buy. You’re not gonna make money without a whole lotta labor that you’re not getting paid for. If you love old cars build an old car. If you’re interested in making money open liquor store.2 points
-
The value is what someone is willing to pay and what the seller is willing to let it go for. Just looking at the pictures I would not pay more than $2K but would try to get it for somewhere around $1200 (or less). Take a look at a Hemmings pricing guide. You can easily pour a lot of money into these cars trying to get them back to their original state. But I guess it is a labor of love. If you are looking to fix it up to enjoy ... go for it. If you are looking up to fix it up and flip it ... you will probably lose your shirt. These old MOPARs don't command the same value as Ford, Chevy, or other GM platforms. If you like it ... buy it, fix it, drive it, enjoy it. $15K can easily disappear working on a car like this ... especially if you have to source out some of the work.2 points
-
I like this car and it's a worthy project for what you want to do to it. and it's a club coupe! Most of these cars are the common 4 door sedans. It sounds like you have some mechanical skills and this would be a perfect project. Parts are not too hard to find for these. I'm a bit prejudiced because my first car looked like this, a 1950 Chrysler Windsor six club coupe. Since you're new to Mopar cars, take advantage of the Chrysler filmstrips made in the late 40s and 50s for MoPar mechanics at MyMopar.com for example: here's one on your Gyromatic transmission. https://mymopar.com/mtsc-1949-volume-2-11-inside-the-hydraulically-operated-transmission/2 points
-
Hi All! I took a bit of a hiatus! I still have my 1954 Royal, and it has served me well. I recently acquired two new rides (and became a Mopar guy by default)! First ride is a 1951 B-3-B. It is in good shape (once I evicted a critter or two), and I got it started. It does have a rod knock and I will be exploring replacing the crank in the truck. This will split DD duties with the Royal. The other ride is a 1940 Chrysler New Yorker. This is in great shape and hopefully running in the next few days. It will be a weekend cruiser. I am already learning this one will take a bit of patience, as many parts will have to be hunted down or sent out to be rebuilt! I will be bouncing all over the forum pulling from others knowledge and hopefully being able to offer up plenty of my own. Just nice to be back!2 points
-
2 points
-
2 points
-
2 points
-
There aren't many places around home to run over 60-65 but one bypass lets me crank it higher. I've topped 70 in my 49 New Yorker and, as expected, the engine didn't feel like it was breathing hard at all. The chassis, though? The "floats" kick in. I suspect with radials and modern shocks, maybe some other tweaks, 85 should be fairly easy. But on old bias plies and 70's Kmart shocks... I've been driving this car a lot; my impression is that this really is a "highway" car and for its day it was quite the turnpike cruiser.2 points
-
Yesterday I got my headlights/taillights to work with the new universal headlight switch. It replaced the old universal switch from 1975. First time working since 1986. Almost cried either from relief or happiness. I found bad terminal ends on wires from the switches to the ammeter. I also went up under the dash and cleaned connections. Battery was disconnected when doing this and it’s apparent I have to really go over every connection. I have no light for the instruments but will search my parts for the missing bulb housing. Horn does not work but will solve that also. I elected to buy from DCM the 2 important switches and horn relay to replace what was already there. Sitting for 35 years caused a lot of oxidation. The switches and relay were pretty identical to the ones replaced. I think they were Cole Hearse originally. I will need advice the next time I post as there are mysteries to the wiring circuit compared to the diagram in the service manual. The overdrive has its challenges also. Anyway, after recovering from gall bladder procedures I am fit to crawl/contort and bend over once again...until the back days no. Ha. Merry Xmas everyone and thank you for your support. This forum is awesome ?1 point
-
Christmas last’s three days minimum at my house, because we have my family over the day before and Judy’s family the day after. I have 2 young married granddaughters and nothing is obvious yet, but I thought it might not be long before we get “the news”. Now my wife’s half-sister and half-sister’s daughter have both passed on, but the granddaughter was there with her children. One is now about 22 & announced she was pregnant. They will soon be naming my wife’s half-sisters great great grand child. 4 generations beyond us. Will I have a half-great-grand-cousin-in-law first? Or a great-grand child? My bet is on the former, but as one of the few men in this family I am the last one to know when anybody gets pregnant.1 point
-
I never have issues staring up with the stock points system. Just need to stay on top of them.1 point
-
1 point
-
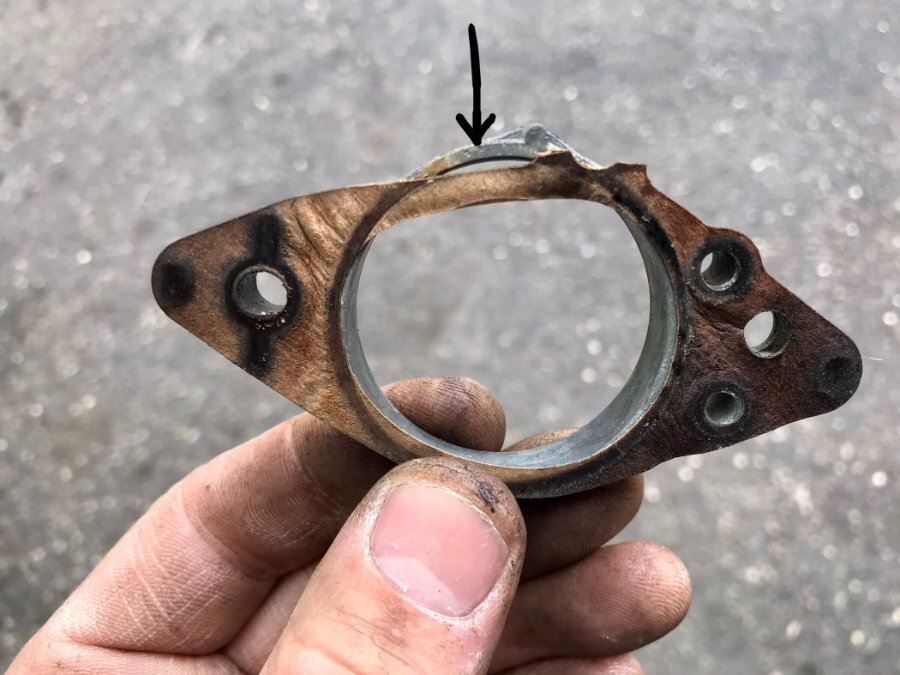
I’d wager yes, throttle shaft wear leads to rough running. You have to control all air entry into the engine. Allowing all air to enter via the carb intake only. A tell-tale sign of a vacuum leak in the lower throttle valve area is , when twisting the idle a/F mixture screw has little to no effect at engine idle.1 point
-
1 point
-
1 point
-
Lol. I imagined 7 zillion, so you seem cheap! ? We were successful on 5 out of 6 solder joints. One must have had a drop of water behind it. 1 did not 100% seal. The 1 bad sweat joint dripped 1 drop every 1-2 seconds. I put a tupperware container under it and went to be at 2AM. This morning I headed to Home depot bought a Shark Bite union and inserted it. All fixed! Just the clean up still. Need to reclaim my garage now and get my 38 Plym back in there. She spent the night out in the driveway at -30. I don't think my radiant hydronic baseboard heater in the shop can radiate heat with Pex. I assume I'd need some type of new fan-dangled wall mount radiant unit. This madness occurred because 4 years ago I shut off the hot water feeding the garage. I did not want to heat it 24/7. All seemed fine. 3 winters later no issues. I assumed incorrectly, that the heater pipes would have been filled with some type of anti-freeze. As this 4th winter, disaster. The pipe split open. Actually in 2 spots. So for now, we will cycle hot water through it. I'll set the garage thermostat to about 35F. If I do decide to shut off that heat , I will insert 2 ball valves and a drain. So I can evacuate any water in that particular loop through the garage. Later if wanted, when it warms up!1 point
-
Just out of curiosity I dug out the horn that came with my 1936 Plymouth. It is a lot different from yours. Has a wider throat and doesn’t flair up at the end like yours. You’ve got a cool looking horn there.1 point
-
1 point
-
Ok, my time off from work has been approved. That doesn't mean I'll be able to make it all the way to Clements but at least I won't get fired if I do head west Seeing as how this trip will require trailering my B3 across the Rockies in late March and early April I have a hunch that snow may be involved in this trip. I'm not worried about my tow vehicle (F250 SD) or the trailer or of the drive itself. I will be replacing all four trailer tires as well as the brake assemblies, just because. My biggest concern for the trip is the best route takes me through Salt Lake city, any other route adds lots of miles and time to the trip. A side benefit of driving I-80 through Nebraska is it allows me to visit family in Lincoln. I lived in Denver for 12 years so I know what winter and spring weather can be like in the Rockies. So, am I making a mistake thinking I can make this trip during springtime in the Rockies?! Am I right in that this is the last year the barbeque will be held?1 point
-
1 point
-
1 point
-
Remember, old mc was pushing fluid from one port, divided into 4 wheel cylinders. Dual mc’s move double the amount of fluid.1 point
-
I think with some of the bolts being used from brand x to the flathead there is a slight difference is length where you are just under length to begin with...add a washer here and you lessening your bite further....1 point
-
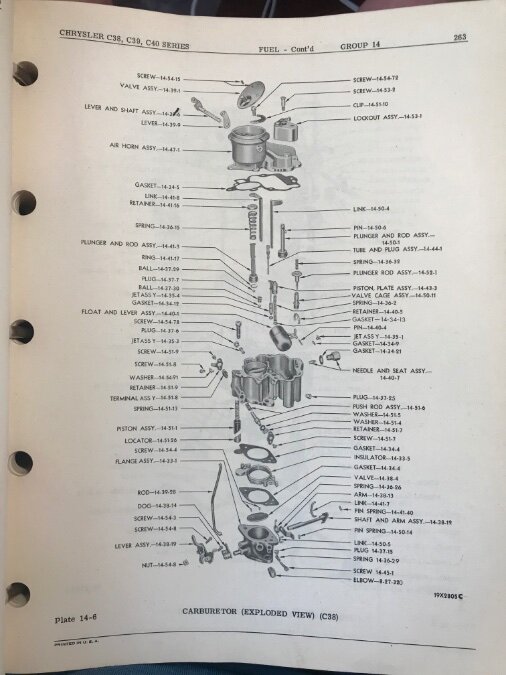
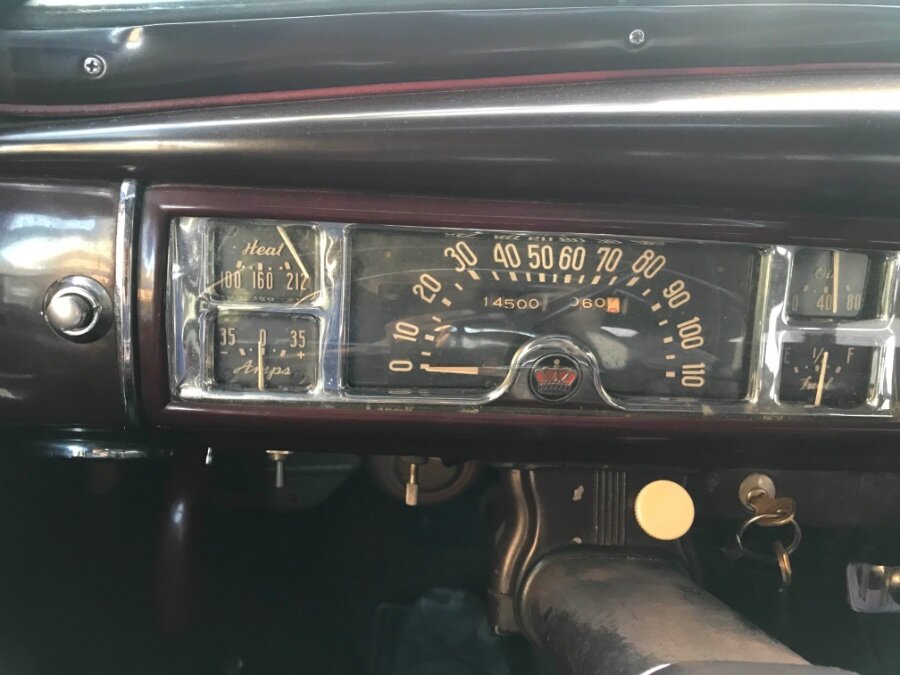
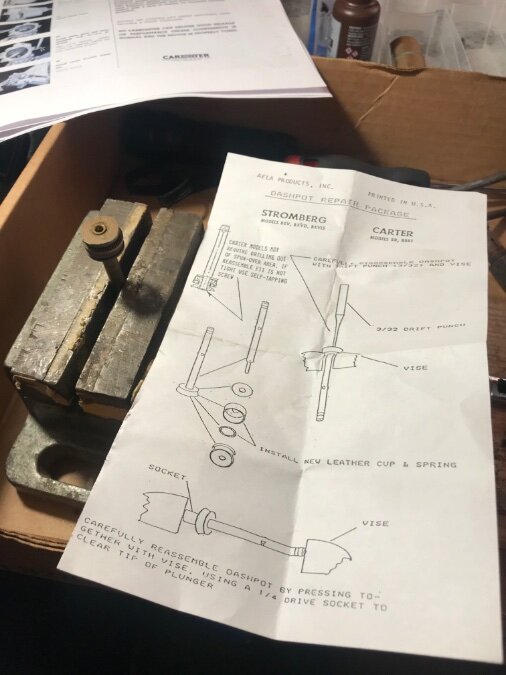
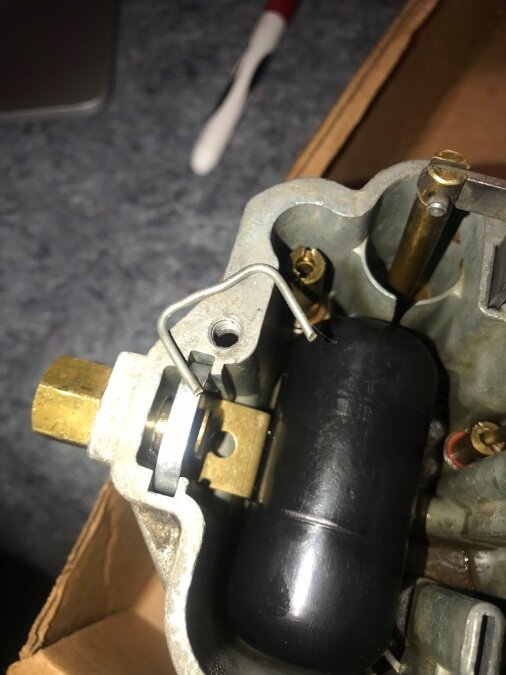
1. The Carburetor Revolutions I have taken on the carburetor rebuild - something that has sorely been needed for quite some time, and I am surprised how easy AND how clever/tricky the Carter B&B EV1 carburetor can be. This has been on my roadmap for at least a year, and like any good restorer, I've been stocking up on parts: I pulled the rebuild kit out of the box, and all the specialty Carter tools that I bought (Turns out I needed them too). The results are fantastic (and a bit ongoing). Amazing things happen when your carburetor no longer leaks, and properly functions - such as my oil pressure is at 40 for the first time that I remember, my idle ... idles at 450, and my 3->4 automatic upshift .... works!!! A working dashpot allows me to brake at the light without pushing the clutch in to prevent stalling. I am AMAZED how much better the car is overall. Shifts to reverse are much more smooth than before (all thanks due to lower oil pressure that is key to the whole fluid drive mechanism). Over the last 3 days, I must have fully rebuilt this carburetor 4 times, and taken apart and put it back together at least another 15 times. The EV1 is the special version that comes with the 46-48 6 cylinder Chryslers that all have fluid drive, and thus also have special kick down button, Fluid drive electronics, and an automatic dashpot. I followed along with the directions that were in the shop manual, the directions from Carter (here in the downloads), a great video from Mike's Carburetor, and the provided directions, and there were a lot of similarities but differences enough as well as many nuances that were not in any of those documents. In addition, you remember that you need your wits about you as somebody was in these parts before, and you are looking for parts that fit and make it work as original, but even the replacement parts don't necessarily work right.. Then you start thinking HOW the car should behave, and how the parts of the carburetor so cleverly enable "simple" mechanism like fast idle, kick down, or even acceleration through the accelerator pump. Only once you understand what the behavior should be, and how the pieces fit together, do the instructions start making more sense. Therefore, I must have put together pieces 15 times until small tidbits like the fast idle cam started making "sense", and then when you read the docs and watch the videos again, you watch them with a new perspective. I also crossed 14500! That is likely 114500 but the engine was totally rebuilt probably about 20 years go (my best guess), but the car drives like it's 14,500. (Ignore the heat sensor, it's on the list of things to replace -- I have the NOS replacement waiting it's turn in the queue). a) For example, the you have to put the fast-idle cam behind the throttle linkage arm by spinning the throttle all the way back and then putting the fast idle cam backwards on it, and then it all slides together. In addition, the linkage arm connecting the fast idle cam to the choke lever are keyed on both ends AND does NOT connect if the carburetor horn is bolted on top (as directed per some directions). You have to put the arm into the keyed slot for the fast idle cam first, flip the horn over (unscrewed of course), connect it and then flip it back over and lay it on top the prepared throttle body (careful not to knock out the spring covering the special dashpot connection). Here's a special little tidbit just in this connection that wasn't obvious to me -- The fast idle cam linkage is connected to the choke linkage, so when you start your car with the choke on, the car should warm up with the fast idle cam pushing the throttle and warm up quickly...but also when you push the accelerator, the fast idle cam will slip and pull OPEN the choke via a small metal piece at the choke linkage along with releasing the fast idle cam... which made me think, why wasn't mine slipping and opening the choke too? I need to lube the fast idle cam so it move freely and thus has this behavior. b) Did you know that the ONLY complete diagram of the EV1 is in the parts manual and now here.... Every other diagram omits all the special EV1 equipment for the Chrysler fluid drives. c) The carburetor horn is very easy to take on and off, and really you just need a flathead to make most adjustments. I was "scared" before, and I would say to anybody who hasn't rebuilt a carburetor, to do so even if it's a spare one. You learn a ton doing it, and then a ton more making it work on the car by fixing all. your earlier mistakes over and over. d) Adjusting the float is very tricky, and how millimeters matter for the float to not flood or starve the carb amazes me. I initially set mine to factory 5/64 (using Carter tool), but that was too rich so I put it closer to 4/32 (1/8) after a number of trials e) I've been fighting the accelerator pump ALL day - I couldn't get my pump to spray strong enough, and I would have a delayed acceleration or stall out! I followed instructions and bent down and bent up but I couldn't get a good stream going, and then I started thinking and reading online -- the spring is supposed to be 2 3/8 inches in length... my new one was only 2 1/4", and my old one was only 1 3/4" in length! Once I realized the correct length (thanks Internet), I stretched my spring a tad bit, and lo and hold, it fits perfectly on the rod! I used Carter special tool T109-117s to measure the proper compression distance. Testing will commence tomorrow... but I'm much more hopeful of a working accelerator from start. f) The Chrysler dash pot pump replacement instructions are clear once you realize that you just have to take off the end bit of metal instead of drilling into it (whoops). That was fun to take apart and rebuild it since new ones were not available. g) The word "rebuild" should be taken with a grain of salt, as I have seen numerous instances where the prior owner or their respective mechanics have taken shortcuts or parts from other Carter carbs and used them here. Take the homemade retainer clip which presses on the pin instead of letting it float freely. In general, rebuilds are only as good as the rebuilder understands the component fully, and it seems to me most kits don't have nearly enough parts.1 point
-
1 point
-
1 point
-
1 point
-
Its coming out past the washer/packing ring. I can see if i can find an oring that may stretch over or try packing the valve. ive done that on a few faucets. ill keep you posted with what i end up with. thanks guys!1 point
-
If you wait a few years and you will shrink?, like I did ,you will be fine to see through the windshield soon! ? My bad back and disc deterioration caused me to lose several inches, I do not wish that on anyone!! ? DJ1 point
-
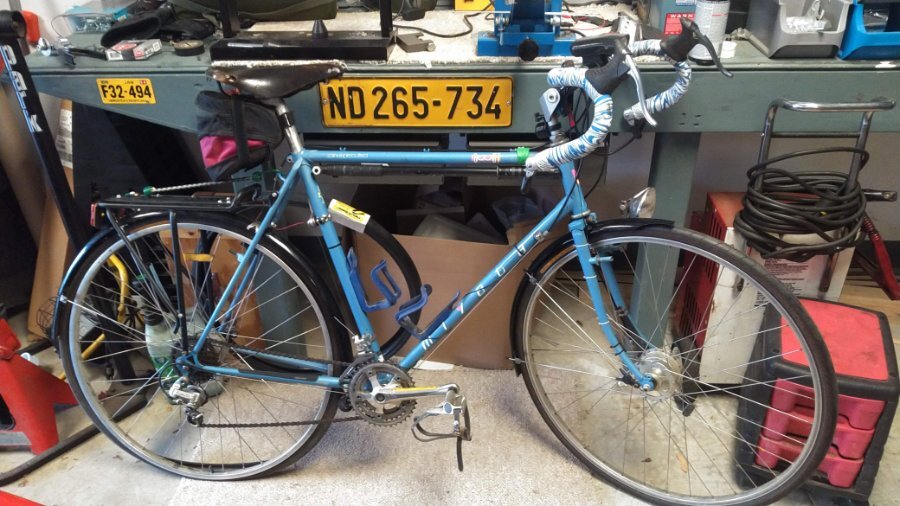
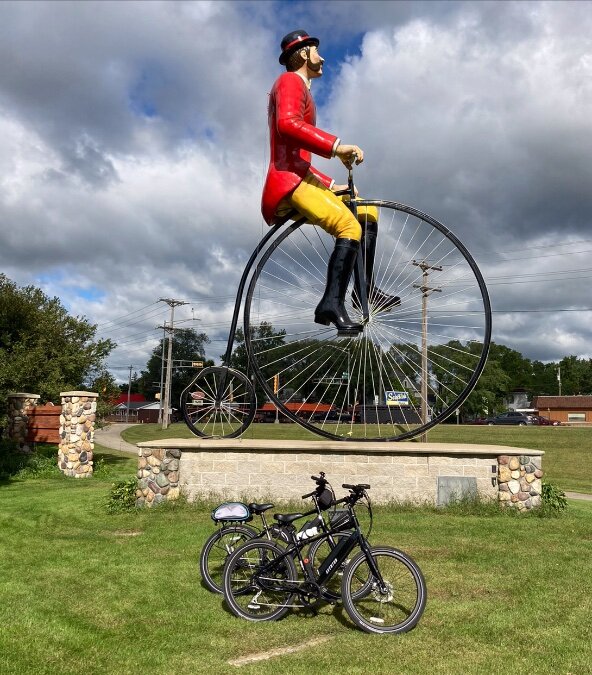
'nother one. Even though it's been over 10 years since my butt hit the saddle on this one, I keep it for sentimental reasons. In 1991, I participated in the 100th anniversary of the Paris-Brest-Paris Randonee in France. Not a race, per se, but more like a multi-day Time Trial for touring bikes. 1200km/745mi with a 90 hr time limit. Participate in the Prologue, throw in some wrong turns and missed turns, and that 1200km becomes 1500km. Two things that have stuck with me after that experience are that I have never been so tired in my life and I never expected to be in a small French town at 3am, pounding on a screwdriver with a rock to tighten a lock ring. The bike is a 1990 Miyata 600 GT frame and fork that I hung my own parts on. Hubs are Sturmey Archer drum brakes laced to Araya rims. The drive train is all SunTour. The saddle came off the Robin Hood, so it's over 50 years old. Quick story about the drum brake hubs. I was riding with some friends in Nanterre, a few days before the ride. I was flying down at least a 12% grade at about 50 mph. The traffic light turned red a couple hundred yards ahead and I grabbed two handfuls of brake and slid my butt over the rear wheel so not to skid. I came to a shuddering stop at the light. One of my buddies sniffed and said that it smelled like someone burned their clutch. I said it was probably me and squirted my water bottle on the front hub. The water sizzled. The number plate is from Durban, South Africa. I found it in the dirt while working there.1 point
-
Coming back from a car show couple summers ago I was tired so Mrs swapped driving with me. Half an hour later I woke up to us passing cars on the divided hwy. Mrs has a led foot and the needle was bouncing over 80 …..OVERDRIVE BAAAAABY.1 point
-
1 point
-
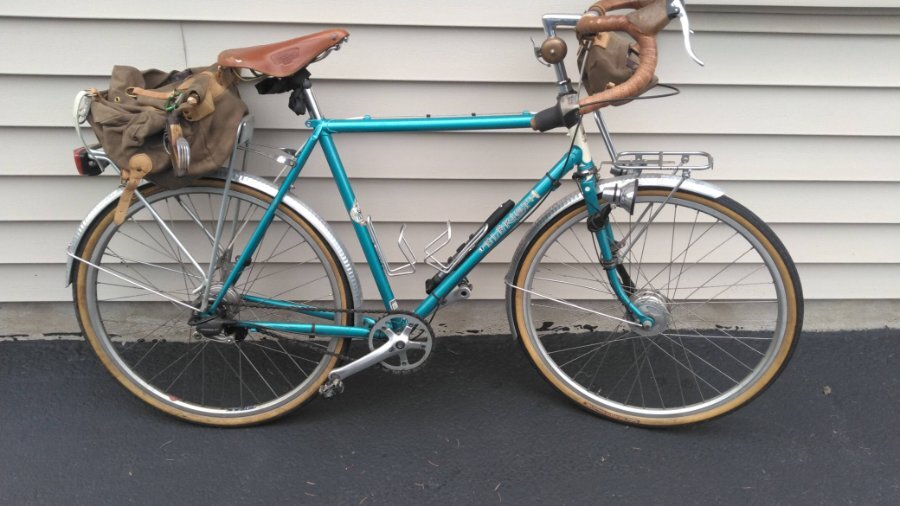
Myself and a couple of buddies rode the Elroy-Sparta trail end to end several years ago. Late fall and the temp dropped fast on the ride back. The older guy was struggling because of the cold for the last few miles, so we rode on either side of him and kind of guided him along to my van. Down here in Illannoy, I'm not too far from the Fox River/McHenry County Prairie Trail, that runs from Oswego, IL to the WI state line at Genoa City, the Great Western Trail runs between St. Charles and Sycamore, and the Illinois Prairie Path runs between Chicago and western Kane county. The first bike I ever spent more than $400 on. More like $4000. Also, the only bike I had built for me. Rivendell Bleriot. Smooth riding if somewhat on the porky side with generator/drum brake in the front and a seven speed gearhub/drum brake in the rear. Set up that way, it's a great all weather bike.1 point
-
1 point
-
According to automobile-catalog.com the theoretical top speed was 85 mph. However, a July 1949 Mechanix Illustrated test by Tom McCahill said, "When I was through with the ruff stuff we headed for some open stretches and speed runs. The Chrysler is fast and has a top actual speed of 96.5 mph...." (He was referring to the 1949 model of course but I can't imagine there was much difference and he said as much) "These cars are not radically different from the former Chrysler models in any important way." So who ya gonna believe? You just might have to do an experiment, he he he! In my younger days we'd head to El Mirage Dry Lake for an SCTA meet and get a real honest to goodness Timing Slip from my buddy Julian Doty. Which was much cheaper than a speeding ticket! If you joined a club, paid dues and performed a duty at the Lakes, you'd get a Brass Timing Tag to screw to your dash board! The black enamel ones were just the speed you went and the date you did it. The Red ones indicated you set a record.1 point
-
1 point
-
Yes you can step on the clutch too. The two lower factory studs will hold the trans in perfect alignment ready to push in. Possibly the disc moved when you pulled the trans out this last time. You might first try inserting your old input shaft to be sure it goes in all the way before attempting installing the trans again. As for the stud...a good hardware or Fastenal store should have the correct stud. But...you don't have to use it...I would. I was just looking at that lower housing today with those two studs on a straight 8 Chrysler.1 point
-
Rock Auto's shipping is Slow to manage, frustrating and confusing at best. I often take several hours to place an order. I still often find the best prices there. However, especially for large heavy stuff, like brake rotors or struts, I also check the online parts house. Advance Auto almost always has a 20-25% off code, ships for free if over $50-75 and you can often pick stuff up, same day, in a local store. I have found similar deals at Napa, O'Reilly's and Vato Zone.1 point
-
Congrats! get to to work on that b3 knock, the bbq in Lodi is just around the corner ?1 point


