Leaderboard
Popular Content
Showing content with the highest reputation on 02/24/2021 in all areas
-
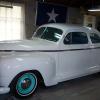
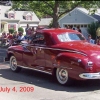
One time a few years ago my creative sister wanted to make me a unique birthday present to display in my car at shows. With a little photo editing she made this item which should be one of a kind. Yes...that's me and the car.8 points
-
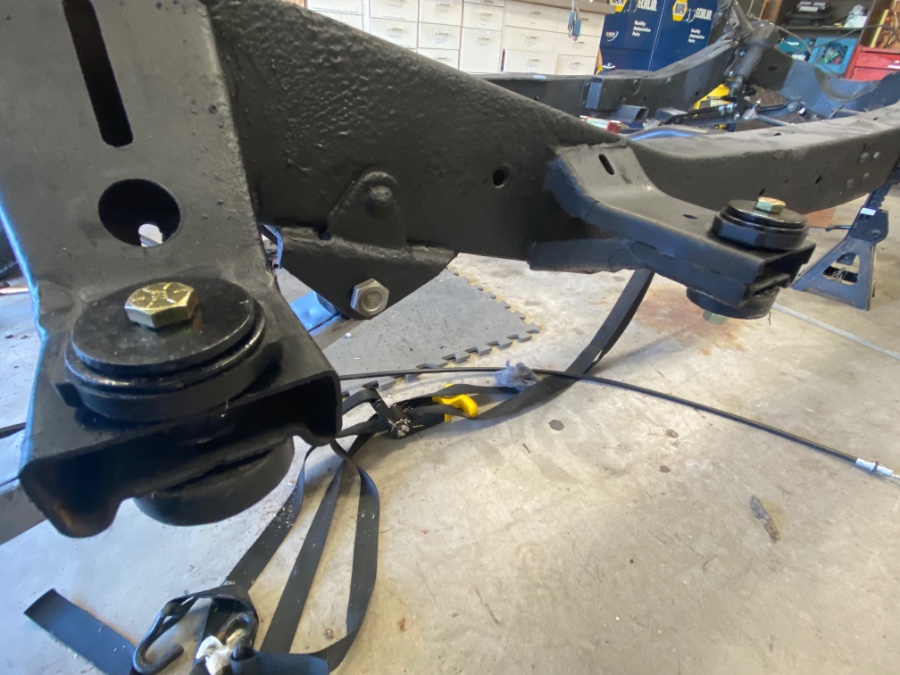
Working alone, I got the body off of the frame and held with 4x4s and jack stands on wheel dollies. The rear end will have to have the wheels removed or the rear tires would hit the quarter panel and rockers. So I will remove the rear wheels with the diff. on a floor jack or on a wheel dolly. I still have to unbolt the steering post and remove the steering wheel. I used a ten foot 4x4 in the rear and an eight foot 4x4 in front. I should advise anyone taking the body off of this era Mopar to not forget to remove the two middle carriage bolts that go through the frame's rear cross member at the very back of the car. These bolts caught me unaware as they were covered up with undercoating and they are not pictured in the Parts List. You remove the bolts by removing the two 9/16" nuts below. Since my engine is already rebuilt, and the trans. does not needing a rebuild, I had to put the front 4x4 through just behind the hand brake. As you can see, the two 4x4s are at different heights by necessity. Now before I roll the chassis out from under, I will build a car body dolly out of 4x4 lumber so I can move the body to the other side of my 3 car garage.7 points
-
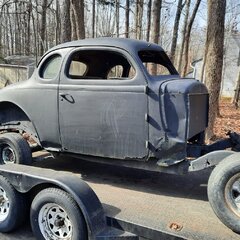
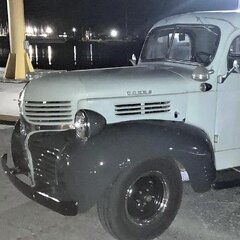
Hey all, first post here. So after many projects and years of searching for the unicorn, I hastily jumped into this challenge. Picked up this already half stripped, cut,.. Hunk of parts that once was a 41 Dodge 2 door sedan. Not sure why, but after lurking on Craigslist and fb marketplace and every other forum this one was calling out for my attention. Drove 10hrs to meet a nice gent from Alabama in Atlanta to pick it up. Needs everything... But not my first basket case. So now I have been spending hours researching trying to plan my first move.. Figure it will be to remove the body and address the suspension and drive train, then move up from there... Too far gone for original, so I am doing a one off resto mod... I look forward to your input. Pic is of when I picked it up. Sits covered in my driveway while I wait for the weather to clear and plan out suspension and brake upgrades.. Currently looking at old daddy's disc brake conversion with the coil spring base relocation and it appears there is an 8-3/4 rear in it.. Maybe do a 4-link.. Need to ID the rear before I move out there. Someone cut the firewall already, so sky's the limit on drive train. Anyway... Newbie too long first post. Challenge accepted.2 points
-
Mark, Looks like you are doing a good job of it. I will mention a couple of things for you to think about. Things I did on the frame off on the 1949 convertible. 1. When you blast or wire wheel the frame down to bare metal for painting, remember to take high resolution photos of the number stamped on the frame. it is good for your records and photo book. 2. Detailed photos and more than one thinks is always good. I always look later for that one photo that I did not take. Also, some day you or a family member will see the car, the more photos of the thing with the frame off the better the price. 3. On most of the Desoto's they used that thin nothing with holes rear crossmember. We cut it out and replaced it with a thick wall tube. I even had thick wall round tubes cut and we welded them into the square new rear member. We welded it into the side rails and reinforced the side rails. I am going to do that on the 1947 when I get around to it. The reason is that if I ever build a hitch for them, it will bolt in and out. The frame will be all ready for it. If you decide to go to the time and trouble let me know and I will email you some photos from the '49. 4. Don't forget to go to Steele Rubber and get new body mounts. Also, make note that they often used very thick washers with them. Thicker than what you can normally get at the hardware store. Make sure you use the same thickness. There can be issues if you do not. Have fun, James2 points
-
2 points
-
Well, I can say none of the sizes listed will ever handle exceptionally, lol. I have been running radials on my 51 since I got it, no issues there. I'm running P215/75R15's on stock rims with no clearance issues and the speedometer reads correct. Coker sells at least six different WWW radials in that size, though I can't comment on the handling or performance though. Then there is adding a whitewall to your choice of tire. https://dbtires.com/classic-car-tires/tire-making-process/2 points
-
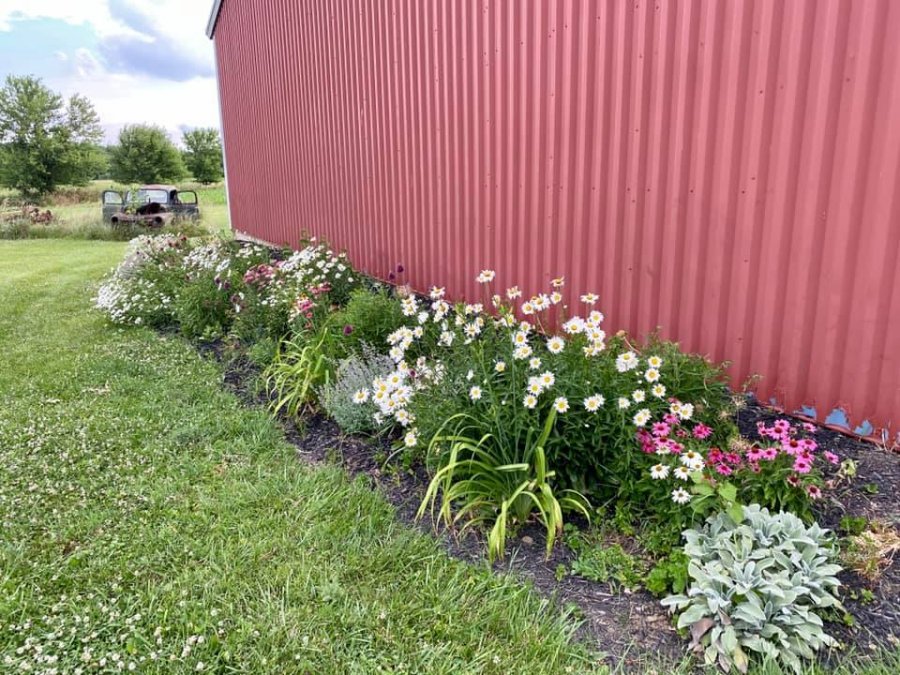
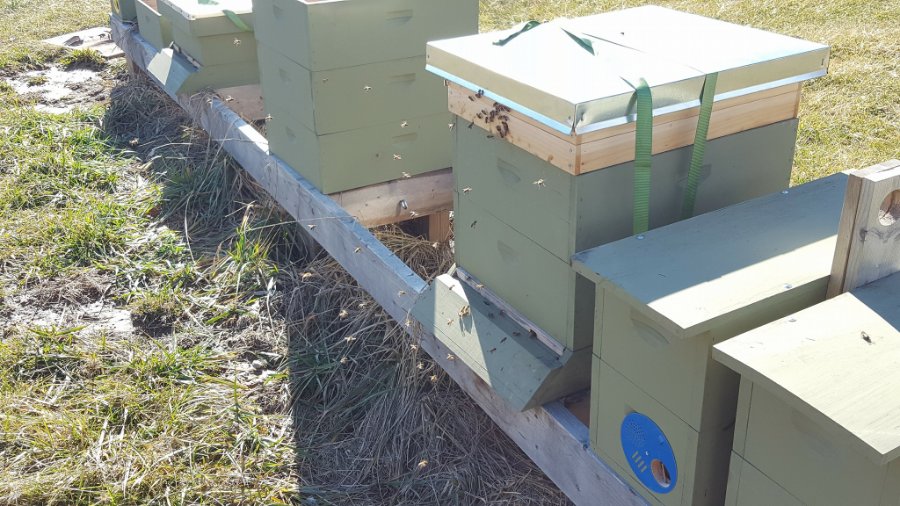
Not sure how I missed this thread. I've had a garden since 2016 and have developed it a little more each year with various aspects. The main vegetable garden consists of 2 4'x16' raised beds of cultivated soil that consists of composted materials, lawn clippings, cow manure, etc.... its this awesome lightly and fluffy soil that has taken quite some time to develop. There is also a row of hops plants. The GF and I cultivate a few pollinator friendly flower beds such as this guy: And just because I never want to have the excuse for a bad crop - I keep some honey bees as well: Obviously these are all old pics.... everything is buried under ice and snow right now.2 points
-
Save yourself a LOT of aggravation and use a power bleeder: https://www.amazon.com/gp/product/B00O6FZJFG/ref=ppx_yo_dt_b_asin_title_o07_s00?ie=UTF8&psc=1 Put fluid in the tank, connect the hose to the barb you installed in the master cylinder cap, pressurize the tank, then go around to each bleeder and bleed until no bubbles. One person can bleed all four wheels in less than ten minutes.2 points
-
OK, a question for you special brake tool gurus- Know of a tube or some type of vessel that's made to thread into the fill hole on top of a master cylinder? Something to hold about 1/2 cup or so brake fluid? I am thinking it would be screwed into the fill hole and filled with fluid. Tall enough too, so the spurt of fluid when you depress the brake stays inside this container. While purging the brake lines or bleeding, I wouldn't have to follow my usual procedure- which is- unscrew the mstr. cyl. fill plug, add fluid, screw the fill plug back in, bleed or purge a bit, repeat, repeat repeat... My wife operates the brake pedal when I am working the bleeders; such a tool would save refilling the master cylinder and capping it over, and over, and over again... If that should exist, I want to get one. Waddya think? Thanx! Bruce Further on the brake maintenance subject - from Tales of the Idle Mind: After tipping over my brake bleeding bottle again over my garage floor- grrrrrr- I had enough. This is the prototype of my new Fixture. (c'mon, they laughed at Leonardo Da Vinci, too...) I am going to improve on the design with a piece of 4 inch angle iron, a fixed container with anchor point for the tubing end, and have a smaller removable bottle to drop into the fixed container to easily empty the bleed/purge brake fluid. I'm on a roll, now. Candidate for the duct tape Hall of Fame even? (After the incredible success in the building of a wood crib to prevent my transmission from sliding off the tranny jack this time around, I am obviously expanding my talents in Tool Utilization and Design. My lower lip has totally healed from the Transmission Incident, thank you for asking, and I did keep all my teeth).1 point
-
1 point
-
Bias plies do handle differently that radials. When they break loose they do so in a different manner as well. https://mechanicinsider.com/radial-vs-bias-ply/1 point
-
Not only liked,but bookmarked even though I prefer thinner whitewalls. I am starting to think the wider ones might look better on my 42 Dodge coupe.1 point
-
1 point
-
Not sure but I guess my typing did not make any sense...I work at a local county as a DPW employee (in the office)...as a full time job...my second job is in retail at the local Home Depot Store... Does this make sense now?1 point
-
My suggestion is the first suggestion I always make. Try to keep the body close to stock. No radical modifications.1 point
-
Besides the Vikings? ?? My mom is from Minnesota so I don't have too many, but, everytime we crossed the boarder going to my Grandmas my Dad would pretend to get a chill and complain about how cold it was. I do the same thing with my family now.1 point
-
No, they are not the recalled jack stands. I'm not going to move the body with these jack stands. that's why I'm going to build a wood cart. Now, the wood cart will not go back to where the rear 4x4 is, so I can put the cart under the body with it still in place. So I will jack up the body after the chassis is removed and remove the 4x4. Then, I will roll in the body cart. I've been thinking where and how should the body meet the top of the cart. Maybe it should just rest on sturdy cross members going across the body from rocker to rocker? I'm thinking the size should be about six feet long from the cowl to the end of the rocker panel and about 5 feet wide with about three cross members going across? Then, I will secure the body to the cart by screwing in some lag screws through the body bolt holes. How does that sound?1 point
-
DO NOT attempt to move that body anywhere sitting on jackstands on dollies! I can see that the driver side rear jack stand is not centered on the dolly and has a noticeable lean. Jackstands need to be fastened securely to the dollies (welded or bolted) before using in such a manner.1 point
-
Well, I sure won't take my car to any of their shows.... (Wrong engine, a 55 model 230.) I haven't read through the whole thing yet, but have found one mistake so far. My brother had a 47 P15 4-door with the serial number plate on the RIGHT A pillar (instead of left). (I have serial number written down someplace, although he no longer has the car. I wrote it down because I thought it was a 42.) EDIT to add: They say "Engine dust pans were included on all cars built through October 15, 1946." I had never heard any time line for this, but would have thought it was carried on longer than that. [My 46 came with them, and it was first sold in December of 46. I thought that the demand for new vehicles right after the war was such that cars would not have sat around that long. My dad told how there was a guy in his community who had some connections at one of the factories (Detroit, I think), and he would take a train or bus up there (from western Oklahoma) and buy two cars, pulling the second one with the first, then sell them after he got back home. Apparently could do this for a profit.]1 point
-
Here is my setup from several years ago. a TKO 5 speed Ranger trans 36 7 or 8 Plymouth or Dodge bell housing, attached to my flathead. 3.73 ranger rear, that is a little too low geared, but does good, 3.55 should do better. I used the Plymouth pressure plate, ranger clutch disc. the only machine work, I had done was to machine the front trans retaining cover to match the Plymouth bell housing hole of near 5 inch. this process was more simple than the T5, with no adapter, or welding required.1 point
-
You could use the the rear fitting from an old MC for the top of the MC. They are the same size. The rear fitting has two taps. One for the front brakes and one for the rear brakes. It does not have a vent. Plug one of the taps. You can then run a line from the other tap up to a reservoir. The local auto parts stores have brake lines that will fit these taps and they come in varying lengths. This can be permanently installed. I have not done this yet but plan to. Just have to find a reservoir that will work.1 point
-
Met Dale at an AMCA meet years ago. What a shame to lose someone as talented & dedicated to old bikes as he was.1 point
-
There is a pick up screen in the tank that I am aware of. It collects the larger chunks. Then there is the screen at the mechanical fuel pump. It gathers the next smaller junk that made it past the pick up screen in the tank. You'll see it settle in the glass bowl of your fuel pump. Next the tiny microns of dirt move on ahead to the carb. An in line filter will help keep the tiny particles of scale, dirt and rust out of your carb. Often found settled in the float bowl. If you put the filter between the mechanical pump and the carb, get a metal housed filter. Not a plastic one.1 point
-
1 point
-
He purchased a few bikes including one of the Crockers from a friend and his family here in town around that time. I passed the link on to them and they said when they visited with him after the sale a few years ago they knew he was fighting cancer at that time but he still made a point to take them on a tour personally. As I understand it everything in the museum is gassed up and will run and they are proud to show you when your there.1 point
-
Thanks for posting. I had a similar experience with Dale when I toured. I forget the year, perhaps 2001 when I was going from Kentucky to Jefferson's house, Monticello via the Blue Ridge parkway. He took pride in walking around with me and pointing out various features on the motorcycles on display, then he started a few. But he didn't ride them. I saw him later in the suburb of Chicago where a collection was put up for sale. He was on the TV show with Wayne Carini classic car business, he would get the antiques running for this auction. I made many recommendations to see Wheels through Time.1 point
-
I'm very sorryto hear this. I visited his Wheels Through Time museum in 2007. We were there in April in the off season. It is a large place, maybe 20,000 sq. ft. with a wide walkway that runs around the inside of the museum. We were looking at a beautifully restored 1905 HD when Dale walked over. I asked him if it runs. His answer was to jump on it, kick it into action and procede to ride it around inside the museum. A little later he fired up a 1940 Crocker and took it for an indoor lap. Quite the character, sorry to hear of his passing.1 point
-
Really Nice Car ! I'll bet that paint cleans up better than you think it might. Nice color combo too. It's gonna be a fun project - guaranteed !1 point
-
1 point


.jpg.eda7bb224637900773e8bd8075fe454e.jpg)

