Leaderboard


Popular Content
Showing content with the highest reputation on 12/11/2021 in all areas
-
Find the proper bolt and buy an extra nut. The nut gives you a flat spot to drill on and little chance of messing up threads if you go through both. Also you can likely put the head and the nut in a vice to hold it steady.2 points
-
Thats why I do this hobby, keeps me busy with the challenges with much support from my Bride!!1 point
-
It's almost out but run out of bolts.. ? Six different combinations of bolts, washers, nuts...I started with a large nut on its side, then used a larger one. Got the stem up flush with the bottom of the guide and started using bolts with stem up, smaller than the guide. Stacking nuts under bolt heads, etc. Turning the motor, starting over, stacking. Started to get dark and windy here and ran out of bolts, didn't feel like rummaging in the tool shed anymore. Got a good 1 1 /2" sticking out and a pair of vise grips still can't twist it out.1 point
-
There are several different style mechanical fuel pumps for these engines that you may want to look at. I have a set of his headers mounted on a 25” motor in a truck. The drops are entirely different from what you have. Both are closer to the oil pump. I didn’t feel there was adequate distance to the fuel pumps I tried so decided to go with an electric pump as well. On other point you may want to pay close attention to is the mounting flange thickness to the intake you are using. My intake was .159” thicker at the flange so I machined “step” washer tabs, a little larger for better contact. Also, check and make sure there is no contact to the intake /header that would allow a vacuum leak (minimal grinding was required for my application). I can’t be of much help to your final exhaust fitting but glad you can still use the heat shield.1 point
-
Found in a box in the office, new I had it, thought it was long gone..... The label.....
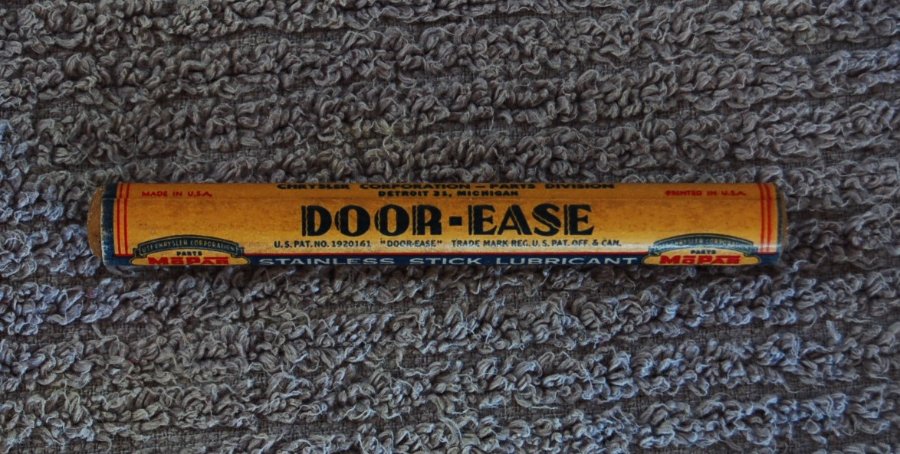

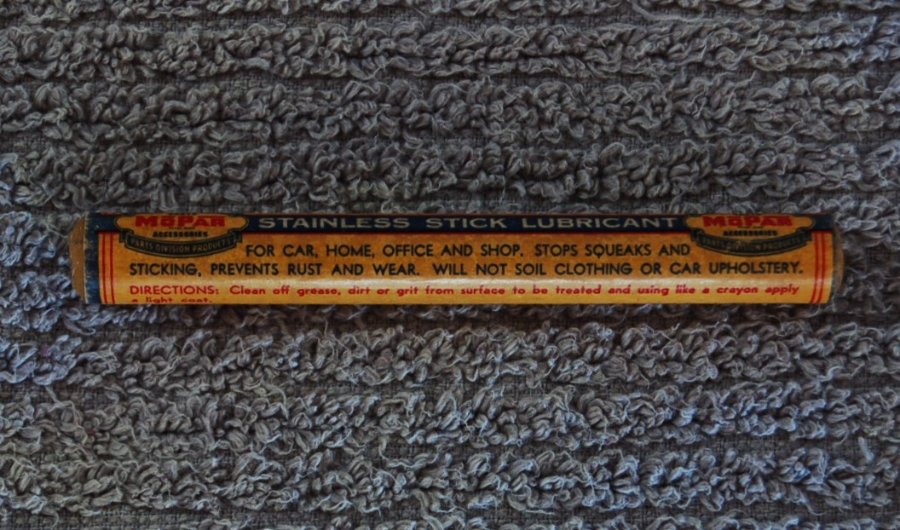
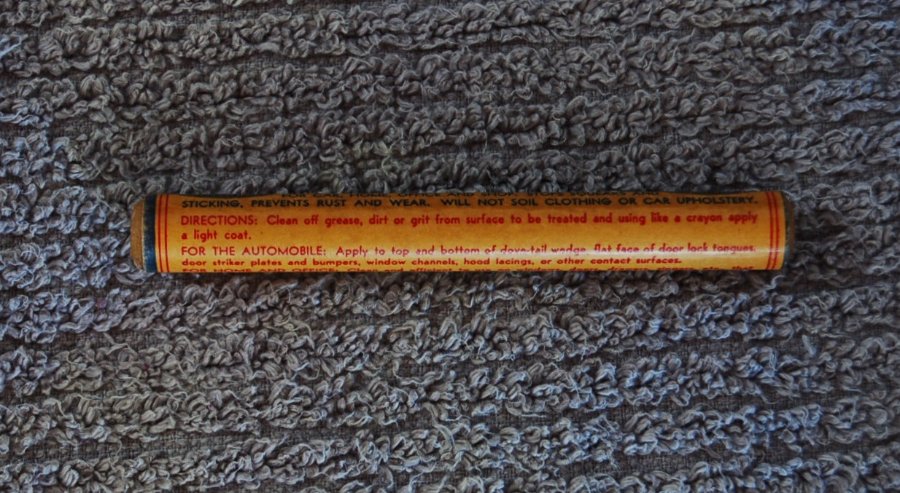
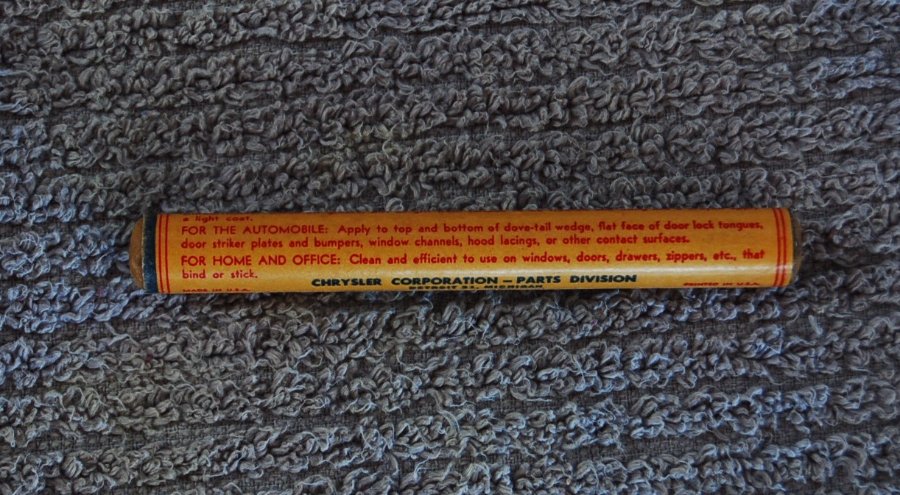
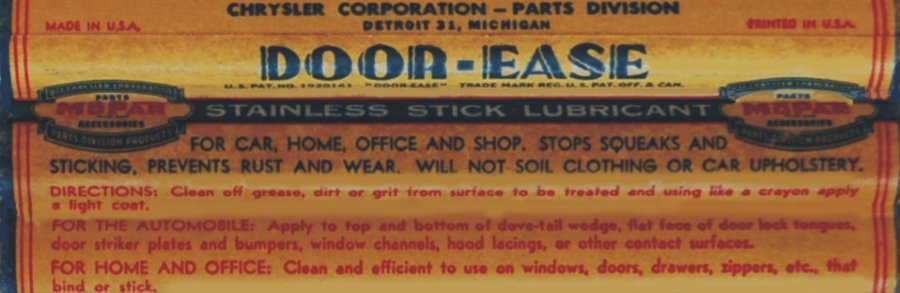 1 point
 -
1 point
-
You can carefully uncrimp the back of the ignition to remove the armored piece. Replace the wire and reinstall.1 point
-
Harmony, Most recommend 2 - 5 years so every 2 years is probably appropriate if your using the vehicle and storage is not climate controlled. You can buy the kits for rebuilding the wheel cylinders, most parts suppliers have or can order them. I purchased the wheel cylinder kits from NAPA parts stores here recently which include the seals and new spring. If you haven't already done the master cylinder you should get a kit for that as well since it likely will need attention and is an easy rebuild.1 point
-
screws | McMaster-Carr
 1 point
 -
Are you sure it's 7/16 - 24 ? Can't find that pitch in McMaster-Carr or my thread checker. Only 7/16-14. But they don't have that bolt with cotter pin hole. Maybe a little longer bolt with a lock washer and a 2nd nut? Or loctite? Don't think I could drill a small hole in a bolt side. Oops - see that you mean 3/8..1 point
-
Correct and this why draft tube length and position is essential.1 point
-
The factory turn buckle rod castellated nut is a 3/8" X 24. The bolt can be hand drilled....center punch it and using a very sharp drill bit do it. Otherwise find someone to do it. Really though you can do it. Practice on another bolt.1 point
-
I just went back to the link and read what I missed the first time and that is, dodgeb4ya recommends changing dot 3 and 4 brake fluid every 2 years. So I'll probably do it every year.1 point
-
Indeed every carbureted engine has its own unique starting sequence. There are so many variables. The engine’s general state of tune is a big one. Many of these old cars have crusty accelerator pump cups. 2 pumps of the gas pedal may do little to nothing for the engine. When you pump the throttle you are stroking a healthy accelerator pump. Forcing it to squirt a stream of raw has into the carb venturi. The position of the accelerator pump linkage can vary as well. Short/medium/long stroke length. Also known as Summer or winter settings. These can affect how many pumps of the gas pedal your particular engine likes. Holding the gas pedal down or partially down, you are opening the throttle valve at the base of the carb. If you have leaky gaskets between the carb sections, (fairly common on these) results may indeed vary too. Tappet clearance or leaking valves can have a big impact on how easily your car starts, hot or cold. Compression levels too if quite low. A nice blue/white hot spark sure helps too. Plenty more points to discuss on spark quality. So if you are struggling to start your cold ot hot engine consider some variables. A well tuned, warmed up 6V flathead Mopar engine can start up before the starter turns the flywheel 1 revolution. Without the operator touching the gas pedal or choke. I’ve smiled with satisfaction every time it does so.1 point
-
Before removing the fluid coupling make 4 wood wedges to wedge between the clutch assembly and the coupling. Cut a groove on the outside of the wedges and twist wire around them to immobilize them. You don’t want any side loading on the carbon seal. Be aware of the dowel pins in the bell housing. Drive them into the housing from the engine side just enough to free the bell housing.1 point
-
Once the engine is at operating temperature you shouldn’t need the choke. Every carbureted engine has its own unique starting procedure. A little trial and error and it becomes second nature.1 point
-
You shouldn’t need to remove the FD to remove the clutch. Since you have the trans out you should be able to remove the bolts that attach the clutch to the FD driven plate, then lower the clutch out the bottom of the bell housing. Yes, you need to use a 5/8” open end wrench to remove the nuts that attach the FD to the crankshaft. I don’t recall needing a special wrench, but it can’t be too thick. And yes, the FD would need to be removed before removing the bell housing. Part of the housing goes down between the FD and the block..1 point
-
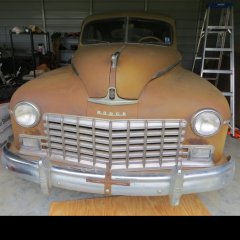
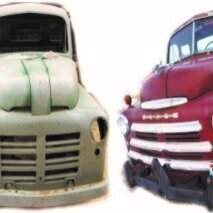
?? A coworker used to have that picture as the desktop background on his computer. Your picture above reminded me of it and I had to go search it out on Google.1 point
-
I also had that problem. I lowered the carburetor float and that has helped eliminate the problem.1 point
-
That's correct for a stock steering column. The one I'm dealing with isn't stock. There's a lot of non-stock items on ours, and the column (along with basically everything in the interior of the car) is aftermarket "custom" stuff.1 point
-
When that oil is made into a mist (or a vapor from heat), you also have to take into effect the vacuum and pressure at the valves themselves. The action of the piston creates good pressure and vacuum, 100 psi or so. When either the exhaust or intake valve opens the pressure or vacuum from the piston acts on the valve guides as well. Vacuum will suck up a minute amount of mist on the intake and pressure on the exhaust will will also cause a minute amount of mist to go up the other valve guides adjacent to them. Even thought the valve guide clearance is about .001 thousanths, it still has room for penetration of oil mist or vapor. Plus as Kiethb has learned from rebuilding his engine you have to lube the parts prior to assembly to prevent metal to metal scoring, scratching etc.. Some might scoff at this, but remember I am talking Micro amounts,(less than what can be seen with the naked eye) that added up over time keeps it lubed from the time of the assembly of the engine. Which is also pertains to oil changes at intervals to keep it clean and let it do its job properly. For those over 50 think of the Brylcream commercial: A little dab a do ya. Joe Lee1 point
-
There are two up positions and two down positions on the shifter. Up and towards you is reverse. Down and towards you is first. Up and away from you is second. Down and away from you is third. It sounds like you are hitting third, which is real common for someone learned a three on the tree shifter.1 point
-
Where in the world did you find that old picture of me Merle?? That was uncle Lyle's KB7 Cornbinder!1 point
-
I've ordered all 4 wheel cylinders. I'm replacing all the brake lines as well. I'm thinking that the brake lines are original because they have the spring sleeve around them in vulnerable places.1 point
-
You can also try a self locking nut and skip the cotter pin.1 point
-
Check with Aircraft Spruce. You can get drilled bolts and castle nuts. Wide range of sizes. aircraftspruce.com1 point
-
Is this a new issue that started after replacing the heat riser spring? It’s actually a common situation. Heat soak from the engine tends to expand the fuel in the float bowl causing a minor flooding condition. If you open the throttle slightly (1/4 throttle or so) while cranking they usually fire up much easier.1 point
-
OK....made it an event. I'll post a picture later today.... Then let's see what will comes of it. I'll be more than happy to steer anyone here, to the forum, to give them a better idea of how we roll...lol 48D link to FB posted event1 point
-
Your car has the wrong 1953-54 NON- armored type of ignition switch in it.1 point
-
Fabricated a bracket to my BW T5.
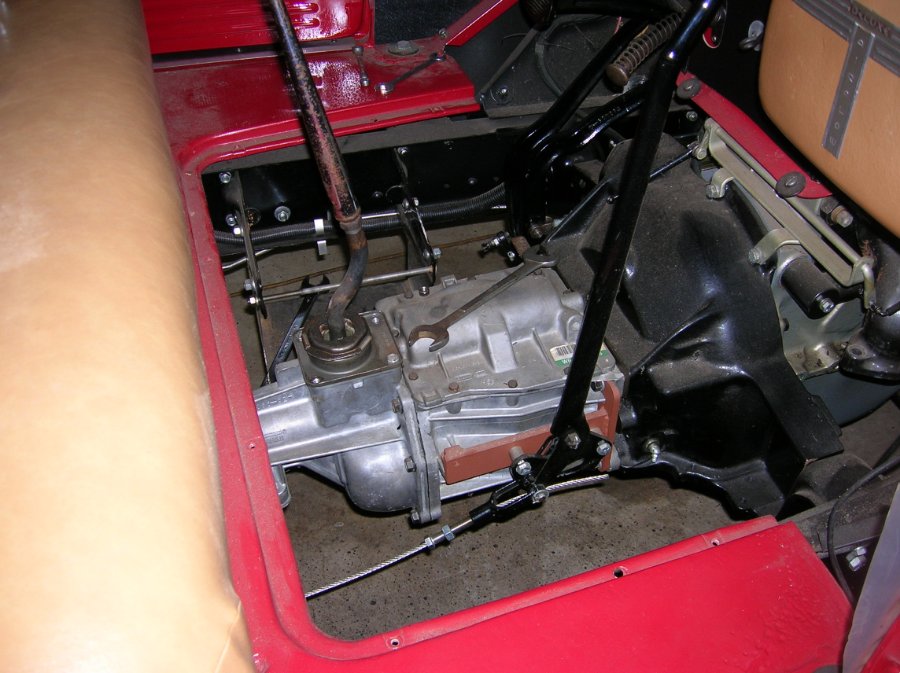 1 point


.thumb.jpg.d599d4c13e08899474e0348bd9baed3b.jpg)