-
Posts
4,768 -
Joined
-
Last visited
-
Days Won
39
Content Type
Links Directory
Profiles
Articles
Forums
Downloads
Store
Gallery
Blogs
Events
Everything posted by Los_Control
-
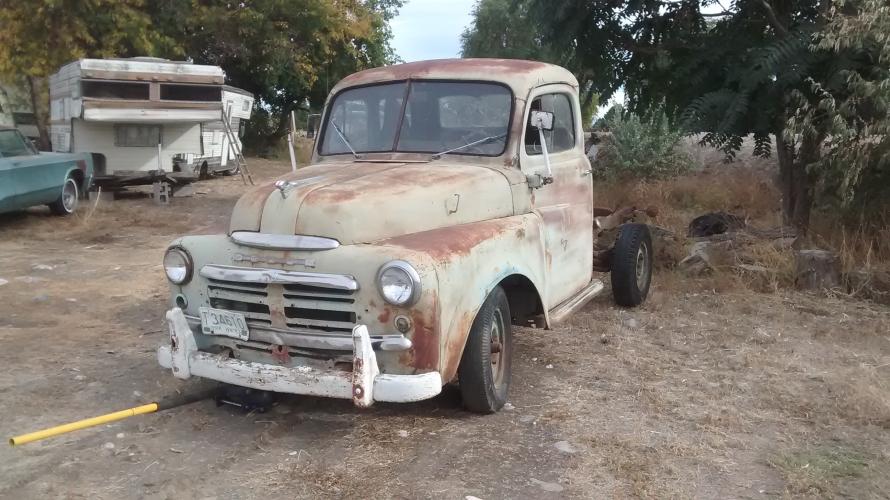
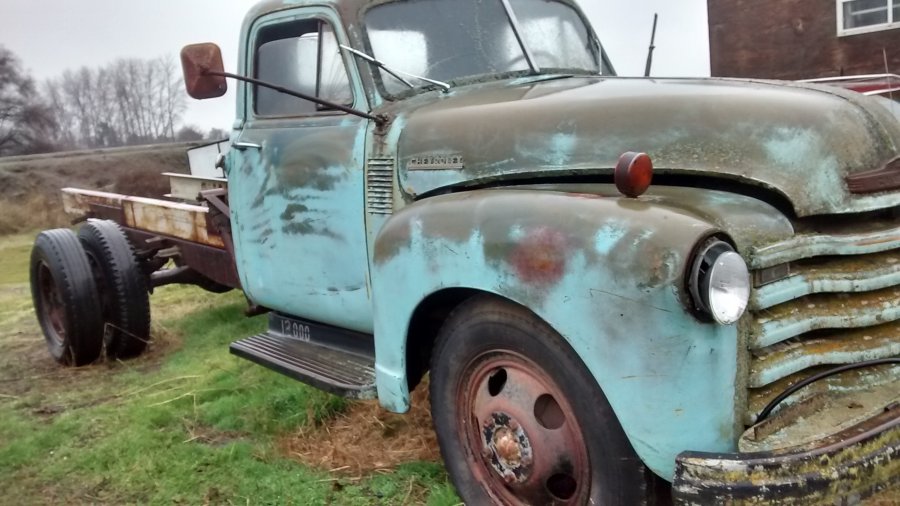
Sad thing is, find someone who cares! This truck sold for $100 to the local junk yard a few months ago. Good running 235 with new head and a hydraulic dump bed. Point is, nobody cares anymore ... why save a old cheby truck?
-
IMHO, I would pop the cap, make a mental note where rotor is pointing, where the vacuum advance is pointing, then pull the distributor to work on it. Is real simple to put back in. Trying to bend over the fender and stand on your head to install points is no longer fun for me. Now you can clean and inspect the insides, oil the advance plate, replace the ground wire inspect the operation of the vacuum advance etc. Including take it to the auto parts store to match up the points. Or at least you can get the number off it to order your own points. fwiw, I took mine to the local parts store, a small town parts + store. Charlie is pretty sharp and looked up the dist # and was surprised when he went to the back and returned with the box of points with correct part number. And condenser. The points were wrong, they were backwards compared to the points I have installed in the dist. I think the auto parts store had the wrong part in the box. May be possible someone changed the points plate in my dist and now I need points for a different model number? Not even sure if that's possible. But you get my point is so much easier to work on dist with it out of vehicle.
-

512 cid C series on Dakota chassis- build thread
Los_Control replied to Radarsonwheels's topic in Mopar Flathead Truck Forum
DON"T pull a Los_Control! I pulled my doors by removing the bolts on the hinges, and slid them out. Pretty simple. When I went to put the doors back on, one of the movable plates with the threaded holes, drop down into the door pillar. Still not sure how to retrieve it back out of there. I bought a strong telescopic magnet to try and fish it out, no luck yet. I still need to pull the doors back off 1 more time so at that time will spend more effort to retrieve it. Next time, I think I will try some way to secure the plate while the doors are off, they need to move, is how you adjust the doors. I am considering some clear painters caulk, remove 1 bolt and use the caulk to glue the plate temporarily, and easy to remove when installing the doors again. Curious to hear what others have done to prevent the plates from dropping, how they get them back if they do drop. -
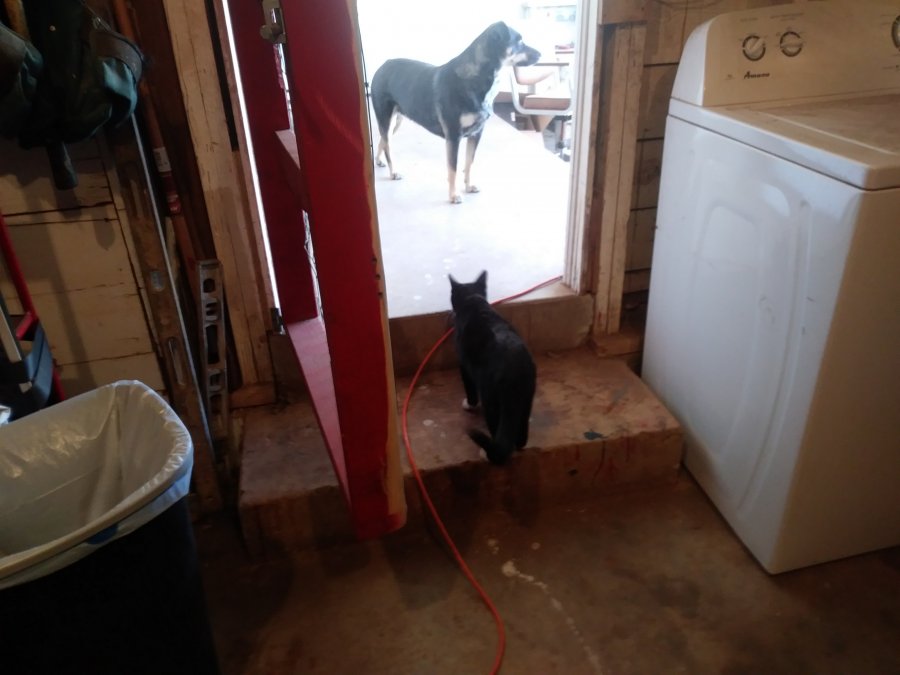
Have to love these little guys, I have to admit this thread prompted me to take a photo or two of Tom. This little guy wandered into our yard around the last week of August, more dead then alive. Guessing was a 4-6 week old kitten. Wife nursed him back to health, only cat I ever saw where wife could call him and he would come running. All this cat did was hunt, he cleared the yard of grass hoppers and had 2 birds under his belt by 5 months old. Then he went after a squirrel. The squirrel has been coming here for 2 years and tease my dogs. Now with Tom cat on the team, the dogs could bark at the squirrel and the cat climbed the tree to catch it. Will probably be my most fondest memory of Tom, He was 20' up the tree and 3' away from the squirrel. Looked like a western movie with 2 gun hands getting ready to draw down on each other. Tom cat crouched down into attack mode, tail twitching slowly left to right. The squirrel chirping out it's usual banter and tail twitching slowly back and forth .... And me standing below them with a garden hoe smacking the lower tree branch yelling naughty words at Tom to get out of the tree! That squirrel was just playing with the kitten and would have ate his arse for lunch. Finally the squirrel got bored, jumped over to another branch and wandered off. About a week ago, Tom never came home, I assume he took on something bigger then he should have and hunting greener pastures now. Anyway here is a photo of him getting ready to pounce on Penny, Oh how he loved to play with the dogs.
-
Toss in a couple sleeping bags and take the wife on a beach cruise .... like you did 30 years ago and just forgot
-

512 cid C series on Dakota chassis- build thread
Los_Control replied to Radarsonwheels's topic in Mopar Flathead Truck Forum
You have to watch these guys .... next time you at the pancake house and will want louvers in their waffles .... I have seen this before you have to be careful. -
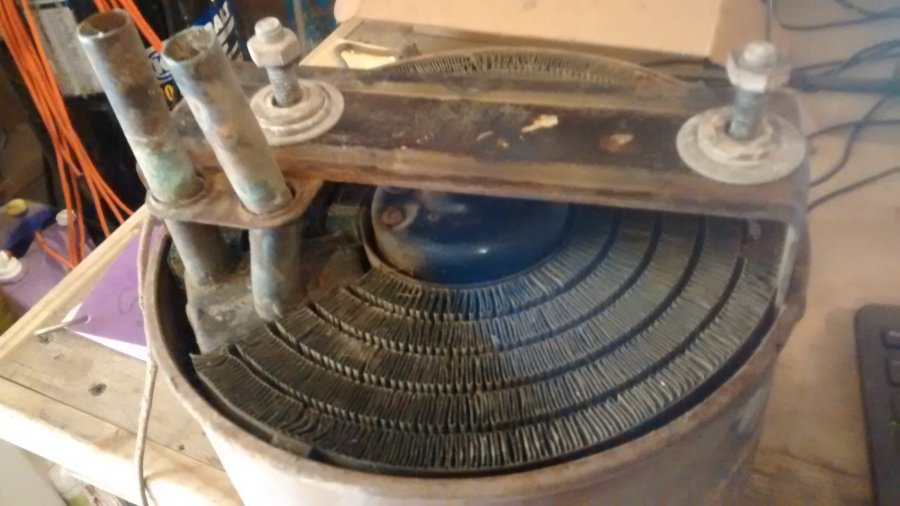
I had to go back and look, yes the #1 photo does have connections for defrosters. I simply did not see them the first go around. Since there is 2 of them, maybe is the industrial version I would think that is the heater you want to use. FWIW, the blue heater in the above photo, was rusted just as bad or worse then yours, I soaked it in molasses for a couple weeks and it cleaned up nice. The doors were rusted shut and not operate, was heavy pitting on the metal ... couple coats of heavy primer filled the pitting and it functions as new now. The wiring I can not help, both of my heaters have 2 wires. I can swap them between ground and power and it controls the direction of the fan. More wires simply means more speeds, one wire is ground, other wires is the speed the fan will run. 4 wires would be ground, low, med, high Thats a pretty spiffy fan for a old work truck, but needed for all the surface area of the windshield. I took my motor apart on a cold winter day, I was able to see which was ground and power, then I wrapped the old wires with thread and painted them. Most people have a life and for $20 you could just buy a new motor .... I doubt you would hurt your existing motor while hooking up power and ground to it figuring out what is what.
-
Just to add to the thread, It may be pretty simple to the right person to just make the plenum and add it to the heater in the first photo. Not rocket science to direct air flow, and the factory does have the right pieces in place, you just need to send air in that direction.
-
Once played with a 1952 plymouth suburban, it had a blower close to what you show, was mounted way up front by the core support and card board duct work going back to the cowl. Nobody ever said plymouth dev were smart. That car also had a separate heater under the drivers seat, I assume the factory heater was not efficient and needed a booster. I searched and do not have photos of the heater system on the 52 suburban, but your blower motor on second photo looks like it would fit right in. The blower was way up front while the heater core was under the dash as we would think normal. Do not fear, Dodge dev were not the same as plymouth dev. Point is, your dodge truck never had such a heater system that required miles of cardboard tubes to blow air into the cab. Here is a couple photos, one is the mopar model 61 heater, has doors on it while having the ductwork on the left to feed the defrosters and has a cable to open/close to direct air to the windows or to the cab/floor. Second photo is the heater that came in my 49 dodge, may be cool to have a round heater, I sure would hate to have to replace the core in it. Seems like the factory supplied the duct work for the windshield on all cars/trucks of this era, but the heaters were optional and defroster was a extra cost to be added to the heater. So heater in #1 photo, I do not see a plenum coming off of it to feed the defrosters, and is normal. My photo shows what a typical setup would look like, and of course the second photo round heater has no plenum for defrosters, also normal.
-
No electrical expert here, seems like you would need 2 wires for a single speed motor, a ground and a hot wire. Since these trucks are positive ground from the factory, you need to keep that in mind when wiring the motor up. Pretty sure if connected backwards, simply reverses the direction of the motor. My thinking here, the heater in the bottom photo with one wire may be a better choice because of defroster vents, but probably needs a new motor. You can find these motors everywhere, you need to get the physical dimensions to match up, the shaft size and fan attachment and of course 6 or 12 volts. And you can probably find what you need in a 3 wire so you have a 2 speed fan. The real issue may be the heater core. Basically you need to disassemble the heater to see what you have, you can clean & test the heater core. If it is bad, you may need to go to a local radiator shop and see if they can match up the heater core or possibly use the tanks and fab up a new one? My point here, the condition and availability of the existing heater cores may be the deciding factor on which heater you use. Should be able to get a heater core for less then $200. (Thats double what I think) Are you willing to pay $500 to have a custom core made? And any heater was installed after the factory, so either heater is correct, I like the simplicity of the top one with the bakelite handles, cleaned up and painted it would look sharp, and because of the square body it may be easier to find a usable heater core. And you may get lucky, both heaters will have good used cores in them. My heater core needed much dirt cleaned out but shows no leaks and ready to use.
-

Fule Tank Bracket Frame Holes
Los_Control replied to minicooper's topic in Mopar Flathead Truck Forum
I believe you are correct. The stock location on the 1/2 ton trucks is to bolt tank to the cross member. On longer wheel base trucks, the cross member is moved back, so the factory provides the bracket you need, for the "tanks" gas tank to work. I have bought the Tanks gas tank also a new sending unit with it, I like what I see, but have not installed it yet. It has a location to add a built in fuel pump if needed, a drain location on bottom. They claim you may need to cut the fuel neck a little shorter then add a longer rubber hose from tube to tank ???? I am not sure would need to do so, comparing old tank to new. I will have to make the mounting bracket, you can see how simple it will be to reproduce what the factory bracket is. Sure this is why "Tanks" not bother to change their dimension. I will say the new sending unit seems ok, Am a bit leery of it though. The float is adjustable, you slide the rod up and down to fit your application, then tighten the clamp to hold it. Just something I did not like when I opened the package, will try to modify it and double nut it or maybe even weld it once locate where I want it. Going from memory, I think there is 3" difference in stock tank and Tank's tank, your new holes would be 3" away and no issue. Even 1" away I would think it to be non issue, you could always weld the old holes up but ....would be for looks and not because frame is weaker. -
I bought the $20 weldmark hood from a guy who got it when he purchased a new welder ... I had some issues I thought a better hood would fix. So when I saw the $150 forney hood on sale I grabbed it, had the nice eagle paint job and the American flag theme etc... My welding still sucked. Real issue is poor lighting in my shop, so I turn down the sensitivity adjustment on the helmet and end up with flash burn on the eyes. Nothing wrong with the helmet, except for user error. What I find interesting, the weldmark hood which has a good user rating, fits better. Is more comfortable to wear then the more expensive forney hood. The forney the window is a bit to high or the hood itself sits to high on my head, raising the window up, so for me is a lot of wasted sight space of a already small limited sight area. I see no way to adjust it and lower it. Probably great if welding overhead all day. But it just feels awkward when wearing it. Just something to look at when selecting a helmet. There is nothing wrong with hiring and paying for someone else's welding experience. And you can appreciate their prices better, when you realize the cost of the equipment and time they have tied up.
-
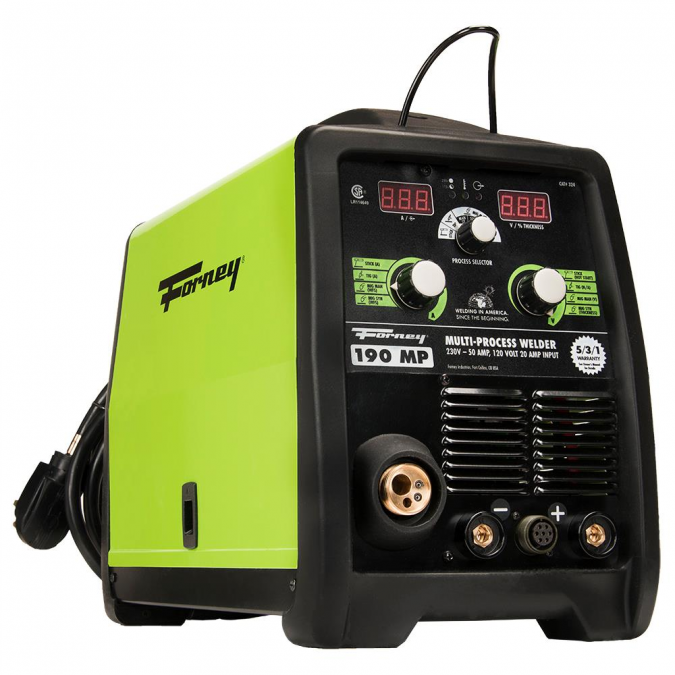
My 2 cents on buying a welder, from a guy who bubble gum welds at best I like the idea of the multi process welders offered today. I bought the forney mp190 welder. https://www.forneyind.com/products/welding/mig/mig-machines/forney-190-mp-welder-3-in-1-multiple-welding-processes Pretty sure you will need a welder that runs off of 220 volts to weld steel for motor mounts. A 110 mig welder will not be enough umph to get er did. The cost of your welder just went up when you remove the 110 volt machines from the list. The welding machine will be the heart of your abilities, you can buy the base machine and capable of stick & flux core out of the box. Later you can add the gas bottle for mig welding .... $400 for me by the time purchase the bottle and fill it. Then you can add tig, the gun and pedal setup from forney is another $550, and then purchase another bottle of gas and fill it. Going to need a decent cart that will hold 2 bottles and you can roll it around, or you can weld up your own Your going to need various clamps and magnets and spacers oh my. Of course you need the safety gear, I bought a brand new helmet from a local guy for $20 (came with his new welder and had his own professional helmet) I later bought a $150 forney helmet to improve my welding, actually like the $20 helmet better. In the end, this machine here is about $700, and will be close to the cheapest part of the complete welding setup. But I wont be selling it in 2 years to upgrade to a better machine, I will just keep adding to it. til I get everything I want. To be fair, A professional this machine would not be enough. But around the home shop for hobbyist, may be all you ever need. Edit: For got to add, once you start basic mig,stick welding, your going to want to add oxy/acetylene for cutting, brazing, gas welding
-
I once got knackered, buggered is a mess for sure
-
I sure have promise for the new year ... I even got my boots on today ... I'm going to get some stuff done! Starting tomorrow. First thing I am going to do is go out in the back yard and fill in all the dang holes the dawgs dug. Then I am going to whip them every time they start a new hole. Then in my spare time, going to get that darn ol dodge truck back on the road ..... Tired of ridin around in some chebby! Hope you all have as great a year in 2020 as I plan on having myself.
-
The other thought, replacement drums are not anywhere near the level of cheap. Shoes may cost more then I like, replacing the drums would really make me cry. Trying to re-use the old shoes after a fire, have them come loose and destroy a drum ... yeah yeah yeah I know, you stop driving before it destroys the drum. I would also assume one would stop driving before starting a fire
-
I have to agree with you on this one. Bonded shoes are held together with glue ... When heated up, glue releases. It weakens, It changes chemically the properties are not the same... call it what you want. I would not trust the bond of the glue to hold the shoes after it got hot enough to create a fire. I wonder what it takes to remove old bonded shoes to allow replacement of new bonded shoes? I imagine heat is involved? I could look it up. I wonder if the installed shoes do look good, if they can be removed and then re-bonded with fresh glue?
-

3 speed selector transmission floor shifter
Los_Control replied to thebelvedereman's topic in P15-D24 Forum
Oh come on now, you cant leave us hanging like that .... wheres the pics? -
Going with pa on this one, seems like the factory ford mistake was to helicoil the spark plugs on their goof up. I have helicoiled a spark plug on a toyota for other reasons, and never had a issue with it for years, was other reasons I junked it. (carburetor) helicoils work well if done right, and spark plugs under engine compression is about as good example as you can get.
-
Molasses is a great way to go, with my little experience of it. I did have a small 20 gallon barrel I used once for this purpose. I was able to soak my heater cases in it after I diss assembled and removed the heater core of course. The doors on the heater were rusted closed, one area was badly pitted. It all cleaned up to bare metal, the doors work perfect, the pits remain. I do want to do this again, but in a bigger way. Problem I had with my experiment, was at my uncles property, the skunks would come at night and drink the molasses. I had to add more. And the small barrel was not big enough to be real useful, fine for small parts. Just thinking you need to put this in a area away from animals/wild life Best Idea I read on the internet, a few guys got together, they got a free hot tub off of craigs list, they put it in a old barn and filled it with molasses splitting the cost. iirc was about $300 to fill it, bringing 5 gal buckets to the feed store to fill. They used it all summer long and then dumped it in the field when done. It acts as a fertilizer. They dipped doors, fenders, hoods trunk lids all summer long. Also I think you need temps about ~70 degrees or higher to be successful.
-
drill em for cool ... hrm factor?
-

In Memory of Don Coatney
Los_Control replied to Plymouthy Adams's topic in Recognitions and Remembrances
-
On my 1949 218, the plugs are 1,5/8" and found them at a local car quest parts store. They gave me a option for steel or brass, so I chose brass. Then later, I read where someone suggest brass is a bad idea because of dissimilar metals. The brass will not corrode out, so the block will actually be the weak link and start corroding. If this is true, dunno. But it does make sense to me, The plugs would be a lot easier to replace instead of a block. There seems to be no definitive answer on this though. Mostly just opinions. My opinion is leaning towards, The brass will work great for the 20 or 30 years we use these engines. But since they are now 70 years old, if they had brass soft plugs from factory, 70 years of time may cause a issue with the blocks. I am thinking I may replace my brass ones with steel. Let the next caretaker have as much fun as I did replacing them
-
one more, I had a 1970 something cornet police car, traded it to my brother inlaw for a 1961 sweptline, 6cyl, 4 speed posi rear end My brother inlaw used the truck to haul scrap metal, it was worn out before I got it. He loved the police car so I traded him. One day my wife was driving the 1961 truck down the freeway and heard a explosion, she was concerned and thought maybe a tire blew, pulled off the freeway to check it out. could find nothing wrong and went about her day and drove home. Next Saturday, my day off I looked at the truck, was the dipstick blown off and curled up from a explosion in the crank case .... had to stand on the inner fender and use 2 hands to pull the dipstick out, and then it was 1" short. Fuel leaking past the carb and caused a explosion in the crank case ... we still drove that truck for another year and traded it back to the brother inlaw who used it to scrap iron

