-
Posts
4,768 -
Joined
-
Last visited
-
Days Won
39
Content Type
Links Directory
Profiles
Articles
Forums
Downloads
Store
Gallery
Blogs
Events
Everything posted by Los_Control
-
Or maybe a power wagon
-
Careful out driving in Texas today, police all over the interstates. I was shocked that I was pulled over, first time in years. Same time I was heading south, The sheriff was heading north. He turned on his lights and came barreling across the median and chased me down. He asked me if I knew how fast I was going ... Yes sir, think it was 79mph .... Thats right, you were doing 79 and thats not 75 .... yes sir I replied. I really was kinda shocked the way he jumped the medium and came after me for 4 mph over. Oh well, just gave me a warning and sent me on my way .... Now if only I was driving a B1B, speeding would not be a issue .... sigh! ?
-
Really easy fix just send a pm and communicate in private. Nothing to get upset over
-

Any luck rebuilding wheel cylinders?
Los_Control replied to Los_Control's topic in Mopar Flathead Truck Forum
This is a good question, I do not think the average person does this work at home. While the wheel cylinders were suggested to be sleeved, this sounds good. The wheel cylinders are stepped, have 1 1/4" on one side, and 1 3/8" on the other ... you will have to sleeve them twice. The post above, I think they would do only high quality restoration of a master cylinder. Whitepost.com Changing the existing diameter to change the needed pressure, would be a experiment and like to hear what you find. -
The shiny scares me, I am going to stop at tractor supply tomorrow, see if I can exchange a gallon of gloss black, for a gallon of semi gloss black. This rustoleum is just to shiny for my taste. In the meantime, I do not mind putting gloss black on the frame and under the hood ... I just refuse to put it on my exterior. Pimp me out black ... I want black, I just need something not so shiny.
-
I would have to agree with you. My other truck had the controls on the left side of the steering column. But this was a after market option, not a factory installed option. The owner could tell the dealer where to put them. Simply is no right or wrong where they are located. Just is what it is.
-
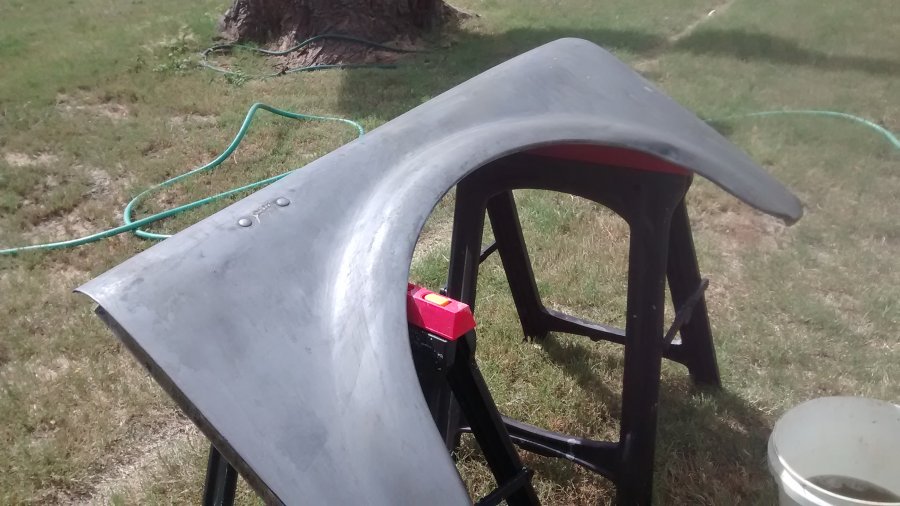
I simply do not have time to correct the issue today. As much as I want to, I just cant. I have to head to the showers and get ready for a trip tomorrow. I also do the shopping, the house cleaning, the cooking, not complaining just tomorrow I have a 6 hour road trip ahead of me. Take my wife to a DR appointment, then later to Lubbock for a medical procedure. So that fender needs to sit until I get back, and will be the day after tomorrow I get back to it. Being disabled and retired leaves lots of time, we still do not get to choose how we will spend that time.
-
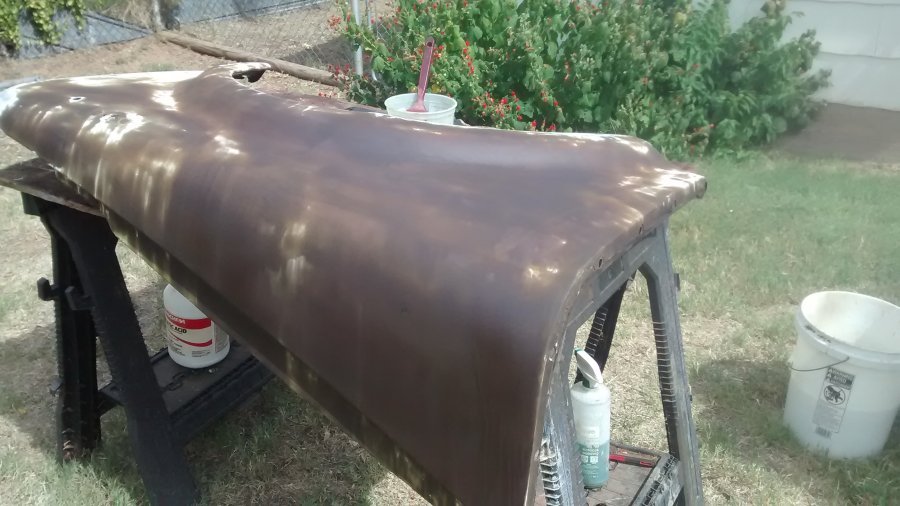
Last year I used some muriatic acid to remove rust. I thought my process was going to be better then what I was told to do. For some reason, My way worked on one fender, but on the other fender it did not work at all. I treated the fenders last year, then stored them in my office, the one bad fender was first in and had all the rest of the front end parts hiding it. Just saying, this is correct and how I put the fenders away. ...The hood and other front end sheet metal was just fine with same treatment. Then you look at this fender, I am fighting it and think I am winning, is a acid wash, then a vinegar rinse then repeat, then hose off and repeat again. I do have the inside of the fender looking good, Now starting on the outside. I just wanted to add, Muriatic acid is good tool to have, be sure to neutralize it correctly. I bet one more winter in my house and would have lost this fender, it was rusting so bad. Now it is just a job twice as big as it was the first time, because I did not do it correct the first time ?
-
If I was going to do first start in years on this car. First let me add, the motor oil you added is good, but not great, but it may have prevented the rings from seizing. A motor sits for years, and the rings tend to seize to the pistons, now you do not have good compression when you try to start it. You need a light oil like mmo to soak in and free the rings. Putting motor oil in did not hurt anything, and may have helped. So adding a light oil like mmo, some like a 50/50 mix of acetone and atf, choose your poison. Let it sit for a few days I would then install a battery, I would first remove the coil wire, I would not want it to start! I would want to spin the motor over, watch the oil pressure gauge, and when it is building oil pressure I would be ok to start it. While you are spinning the motor over building oil pressure, now would be a good time to pull the spark plugs and run a compression test. This will tell you f you have any sticky rings or valves, and tell you if the engine will run. If you have already added oil to it, you may just skip to the compression test or skip the test, build oil pressure then let it have spark and fire it up. Then if it does not start, go back to compression test and spark. Very least build oil pressure first before trying to start it. I think you said in another post, the car has been sitting for 7 years. I am afraid that if you put a battery and gas to it, it will start almost instantly, I would want to keep it from starting to lubricate the system.
-

My First Car -- P15 1947 Plymouth Deluxe
Los_Control replied to NickPickToo's topic in P15-D24 Forum
This is used and needed to install semi truck tires. The same 3' long bars to change the tire on the wheel, used to lift them up onto the hub. You can stand on them to raise the tire, and have both hands free to manipulate. -
I once knew a old retired brick layer, his nickname was Cadillac. He had a few of these old 50's Cadillac's fully restored. And a 2 acre storage lot with many other Cadillac's in various condition. His entire working career, he drove these old Cadillac's, the trunk was big enough to put all his brick laying tools in, including a brick saw if needed. Usually he worked for another company and had a lot of out of town traveling, just needed his hand tools. He was a very colorful person to talk to, big ol straw cowboy hat, always a cigar in his mouth, always had a smile and a story. He was 78-80 at this time 20 years ago.
-

My First Car -- P15 1947 Plymouth Deluxe
Los_Control replied to NickPickToo's topic in P15-D24 Forum
79512 is the zipcode, your grandparents look to be about 4 hours away. There are pipelines all over this area. -

My First Car -- P15 1947 Plymouth Deluxe
Los_Control replied to NickPickToo's topic in P15-D24 Forum
I am just stating my own experience, My first truck did have the pins, and it was a bit of a pain to get the small pin lined up with the hole and wheel over the hub. This truck without the pins, you just need to line up one hole and get the bolt started, shove it on the hub and they all line up. This could be because my center holes on the rims are the same size as the drums, they are self centering. If I had custom wheels with a larger center hole, still same procedure. Start one lug and a little rotating the tire with your legs to start the second, Why I said it might take 10 seconds longer if searching for second hole. The one bolt lined up with any hole on the drum is easier then searching for the pin and small hole on the wheel. IMHO. When you try to spin the wheel to match the pin, the drum wants to spin also. I just think the pins get in the way, more then they help .... I would only keep them because they are original. I feel sorry for anyone changing a tire in the dark with rain and wind on the side of the road .... given the opportunity I would pull up diagonally behind them to run as block and then help with the tire change. Hold a flashlight, or change the tire and have them hold the light. -

Marker Light Sheetmetal Damage - (on a 1951 B3B)
Los_Control replied to Jocko_51_B3B's topic in Mopar Flathead Truck Forum
It is not the trucks fault it was born later and ugly. Seriously just joking, there will always be some rivalry between the B 1-2, & B 3-4 owners. As others stated above, at this stage is not worth fixing, will cause no harm and think it may be hidden from any view when assembled.- 31 replies
-
- 1
-

-
- marker lights
- running lights
- (and 4 more)
-

My First Car -- P15 1947 Plymouth Deluxe
Los_Control replied to NickPickToo's topic in P15-D24 Forum
My truck is missing the locating pin and has newer wheels on it. Such a minor detail, I have had the wheels on and off several times, Just a non issue. I would say yes they are handy to have, but maybe slow down the process by 10 seconds. I would prefer to keep the pins if I had them, would not spend one minute thinking on how to replace them if not on there now. -
Either would work, using the pump will tell you if it is still working. If it is no longer working, then can go straight to the carb and gravity feed it ... the tank now has to be higher then the carb. The main thing is to be safe and not get in a hurry, make sure all your connections are secure and leak proof, make sure the tank will not fall over etc. Sometimes we do something a hundred times safe, then get careless and in a hurry, thats when accidents happen.
-

Marker Light Sheetmetal Damage - (on a 1951 B3B)
Los_Control replied to Jocko_51_B3B's topic in Mopar Flathead Truck Forum
My 2 cents, with all the damage. Now would be a good time to search for a 1948-1950 complete nose and install it- 31 replies
-
- 1
-

-
- marker lights
- running lights
- (and 4 more)
-

Any luck rebuilding wheel cylinders?
Los_Control replied to Los_Control's topic in Mopar Flathead Truck Forum
Thanks for the tip, I will check them out. I have had this master cylinder in & out twice so far. Ran into problems with the old brass fittings being cross threaded. I knew the 4 way fitting was cross threaded, I could not find another, so switched to 2 T's. That's why I left the new lines long so I could twist them as needed in place. I then found the brass fitting on the master was also cross threaded, so I pulled it back out to replace it. Now I have it back in, and can route the lines as needed, I also picked up a 5/16" plug to take care of the extra hole in the 2 T's. This plug will work to hold the fluid, when I pull the master for the 3rd time, bench bleed it again, then connect it to the finished lines. I Have a new floor pan to install, I finally cut the old floor out last night. Now I can finish the lines from the top instead of laying under it. Now I am more concerned with getting this area cleaned and painted, then finish the lines. Just take advantage of the nicer weather to paint, before it gets to cold to paint. So much work in this area needs to be done before the floor goes back in. Shakes head and sighs ? Clutch pedal bushing is bad E-brake is froze & cable is broke Service the u-joints and replace as needed Shifting linkage needs dis assembled and cleaned greased Sure I will find more once I get into it. Sure glad this stuff is fun -
-
Depends on what you want. Switching to 12 volt is pretty simple, 6 volt actually requires heavier wire then 12 volt. So most original stoofs will work when swapped to 12 volt battery. Because the 6 volt was heavier. So the original switch should work fine on 12 volt, they actually can be taken apart and cleaned. While a new switch probably wont have that option.
-
Maybe Desoto was more fancy and put the switch in the line, My truck has it on the master cylinder. I suspect the switch would work just about anywhere on the system, as long as wired correctly and getting pressure when brakes are applied. These are things that previous owners may have changed, and they used what they had to make it work .... Think you need to decide at what level of restoration you want to do, how important to you, is the switch installed in the exact factory location?
-
Not really what you asked, I have done this recently on a ford shoe box. While I had the seat out, I lubricated the tracks really well and worked them back and forth. This gave the seat a few more inches of travel, just been years since it had been moved that much. I still did relocate it, but when finished, the few inches I was able to move it was worthless. Just lubricating and working the tracks is all that was really needed for this job. Something you might try, and with the seat out, you can judge how far you could move it if needed.
-
-
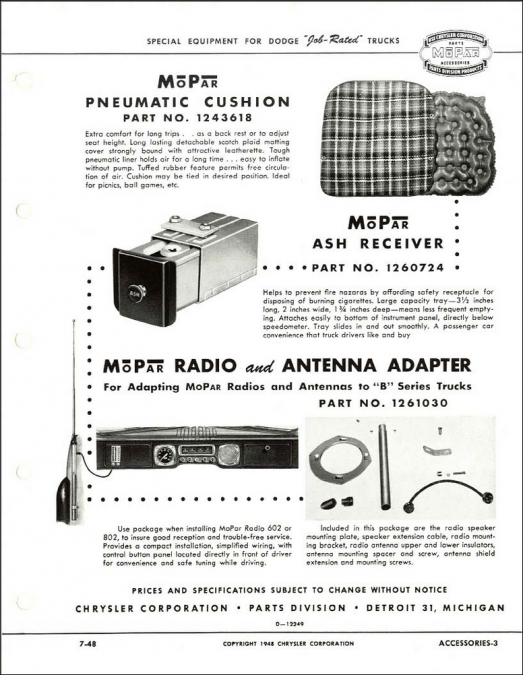
This makes sense to me. I bought the same radio with same bracket. In my truck there is nothing close enough to mount the bracket to. I believe I will need to make a bracket to mount it to the firewall. Possibly this is why the poster brought up the steering column bracket, thinking the radio would mount to it. Just did a quick trial fit, that bracket as is, is worthless to mount the radio in the truck. Should be simple enough to fabricate one though. Is a tight fit to get the radio in there.
-

Flathead block coolant drain plug
Los_Control replied to rottov's topic in Mopar Flathead Truck Forum
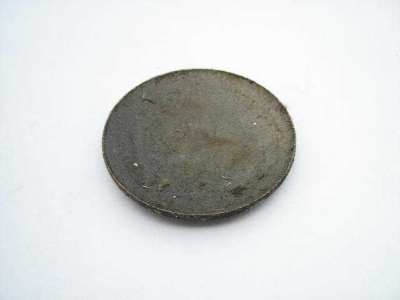
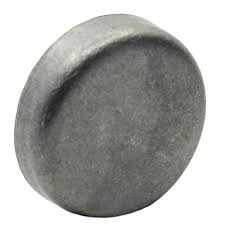
here is what mine looked like, and I bought brass replacements Here is a example of the deeper one I spoke of

