-
Posts
4,695 -
Joined
-
Last visited
-
Days Won
35
Content Type
Links Directory
Profiles
Articles
Forums
Downloads
Store
Gallery
Blogs
Events
Everything posted by Los_Control
-

54 door replacement saga! Any advice for me?
Los_Control replied to Radarsonwheels's topic in Mopar Flathead Truck Forum
There is a plate that has threaded holes .... it does float for adjustment & can/will fall into the abyss ..... or not. My driver door there was enough surface rust to hold into place ..... the passenger side did fall. I used a telescoping magnet to reach in & pull it back up. I was able to grease it .... just awkward trying to hold it in place, line up the door hinge & start the bolts into the threads. If you pull the bolts and it stays in place, I would re-install the bolts to keep it there until ready to put the door on. -
Something easy to check is side to side movement in the distributor shaft .... Shaft rides on bearings, they wear down the shaft wobbles & the point gap/dwell changes. I had a off topic car 1992 Dodge Shadow convertible. .... It had a oil drinking problem when we bought it so sent it off to rebuild the engine. It ran really good after that but was your typical Grandma's 4 cylinder engine. About 6 months later the fuel pump quit working & replaced it. The new fuel pump was like night & day, now when you stepped on the gas it would down shift wind up like a top and rocket off into the next gear .... was a kick in the pants to drive. The old worn out fuel pump simply could not deliver enough fuel. .... Was like having a governor installed. It simply ran out of gas, while still running satisfactory. Just a thought. Another challenge on these old distributors with positive ground. The wire under the cap connecting the points to the distributor body is cloth covered. If your vacuum advance is working and the points plate rotates A bare wire could touch the distributor body & short out ..... very important this wire has good insulation.
-
My 2 cents on the mmo ... yes ..... it will get into the rings and lubricate them from the pistons .... they are made from 2 different metals & need lubricant.
-
Time for Salsa .... Today is the end of the "summer garden" Will get down to 28F tonight. One of those days where it is 50F at 6:00am and 42F at noon. The storm is coming in. So I picked all the fruit. Green tomatoes, Tomatila, 4 kinds of peppers. A cold week end .... Think I will be making & canning Salsa. I also need to can some more BBQ sauce and sauerkraut ..... No work on the truck this weekend.
-
Those are very cool. The Lily have a large variety & some really bizarre looking flowers. Kinda the same deal here, previous home owner must have planted them, they only appear & bloom once a year. They last a very short time ... maybe 3-4 weeks? First time I saw it I showed it to the wife, she asked me what it was? I told her it was a special plant & came from the planet Mars .... Ours are orange & purple. I was hoping to get a picture of them this year thinking mine would come up about the same time as yours, I just never saw them this year.
-
Thanks for sharing. Certainly was not Andy's fault. Nice to hear he took care of the problem so quickly. So often we tend to report the bad and forget the good in people. Not the point, if you have a mig welder handy ..... I picture myself cussing & cursing yelling about cheap quality parts while I was welding it up.
-
Thats a good point also. While I had mine out I took it apart & cleaned it good & applied some light grease to all the moving parts. Did the same with my panel light switch while at it. And another thanks to @ggdad1951for sending me a old broken switch to replace the part I screwed up
-
Tough call. couple years ago I had 1 start to make noise on my chebby truck I replaced both & the center carrier bearing. Figured it was time. The old Dodge at $75 each ..... I'm so cheap I would rather spend a day cleaning & greasing them before they go bad
-
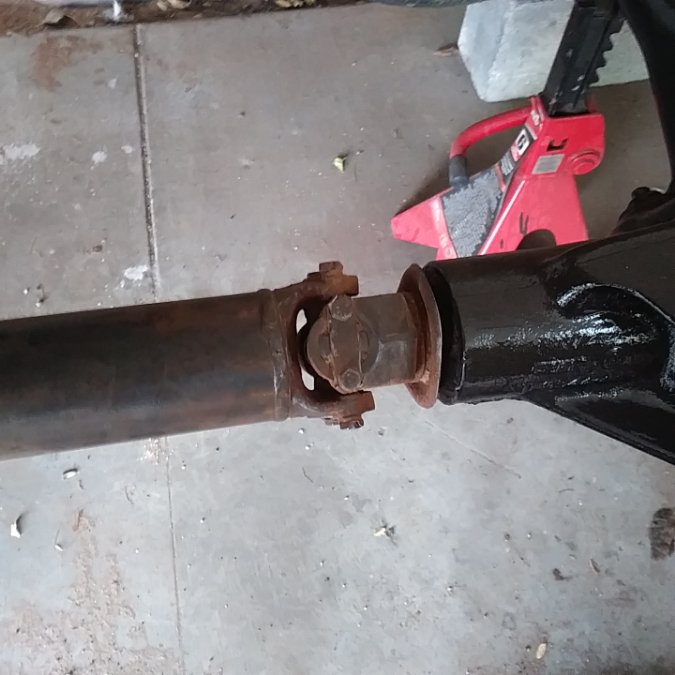
What you describe could be u-joints. I had one on a toyota do what you describe. Under load it was fine, put in the clutch to freewheel and the rear end would bounce all around. .... The u-joint actually froze & would not move. There was not any play in it, only way to find it was to pull the drive line. Be interesting to see if you have modern u-joints or the old Cleveland style. 48-50 we had them, I would assume a 47 would also .... I could be wrong or yours may have been changed .... no idea. My plan after I finish painting the frame is to grease everything replacing plugged zirks as I go ..... The drive line I am going to remove and disassemble the u-joints, clean all the old grease out of them & inspect while putting them back together with fresh grease. May sound like overkill ... I know 5 years ago it was almost impossible to find replacements, then a few years ago I heard of a supplier & they were about $80 each ..... I dunno what cost or availability is on them today. So I figure it is worth the effort. If I end up doing a rear end swap & need some drive line work done, I will spend the extra cost to replace them at that time.
-
Well to be fair, the owners manual would explain to not drink the battery acid ..... assuming it is a modern manual.
-

Spring cleaning time for Elvis (1947 DeSoto Custom Sedan)
Los_Control replied to Racer-X-'s topic in P15-D24 Forum
I was going to get some springs reconditioned about 16 years ago. I had a Ford 1 ton work van. It lived a rough life as original owner was a plumber, 2nd owner was a contractor, I was 3rd owner and a carpenter ..... The springs were literally flat. The shop I went to in Albuquerque Was a spring shop & did this type of work all day long on semi trucks. ...... This gives me confidence in their quality of work. The price was incredibly cheap. ...... I would drop the van off, they would remove the springs, re-arch them, re-install them and the price was less then $300. In the end I was always too busy working to give up the van for a day, it did ride like a Cadillac. .... Just seems like it is not a big job for those setup for it. Glad you found some good ones. -
Thats a very good point also. Different thickness in different areas ..... I would think a tail gate is at least 16. While bedsides the elusive 17. Most patches you only see one side, make it flush.
-
I wonder how accurate you are shooting for? I'm using 18 gauge for patches, really seems to be a nice size to work with. I think it is about as close as we can get. 16 gauge would be so thick it would be murder to shape it. 20 gauge is getting thin, pretty sure my replacement floor pan is 20 gauge .... I'm worried I will have oil canning after installed if I do not add support. I think modern vehicles are using 20 or 22 gauge .... tinsy thin metal. 18 gauge is pretty sweet if you want to just make some patches.
-
I appreciate this thread also, bookmarked it. I will need to go through all these steps at some time. I spent some time cleaning & greasing all the tracks & hardware ..... For a driver everything works. I will need to replace the rubber, 1 glass is cracked .... bigger fish to fry at the moment, just a future project on the list.
-
A very handy kit indeed, & not real expensive. I have a similar kit I bought in hopes to pull dents with. ..... weld wire to the dent then use slide hammer to connect to the wire to pull. ..... They will easily pull a seal. A quick google search shows pry bars as pullers ..... reminds me of using a carpenters claw hammer as a kid to pull them. Use the claw just like you were pulling a nail.
-
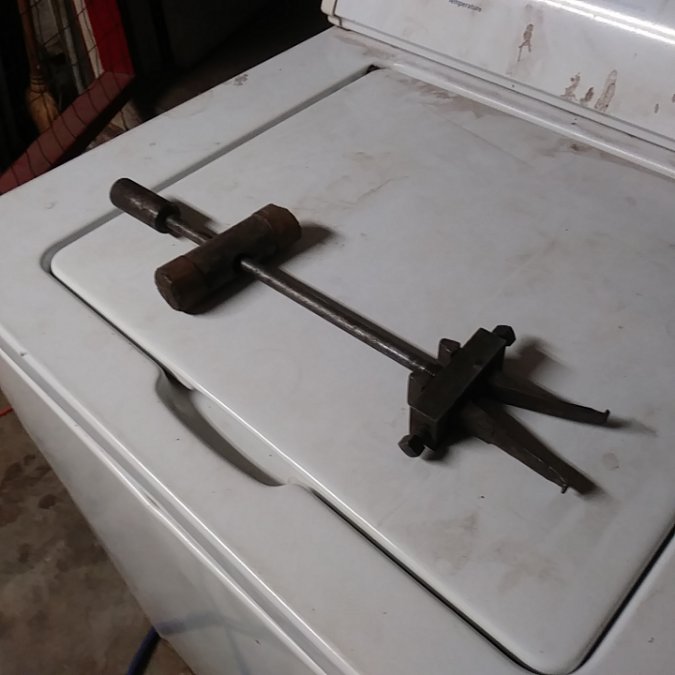
That made me laugh Awhile back I bought a tool box from a estate sale & this was in it. Sure it is a seal puller & has a wooden slide handle .... thought it was cool. No idea what model number it is. I'm certain I would reach for my slide hammer if I want to pull a seal though.
-
Could be a few issues, first remove the petcock from the block make sure it functions as should. If the block still does not drain, it is the lowest point of the block. When the engine blocks are cast in sand, it is common to have some sand left over in the block .... then 70 years of crud ... it all settles in this area plugging the petcock drain hole. If this is the case, you probably want to pull the soft plug near the petcock & a upper top soft plug. You can run water into the top, use a long piece of wire from the bottom to loosen all the crap and flush it out. You will be surprised how much crap can settle in that area reducing your coolant capacity & coolant efficiency. I read about this issue years ago on this site, it is kinda common. I cleaned mine out and was amazed how much crap I fished out of the block. I did have my water pump removed and put water through the distribution tube to flush., I pulled all soft plugs .... they needed replaced anyways. Up to you how involved you want to get .... very least you need to pull the bottom soft plug to fish wire all around the side of the block to loosen the crud.
-
FWIW, I went to the wayback site earlier. Spent sometime trying to learn & navigate. I think I finally was getting somewhere .... every time I clicked on a .pdf I got a error "oops we did not archive that file" I did not find anything to save. I dunno maybe I was doing it wrong .... or @ggdad1951is correct .... I do not have a account there & had option to log in .....would that make a difference?
-
I feel vehicles have a personality & tell you what they want. Something like this could be pretty cool. These are $25 each. Probably close to the same diameter as the stock mirrors for your truck. Then there is the larger diameter round jeep mirrors you could put on the stock mirror brackets. My first project I started but ended up moving so gave it away. Was a 3/4 ton factory flat bed & had what would come on a large 2 ton truck. They still mounted to the hinge pins .... I do not know if there are reproductions made for them available? They look pretty funky here, Below is a photo of some 1947-1972 stainless steel GMC truck mirrors $14 each. Modify & shorten the arms. Lots of choices out there.
-
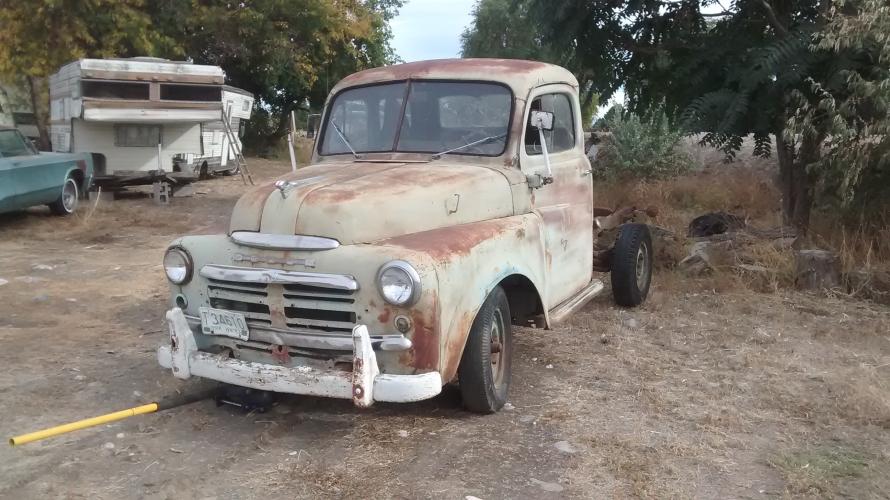
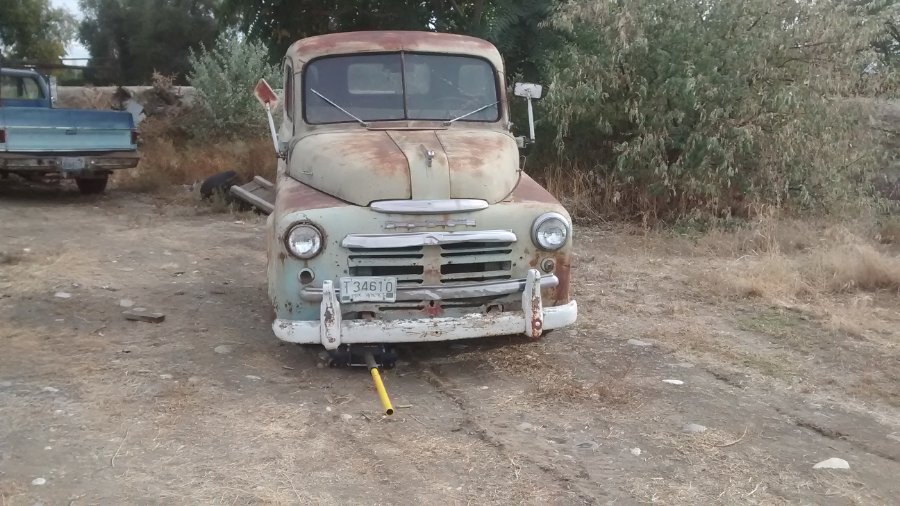
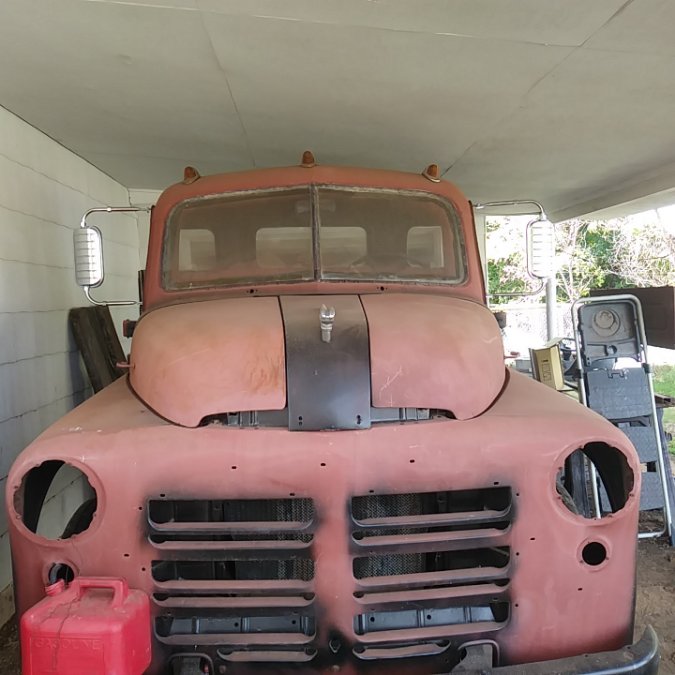
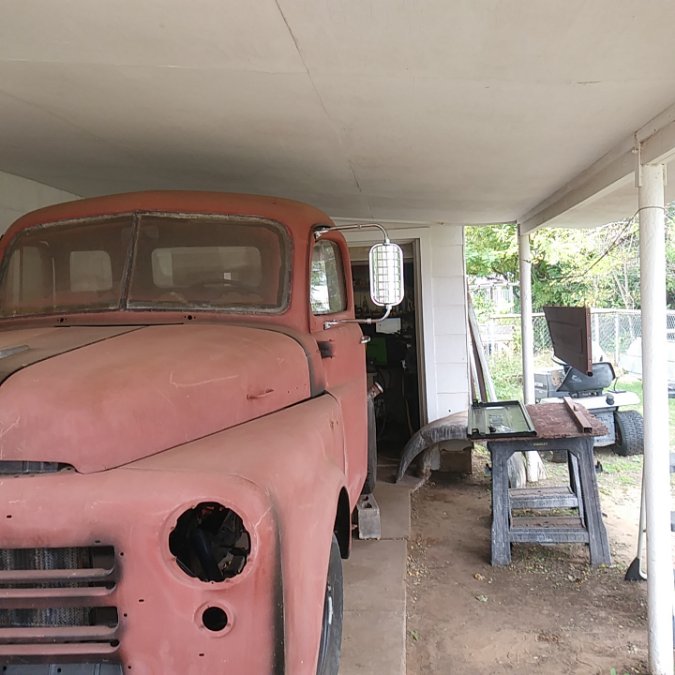
Boy she sure is a dirty girl .... Think the primer is over 2 years going on 3 .... needs some love. The mirrors I'm actually more satisfied then I thought I would be. The mounting hardware is "good enough" The mirrors are made in Taiwan .... offshore, but better then some offshore. They are the cheapest available on Amazon & called West Coast Jr's. $38 each. I have them tucked in width & height as far as possible .... they are a little wider then I prefer .... I can live with them. I imagine it with the final black paint, stainless trim & lights, AM radio antenna, dual cb antenna, A clean windshield Right now it is sitting on jack stands 8" off the ground so it looks taller then it is. I understand that this look or style is not for everyone, but I'm pleased with the direction it is headed.
-
Thats something I remember ..... Not seen for a long time. I remember as a kid buying a replacement flasher & seeing the heavy duty cost more. .... As a kid it was like who cares? I want the cheap one. A heavy duty flasher never made sense to me until I'm 60 years old & read this thread. ...... I suppose is not same issue with a 12 volt flasher? I certainly do remember flashers marked as "heavy Duty"
-
I got one mirror installed just to test the waters. Took about 10 minutes to drill 4 holes. They are not original or everybody's cup of tea ..... I love trucks & I like to see around me when driving .... these are exactly what I wanted or hoping for.
-
Thats what I see .... just grab one & it should work? The #'s photo I see a huge guessing game where one player says I see yellow & the next player says I see blue!
-
The first # looks different then the next two 6's. ..... Possibly the first # is a 8 missing the sides? I'm guessing 8663TS-4 The S could be a 6 but looks slightly different also

