-
Posts
4,695 -
Joined
-
Last visited
-
Days Won
35
Content Type
Links Directory
Profiles
Articles
Forums
Downloads
Store
Gallery
Blogs
Events
Everything posted by Los_Control
-

1951 dodge Coronet wheel bearing preload torque
Los_Control replied to nr1freak's topic in P15-D24 Forum
My method is to actually tighten the castle nut until the bearing does not want to turn. The goal is to get all pieces set into position. Then back off on the castle nut so the wheel spins freely, while there is zero play in the bearing if you grab the top & bottom of the tire & try to rock it back & forth. You want the bearing to spin freely, you do not want any play in the bearing. ..... this method I can spin my wheel freely with no drag or movement on the bearing, I can see just a bit of movement on my king pins showing some wear there .... Properly adjusted wheel bearing will show other wear on your front end. The tire up in the air is a big lever & you can check for all play in your front end. ... There is no exact setting for wheel bearings. -
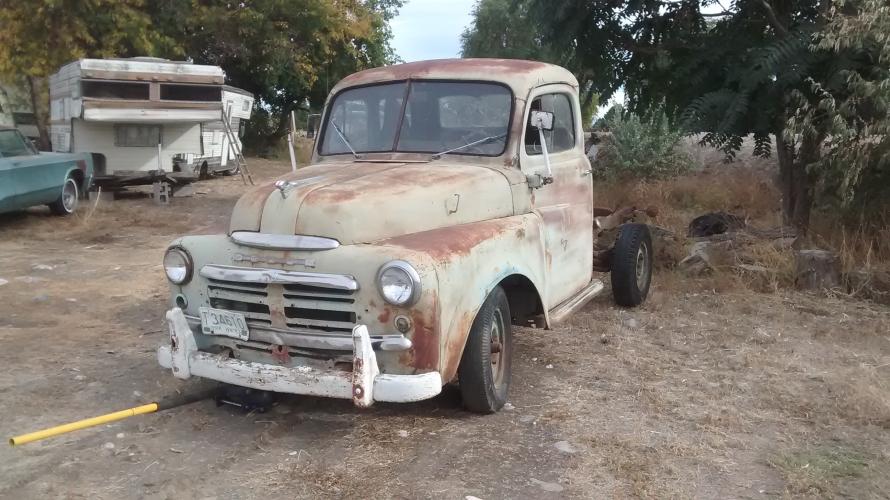
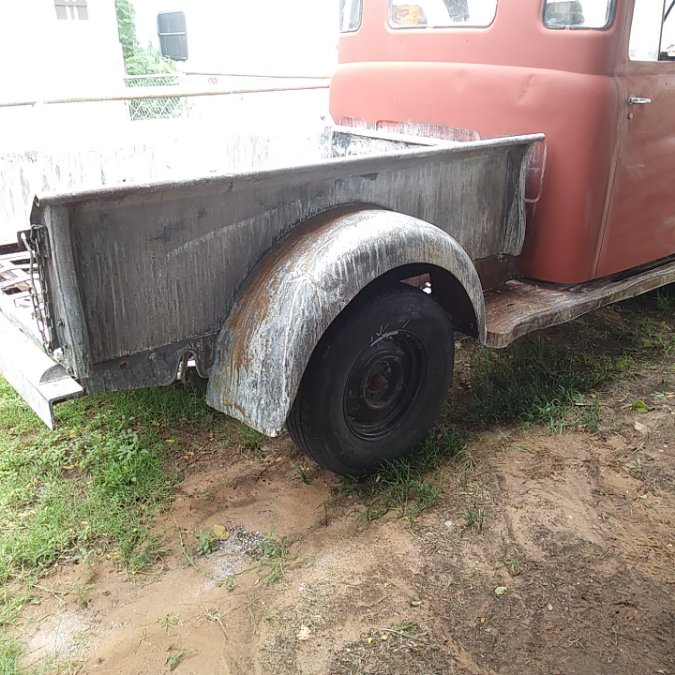
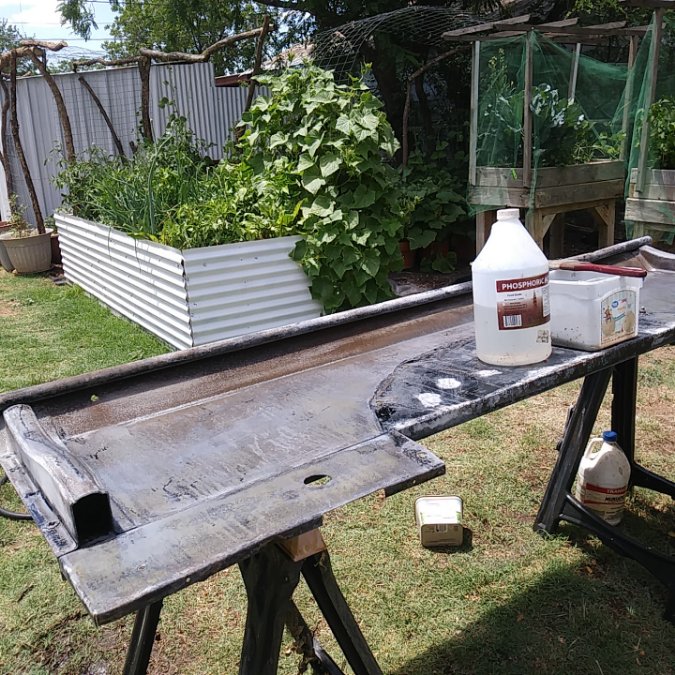
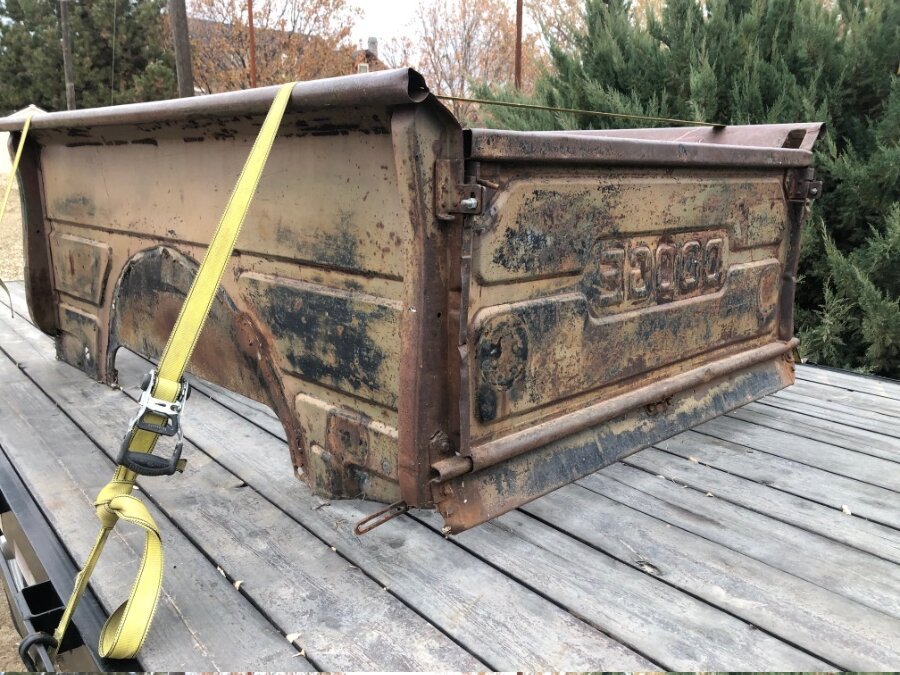
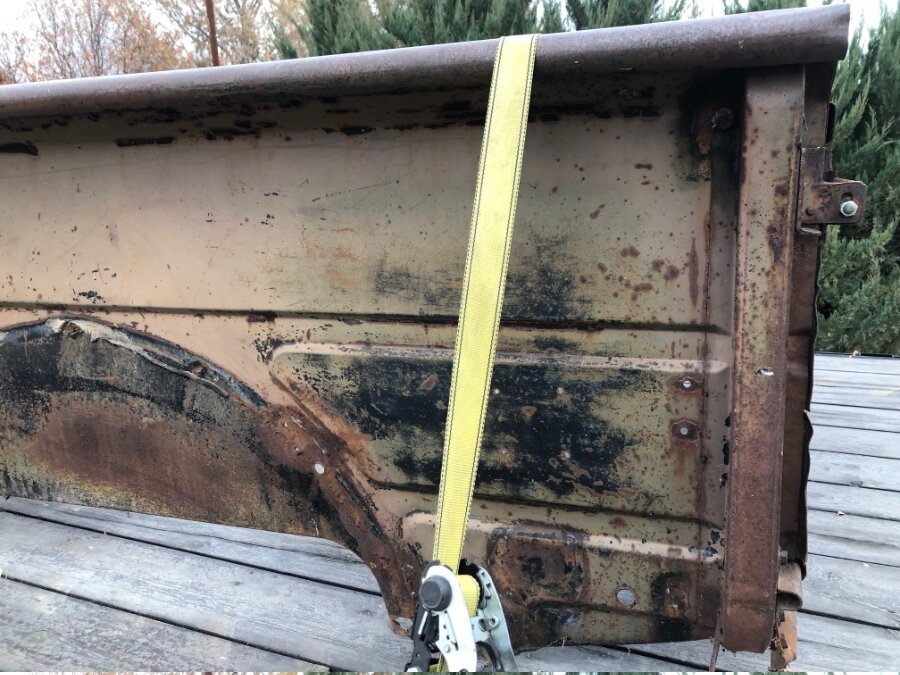
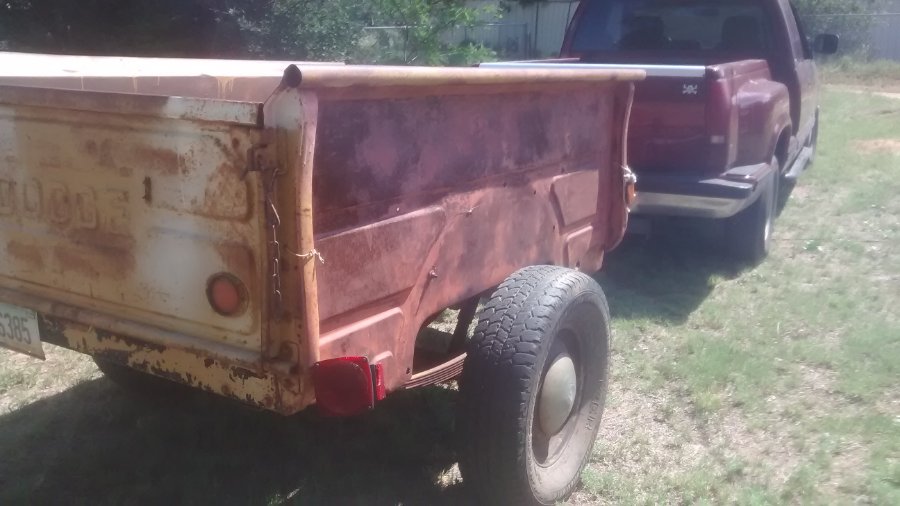
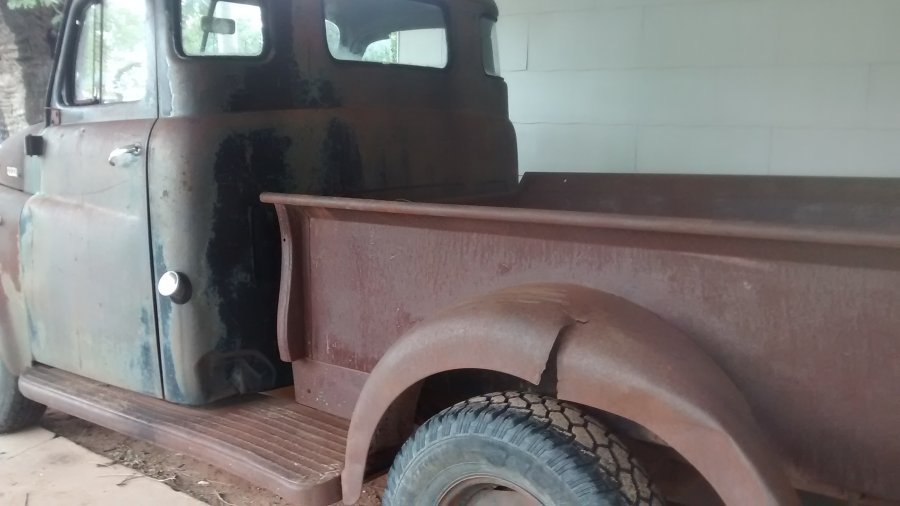
Assuming the truck is not coming apart, ospho is a pretty decent product. Instructions for it, would be to use a wire brush & remove all lose flaky rust. Apply ospho to all surface areas & let it dry for 24 hours. Claims it will convert rust to a paintable primer that you can paint. I have bought it in a squirt bottle or a jug .... I find it best to pour a little in a throw away container & a cheap paint brush & brush it on. There will be some areas that you can not reach with a brush, a squirt bottle is good for the hard to get to corners. There are name brands of rust converter ... I'm sure Eastwood has a product along with all the other big guys .... Ospho you pick up at Ace hardware or Home Depot. The few forums I belong to, ospho seems to be the most popular. Here is a photo of when you spray it ... It is thick, inconsistent, runny ... it really creates a mess .... brushing it on is much better. There is some rust showing. I was playing with my pressure washer to see how easy it would be to clean up. It cleaned up & flash rust right away. If you are removing the fenders or body panels, I would suggest hydrochloric acid, also known as muriatic acid ..... This is what is used to clean swimming pools. YOU DO NOT WANT TO USE THIS ON YOUR TRUCK! It does work great, but the fumes will flash rust things on your truck like the choke cable, or your gauge bezels ... things you do not want to harm. If you do it out in the back yard away from the garage so you do not flash rust your tools .... it is great. Here is the same bed side after it was cleaned with muriatic acid, now I'm wiping on a mixture of phosphoric acid & water to preserve it. 3 different acids 1, muriatic acid is the toughest rust breaker in town. You should wear a gas mask when working with it. 2, Phosphoric is pretty good and does a great job removing rust. This bottle is food grade for cleaning restaurant equipment, More safe to use. 3, ospho ... The main active ingredient is phosphoric acid, but has more ingredients to create a converter. Modern acids work great, You use the bad boys in the back yard. .... On your truck ospho is the mildest, but it actually works as it should & safe to apply on the vehicle. I think in the last 4 years I have made just about every mistake I can using acids.
-

54 door replacement saga! Any advice for me?
Los_Control replied to Radarsonwheels's topic in Mopar Flathead Truck Forum
Your drawing looks pretty accurate to me. My first thought here is rusted bolts, time to throw some heat at them. It is a pretty thick plate & decent sized bolts. ... If you break one you can drill it out ... just not the end of the world. I really would have to look at mine again, I know I dropped the plate, picked it up with the magnet several times before I finally got it bolted back in place. I know I cleaned mine & greased it .... so I assume it can come out. Realistically is almost impossible to get your head in position to actually see. Everything is done by feel. Just been over a year since I messed with mine. .... My bolts came right out. ..... get a breaker bar & a 3' cheater pipe .... time for them to move. -
Looks fairly decent to work with.
-
-
I replaced the short 18" bar with a 3' piece of 1/2" water pipe. ..... The engine stand is still not stable, I have way more control with the 3' bar when turning it over.
-
-
Difficult to give advice without photos. Just asking what you are starting out with??? .... Anything can be fixed if you are willing to spend the time. Sooo thats the skinny here .... media blasters is not even a option ..... What extra holes do you have? .... I have several also.
-
Sounds correct ... I think some of the chebby like my 1991 is the same with spacers. Was my Jeep with the Dana rear end that I played with .... It had a crush sleeve ..... My chebby has spacers, but it was different how it was setup. I really am looking forward to the future videos @keithb7 will post to see how these old mopars work. I can even share years ago I changed the "Hogs Head" on my 1961 Dodge sweptline. ..... Pull the axles & drop it out. Slap in a different one & install the axles ... Think it took 1 hour. I never disassembled a Hogs Head ... just replaced them. ....... This is not a simple job to rebuild one .... looking forward to see it.
-
I'm looking forward to see how it turns out. ..... The rear ends scare me with all the special tools needed to properly set them up .... maybe our old rear ends not so picky? When I changed the rear pinion seal on a 1972 Jeep CJ5, the torque spec was around 250 ft# I had a co worker we called animal. He jumped at the chance to do the torque. I set the rear wheels on car ramps & parked a company service truck bumper to bumper so the jeep would not move. While Animal torqued the pinion nut. There is also a crush sleeve inside that needs this torque .... Then you need to use the goop to measure how the gears fit left & right ... forward reverse .... just way outside my wheelhouse .... I know Kieth can handle this
-
I was going to just post @Sam Buchanan reply in that thread, as far as re-using the head gasket ..... that could explain why #4 lost compression. There were some head gaskets you could re-use .... My1969 Triumph 650 motorcycle had a copper gasket you could anneal by heating it up to soften the copper & use it again. I do not think your head gasket is meant to use over again .... carry on.
-
Hold off on doing anything with the tank .... there was a recent thread on just this issue & correct thread sizes etc .... There is a exact fit npt size, while some threads will start but still not correct. See if I cant find the thread .... answer is simple, also easy to mess up the threads. That was easy .... Also guess I'm not understanding why not run it as is .... why pull the head to check the valves?
-
Good info there @Bob Riding.... makes a lot of sense also. The way I understand our old rings, they tend to stick to the pistons after sitting for some time. Lowering compression. Modern rings do not seem to do this? So when you run the engine through heat cycles they can release & seal lifting compression .... I was told that the engines really like to run under load & while driving them will really loosen the rings up & seat the valves. ..... Letting it sit & idle helps to a certain point .... driving them really does the trick if any trick will happen. If that is true, then after running & driving, the 100+ cylinders may rise and match the 5-6 cylinders. I still imagine compression will change & probably improve after driving. It has enough compression to run, I would run it then check the compression at a later date again.
-
When 5 & 6 showed 80-85 while the rest were 100+ .... I would suspect a leaking head gasket & 5-6 sharing compression. Re-torquing the head & see a improvement .... might confirm this. Buuuut ..... 135-140??? Thats a lot of compression for these old 6's .... makes me scratch my head and would want to check again. Then #4 lost compression ..... I would be checking at least 3 times wondering if the gauge was accurate and produced same results consistently. Same time it certainly has enough compression to run decent .... maybe run the engine a bit and re-torque the head ... put a few miles on the engine, then check the compression . ....... Just thinking the readings will change again after a few heat cycles and some miles on it. Might wait til then to re-check.
-
Worth the effort in my opinion. The new replacements available are $300 each & fiberglass. My fenders are really hammered, besides dents they have stress cracks & old farmer torch welds, ripped out mounting brackets. I did some work on them already, enough to decide I can save them. Will be a winter project .... they will show plenty of character when finished.
-
I have seen the elevator bolts at Ace hardware .... I will need to replace all of mine though. Maybe a few original survived .... welded on hrmmm ?
-

First try at using a paint gun
Los_Control replied to lostviking's topic in Mopar Flathead Truck Forum
Kind of reminds me of my first time behind a spray gun .... @Plymouthy Adamsset me straight .... My problem was using a enamel paint & thinning it with lacquer thinner which is not compatible with the paint. I have no clue about it myself, just asking you if it is lacquer paint & compatible with lacquer thinner? I'm using a very inexpensive single stage paint from tractor supply. My first go around on some body panels was bumpy, I wanted to call it orange peel but not sure. Switching to a paint thinner or a compatible reducer instead of using lacquer thinner cured it. As others have said above, practice will improve your skills & confidence. I built a 16'x16' garden shed & painted it with same paint from tractor supply, I practiced mixing & spraying the paint. Then later I built the raised bed & sprayed it, I have a 3 bin compost pile & I sprayed that. .... I restored a old wheel barrow & sprayed it. I have been spraying body panels on my truck .... no problems with my mixing or my spraying. I'm 100% confident I will end up with a 20 footer because of poor bodywork, not bad paint techniques. -
I would have no problem changing the wheels assuming they would fit over the brake rotors? I always thought the speed rating was a combo of rubber compound & tread design. For a sports car tire, would have a soft rubber compound that would really grab the pavement & probably a more aggressive tread design for traction. This tire would wear out more quickly, then a harder less aggressive tread tire.
-

I almost lost us an American Classic Yesterday.
Los_Control replied to OUTFXD's topic in P15-D24 Forum
Hrm.... is Jacquiline related to Christine? Glad your safe & the car can be fixed ..... spontaneous combustion is a little strange. -
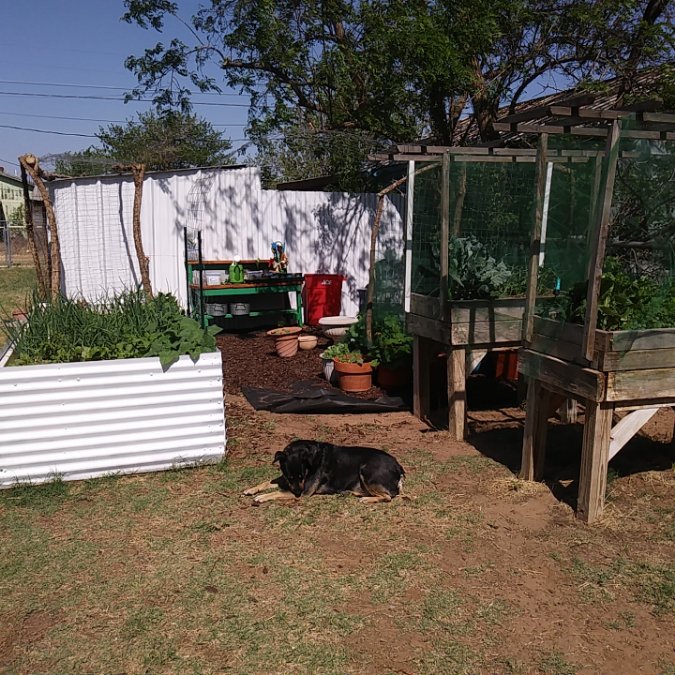
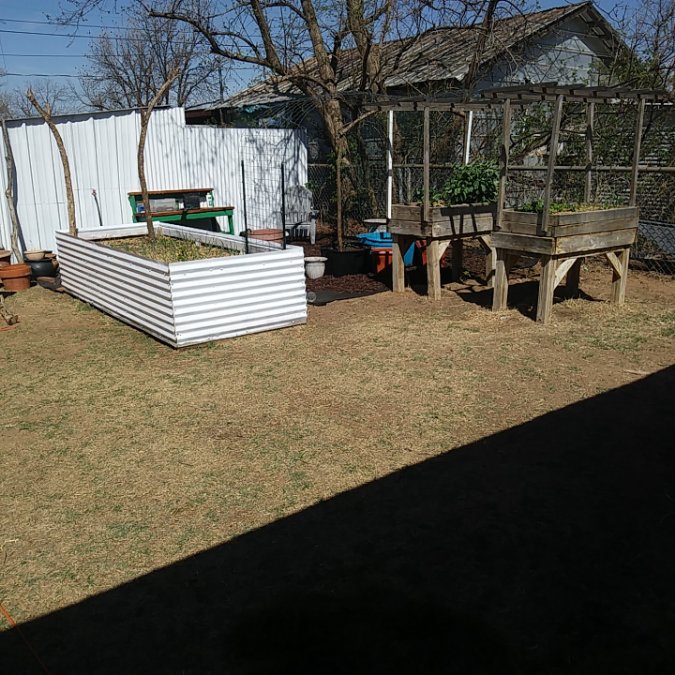
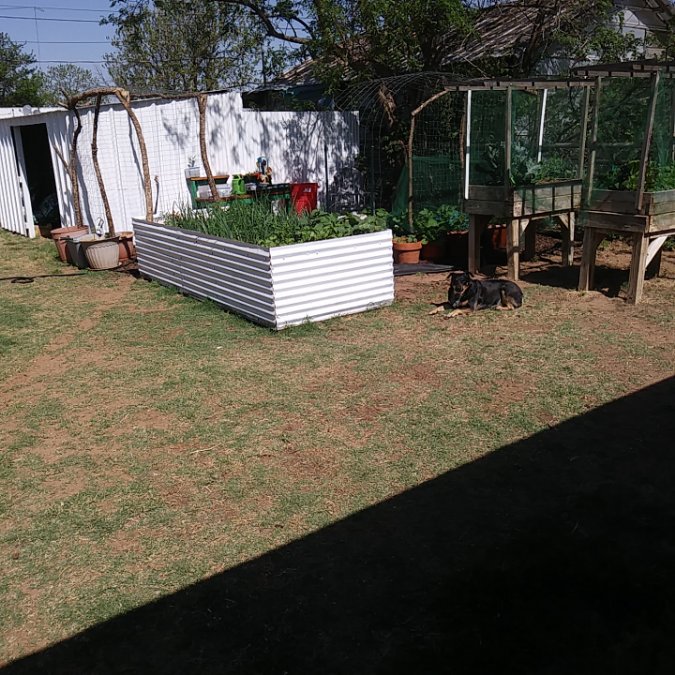
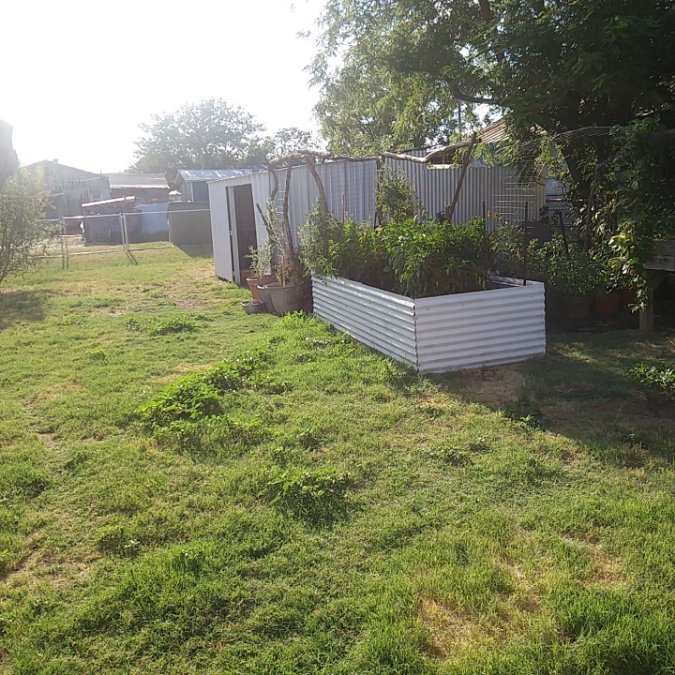
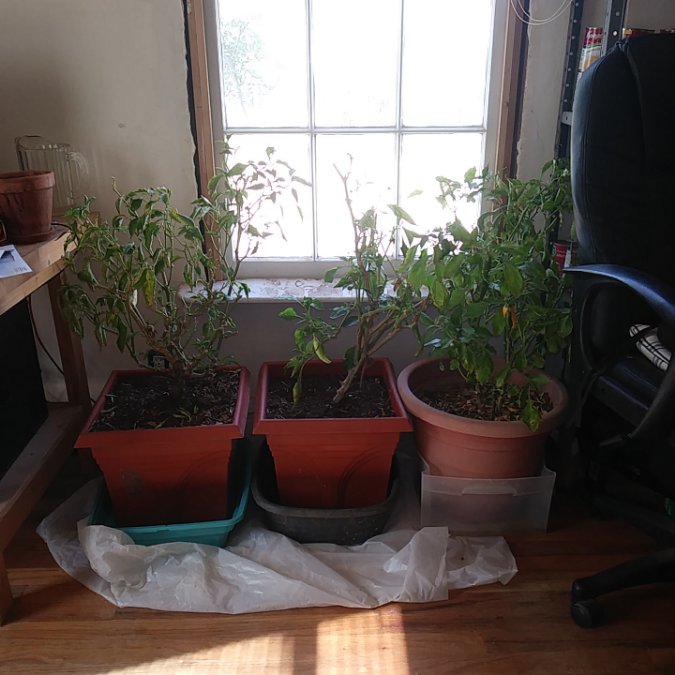
What I see is a blank canvas for a artist to create? I would love to put some of a garden in the ground like corn, it takes a lot of space. I would add fruit trees I hope to add a few this year. I still prefer boxes where I can. My back just cant handle bending over for planting or weeding, maintenance etc... For working a garden in the ground. This 4'x12' is really a nice size. Very cheap to build. 1/4 of it is filled with logs & branches, then topsoil from a local dirt supplier, then 6"-8" of store bought bags of garden soil on top. The garden soil is mixed with compost and cow manure. I bury eggs, coffee grounds .... when I plant I buy a dozen cans of sardines from the dollar store & bury the fish. I'm constantly working on improving the soil. You can do the same in the ground, for me a container is easier. Also you can create a hoop house simply by adding rebar with 18" sticking out of the soil, A 10' stick of 1/2" pvc pipe slid over the rebar bend it over to the other side & slide that end onto the rebar. You have a nice "hoop" truss to hang plastic over, creating a unheated green house for the chilly winter months. You can remove in the summer or hang bird netting on it for critter protection. The netting also provides shade in the heat of the summer. ..... Just saying that containers have a lot of advantages. I want to build at least 2 more. Covering the ground with weed barrier & beauty bark .... adding some bushes & flowers in the ground to attract bees. Couple chairs & a table in the shade under the tree. This is what I mean by a blank canvas & you are the artist creating something over time The photo above is late January or early February where I planted my onions. Fall time is when you plant garlic. The garlic will come up early spring & should be ready same time as onions. The wooden boxes would be spinach, lettuce, broccoli, beets that I planted in September & been cutting salads off of through the winter. This would be early spring around May with the leafs appearing on the tree, grass starting to turn green from dormancy. The garlic & onions are almost ready to harvest. I have tomato & peppers started in the bed. The wooden box on the left the salad plants are going to seed. I emptied the box and did a fresh spring salad planting. When it gets too hot for salads I then planted the box with peppers .... I cycled 3 different crops in 1 year in that box. I cycled the box on the right 2 times ..... The large box is cycled 2 times & getting ready this month for 3rd this year. So thats my tip ..... Containers are more work to create, easier & more productive to maintain as we get older. This photo I was just showing how crappy my yard is .... I physically can not bend over & pull weeds, taking care of the boxes is easy and fun .... I look at a garden in the ground .... thats work for me. This photo I took today, in my office or "spare room" I have picked the best 3 plants from the season to keep over winter. The one on the left is on it's 2nd winter indoors, best pepper producer ever. .... It is a year around hobby. You keep it fun, enjoy the fruits of your harvest .... You can teach your son A great skill of survival. My Father had a 1/4 acre garden in the ground when I was young. My older brother was forced to work it & weed it ... I was too young. I just sat in it & played ..... My older brother hates gardens & will not participate in one .... He is 70 years old now ....talk gardens to him & his responce is F that!
-
I will throw in a pitch for simple green all purpose cleaner. We will need to use scrapers, picks, screw drivers to dig out the large tough areas. Some areas we might want to use some sort of brake cleaner spray .... some gasoline or paint thinner. Then use the simple green to finish it all off. Seems @sniper is on target today and beat me to it
-
That is a tough one ... 1 extra quart in my 49 dodge .... probably not worth the effort to drain it out. Probably leak it or burn it with a trip to town. A 6 year old vehicle with a boxer engine what would happen with a extra quart of oil? I'm not sure I'm brave enough to find out. Could be nothing, could be something ...... I would correct it just as quickly as possible. They hold the usual 5.1 quart oil capacity. How deep is the pan? Typically new vehicles make them as slim or small as possible. While I do not know the correct answer ...... weighing risk & reward over such a trivial item as a oil change is not worth it. If the owner is not physically wanting to change the oil, then take it to someone who will.
-
Good point on the engines cylinder location. I worked with a guy once who rented a car for a weekend trip about 300 miles away. Turns out the rental agency did a oil change without draining the oil ..... the kid just added the fresh oil on top of old. They drove about 100 miles & the engine blew up. ... 5 extra quarts is a lot of oil. But the side mounted cylinders in the suburoo ??? .... I would want to drain it out or only drive it straight to a oil change facility & correct it.
-
My advise would be to take them to a proper Tire shop that deals with truck tires. .... A Truck stop on the freeway off ramp. Your wheels look fine in your picture .... they need to be inspected by a professional when swapping tires. .... A pro would not put together a damaged, bent, rusted unsafe wheel. It could cost them their life. The clowns that attempted to install tires .... seems obvious they had no experience with split rims.... simply is not a big deal. I think getting tires installed on your wheels will be the quickest, fastest way out .... A future wheel swap is ok but probably not quick.
-
I compare the re-torque .... Like wiping 3 times to find you only needed to wipe twice. Something that needs to be done til you are confident you're finished.

