-
Posts
9,999 -
Joined
-
Last visited
-
Days Won
180
Content Type
Links Directory
Profiles
Articles
Forums
Downloads
Store
Gallery
Blogs
Events
Everything posted by Dodgeb4ya
-
I rebuilt my 265 in my 52 pu back in the early 70's.Not the first flat head I've ever built. I remember and some where have the assembled specs..rods where between .0015" and .002". 60,000 miles since and still runs well and no issues. I have never had rod bearings under .001'. Mains have always been .0018 or so up to .0025". Have done many MoPar flatheads over the years. I really wouldn't want those super tight bearing clearances on any of my flatheads. Newer cars ...maybe just the way it should be. JMO.
-
There are three variations of controls on the M-4 Vacamatic. The diaphram type is the early version. Controls on these M-4's sadly are not the same as the later M-5 1946-48 transmissions. To explain/understand the Vacamatics a 1941-48 Chrysler factory shop manual explains them well and has the wiring diagrams.
-
Don't forget when towing anytime the driveline is turning it is turning the transmission output shaft. That in turn is turning the transmission oil pump in the M-5 transmission which with the ignition turned off allows oil pressure to build up. Causing the direct speed blocker ring and sleeve to attempt to do a direct speed upshift. Though because the trans is left in nuetral no shifting happens. I still would pull the drive shaft on a long high speed tow.
-
I also had to replace that same motor mount bracket because of serious cracking. I've owned the truck since 1973 and it's never been wrecked or abused. Those brackets are kinda wimpy for being "Job-Rated"?
-
The mercury switch itself is probably the cause of the light at times not coming on... This as long as there is a good ground and clean 6V feed connection as already mentioned. Old car mercury switches.. even NOS can be very troublesome.
-
Is it a new steel brake line and nut? A new hand flared line? Maybe the steel line nut is not tight enough or the tube flare to w/cyl is not seated correctly and leaking. I have seen several new offshore wheel cylinders leak becsuse of poor quality machine work.
-
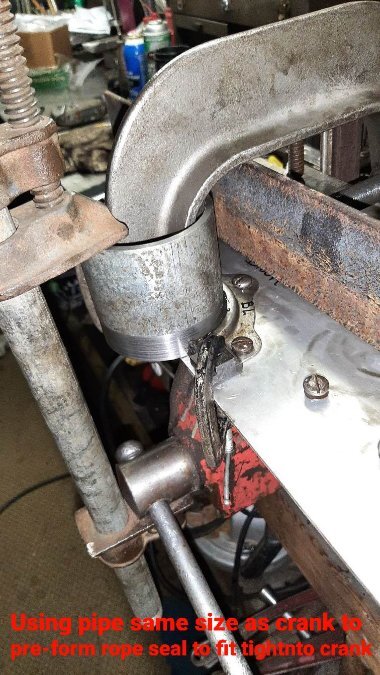
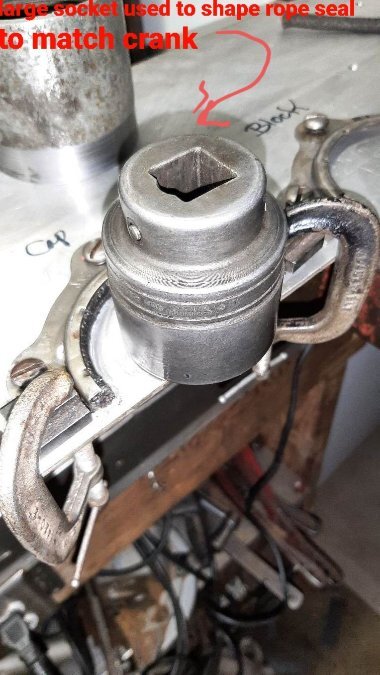
If you have the upper and lower three bolt seal retainer plates sad to say you need to remove them to properly install the rope seals into upper/lower seal retainer plates out of the car. Then you have to work the newly installed rolled and shaped rope/retainer upper/lower plates to fit the crankshaft. Not at all easy to do with the engine in the car as the upper plstes three bolts have poor access. The rope needs to be packed firmly into the seal retainer plates and also have full 100% contact to the crankshaft journal for minimal leakage. Both seal plates need to press the oiled rope seals firmly against the crankshaft to seal. Also the ends of the seals need to be cut accurately flat and up maybe .010" to .015" above the block and cap mating surfaces. Tough to do in the car. I use a .002" narrowed feeler gauge to see if it will slide under the installed rope seals. It should not go in between the rope seal and crankshaft anywhere. Like I say...a very tough job in the car for a leak free rear main seal repair.
-
That is a special fitting...it's going to be tough to find..looks like it just spaces out the brake line from the wheel cylinder. Maybe th bolt isn't tight enough. possibly the copper O- rings are just too hard and not sealing. Annesling them softens them up. Or worst case the bolt was too tight and damaged, cracked crushed or split the fitting. Part #1192064 .....3-4 ton trucks only.
-

12th Annual "International Work on Your Truck Day".....
Dodgeb4ya replied to 48Dodger's topic in Mopar Flathead Truck Forum
At least I get lots of physical exercise and dream up new swear words? -

12th Annual "International Work on Your Truck Day".....
Dodgeb4ya replied to 48Dodger's topic in Mopar Flathead Truck Forum
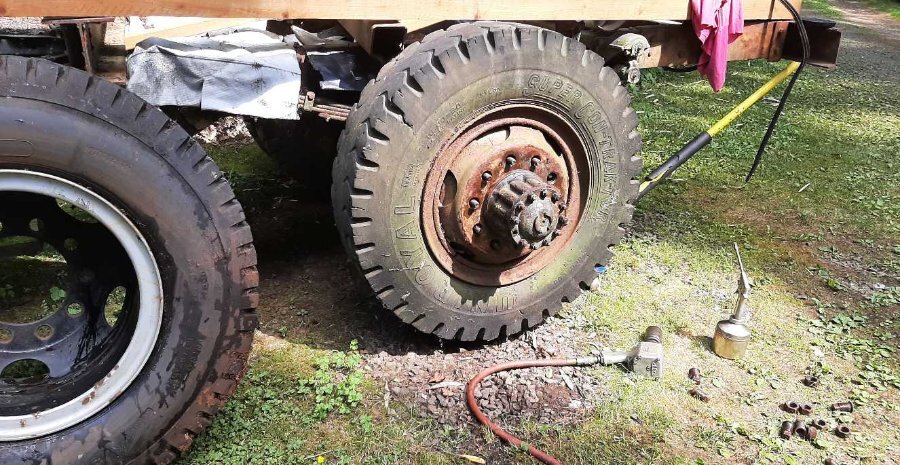
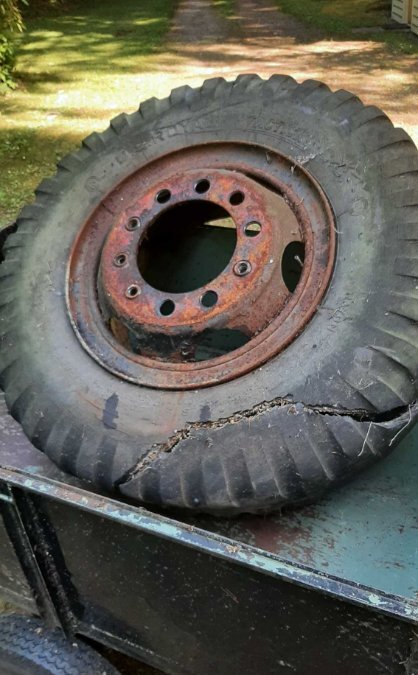
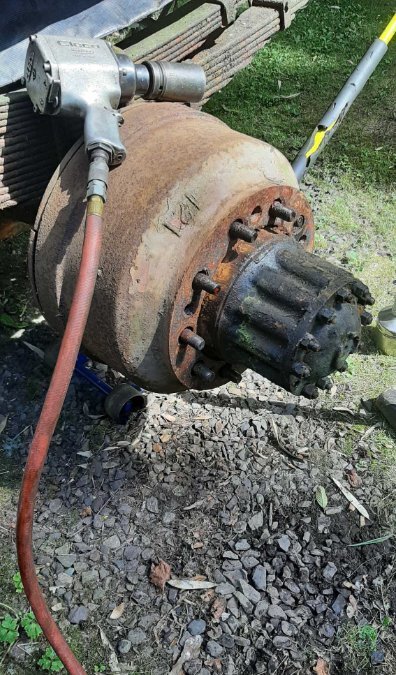
Replaced a tire that blew up during a 108 degree heat wave and checked the brakes on old Yeller... Of course a couple bolt and nuts came off as a pair creating more work.. -
I can't imagine having vacuum pulling the button up...definitely not normal. The button kinda slightly snaps/clicks into position normally. I wonder if the vacuum plumbing or valve has been added to or modified in anyway...
-
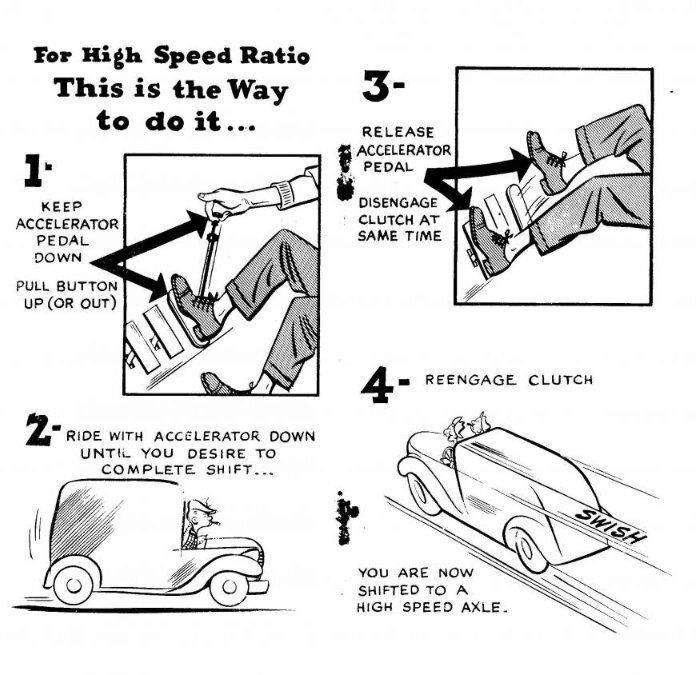
As Greg ^^^ says exactly about the Shift Rite knob... Soft controllable part or full throttle downshifts. Instead of harsh full throttle downshifts. Also you can control when at your liking when you want an upshift to happen. Either in low or high range. Shift it smooth and easy like a four speed if you want...run it thru the gears. Gear ratio spacing is perfect when doing this four speed shifting when fast acceleration is wanted...once you learn the procedure.
-
That's funny about your dad trying to make sure you better keep the shifting process quiet. Yes....have him show you how good he is!? Normally the shift cable button has a bit of resistance to move it up and down...not a lot/not too little. Total normal travel of the button up/down is about a inch+/-.... Did you lube it up a lot? Is it routed/looped gently, not against the header pipes?
-
As for the two speed rear axle unwanted shifting into high... It should haveba red pull up/push down knob on the shifter....cable operated. Later Dodge in 56 went to 12 volt electric moter shifyer two speeds. On your red button /knob type that knob cannot move upward with out you pulling it up and only then will make the rear axle upshift. For the rear axle to upshift vacuum needs to be sent to that round diaphran on the rear axle...only then will the axle upshift. With no vacuum to the rear axle it will always stay in low range. A large strong spring holds the rear end in low range until vacuum is applied to the rubber diaphram...then the axle shifts to high range. Have never heard of a B-series vacuum style axle having uncontrolled upshifting.
-
Do you have any old timers who drove truck who could show you floating the gears or double clutch shifting? There are a bunch of video's and info online on these non syncro truck transmissions and how to shift them. It would be nice if you could get someone to drive it with you and demonstrate shifting up and down. As for the fuel bowls....my same engine dual carbs trucks all act the same way. I Just rebuilt the fuel pump on Big Red just to have a modern fuel pump diaphram. It didn't change the 4-3/4 lb. fuel pump pressure, the vacuum or flow from the old pump. The fuel bowls still might be half full or full at times running or not. It doesn't affect engine performance at all on any of them. I wouldn't worry about it as long as it runs good.
-
Great job on look and installation job. Don't know about that brand name though!?
-
The relay fuse holder can cause oltage problems...corrosion down at the lower contact metal tab. Inside contacts are easy to service too.
-

Parked 36 Years Ago. 1937 Desoto Coupe Re-discovered
Dodgeb4ya replied to keithb7's topic in P15-D24 Forum
I think you will own it. -
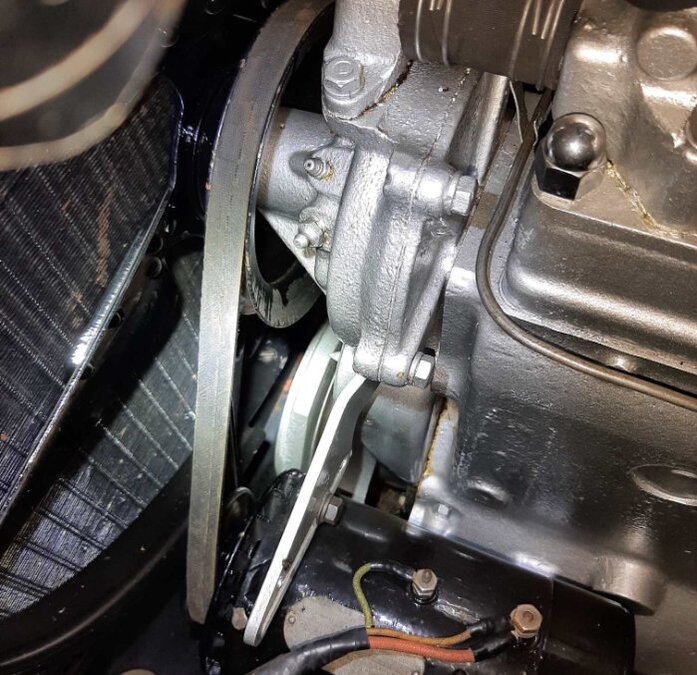
The 1946-50 Chrysler eight belt is the same size as all 1946-50 Ply/Dodge/DeSoto cars also using the wide belt.
-
1946-48 Chrysler eights are really tight doing a water pump or belt job. You need to remove the fan shroud for belt replacement...possibly the fan too. Cannot remember on the fan. There are three fan shroud screws on the inside edge of the shroud. This is not a fun job! Many times those shrouds are removed and never replaced....wonder why. You need it though for better cooling required on the straight eights.
-
Not going to be easy yo find short and long lining shoes. Most all relined shoe linings are all long same length.
-
-
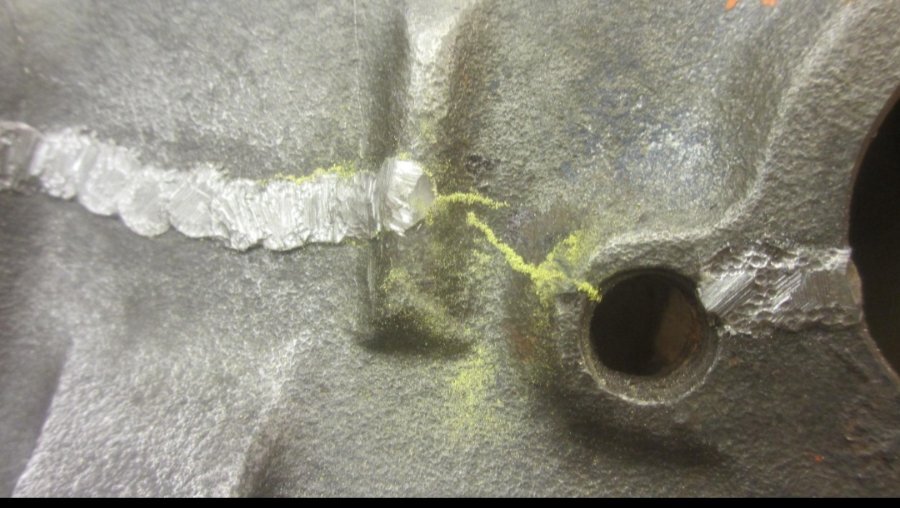
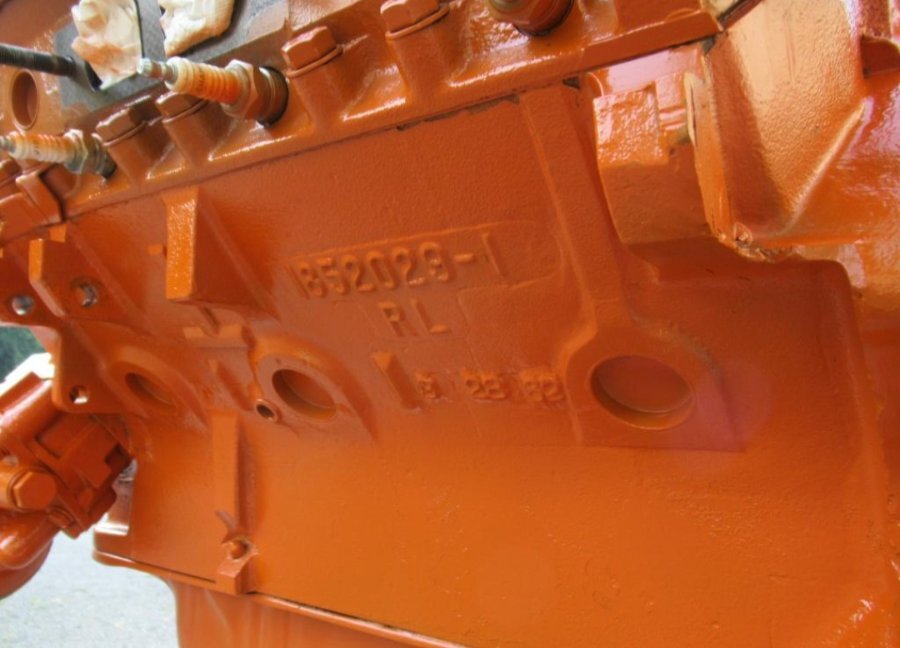
I like "LOCK-N-STITCH" .http://www.locknstitch.com/index.html Expensive but always will do the job 100% by a competent person. I had a 413 MaxWedge job..the block was cracked down both sides I had to save all casting ribs and raised letters/numbers matching #'s car and engine. Grind down and hide the repaired areas. L&S uses a reverse thread design and special thread tooling that pulls the crack tightly together. Most any accessable areas can be pinned. Older systems used tapered threaded pins...these could slightly expand and stress the repaired crack if not done right.
- 181 replies
-
- engine running
- engine rebuild
-
(and 1 more)
Tagged with:
-
Get one of these "Shift-Rite" down shift knobs. You have complete control of when the M-5/M-6 transmission upshifts or downshifts. You can also take off and accelerate and shift smoothly thru all four gears ..just like the old BW T-10 days!?
-
Yeah.. That front motor mount plate/timing cover has the one bolt and nut that needs to be removed for easier front of pan installation. I learned of this pan install tip from a old Chrysler Dealer mechanic back in the early 70's. Yes...never cut off those front/rear cork gaskets. Let them stick up with the side pan gaskets laying over the top of the cork gasket ends.


