-
Posts
3,466 -
Joined
-
Last visited
-
Days Won
193
Content Type
Links Directory
Profiles
Articles
Forums
Downloads
Store
Gallery
Blogs
Events
Everything posted by keithb7
-
Glad it helped you @OUTFXD. Re MoparPro: “Never” is not quite long enough. That guy…If I ever meet him at a show like Hershey, I’ll be known among the Mopar community for alot more than my silly little YT channel.
-
This should help you::
-
Every one of us here knew nothing at some point. We just put in the time doing, reading, and thinking about our car problems. You're doing just fine. Even though you found the disconnected wire at the hi/low beam switch, you definitely need to fix up that yellow cloth covered wire at the head light switch. It will get worse, corrode, get hot and eventually cook the phenolic board in the the light switch. As seen in my example: https://youtu.be/w79Khf2f0eM
-
Looking great. You are well on your way! A most fortunate find. Won’t hurt to put some MM oil on top of the piston and work them up and down by hand turning the crank. Lube up that top end a bit. Set tappet clearances.
-
Wouldn’t hurt to set a multimeter to continuity check. A Long test lead wire too, to various positions along the path to the headlights. Thru hi/low dimmer switch as well.
-
-
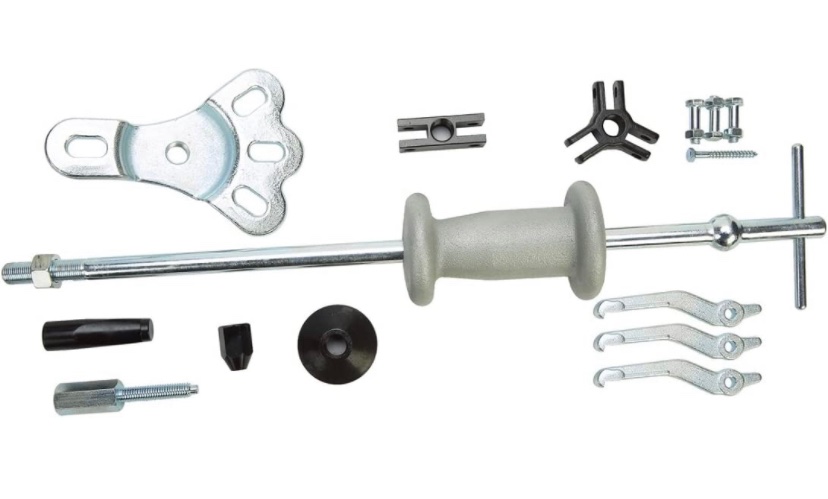
I used a slide hammer. Good tool to own!
-
Yes. That’s where to plumb it in.
-
A fuel pressure/vacuum gauge is cheap and will tell the story. Hook it up. If needed tape it to the windshield and go for a drive. Won’t say I’ve never done that. ?
-
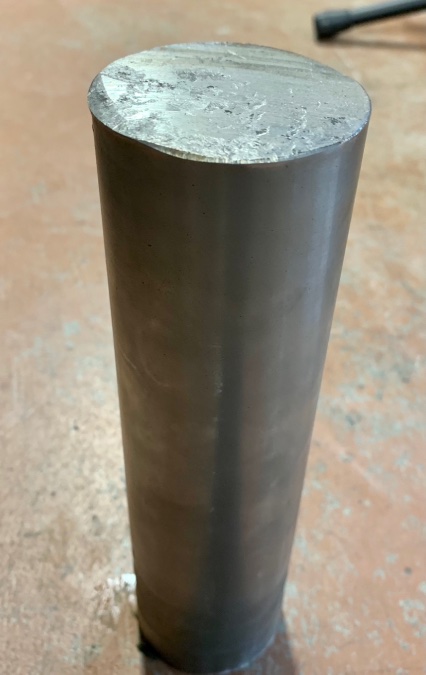
My inner seal driver. I found a piece in the scrap metal bin at work. It worked great. I should get my buddy to turn down the middle section on his lathe. For a hand-hold. Remove some weight too. Its pretty heavy. Nobody will steal it though. And best of all it was cheap!
-
-
Sorry about the video quality but shows how I did it:
-
Pull brake backing plate. Collect shims or re-installation. If you're in that far, you should do the inner seal as well. It's all pretty easy.
-
Absolutely. When I think about rebuilding my engine: The amount of time, skill, patience, money, tools, shop space, and more adds up to a lot. It is too much of a risk to not take the pan off the engine and prep it right. A hard lesson to learn if things go sour at start up. Especially a 265 which many of us covet.
-
I’d get an engine stand. Roll it over. Take off the pan. Have a look. Any rust from condensation? Remove oil pump. Pack it with 105 engine grease. If there is cylinder wall rust, I’d consider a hone. Lube up rings and reinstall. Add assembly engine bearing lube to all bearings. Cam lobes and tappets. Lube up front and rear seals before cranking it over. Reinstall oil pan. Fresh engine oil. Tie-in an oil pressure gauge. Monitor pressure while cranking it over. As per my start up video. Once you have oil pressure give ‘er and start it up. Thats just what I’d do. The oil that they used to assemble that engine is gone. Or completely deteriorated. An ill prepared start could do a lot of damage to it.
-
To the original author: There is a formula to calculate your new displacement. Take your stock bore and add 0,040 to it. Google search the formula and work it out. There won’t be much HP gain. Maybe a very small amount. If you eat a big buffet dinner the car with a 0.040 over engine will accelerate about the same as stock. Lol.
-
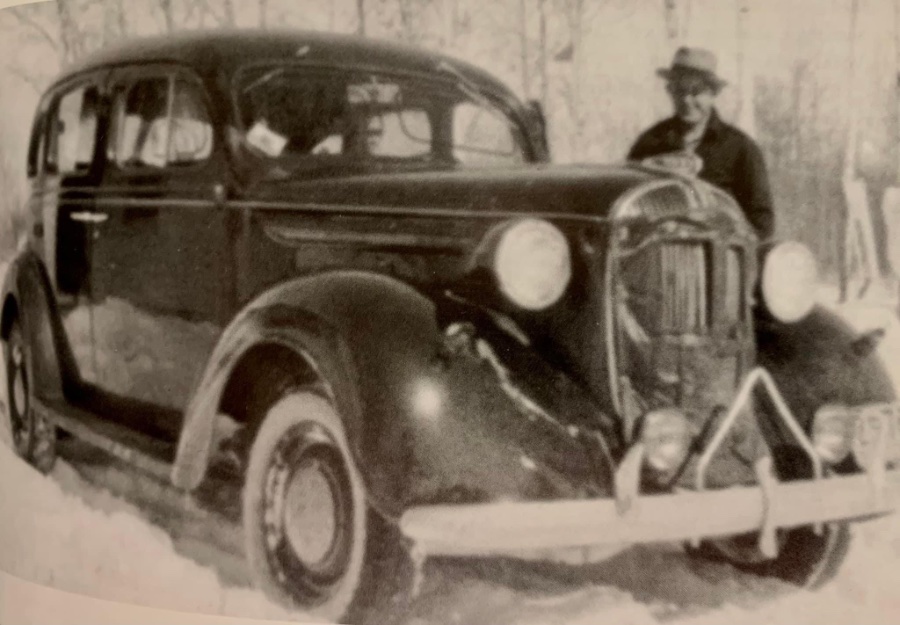
I think that photo was taken in Australia. It got mixed in with the Winnipeg photos. Here’s the actual Winnipeg photo.
-
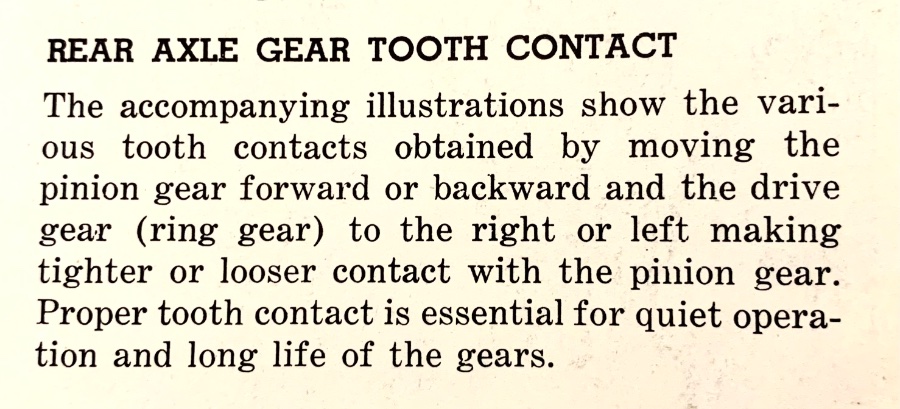
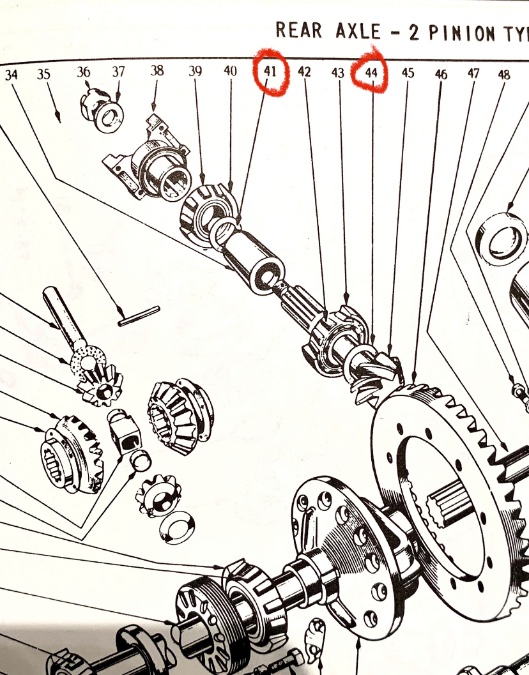
I dug into my manual a bit more. Both adjustments may be required to set up backlash and proper tooth contact. The carrier adjusters move the crown gear side to side. The pinion shims move thd pinion fore and aft. It is likely when one adjustment is made, the other will require a tweak as well. Some verbiage in my manual:
-
Ken, Please tell us more. I’m always learning! The shims above are for bearing preload only? Thanks.
-
Back lash between your crown and pinion is Expected and required. You can slip out your 3rd member assembly. Using a dial indicator you measure your current backlash. Backlash between the crown and pinion is adjusted by moving the pinion forward or back in its mounting position. You can insert or remove shims to get it set to within spec. How thick of shims do you need to add? Depends what you measure for your current lash. For example spec may be. 0.006” to 0.010”. You measure and record 0.018”. You need to insert a .0010 shim. You can cut your own. Shims. You may also be able match some up with a shim you remove from the pinion. Some NOS pinion shim numbers include: .010 688739 .0125 303856 .014 303857 .016 1403719 .018 688741 There are other area to check too, to ensure its not something else that needs adjustment. A list is provided in my ‘38 Service Manual.
-
Remove air filter. With a flashlight Look down carb. Engine off Cycle throttle linkage open a couple times. Do you see a raw stream of gas being injected into the carb? If not pull top off carb bowl. Remove accelerator pump. Re-stretch stretch spring? Is leather cup hard and crusty? Is accelerator pump linkage hooked up to throttle linkage properly? This may help add depth and illustrate the issue:
-
1,000 miles on my Plymouth this year. Just the 1 break down. Sort of. Newly rebuilt engine, test run. Block expansion plug fell out, on the hi-way. I was able to tap it back in on the side of the road. I drove it away, until a later time when I scheduled the repair. 2 cars, thousands of miles of trouble free driving. When something happens and the car goes down, so far every time, I have been able to address it and drive away. Lucky? Maybe. One time, I swapped fuel lines from stock mechanical pump to a 6V electric pump. Roadside. The pump's fulcrum arm pin fell out. I smiled when I won that one and drove away. A multi-tool in your glove box goes a long ways in these old vehicles. I enjoy the car's simple systems and design. Encouraging me to drive it more, and further with confidence.
-
I’ve had a good experience breaking in new shoes. No arcing. No sanding. When you decide its time to install new shoes, for example install just a front or rear set. Not all 4 corners at once. Say you do just the fronts. Install the shoes and set them up best you can. Get them concentric. Get them set so you can just barey slide the drum on. Get very close contact at minor cams. Ensure you have some slight drag there. You’ll have crappy pedal feel as the shoe lining does not contact the drums evenly yet. Drive down a steep hill a couple times. Give it a few good shots of the brake pedal. Later, Re-adjust the front minors. Pedal will improve. Go for a couple more drives. Down a hill or two. Steeper and longer is better. Exercise some good braking. Go home and re-adjust the front minors again. Pedal height will now be firm and high. Shoes are now arc’d and concentric and will feel great. Like new. The reason I don’t suggest doing all 4 at once like this is for safety. Do 1 axle only. Once the new shoes are all set up and you have a good firm high pedal, then proceed to do the other axle. You don’t want to be driving down steep, long hills with 4 new poorly arc’d sets of shoes. You can set minors in literally minutes. A hydraulic floor jack and 1 wrench are all that is required. If this seems like too much trouble, for me it is free, educational, and rewarding. I have tons of time and patience . Almost endless. Money…Well that’s a different story.
-
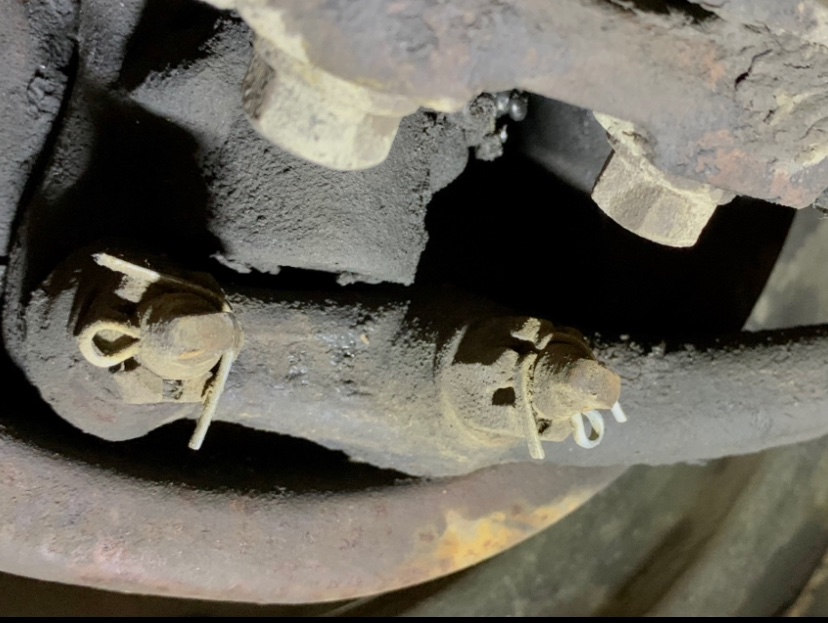
In 1938 in Canada the stock adjustment cams could be tweaked without removing the drum. The bolts have ends designed for pliers or a wrench. @capt den I’ll send you a direct message through this site. Soon. Keith


