-
Posts
3,468 -
Joined
-
Last visited
-
Days Won
193
Content Type
Links Directory
Profiles
Articles
Forums
Downloads
Store
Gallery
Blogs
Events
Everything posted by keithb7
-
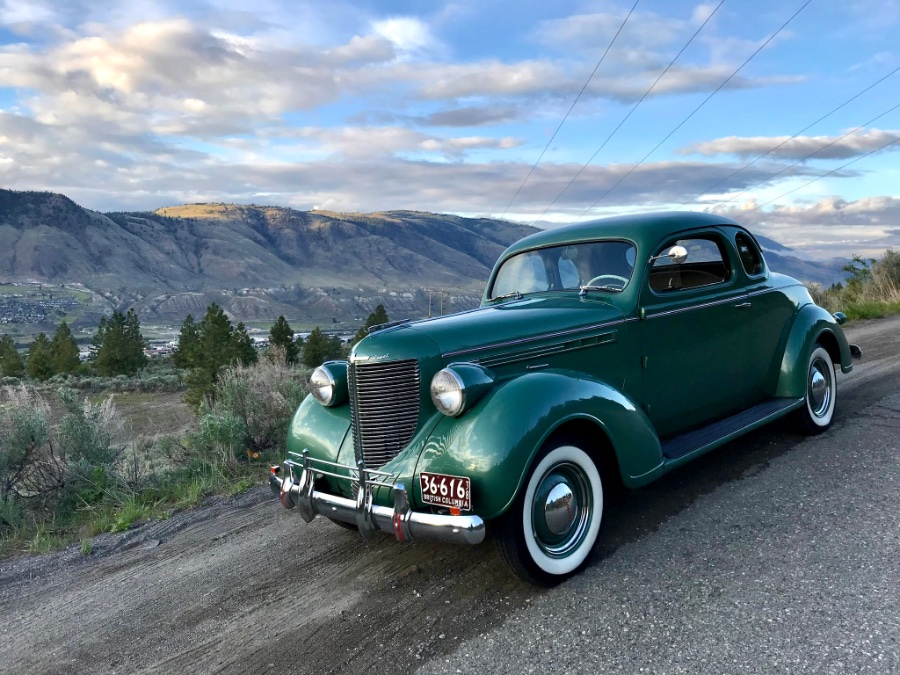
Had my Chrysler out last night for a cruise with Mrs. We went to Costco. Indeed we had conversations with strangers about it. “Is that an 8 cylinder?” “I’ll guess 1936”, another said. I educated the Ford and Chevy fans on the fine Chrysler engineering of the day. They backed off the dial a bit when I brought up full pressure oil system with oil filter. ? We came home on the 4 lane hiway. I pushed in the cruise control knob and floated home at about 55 mph. What a pleasure to drive.
-

How long does a rebuilt flathead engine smoke out the tailpipe?
keithb7 replied to MarcDeSoto's topic in P15-D24 Forum
I never noticed any smoke at all right from initial start up after I rebuilt my engine. At this point in the video link below I had less than 3 mins operating time on the new engine rebuild. What you see here is condensation from a cold exhaust system. It very quickly disappeared into the air. Smoke lingers and has a blue hue. Are you seeing smoke or moisture? https://youtu.be/7y6MCwyD4aQ?t=988 My oil control rings seemed to need no break-in time. They appear to have scraped the cylinder walls clean right from the get-go. -
I’m not convinced a steel rim that was designed for bias tires is safe for use with a modern tubeless radial tire. I feel safer with a tube in there, behind the radial when used on an older rim. Tires that bulge and flex, absorb bumps, (radials) I think are transferring different loads and stresses to the rim. A rim designed for bis tires may be compromised over time with a radial tire on it? Wondering here, not sure on the facts.
-
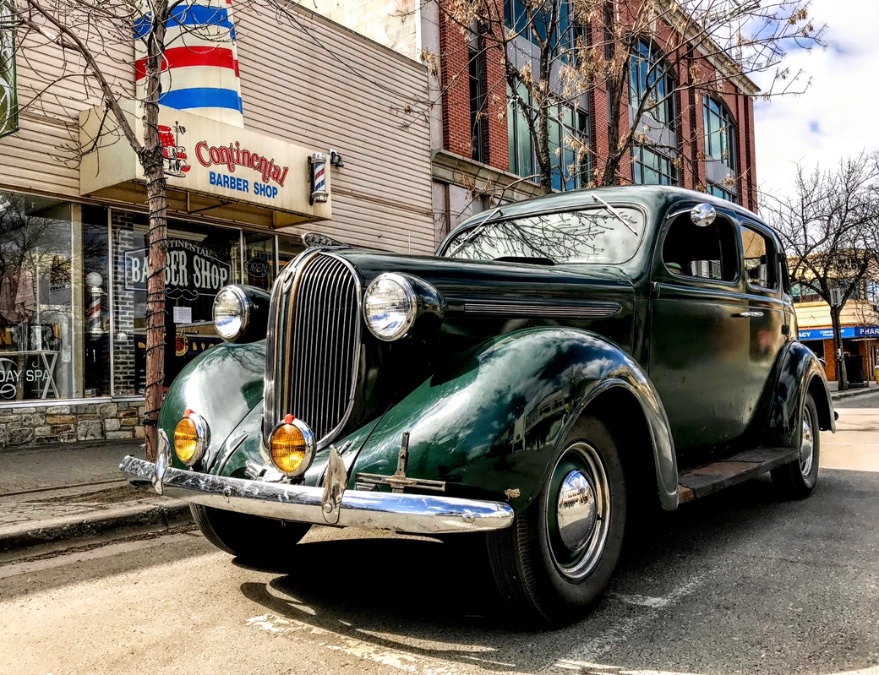
My personal thoughts on whitewall or black wall tires: In 1938 the Chrysler was a fairly premium model. People who were pretty well-off was likely the target buyer. The bank manager might be an example. I like to think they would probably be more inclined to pay a premium for whitewalls. The Plymouth was the low price entry level model in the Mopar line up. The shoe salesman might have been more likely to buy one. Less bling. Fewer features. I tend to believe they would be less likely to pay extra for whitewall tires. This is why I have equipped my cars as such.
-
She's been well loved for sure. Ownership, care and maintenance is a major factor. Lots of people across the past 100 years have, and still do ,treat their car as just another tool. They'll defer costs and drive the wheels off it. Any hint of downtime, go get a new one. Many just do the bare minimum until something starts acting up. Preventative maintenance is unknown to many. I like the saying that many people treat their cars just like their fridge. You just buy one and use it until it breaks. Then buy another. In many instances its as true today as it ever was.
-
One of my ‘38 cars has bias. They are brand new Cokers that I ordered. My other ‘38 car has white wall radials. Bias size and look, but radials. I don’t notice the difference any more. I must have just gotten used to the way each car handles. I too like the original driving experience of bias. Its fun. No complaints.
-
It could throw off your valve timing. Is your engine running rough after you set the valves?
-
I bought my ultrasonic cleaner based on the plan if I rebuild a carb once it’ll pay for itself. It worked awesome. I did my ‘38 Chrysler carb. Excellent results. Then my lawn mower carb. Its as good as new now too. Then a hydraulic block. Some head bolts. Thermostat housing. On and on. It will get used many times. It’s earned its keep. Now it just keeps saving me money and time. I have been adding 1 cup of Spray-Nine. Then fill the rest with water. Works great. Mine is the 15L size.
-
I like The Carb Doctor. I’ve bought a couple carb kits there. No issues. My advice is, if you are going to attempt to rebuild a carb, you should acquire an ultrasonic cleaner. They work amazing.
-
You can see the contacts here in this video: https://youtu.be/xtCwHurDRgU
-
Miles on engine since last rebuild? Oi pressure? Main and rod plasti-gauge clearances? Cut open filter to inspect for possible material? Take an oil sample, send it in for analysis? Pull 1 spark plug at a time to determine if rod or piston pin knock at which cylinder. Current measured compression of all cylinders?
-
There is a guy near the airport in Kelowna. Does excellent work. He re-lined my hand brake. Make sure he adds a shim as new brake material is not the same thickness. He'll get it right. He knows this. Address: 4560 Black Rd, Kelowna, BC V1X 7V6 Areas served: Kelowna Hours: Closed ⋅ Opens 8 a.m. Mon Phone: (250) 765-7735 Province: British Columbia
-
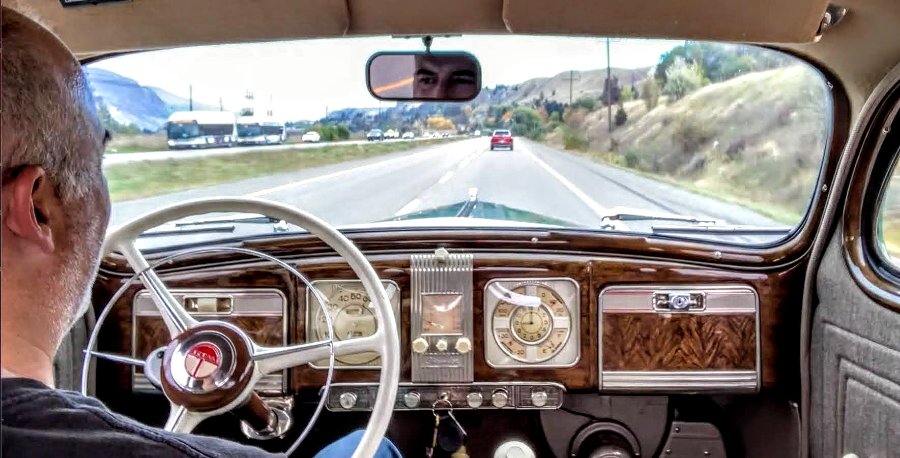
Indeed my old Mopars are therapy cars. I get as much enjoyment from driving them as I do repairing and maintaining them. Its rewarding and somehow fulfilling to keep these old cars in tip-top shape, driving them regularly. The world is a happy, trouble free place when cruising around in an old car at 25 mph. You see the sights and the enjoy the smells. Like seeing the world through rose-colored glasses. I really like Sunday morning summer cruises at 6am. Before it gets hot. Head out, grab a drive-through coffee and cruise. Stop maybe for a photo op or shoot a little You Tube footage. Maybe Friday after work, get some take out food. Head to the park overlooking the river with Momma. Eat in the car, enjoy the sights. While the sun sets. Its hard to beat. I am in my happy place in and around my old cars. I am fulfilled.
-
My ‘38 Chrysler, I can feel a little king pin wear. I’ve never performed this work, yet I suspect I will be in there at some point. I’m seeing the effects on my tire wear pattern. Front end up on stands, I pump the king pins up with grease and notice the play is gone. Go for a short drive its back to the way it was.
-
Excellent work and thread. Congratulations. Thank you for sharing.
-
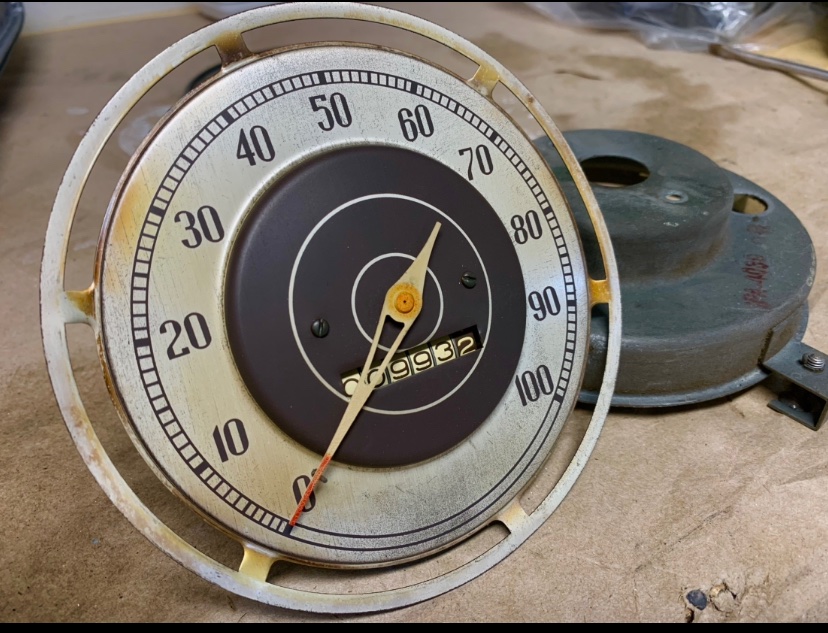
After a road test…Smooth! The needle is working better than ever. No jumping around anymore between 5-20 mph. Steady-eddy now. Happy with the results.
-
No I used an aerosol spray lube on the cable. Pulled inner drive cable right out. Sprayed adequate lube down cable hole. Also sprayed some on the cable itself when I fed it back down the hole.
-
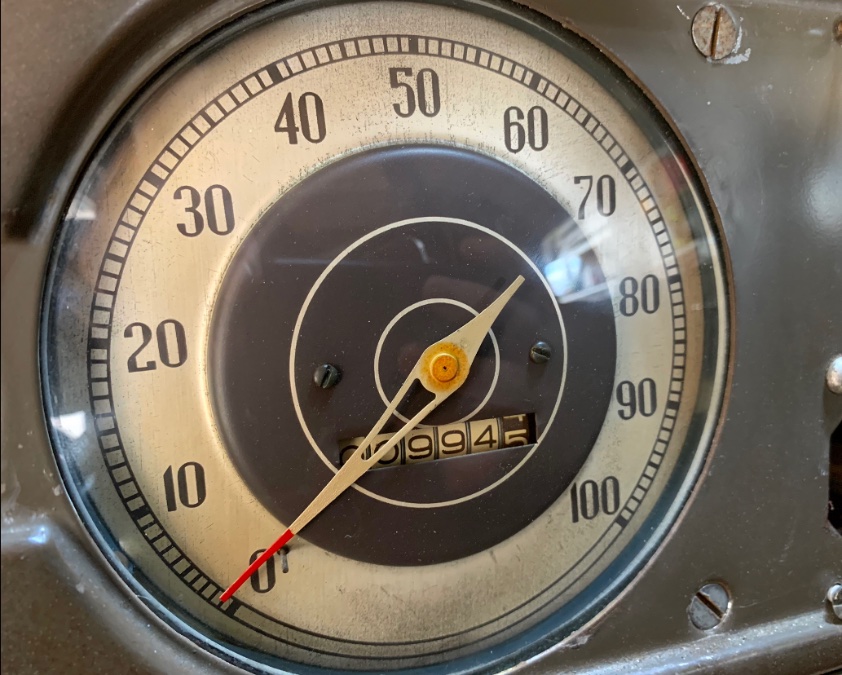
Thought I’d follow up. I oiled up areas of the speedo mechanism that I could reach. I used 3in1 oil. I removed the glass. Cleaned it up inside. Painted the tip of the needle red again. I spun it up on the drill. Seemed good. I pulled the cable, lubed it up again. Reassembled all and lifted the rear wheels. I took it up to 40 mph in top gear. No noise. It looks better. All seems good. Off we go, cruising again soon.
-
I pulled speedo cable out 2x. Pulled out inner drive cable. Cleaned and lubed it. No improvement. I’ll try some 3 in 1 oil on the speedo parts. Thx.
-
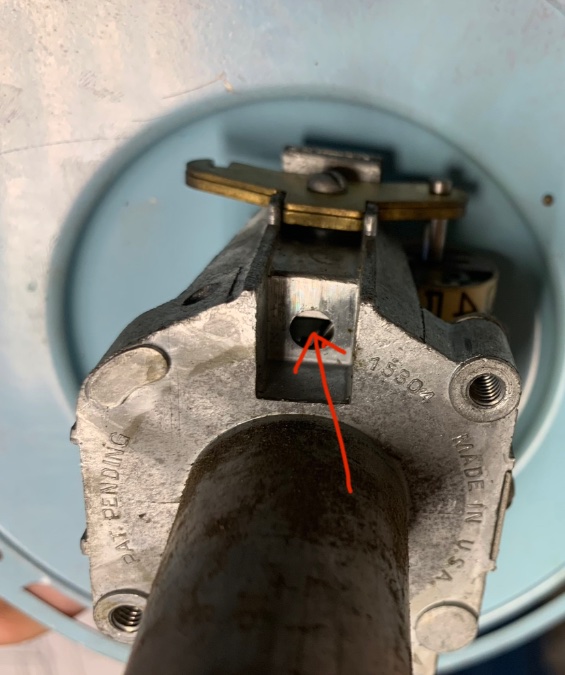
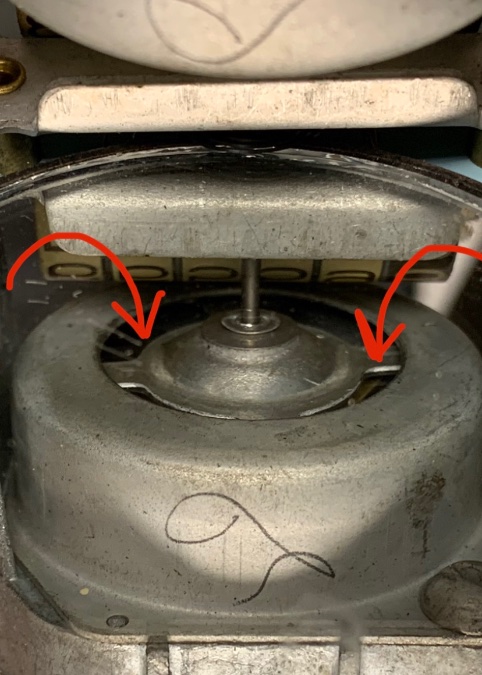
Upon closer inspection this might be a lube hole. I have no experience with these. Suggestions of a lubricant? Thx.
-
-
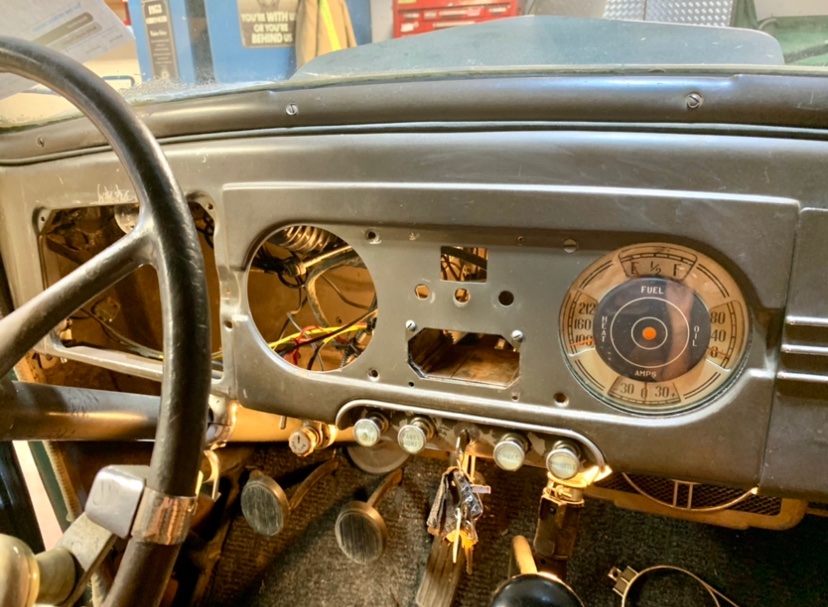
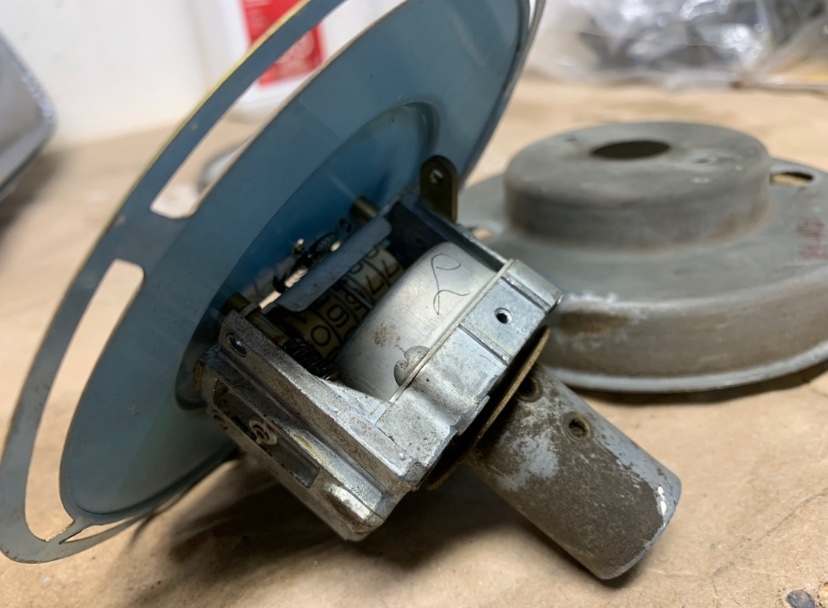
That was interesting puzzle to access the speedometer. Its howling. No improvement after lubricating the cable. It does not utilize a wick or lubricating port. I may just try and spray lubricant into the guts of this speedo. It looks way too delicate for my ape hands to disassemble . I’ll surely break it. I may send it out for disassembly, cleaning and lubrication. Any have a similar experience? How did you solve it?
-
I suggest hooking up a digital multimeter. Set to continuity. One end at main input power lug. Then check continuity at each of the output lugs. Begin with the key in the fully off position. See if any output lugs are getting power full time. Maybe glove box light, depending how the car is wired. Cycle the key to the power-on auxiliary position. Now what lugs are getting power? Usually the radio and gauges in this position. Turn the key to the engine run mode, the position where the starter is engaged. Now the lug that goes to the starter relay is likely powered. Create an illustration. Label what lugs get power when. Compare it to the shop manual schematic. You'll have a full understanding by now and likely it'll all easily make sense.
-
Many of us have had issues with the rear main seal. I've been reading threads on them for years here. After rebuilding my engine I too have a leaking rear seal. I paid extra attention and followed steps I read about on here. I did not trim the oil pan gasket seals too short. I put a dab of silicone where the oil pan gasket side gaskets meet the rear. I pre-oiled my crank surface. I lubed the seal up. The crank seal area was polished up. Nothing worked. It leaks. I do plan to go back in there and look around again at some point. Take another crack at it. I am intrigued by the smoke machine idea. Hook it up to the oil fill tube and force the smoke down into the crank case? Create a slight positive pressure in there (2 psi maybe) watch where and if any smoke comes out?
-
Try vintage power wagons. They have lots of manuals available. https://www.vintagepowerwagons.com/_files/ugd/a95fd2_a91e41eedc5f47e3be143ad1ec271ab0.pdf


