Leaderboard
Popular Content
Showing content with the highest reputation on 02/13/2023 in all areas
-
I had a good time at the bike show yesterday. When it's a nice February day in N. Illannoy, you throw caution to the wind, bundle up, and break out the the motorized bikes and trikes. There was a lot of eye candy to see. Like our old vehicles or my weird a$$ motorcycle, sometimes the different gets all the attention. The Tetanus Express turned out to be one of the stars of the show. I got asked a million questions about how I built the 2 speed fixed gear hub, why the MTB rims, what kind of seat bag, it's age, why the name. The guy putting on the gig did a video interview with me about the rig and with the guy who owns the curved tube Schwinn Paramount behind the Tetanus Express. Looking forward to next year.2 points
-
I checked my seat back today, and yeah, those are 28" apart. So your guess about previously mounted seat belts is about the best guess, although then there should be some extra holes somewhere close to the outside edges, unless someone just mounted brackets to secure a child's seat.1 point
-
Point contacts can be replaced, if you have the proper tools, knowledge and more importantly the proper contacts. It is easier to get another regulator though.1 point
-
At #1 / #6 TDC the cam mark will either be right next to the crank gear mark, or directly across from it. In one position the #1 valves will be closed (#1 TDC Compression stroke) and in the other position the #6 valves will be closed (#6 TDC Compression stroke). Remember, the crank turns 2 complete revolutions for each revolution of the cam. Either way the marks should be lined up with the center lines of the 2 shafts when #1 and #6 are at TDC. If the pully mark is at 2 O'Clock with #1 and #6 at TDC then either, as stated in another post, the damper outer ring has slipped in relation to the inner hub, or this damper/pulley is made to work with a front cover that has the pointer at the 2 O'Clock position.1 point
-
Try this. With #1 TDC, I'd take the chain off, put the cam gear on without the chain so it's aligned properly with the bolt holes and put the bolts in it. Now spin the cam and gear to align the dot with the crank dot. # 1 valves should be closed. Carefully remove the cam gear without moving the cam and put the chain on.1 point
-
Piston has to reach TDC twice per revolution of the distributor/cam (Exhaust stroke, Compression stroke) it is possible to reach TDC #1 and have the timing out 180 degees p.s. Hope this makes sense, My mind is pretty cloudy today1 point
-
1 point
-
1 point
-
1 point
-
Some more of those hard to find 40's to early 50's Chrysler inner handles....some long sedans, some short (convert/ cpe rear 1/4) ect... The full chrome 1949-53 handles had two different assembly types. The 1942 handles came in different colors and patterns. Really nice and tight 1942-48 window handles probably worth $250.00 a piece if you can find some.?1 point
-
You are smart to use your finger and thumb to save all wear and tear on those lavalier handles. That's how I have saved mine for the last 40 years on my T&C. I have collected several styles of those 1942-1954 Chrysler inner floppy handles. I'm covered for the rest of my life if one wears out.1 point
-
I remember those flippers on my 50 Chrysler Windsor. But mine were all chrome with no plastic. They are plastic not stone by the way,. Those 40s Chrysler dashboards and interiors were so deluxe!1 point
-
Mine was too on my 48 DeSoto. Very easy to align. Just loosen the shift lever nut and put shift lever in horizontal postion. Then re-tighten the nut. Takes about 20 seconds for me, but my body is off.1 point
-
That last needle needs to be slid into place from the end and then it'll slip right down in. Do NOT force it into place! And do not run it with one less needle as there would be way too much clearance and your input shaft would fail prematurely.1 point
-
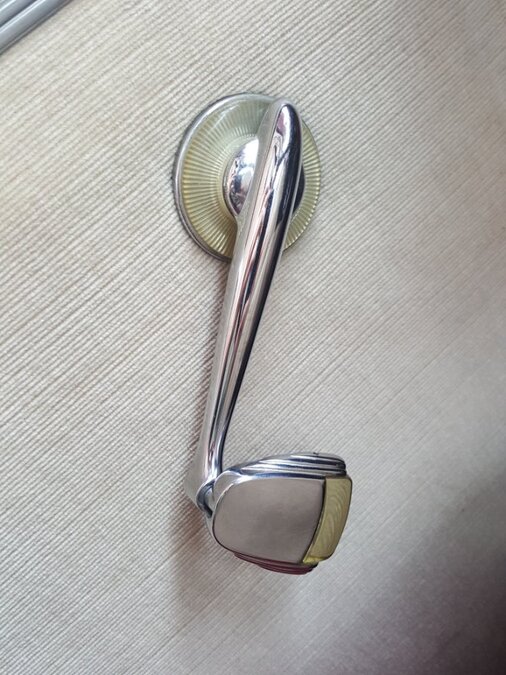
Those style of window cranks are referred to as Floppers, or Flippers. Some call them Floppers because when you're finished with them, they flop down. Others call them Flippers because when you grab them to crank the window, they flip up. Good luck finding some, and if you do, dig deep into your wallet. It was always my understanding that they were available on the Windsors, New Yorkers, and Travellers only. The ones on my '48 Windsor are shaped differently and there was also a third variation that was solid metal. I believe the plastic like material is a form or type of Lucite. One word of caution: Be very leary of buying them online. It's best to see them right in front of you before you decide to buy. You need to inspect them very closely. The mechanism that allows them to rotate 360 degrees as well as flip out 90 degrees is very very small and fragile. It consists of a steel pin, about half the diameter of a pencil lead. That pin goes through the end of a rounded over white metal shaft that is about 1/8" diameter. As you may know, white metal pits easily over time and the wall thickness between the pin opening and the outside diameter of that small shaft is super thin. I'm guessing the designers never expected them to last 75 years. I had one that was broken and I thought about rebuilding it but that thought went out the window once I thought through the process. On mine there is a tiny hole on the side of the chromed section of the Flopper that in theory, when you put a tiny needle in that tiny hole, it will release that Lucite end. To assemble one of them you would need the hands and the patience of a watchmaker. Mine are in great condition, but even so, I never use the Flopper end to crank the window. I use my first finger and my thumb, to operate the end of the window crank, without touching the flopper part. I've gotten so good at it I can role the window up and down pretty fast. I agree they look awesome, and everyone is impressed with them. My guess is that most of them broke after a decade of regular use. Since the kids would be in the back seat, I'm guessing they were the first to go.1 point
-
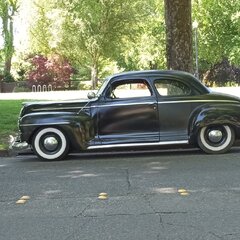
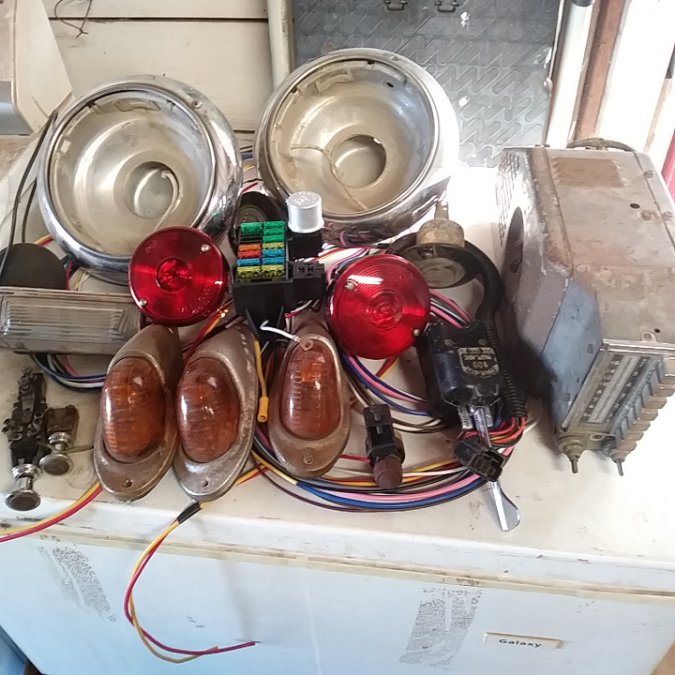
Sounds like a fun trip. You can count us in. Let Becky & me know if there is anything we can do, from a distance, to help out. We may have to trailer it over! I told everyone last year, "no more excuses". Truck looks great; painted, new bed, totally rewired, engine completely gone through, transmission rebuilt, interior redone.... One small issue, engine will not start. appears to be the starter. The bendix is 'out' and won't retract. Can't get it to engage the ring gear to turn over the engine. No engine turning over, can't time & tune it. Vehicle not running, can't get DMV license plates to drive it over to California. I still have a month, so will keep trying. Can't find anyone in town that will work on it so may have to find a new starter and see if that does the trick. Keep your fingers crossed and save us a place for our '54 Dodge C1-C, 241 V8 with 4 spd trans. & 5 window cab. Ken & Becky aka 54Dodgeguy1 point
-
rear seat cushion- back. Bolts into clips to retain.. The back should have tabs that swing downward and a bolt goes in the body at those locations I believe! - ? DJ1 point
-
1 point
-
I just did a 6 volt alternator and it is the single best thing I ever did to the car. It's crazy how much better the lights and blower work at idle. If I was you I would stop messing around and spend 200 bucks and make your car work great.1 point
-
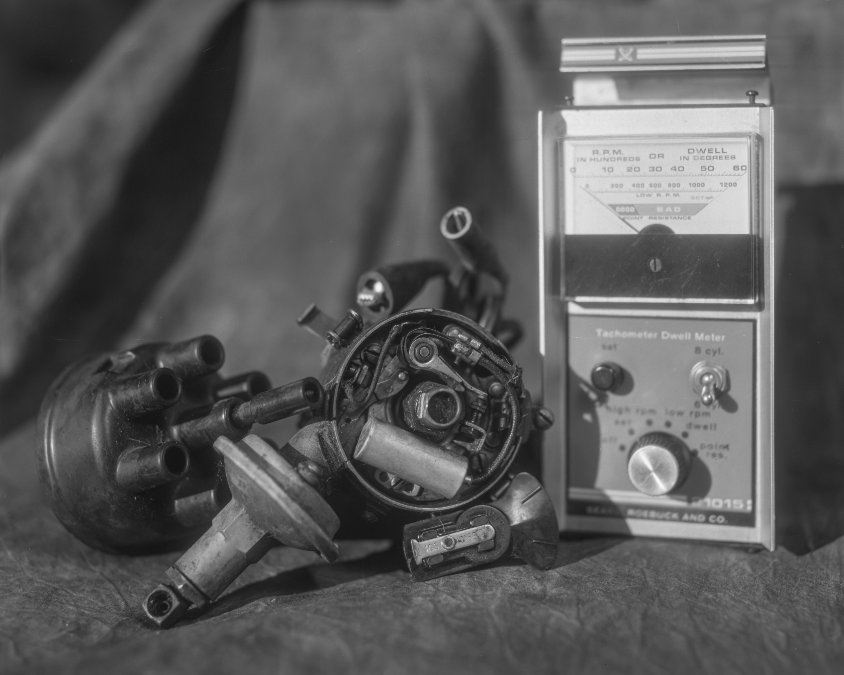
I do have an 8x10 contact printing frame, paper, chemistry, etc. However, for now scanning the big negatives and sharing digitally is as far as I have gone. The results with these vintage lenses have a "feel" to them, almost 3D, which makes me want to capture more. Hummm, what other car parts would be interesting to see on film?1 point
-
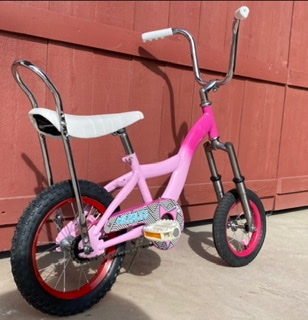
I, to my wife's' chagrin, practice N+1 when it comes to bicycles and motorcycles. N equals how many you have and 1 equals how many you need. My Dad taught me how. He had a bunch of snowmobiles. At 89, he's down to one.1 point
-
1 point


.thumb.jpg.d599d4c13e08899474e0348bd9baed3b.jpg)




-54DodgeV8.thumb.jpg.39b813c497609c48a83528a2d84f7b42.jpg)

