Leaderboard
Popular Content
Showing content with the highest reputation on 06/02/2020 in all areas
-
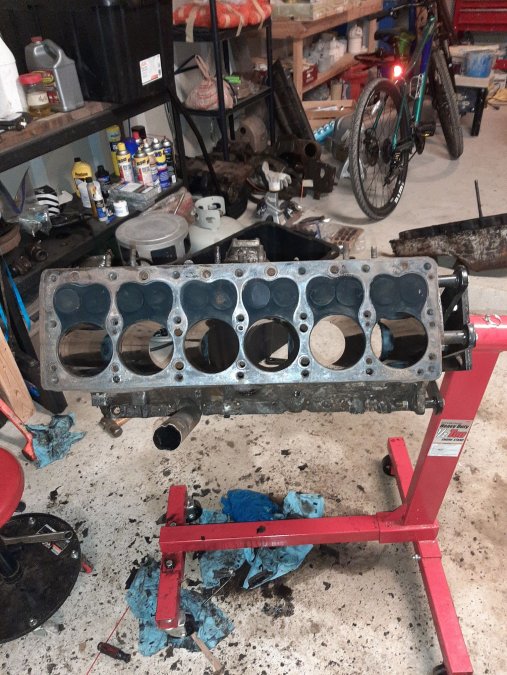
So here is the update on my old gal. I decided if I have to take the whole engine out a sbc is going back in. I went ahead and used the old wet sandpaper and shoestring trick on my rod journal to polish it up up. I mic'd it all over and it turned out nice and round and within spec to use an undersize bearing. Put on an undersize bearing and got my clearance within factory spec. Replaced entire rod that was spun with new one. Replaced all pistons and rings, and wrist pin bushings in all rods. Replaced pistons because of excessive ring land wear. Some rings were broken too. Found minimal wear and cylinders where in spec for standard replacement pistons. Also replaced all other rod bearings with standard size bearings and replaced #3 main bearing with a standard. Plastigauged rod bearings at .0015 clearance. Plastigauged main bearings #2, #3 (replacement), #4 and all were at .002 clearance. #3 (original that was replaced) was the only one that was over .002. I read on here that there is mixed opinion on bearing clearance, with some opting for .002 and others tighter. Figured I will try it. Didnt check #1 main since I would have to have the timing cover off and all the things associated with taking the cover off. Cleaned up and de-carboned head and painted it. No burnt valves all seem to seat well. Decided to just clean them up and not do a full valve job. She now has 1,200 miles (and many oil changes and filters) since I did my shade tree rebuild. Oil consumption is now almost nothing and her new rings seem to be seating well. I think any oil dripped now is from timing cover. No knocking and oil pressure has been 40 - 45 lbs at 30 mph+. After a run at 60 mph she has about 38 - 40 lbs at 50+ miles an hour and 25 - 30 at 30 mph. After leaving the freeway and driving at lower speeds oil cools and she goes back up to 30 - 40 lbs at 30 mph and 40 lbs at 40+ mph. I am using 10w 40. Have tried 15w 40 and pressure is about the same. If she blows up again I may actually decide to keep her flatty and do a proper rebuild since I now have experience rebuilding her but who knows..May still go for more power.. For now she will not be run as hard as I used to run her. I know this isnt the proper way to do things but I am already happy I got 1200 miles out of her and she may or may not get many more. Some people on here are lucky to do 500 - 1,200 miles in a year.. Forensically, I found a piece of piston skirt in the oil pan. It is possible that tiny metal pieces from the skirt caused the failure in rod #4s journal. Piston #1 had the broken skirt. I still havent had a chance to check the clearance of my old oil pump to see if it was out of spec but hope to do that when I have time.5 points
-
Oh those are all private roads -- even the paved one in the sub near to us is considered a private road2 points
-
And keep in mind that the voltage regulators job is to replace electrical load flowing the battery. So if properly functioning with a fully charged battery I. Good Nick, that replacement lever may or may not equal the load applied at any one time. That's why you will notice the charge drops to near zero after driving down theroad for ten miles a after a start with no load but the ignition. The VR replaces the current used to crank the starter, and when that's met, it goes into coast mode, showing no or very minimal charge as reflected by battery need.1 point
-
1 point
-
1 point
-
flat glass....if going stock safety...any glass cutter in your area with NAG access can do this quick and easily.....if going tempered....they can still handle it only it takes a bit of time as most ship to a place to be tempered, back to them and then on to you.....1 point
-
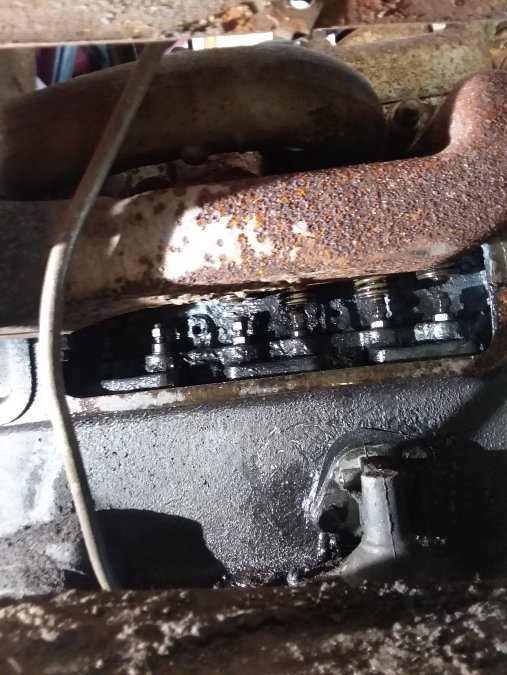
Thanks for the responses. Soaked the 3 cylinders in oil overnight, still stuck, soaked the 3 cylinders in pb blaster the second night. Pulled the valve covers today and it was easy to see which 3 valves were stuck. Popped them down but they are still sticking sometimes. No broken springs. Will continue to oil and crank for a few days until I know they are free. Got a new gasket ordered and she should be runni g smooth again soon Jeff1 point
-
Finished disassembling the engine except for valves and cam shaft, which I'll leave for the machine shop. Glad I opened the engine. Every piston had a broken ring and the oil pump is cracked enough that I'm pretty sure it would have failed soon. Also after about a week of work and a LOT of PB oil, I was able to pull the water distribution tube in one piece. Now it's time to clean parts and start body work.1 point
-
I like listening to those old radio shows. I was listening to one, Father Knows Best I believe, and in one episode they bought a well used second hand car for the daughter and mom to use when Dad had the main car at work. The father and son did an in frame valve job on it in the course of the episode. So that kind of thing was common, maybe not as long lived or precise as a garage would have done, but after fixing many of the hacks on my 51 I am not sure there are too many quality mechanics out there anymore. I have a personal motivation to do the best job I can, if I mess it up I get to figure out how to get it home and I get to do it again. Since I am not wealthy I can only afford to do it right, not do it again.1 point
-
Last time I looked the measuring instructions were on the SKF site. No machining is needed. The sleeve will come with an installation tool. Just coat the part with the correct adhesive (I use Loctite) and install with the tool. Hint, once you find the SKF part number, use it to search on the web. I found a competing brand on eBay, listed to cross to the SKF number, at less than half the name brand. Worked fine.1 point
-
I'm in my mid sixties now, but in my younger years I was hassled by police so many times that I would never have the nerve to run an open chassis up & down a public street. I'd have to find a private road to do that on.1 point
-
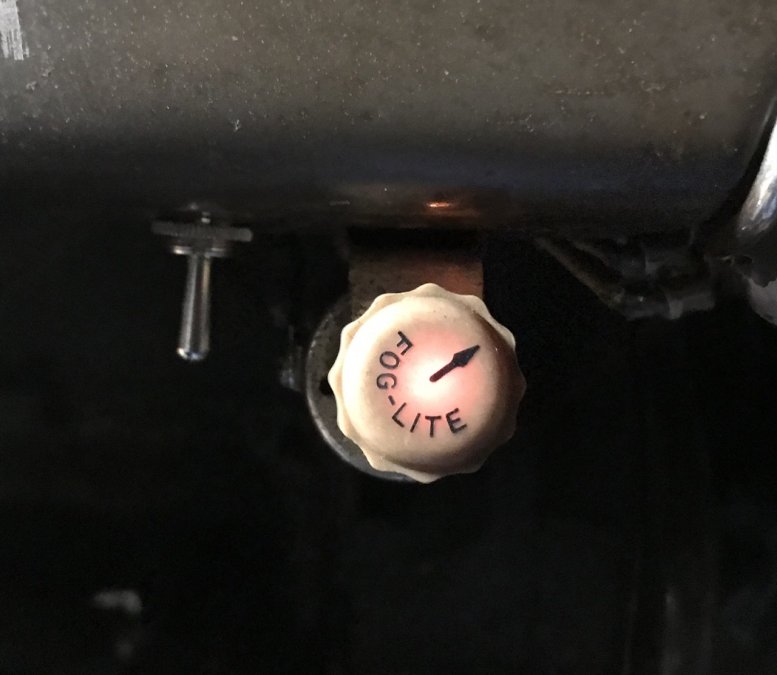
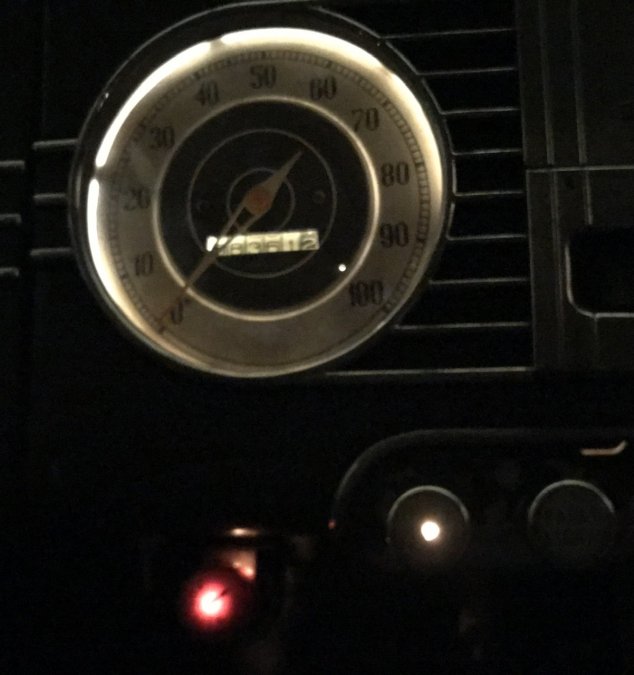
What period these little clamp-on-dash switches from? I would guess later than the year of my car, ‘38. The fog lamp switch, plus it lights up too. I cleaned all connections with emery cloth. Sprayed contact cleaner in the switch. Worked it real good. All new wires from ammeter to switch, all the way to the lamps.I added new return ground wires too, back to a good clean ground point in the engine bay. All wire connections tinned, butt splices crimped, then soldered again. Then heat covered in heat shrink, Then anchored and wrapped in loom and tie straps. Hopefully it’ll long outlast me. Old original switch is fused. All seems to work well, as it should.1 point
-
Yes it was a fast pace. Dad was driving in this clip and he's more comfortable with a standard.1 point
-
I'm pretty sure a hot generator will produce less current due to increased resistance of the wire in the windings. So I think you will lose genny capacity as you add load and heat (electrical and ambient). Most likely you'll be running a current deficit with all the lights on especially at low rpm. It may take a while to pull a healthy battery down, but the lights won't be full bright....and the starter may be sluggish after the ice cream stop. But fortunately there is a very nice remedy that will pull anything you can install on your car....and keep the battery happy. ?1 point
-
He’s taking calls and shipping for sure. My buddy got some stuff from him. Come to think of it,another gentleman was there and picked up some parts.1 point
-
no Nick got a call that was the find per the video the subject was not in detail on the find...but if lifters are gone so is the cam and I will buy a dozen doughnuts if I am wrong....(granted I am not going to share these doughnuts)1 point
-
Jim: I originally posted the recall on the jack stands. I am glad that you came back to the forum and that you were able to inform your son about the jack stands and that he di dnot use them. This is the reason why the forum exists to help other car guys stay safe and to keep them informed of important information Rich Hartung desoto1939@aol.com1 point
-
1 point
-
1 point
-
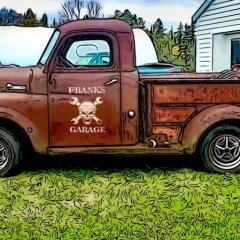
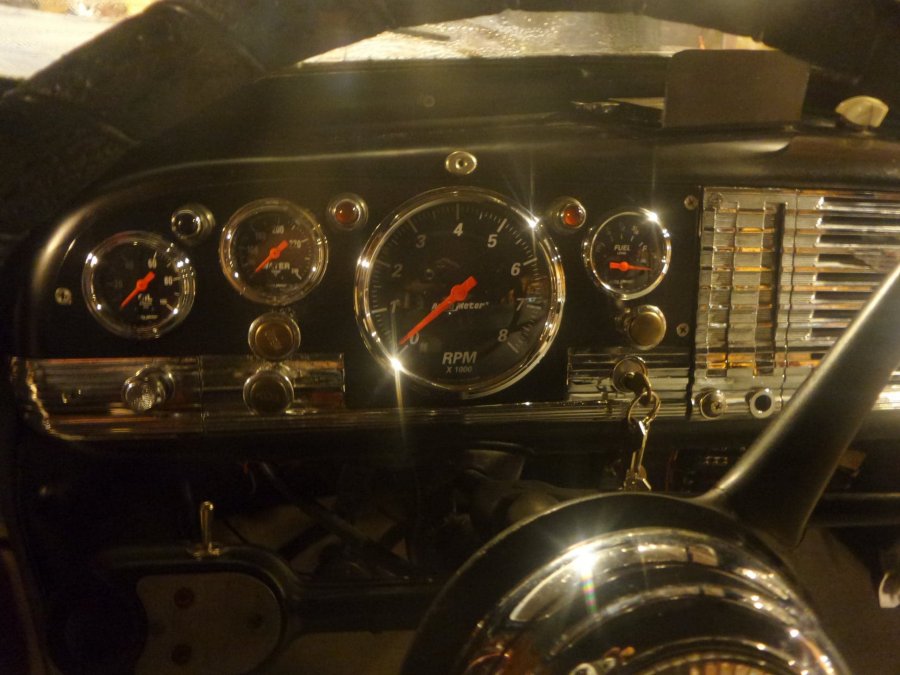
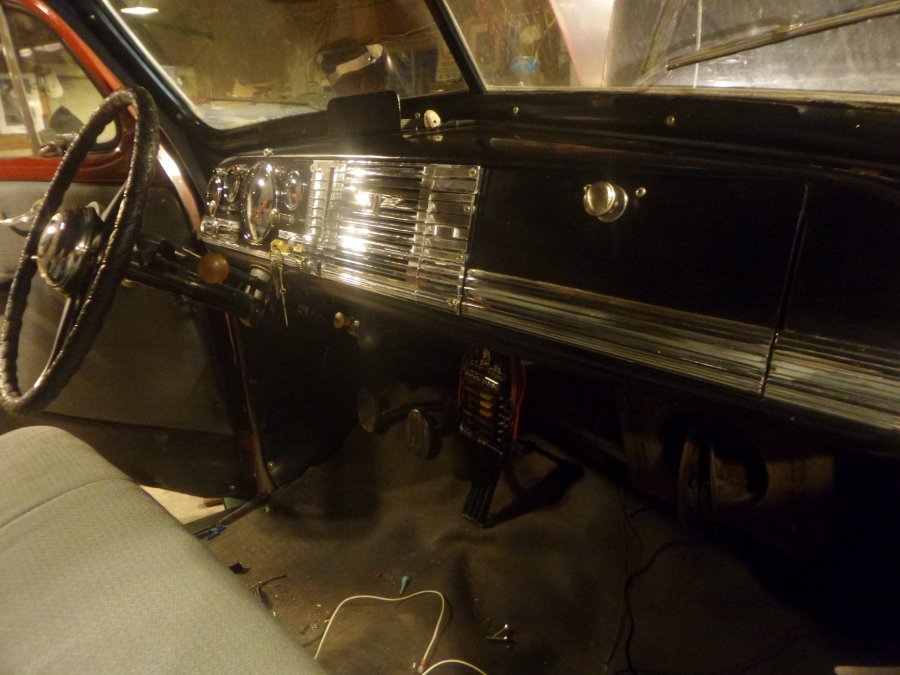
Hi guys, Probably not to everyone's tastes but... I wanted working instruments in my 1940 sedan. I already had a GPS speedo that project a digital speed indication on the inside of the windshield and even if it was installed as a wild guess experiment turned out very good. None of the other instruments worked... So I made a paper template and came up with this using mechanical oil pressure and temp gages. The radio is in the glovebox but on a hinge so can be opened up to gain acces of remaining space. It also has a back up camera feed. The speakers are in the middle of the dash and under the rear seat. I'm bracing for the comments... Frank.1 point
-
the youtube video is great, (not that I don;t mind reading) thanks for the link1 point
-
I think you confusing the flange dimensions into the mix...Speedi-sleeve dimensions can be found on the internet for looking and will give you tons of relative information on how to chose and install.....0 points

