-
Posts
9,395 -
Joined
-
Last visited
-
Days Won
87
Everything posted by Merle Coggins
-
The stand-alone script style badges are extremely difficult to find. When I was building my B2C, about 16 years ago, I was looking for one. My truck had one good one and one that was broken and missing part of it. I kept running across the block style but couldn’t find any of the script style. Finally found a set from a guy in the UK. Happy hunting. I wish you luck.
-

51 B3B build thread - after all these years
Merle Coggins replied to bkahler's topic in Mopar Flathead Truck Forum
Good job. the good thing about it looking “not perfect” on the outside is that it will not be noticeable unless the door is open and someone specifically gets in there to look at it. -

Strange Fuel Gauge Readings
Merle Coggins replied to 1949 Wraith's topic in Mopar Flathead Truck Forum
-

Bet I know why this eng didn’t run!
Merle Coggins replied to kencombs's topic in Mopar Flathead Truck Forum
I don’t see a gap as there should be with the rub block at the high point of the cam. -
The 218 CID 8 hole flange cranks were used with FD so didn't require a pilot bushing bore. Any 218 I've seen with a standard trans had a 4 hole flange.
-
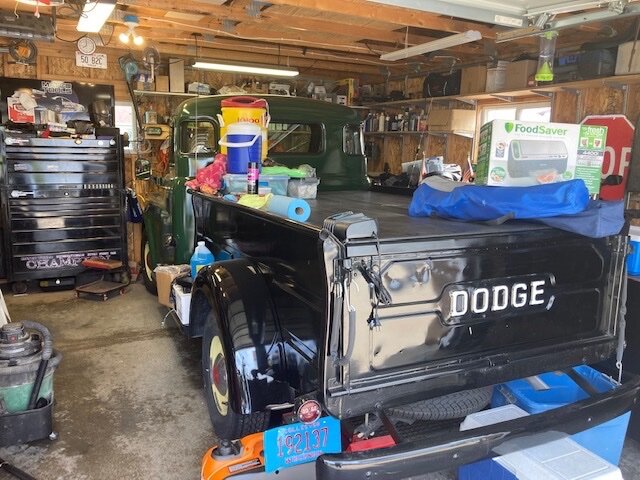
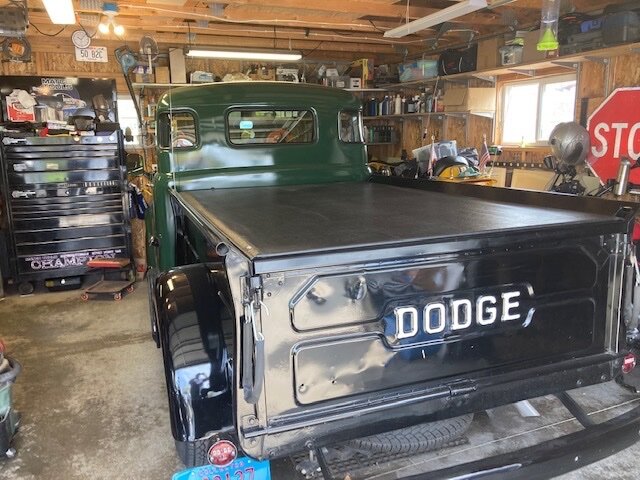
Didn’t have much on the agenda with my truck for today. I was planning a bit of a garage cleaning and organizing so that we could get back to work on my wife’s Metropolitan. But since it is IWOYTD I figured I’d start by cleaning off the truck. It tends to suffer from flat surface syndrome. Then I decided to fire it up just to hear it run. That’s when I noticed that it did need a little maintenance. The battery was dead in my clock. I swapped out the AA battery and set the clock. As I was setting the clock I looked at my shop clock for reference and realized that one needed a battery too. ? Before and after photos included to satisfy the rules of IWOYTD. I should have taken the before pic last week before I made a cardboard run to the city recycle center. It was piled up with boxes. Only 1 has collected since then.
-

10th Annual International Work On Your Truck Day!!!
Merle Coggins replied to 48Dodger's topic in Mopar Flathead Truck Forum
Yes, I saw that shortly after my last post. -

10th Annual International Work On Your Truck Day!!!
Merle Coggins replied to 48Dodger's topic in Mopar Flathead Truck Forum
Maybe you could create a new thread and copy / quote her post to the new thread? -
-
The little tab at the end of the spring must hook into the points arm during installation. If not it will not offer any spring tension to help close the points. I made that mistake once and it took a while to figure out why the engine wouldn't run above about 1500 RPM. I eventually discovered my mistake and got it installed correctly. The copper strap offered just enough spring tension to close the points at idle, but at higher RPM they wouldn't close fast enough and would start to bounce, causing a serious lack of power as the timing was very erratic.
-
You are correct. With a Positive Ground system the Positive (Red) lead of the meter would go to the ground side and the Negative (Black) lead would connect to the points wire from the coil. You're not really "reversing" the leads as Red is still going to Positive and Black to Negative. Some people refer to this as "reversing" the leads as they are used to putting the Red on the coil-points wire and Black to ground, which is correct on a Negative Ground system. Either way you connect Red to the Positive side and Black to the Negative side, so you are not "reversing" the leads.
-

how to remove plymouth flat 6 flywheel
Merle Coggins replied to chris 48 P15's topic in Technical Archives
If you have all of the bolts removed it should just be sitting on the crank flange. It may have a bit of a rust bond holding it on. Try giving it a little love tap with a rubber mallet. -
Go to Then and Now Automotive for a kit for your fuel pump. https://www.then-now-auto.com/product-category/fuel-pump-kits/
-
If you have a machine shop on base they should be able to fix the rod eye too.
-

What goes on the left side of the block?
Merle Coggins replied to MarcDeSoto's topic in P15-D24 Forum
That lug may not be used in your application. -
For Hot restarts I find that holding the throttle open (about 1/4 - 1/2 throttle) will allow a quicker start. The fuel percolation issue pushes fuel into the intake manifold and the engine is flooded. Holding the throttle open gives it more air to counter the flooded condition and allow the engine to start.
-
It's basically a short piece of heater hose.
-
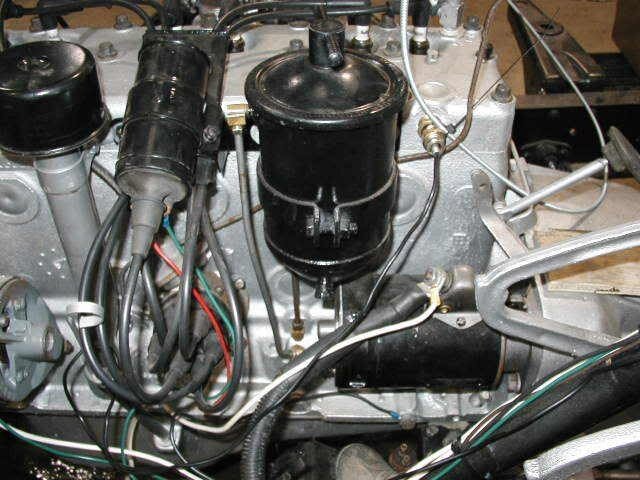
Which way to plumb the filter canister depends on the manufacturer. Some input from the upper area and return out the bottom. Others feed in the bottom and return out near the top. See if you can find markings near the ports to identify which is IN and OUT. If you strike out there you may need to study the design to figure out how to plumb it and which filter element to use. Regardless of all of that, here are a couple of pictures of my engine to show the connections at the block and filter canister. Mine is a Deluxe Filter and it feeds IN at the bottom connection and returns from the upper one.
-
Thank you Tim and Stephanie for great day. I always love my trips out to the BBQ. It never disappoints. Always something new to discover…
- 99 replies
-
- 5
-

-

-
- bbq april 2nd 2022
- bbq april
-
(and 5 more)
Tagged with:
-

39 Plymouth business coupe electrical
Merle Coggins replied to Joshuanotsosmart17's topic in Technical Archives
That is your Voltage Regulator for your Generator. “BAT” is the battery connection, coming from your Ammeter. “FLD” goes to the Field connection (small terminal) on your Generator. And “ARM” goes to the Armature connection (large terminal) on your Generator. The lower contacts, where you see a spark, is the Circuit Breaker contacts which connect the battery to the Generator when the output is high enough, and cut the connection when the engine is off. The other two contacts are for voltage regulation and current regulation. These don’t carry as much current so you may not see a spark across them when they open. -
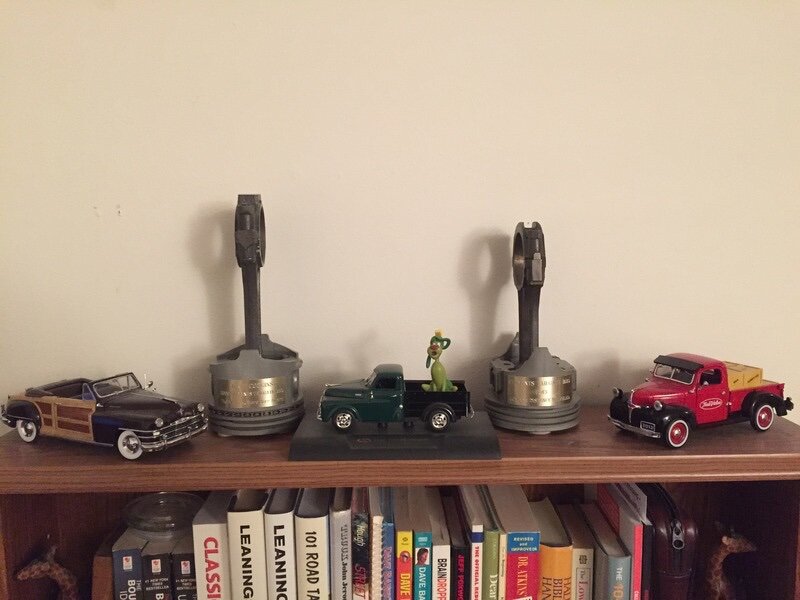
I didn’t recognize that as a trophy. It looks more like a plaque. ?
- 99 replies
-
- 2
-

-

-
- bbq april 2nd 2022
- bbq april
-
(and 5 more)
Tagged with:
-
Umm… I only count 3. Is that how engineers count in Minnesota?
- 99 replies
-
- 1
-

-
- bbq april 2nd 2022
- bbq april
-
(and 5 more)
Tagged with:
-
- 99 replies
-
- 1
-

-
- bbq april 2nd 2022
- bbq april
-
(and 5 more)
Tagged with:
-
The bearings should all be packed with grease. Then the inner bearing goes into it’s mating bearing cup in the drum and the seal gets pressed into the the drum. Once the drum is in place the bearing will slide onto the spindle and press against the step where the seal rides. The bearing shouldn’t touch the seal once it is all installed.


