Leaderboard


Popular Content
Showing content with the highest reputation on 02/25/2025 in all areas
-
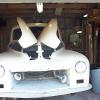
Almost there. Just need to tweak the gas pedal linkage a little more. Looking at March 5th for initial start up date. That gives the month of March to deal with last minute problems before the BBQ.
 4 points
 -
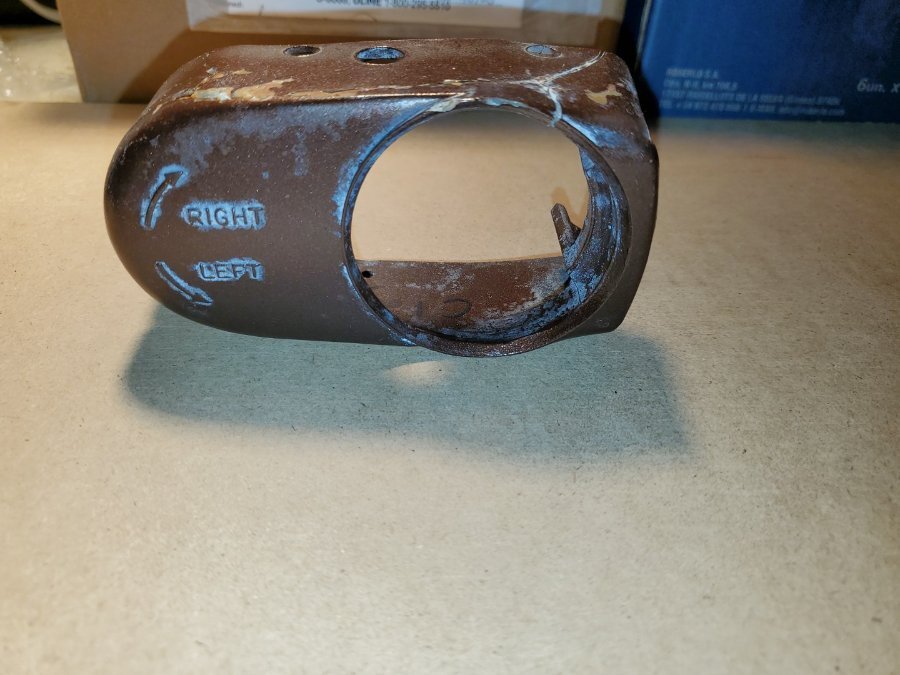
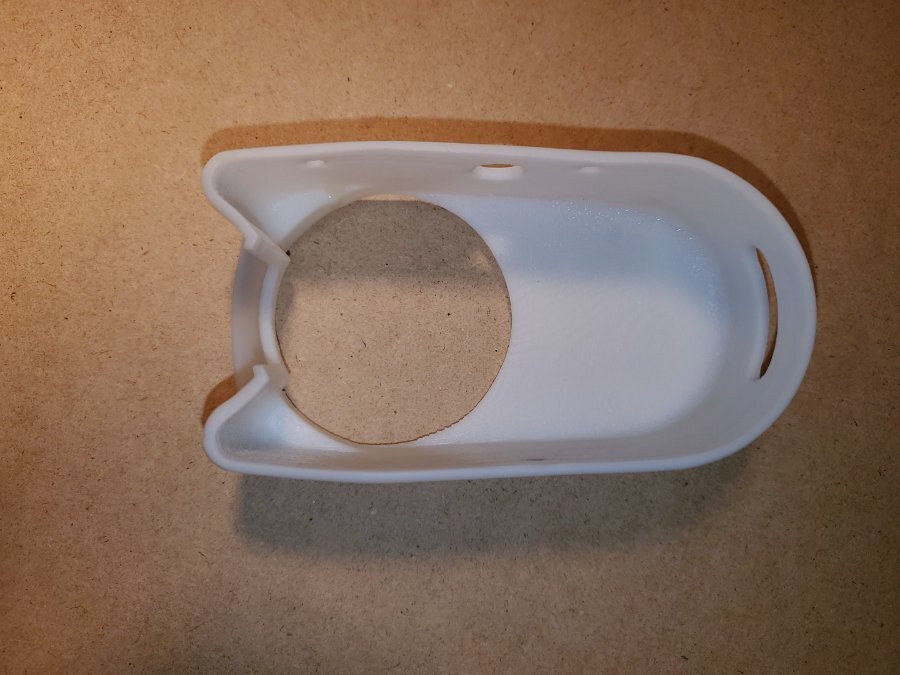
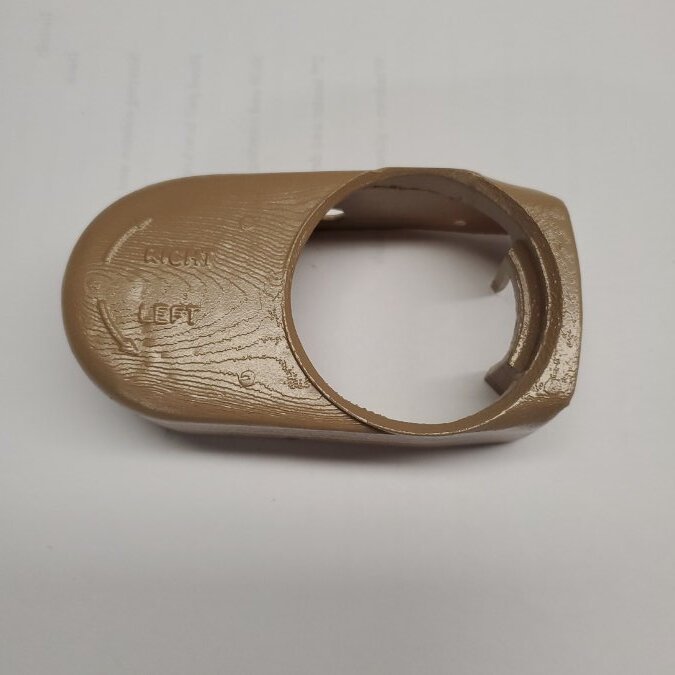
Original housing, Raw 3D printed, and finished paint to match my steering column etc.

 3 points
 -
Back to the running boards today. Welded on the edge support bits. Also, a picture of the profile (picture flipped for proper orientation).


 2 points
 -
•On these flatheads, I've been running store brand 10W30 with Wix filters since the 90s, as I've rolled in temps from the 30s up into the summertime triple digits. •87 octane gets treated with MMO to keep the carburetor from gumming up and the fuel pump diaphragm soft, also helps keep the gasoline stabilized since I'm not driving them daily nor on rainy days...too many easily distracted uninsured motorists in my neck of the woods to take that risk. •Leave the lead additives to the blue oval sheeples. •Rotella T6 synthetic has been used in the Laramie since day 1, and the QuadCab has been on a diet of Delo 15W40 for over 2 decades. About a year before I sold The Blue Bomber ,I had an incident with a gallon of MMO...bought a jug at O'Reillys and put it behind the seat like I had done a brazilian times before, went to my next stop, and as I hurriedly exited the truck, I heard a thud a split second before the door closed--right onto the gallon jug that had tipped over somehow, cracking its neck and glug-glug-glug out the contents poured,over the door panel and carpet onto the parking lot pavement...JEEBUS what a mess 👀2 points
-
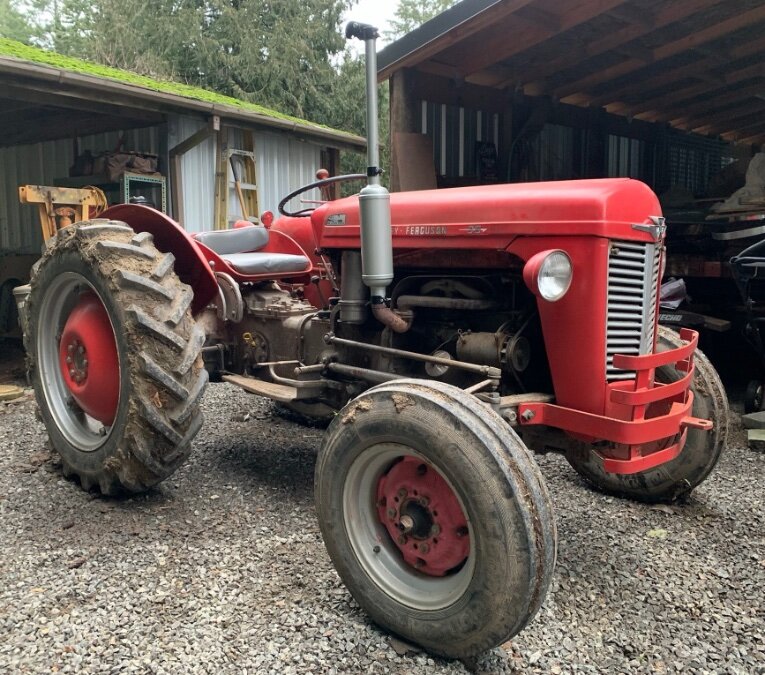
Not restored by any means but, I recently picked up a MF35 Boy, I really need to treat the roof moss on my chicken coop 😂
 2 points
 -
They do come apart. I had to use a Dremel to cut the ring that holds the amber lense in place. The back is metal with a gasket and clamp holding the lense in place. The bulb is soldered in. It's easy to de solder and remove. Carful with how much heat you use. I damaged the mirror finish on the first one I tried. Don't know where the fog light bulb is - I'm moving to the new shop and it's packed away somewhere. I have some extra replacement bulbs I could send to you if you can't find them. The bulbs I have are 32 CP intended as head lights but they can be modified to use in a fog light if you want to keep your original lense. New fog light bulbs are available but the ones I have are stamped with Mopar and I wanted to keep that.
 1 point
 -
I've been running rotella 10w40 or 15w40 in mine for a few years now.1 point
-
I use Brad Penn Dino oil in all of my antique vehicles and older ATVs. Lots of Zinc and great quality.1 point
-
Your valve seats should ALREADY be hardened, I have'nt run anything but straight gas in my 51 for 12+ years now. I am also lucky we have REAL gas, non-oxy, around me so I can avoid all the crap that happens when they mix in all the additives that eat old engine parts. I use Amsoil Rod-Z for my oil so it has some zinc in the oil.1 point
-
Hopefully this doesn't start a firestorm like it does on VW diesel web sites but what oil are you guys using? I got my repro Driver's Manual last night and it notes SAE 30 above 32 F, which is when I will be driving it, probably more like 60 to 90 F in the summer around here. That's a 1954 recommendation but this is 1954 technology and it might be still the right thing to do but I want to ask the question. I've had a number of early first gen Cummins for the last 20 some years and I have been using 5w 40 synthetic Rotella in those (and my VW diesels and my John Deeres, VW and Subaru gas engines etc etc) but the 5w isn't recommended in the drivers manual till -10F and I've seen older tech engines leak synthetics. I think the high zinc content in diesel oils is beneficial so I'm leaning that way but dino oil versus synthetic and maybe a different grade, maybe 10w30 Rotella or Delo. That seems like the way I'm going unless there is some experience out there that says it's a bad idea. I do have lead additive for the gas already from another project and since I'm not sure if the valve seats have been done, I plan on using that. I grabbed my plug socket and bottle of Marvel Mystery Oil last night to dose the cylinders and apparently the bottle has been too cold for too long because the bottle cracked and I ended up wearing most of it. The joys of winter time in the salt belt.1 point
-
drill rod is what is generally used in the machine shop for making pins. they come in different diameters, can be turned down in the lathe if needed and are cut to length. generally heat treated afterwards. I would talk to a local machine shop or old school local that runs a lathe. Chances are someone will have the right diameter drill rod in their stock.


 1 point
 -
Yeah, the stock wheels from the 60's-80's will fit fine and has a certain look to them. Some people are running a modern 17" wheel from a mustang or other vehicle. I think it might be ideal to have a stock set of wheels and tires, hubcaps ... use for car shows or parades .... then install modern radials for daily driving. I'm so tight on spending $$ and building my truck on a budget .... just amazing what they want for labor to dismount, mount and balance tires today. Here that is $40 for one wheel or $160 for 4. I'm use to it being $40 for 4 wheels .... I use to own a coats 40/40 tire machine .... thinking it is time to buy another.1 point
-
1 point
-
I do see a bulb behind the lens that has the front of it with black paint. Question, since thee isa bulb can the outer trim ring be removed to expose the inner parts of the foglight. Suggestion see if you can remove the outer trim ring and remove the lens and then see if the bulb can be removed. If the bulb can be removed then I would think it is just burned out bulbs. Find the bulb number and it just might be a single contact bulb and then do a search for the replacement bulb. Rich hartung Desoto1939@aol.com1 point
-
For the newer people, DCM is DCM Clasics in Zeeland Michigan. The rear axle vent mentioned is at https://www.dcmclassics.com/catalogs/p/all/parts_by_year-1939_1947_dodge_truck-brake_parts/654d296f1d3770f709bea2dc/br-216-rear-axle-vent1 point
-
Well I am still working on the guitars but today is my wife’s birthday and I took some time to help her out with her crafty projects. I never did record Mama Didn’t Buy No Cookies, which I wrote for my mom‘s 85th birthday, but I wrote something for my wife’s 69th birthday. I recorded the instrumental part, but It doesn’t have a bridge yet. Maybe I’ll pull out the harmonica. I won’t post up video until it gets more polished. It’s all too big to post up here of course. I would have to put it on my YouTube channel. It would be my first music video. Imagine a basic 12 bar blues like Pride & Joy, key of G, with some slides and syncopation whenever I can manage it… Titled:[b] Lordy Dontcha I told my baby Oh yes I do I’m gonna love you ‘til the sun turns blue In the sky But I don’t know why Some days she drives me crazy But Lordy dontcha take her away I drive my baby All over town She spends money like it’s raining down From the sky And I don’t know why These days she drives me crazy But Lordy dontcha take her away (Instrumental bridge) I took my baby For some fine cuisine I wanna feed her like the English Queen Me Oh My But I don’t know why Today she drives me crazy But Lordy dontcha take her away[/b]1 point
-
after not having ice harvest day in 2024, we were back at it today. good clear 18" ice, blocks were 300 to 325 lbs each. pretty mild day, high 20s (after about 8" of snow overnight). filled the ice house, too, so a successful day. 25 blocks on this load. ended up getting a second load of 20 blocks to fill the ice house. (the first load was roughly 8,125 lbs of cargo...)1 point
-
We had the second annual Christmas Caroling Hayride in Ben. Fun was had by all. It was about 20 degrees that night- I am glad I have the heater! The people in the back were freezing!
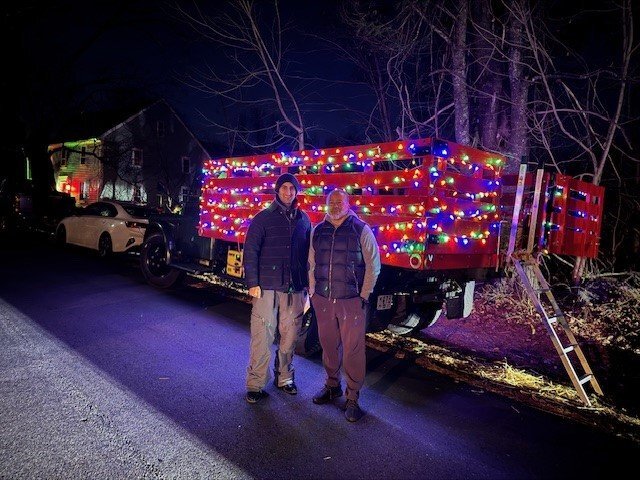 1 point
 -
Just thought I'd point out, that the forum is 20 years old.... Congratulations! Next year it can drink! 48D1 point
-
Here's a video of the door lock that needed surprisingly little attention...just a dose of Marvel Mystery Oil and 24hrs later, the vehicle could be "secured"1 point
-
Yep.....people love to climb all over Dodge trucks.. I have a Dodge truck service bulletin on the 2-3/4 to 3-1/2 ton trucks that do have interference of the hood to overflow tube.
 1 point
 -
OK...A long read... That Miller tool does not set the race to the proper spec. It is only a race driver tool...not really necessary to install the bearing race....though I use one most of the time if not a large brass drift. As for axle shaft bearing end play yeah it should be roughly checked for end play before axle shaft removal.. I should have stated that and I do generally check it on jobs. The rear end must be up on stands before checking any axle end play job.. The drums can still be installed if doing a quick end play hand check before pulling axle shafts for more service repairs. Use a dial indicator. Axle shafts readings on the dial indicator should and must read equal either side. Push and pull hard on the axle shaft and or drum and read the amount of end play. Do exactly the same on the other side... it must read the same end play as the first side and normally always will on a properly operating rear end axle assembly. **On a rear axle that has had new seals, bearings etc it is critical to make that approximately the same thickness of shims are installed on both sides or the differential centering block will bottom out... **It's also important to use the original factory width inner seal and drive it in fully to the machined housing stop depth. If this inner seal is too wide or not driven in fully the axle shaft step will rub against the inner oil seal (seals) causing erractic end play reading issues. As for installing the axles and races/cups... ..Don't drive the bearing cups into the housing flush..drive them to with in a 1/16" of the housing mount surface. Then install the original shims both sides. Install both the backing plates semi tightened. Now fully tighten up either backing plate which will push the bearing race in as far as the shim will permit. Go to the other side and gradually tighten up the backing plate while "hand checking" for some axle shaft end play movement. Usually you will have correct or close to it if re-installing good original axles shafts and bearings. If you don't have any end play before the second backing plate is fully tightened up you will need to add more shims (.005", .010", .015") etc and will need to be evenly added to both sides with in reason. This till an .008" max end play dial indicator reading is achieved at both sides. You will need to set up a dial indicator to properly do the final accurate end play check and adjustments. Always double check for even side to side end play readings by firmly wacking the ends of both axles to be sure the opposite side bearing races are forced tight to opposite side backing plates. Re-check axle end play a couple times to be sure it's set right. Uneven uncommon side to side end axle play truble could be caused by ***Wrong or not fully seated inner seals. ***Wrong new axle shaft bearings or not fully seated on axle shaft ***Worn end of axle shaft ***Damaged centering block ***Wrong outer seals and seal plates (up to 1942). And that's enough for me to type out for tonight!? .1 point