Leaderboard
Popular Content
Showing content with the highest reputation on 12/21/2024 in all areas
-
The only relay in the mopar injector circuit is the one that feeds 12v to all the injectors. The computer uses injector drivers (solid state device, not a relay) to trigger the injectors on/off via the ground. Those usually either work, or do not work, very rarely are they intermittent. Either the coolant temp sensor, the one for the computer not the dash gauge, is flaky, you have a leaky injector or the PCM is wonky. If you have the ability to measure the fuel pressure at the injector rails you can see how fast that pressure bleeds down, if it's quick you have a leaky injector(s). Have you run the codes?2 points
-
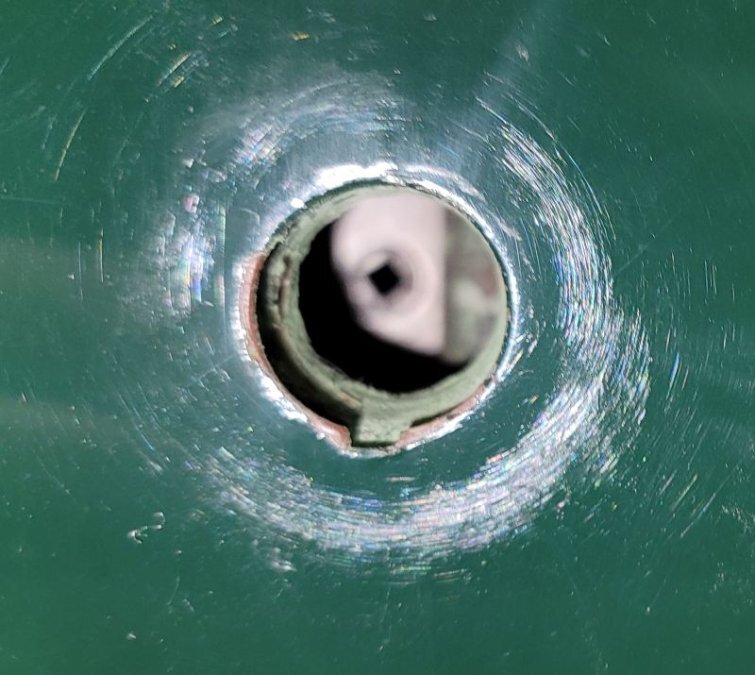
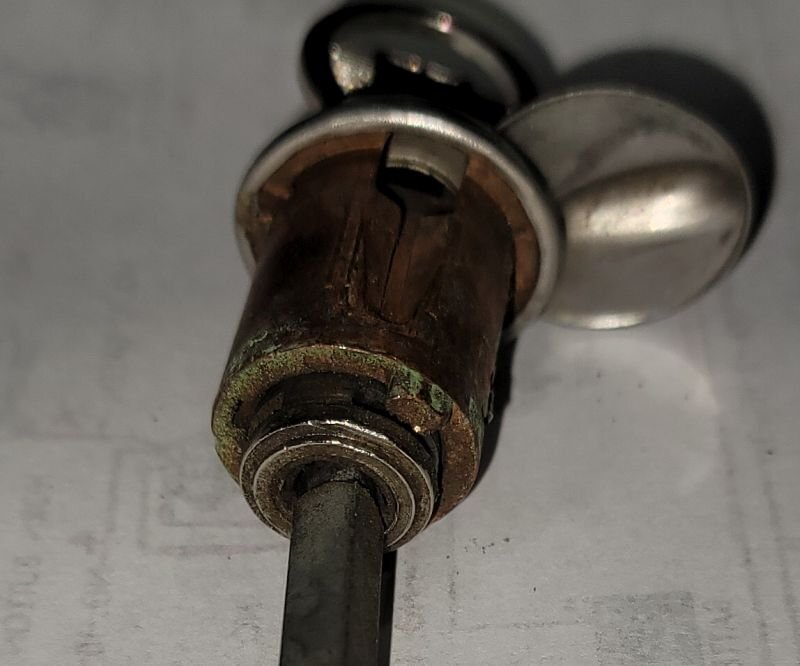
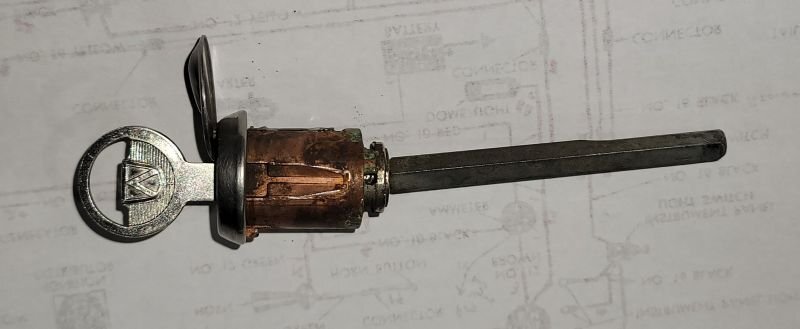
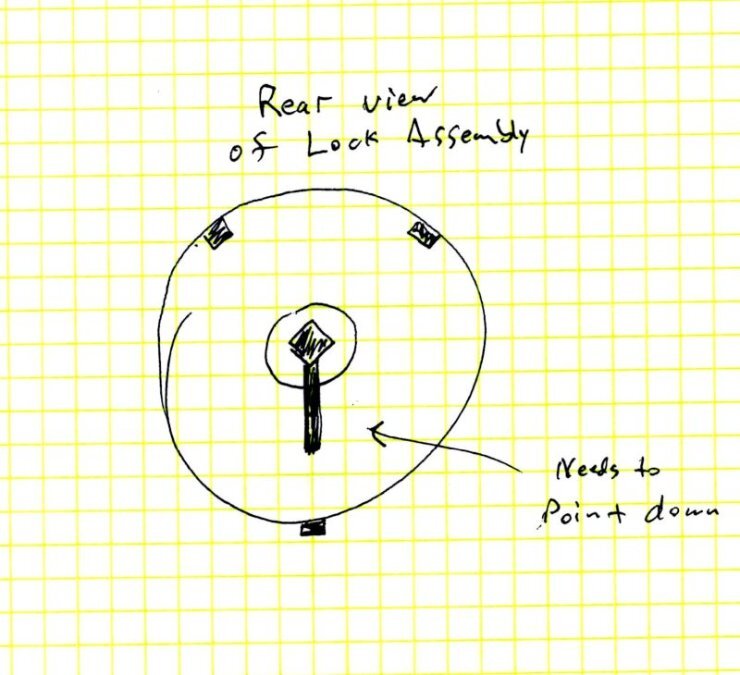
Success! The lock itself can only be oriented one way, there is a tab on the lock that matches with a tab in the hole in the door which orients the swivel cover so it pivots from the top. The square opening has the corner pointing up when the latch is in the locked and/or unlocked position. That's where it needs to be when inserting the key lock assembly. The lock mechanism that is in the latch assembly rotates 180 degrees. CW = unlock door and CCW = lock door. I tried several approaches and found that the key (no pun intended!) to getting it to work is orientation of the 3/16" square shaft that sticks into the door latch. The square shaft has to be rotated 1/2 rotation (roll pin pointing down) before being inserted into the latch assembly. I don't think it matters where they key is at this point, as long as the little pin in the 3/16" shaft is pointing down when you engage the door latch mechanism, it should work. When the pin is pointing down the 3/16" shaft will be oriented to match the opening in the door latch. I was able to reach in from inside the door and guide the shaft into the latch. It was a bit fiddly when doing so but I managed to accomplish the task six or seven times and got faster at each time1 point
-
You're absolutely correct, if that PCM temp sensor is sending faulty information, then the PCM gets "confused" and spits out codes...I learned a long time ago that oxygen sensors are prone to getting "lazy" as they age since the sensor materials are in a harsh environment. I had a friend with a 2004 Matrix that she bought new, and in 2021 I told her it did not sound right, asked her when she last changed the O2 sensors, she just looked at me funny and changed the subject...6 months later in February, the CEL illuminated, my scanner kicked out O2 sensor codes, swapped those 2 rusty cusses out, and that thing ran smooth and quiet and was FAST, she said it had not run that good in years and accused me of being some kind of witch...a few weeks later, she got her first speeding ticket in a school zone, and she blamed my witchcraft skillz and not her lead foot 😁1 point
-
Here's a video of the door lock that needed surprisingly little attention...just a dose of Marvel Mystery Oil and 24hrs later, the vehicle could be "secured"1 point
-
Maybe that original oil pump is locked up...that's been an issue lately that can be problematic...1 point
-
Well, a good enough for government work type of guy maybe, lol. A wise man does what eases his mind.1 point
-
1 point
-
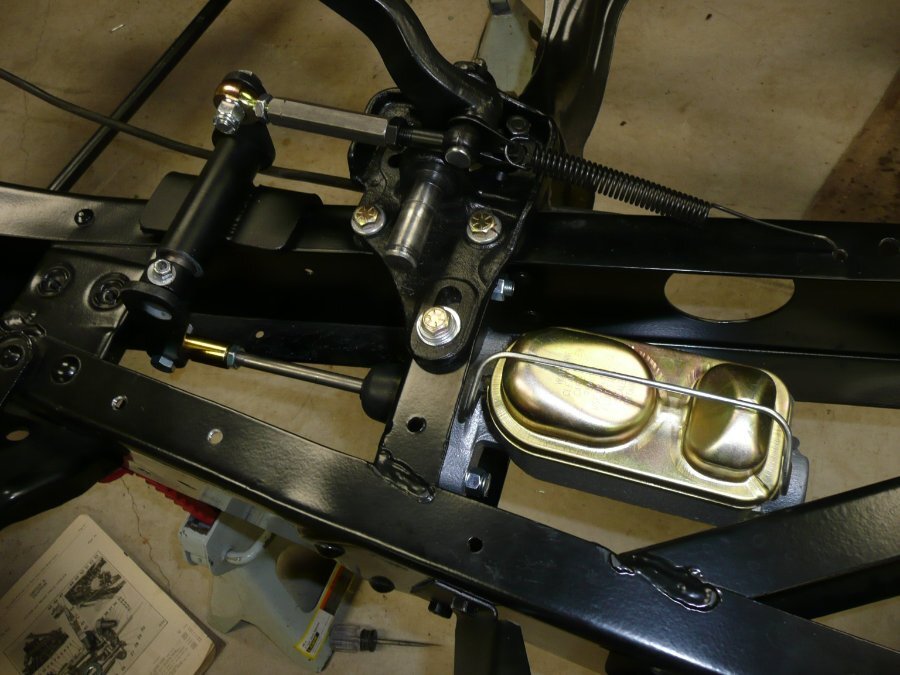
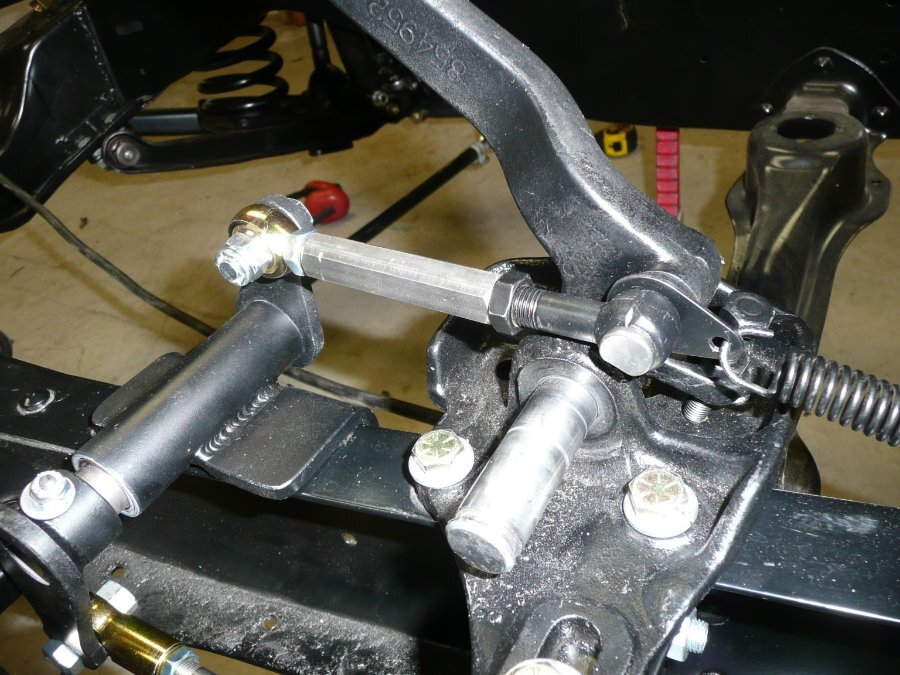
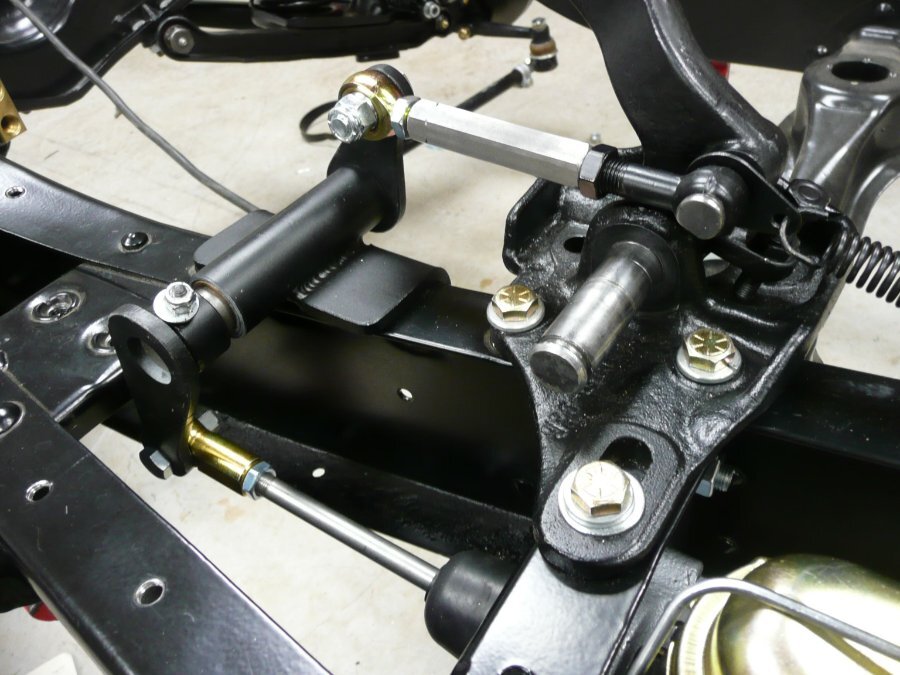
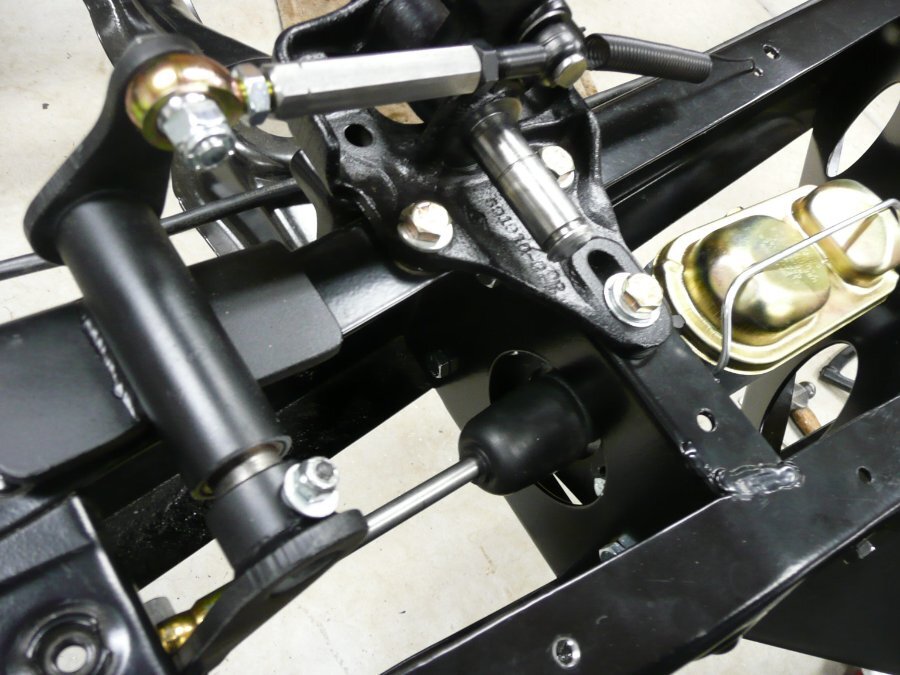
Thank you for confirming that the master cylinder is not a part of the Pedal Assembly. I wasn't sure, and until I can get to my project (it is in storage since I purchased it years ago, just trying to get my ducks in a row), I wasn't sure what my solution was going to be. Thank you for the images, Bob Riding. Though yours is a 1940, if the master cylinder in my 1941 Business Coupe is similar, then I have all the information I am looking for. I appreciate it, those are worth 1000 words. As to why I haven't reached out to ECI is because I haven't bought anything from them. I wanted to find out if anyone had done this with images on their project that explain their kit. I also didn't want to waste ECI's time in case I decided I was going to go a different way. I didn't want to be in the position of buying something, getting halfway into the project and finding out it wasn't going to satisfy my needs. I have been in that position before, it isn't fun. It is a waste of time and as we can all agree, time is precious. Thank you all who entertained my query and offered up their two cents.1 point
-
oops I just logged into the NASA website. No? I get that things get beyond repair or solution. and well fix it , dammit if it makes it better...bitchin. My last point tune up was a book of matches folded in half. might have been .019 or sumpin but that was 20 years ago1 point
-
Don't fill the radiator past about an inch and a half below the filler neck. That should keep it from sloshing out through the vent tube.1 point
-
It got all the way up to 26 here on Thursday, started snowing about 6AM and kept snowing all day and still snowing when i cleared the driveway for the last time about 9PM. Expecting a high about 20 on Saturday. Sledders have already been on the hill behind my house.1 point
-
Weld through primer, comes in a spray can, SEM is a popular brand. Might be a brushable version also. I've used it, was not impressed with it. It worked better if you removed it from the plug weld holes prior to welding. JMO, your opinion and experience may vary.1 point
-
It will puke coolant if overfilled too. There seems to be a level where its happy, well below the very top. Been here, done this.1 point
-
I saw some ads for a paint called 'Steel It" that claims to be weldable. Never used it myself, and yes it was expensive when I looked it up. Interesting none the less.1 point
-
I haven't gone through all the responses, but it haven't been suggested yet, you might want to do a vacuum gauge timing procedure. Second Chance garagehas a good how to on this technique. This uses intake manifold to find the optimum spot for your car's operating conditions. You did mention you corrected some issues inside the distributor . There is a wire connecting the points to the breaker plate. This is a snort many stranded flexible that allows the breaker to rotate freely from centrifugal and vacuum inputs. Many folks have found that wire in bad condition, insulation missing, broken strands, and or replaced by wire that is too thick to be as flexible as needed. Napa supposedly has replacements of various lengths.1 point
-
1 point
-
Real men use to lean over the fender and adjust them while the driver would keep a steady pace down the road.1 point
-
Hi, I am new to this forum and have been reading a lot. This is a great community of classic loving people! I just purchased a 1951 Dodge truck, its a dually and I was told it was a 1.5 ton. I do not know much about it but it runs good, however brakes will definitely need some attention! Do you know if there are any disc brake kits for the front and any upgrades I can use for the master cylinder etc. Also if you have any information on this specific model can you please share, again I am new and just diving in to gain as much knowledge as I can.1 point
-
P15 up to engine #769665 662 598 (37-48 230's as well) P15 after engine #769665 1142 451 (49-54 230's as well) Dunno what the difference is. Years ago when I bought my first Mopar, a 75 Dart I had an issue with my dipstick not reading full until 8 qts were put in it. So I went down to my local Dodge dealer to buy a new dipstick, this was in 1984 and Dodge was still making slant sixes which my Dart had. I was told the part was no longer available. So I went tot he parts store, bought a universal dipstick, cut it to length and marked it 1 qt low and full. How I did that was put 4 qts in, made a mark with a file, then added the 5th qt and marked it as full.1 point
-
here are the screenshots of oil pump conditioning chronicled by Freewheeling Tony Smith over on the facebook...lots of good information there to help keep those infamous replacement oil pumps from destroying our flatheads.1 point
-
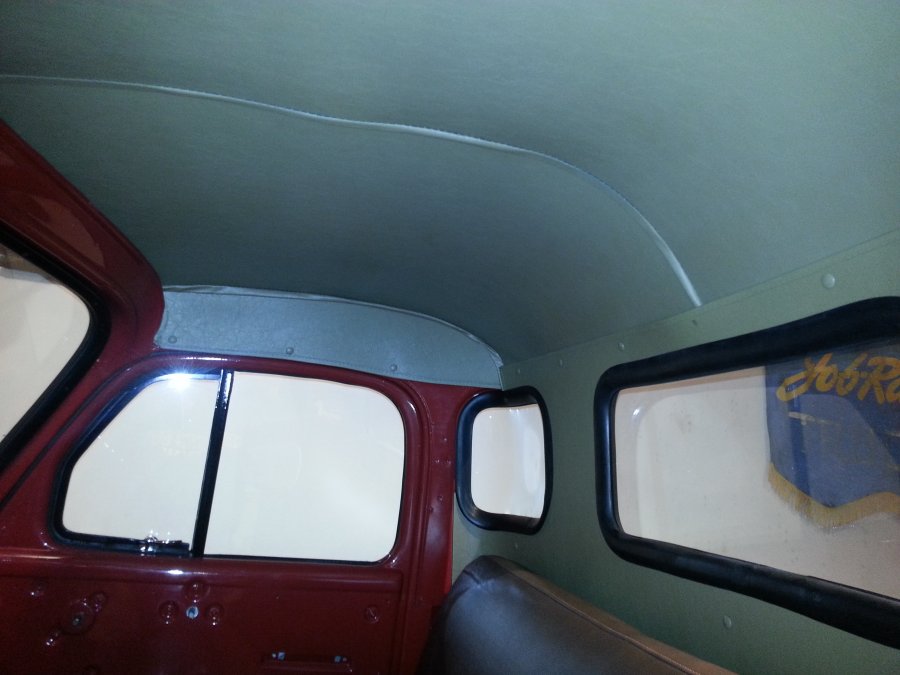
I got your "bad example" LOL, HRT here your looking at the original cardboard interior, that I removed to remove a dent in the roof. and then reinstalled (with contact cement) for the CA BBQ please note the hand stitching and the mouse decayed spot above the driver side visor.... RIM SHOT! (thank you..... I'm here all week..... please remember to tip your waitresses)1 point
-
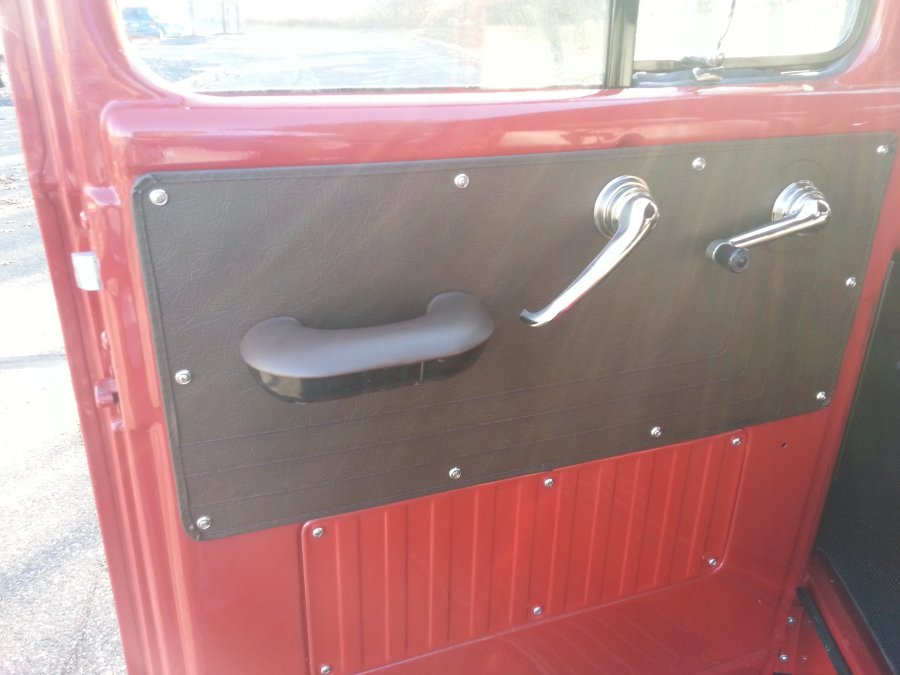
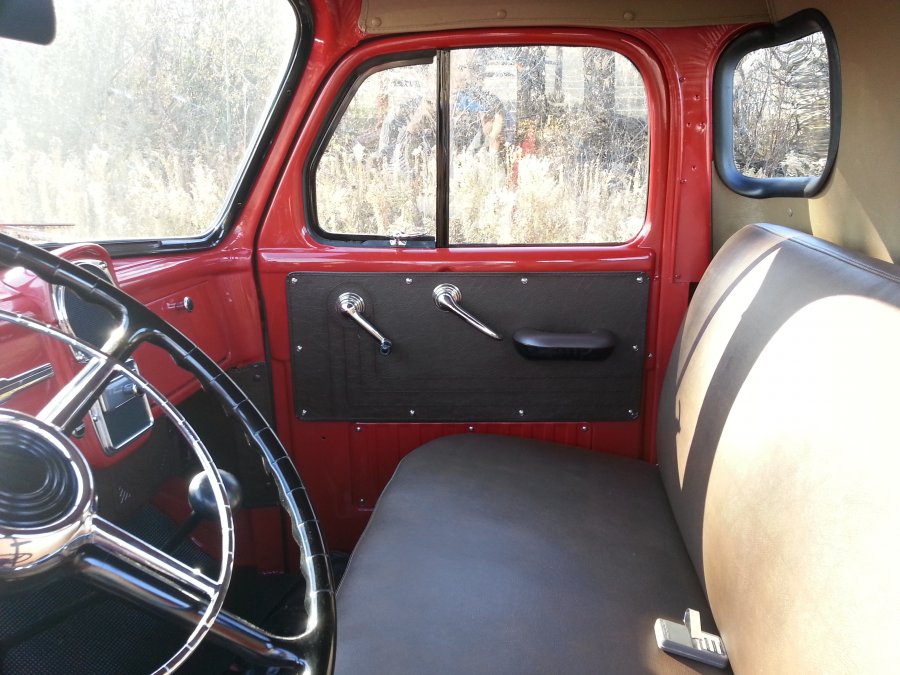
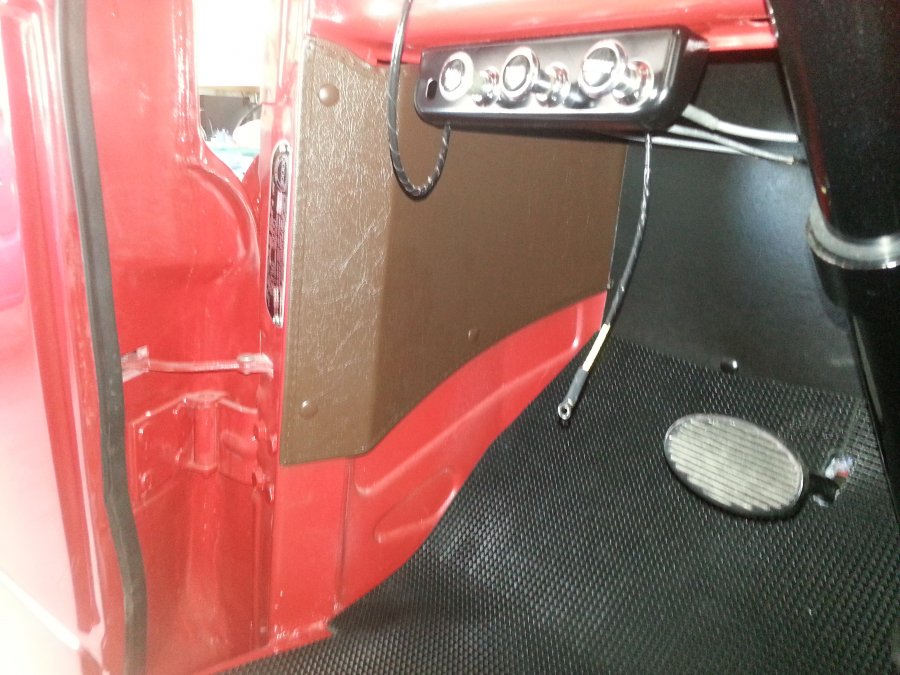
FWIW the PH interior headliner isn't "correct" for a resto (center is wrong assembly method), but they do look good. Meanwhile FEF has all QR interior except for firewall (that's Robert's cardboard). Note that QR used my original as a new rear template so it can be ordered now as a single piece as was stock. Colors are stock colors via paint (sorry for hue being off on some pics due to lighting).1 point


