Leaderboard
Popular Content
Showing content with the highest reputation on 04/01/2024 in all areas
-
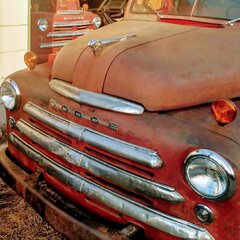
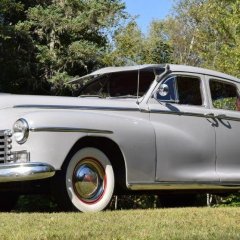
Easter Sunday 2024: Finally had the opportunity to recreate a photo here in downtown Winona; East 3rd and Main St. Traffic was super light where normally it would be impossible to stop and pose the Meadowbrook for a shot. The beautiful buildings on the left were demolished in the 70s in favor of the mini mall. The foreground buildings on the right were demolished to make a parking lot. I put on a new fuel pump and hard line yesterday. Meadowbrook is back in business. Happy Easter everyone! 🙂7 points
-
Personally (from all the posts here) I like dogs, but just don't have the time for one. You have to be around (or someone) every so many hours. When we moved to our place we inherited Puma, the shop mouser. She's had her adventures (lost for 6 weeks after a broken carrier outside the vet's office....but we got her back..which involves the USPS phone call...long story). She's my little buddy in the shop and when she's gone, I will miss here dearly. Growing up on a farm I never got too attached to the cats as they were outside animals and could literally disappear overnight. But she has clawed her way into my heart. She's over 20 years old (we actually figure 22 from discussions with the neighbors) now and spends the majority of her day sleeping, but still needs to take a nap at the end of the day on dad while he makes sure nothing will go amiss overnight in the shop after welding, maintenance or woodworking. Hemp oil has given her a new lease on life this last year or so, the arthritis pain is kept at bay and she still plays, runs and jumps. I highly recommend this for older pets! When she's gone, I'll be alone out there, but won't find a replacement as I worry too much about yotes and eagles. I give you the engerizer bunny kitty and shop supervisor: Puma!4 points
-
My 49 has only 38,000 miles and steers pretty good without much wandering and I'd like to keep it that way. I have added oil to it and have determined that the seal leaks. Not unexpected for a 75 year old car. One of the benefits of the KT Keller era of cars is that they use a lot of off the shelf bearings and seals. My NAPA store found the seal CR Seals/SKF ( formerly known as Chicago Rawhide ) #12350 or MoPar 639-837 To get to the seal you pull off the pitman arm and I did this with a cheap Harbor Freight puller. It's a spline so all you have to over come is dirt and rust. The generator can be pushed out of the way to withdraw the sector and cap out of the top. As usual there's two ways to do everything of course and I tend to get it right after trying every other possible way. The top cover doesn't come off the sector until you back off the adjustment screw. My M.O. is to get the sector and the attached cover to the bench and then count the turns of the adjustment screw until they part company. I used 5 turns because it was easy to remember. The idea being if you put it back the way the factory had it, you have a better starting point than if you are guessing. ( especially with the steering gear in the car ) The next thing to do is to check the tapered bearings on the steering shaft. The manual says to push/pull on the steering wheel to detect any slop. I could feel a tiny amount so I took the bottom cover off the gear housing. As luck would have it one of the shim/gaskets popped up while the rest stayed put. The factory put a dimple in the frame to enable you to move the cover down a little but you can't take it off without unbolting the gear from the frame. So I snipped the gasket and bolted the cover back on. The up & down movement of the steering wheel was 2/3 less and the turning effort had not increased. All good signs and time to stop. The shim/gaskets are made in several thicknesses and this was a thin one. In my humble opinion, this is the most important adjustment because even a little up & down slop here moves the sector a lot. You can change the sector engagement with the worm till it's so tight you can hardly turn the steering wheel and the sector will still move if the bearings are not right. Now the problem becomes finding another gasket for the top cover. AMSNOS.com had MoPar 1142-262 for around $8 and when I called they had 15 in stock. ( 706 ) 337-4606 The plan is to put the top cover on the sector, turn the adjustment screw 5 turns and slip it back together with the new gasket. Since I detected no wear on any of the parts it should be very close to okie dokie and it won't leak.2 points
-
2 points
-
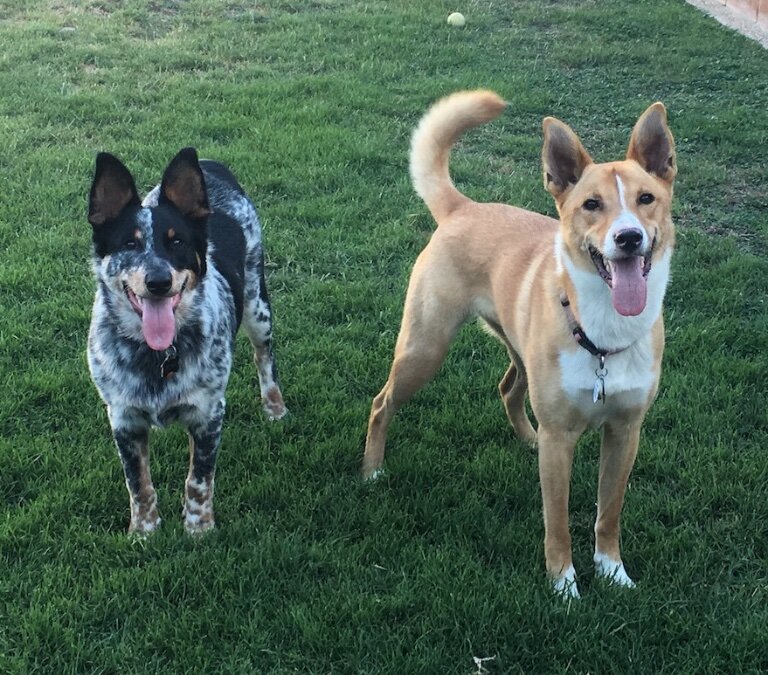
Our current girls and are best friends! Roxie on the left, Queensland-Aussie mix, and Sunny, 100% Heinz 57 mutt! One suggestion after some substantial previous vet bills with one of our other dogs is get pet insurance. Cost is easily offset when you have those unexpected emergencies. Both my wife and I have had cats and dogs our entire lives and I don't see how you can live without them!2 points
-
Well, same here, the pup eventually become family and usually cause less trouble or heartaches. My little dog asks for nothing, gives all. I have had a number of dogs over the years and yes, they all been good animals. But this little guy, he is very special. He was 14 last Christmas...I have had pugs since early 80's....they my favorite breed. Here he is doing his Don King impression.2 points
-
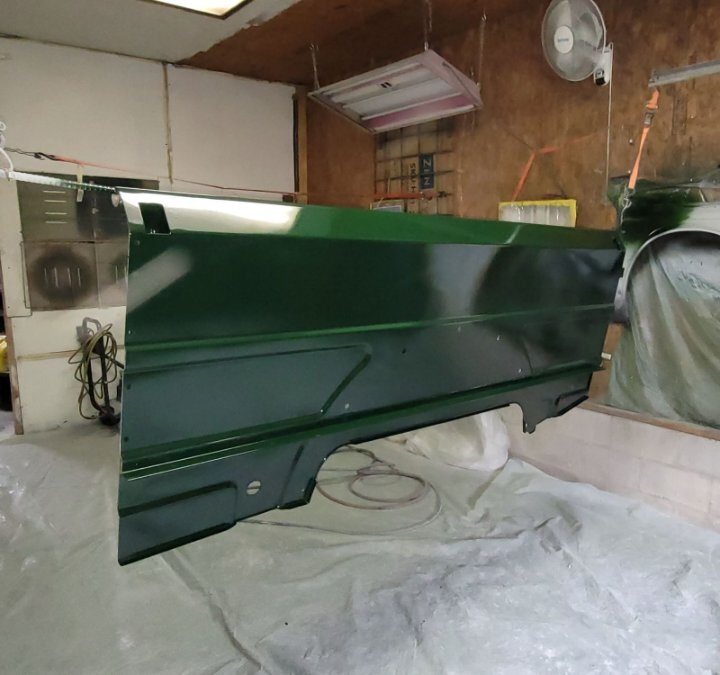
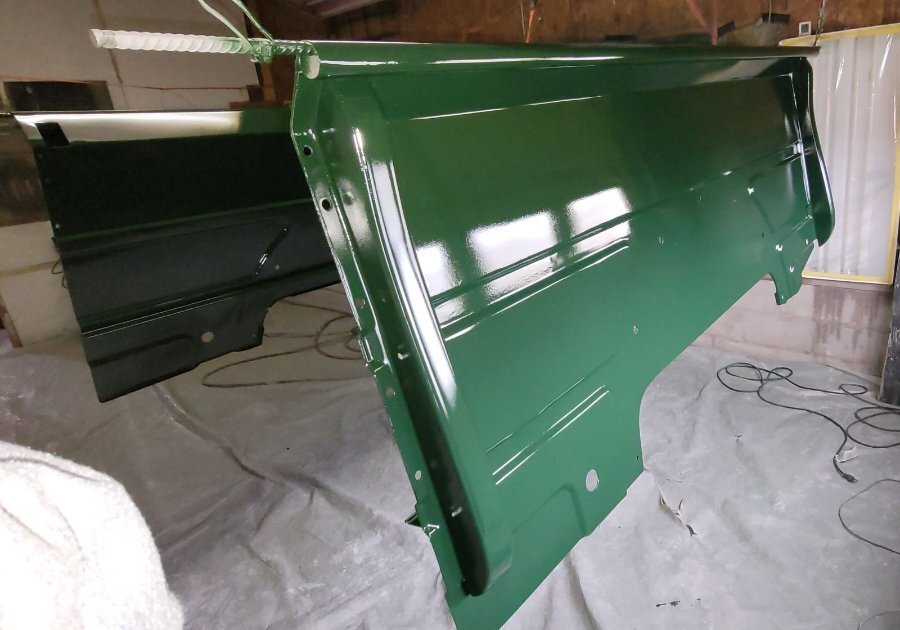
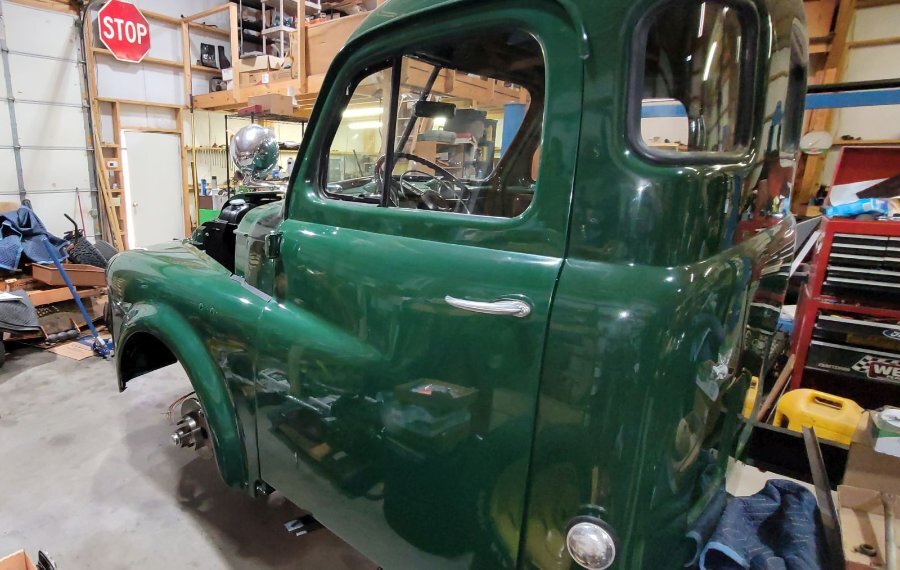
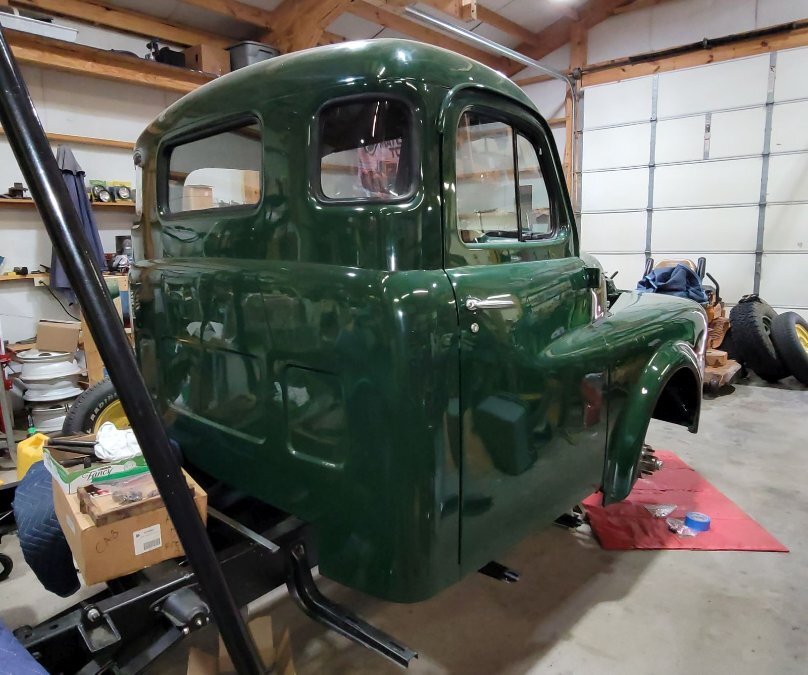
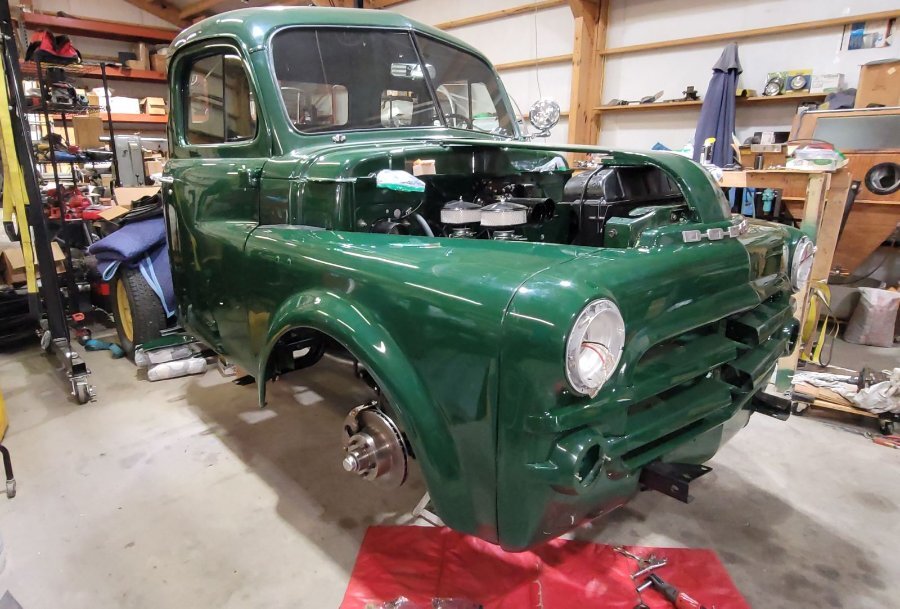
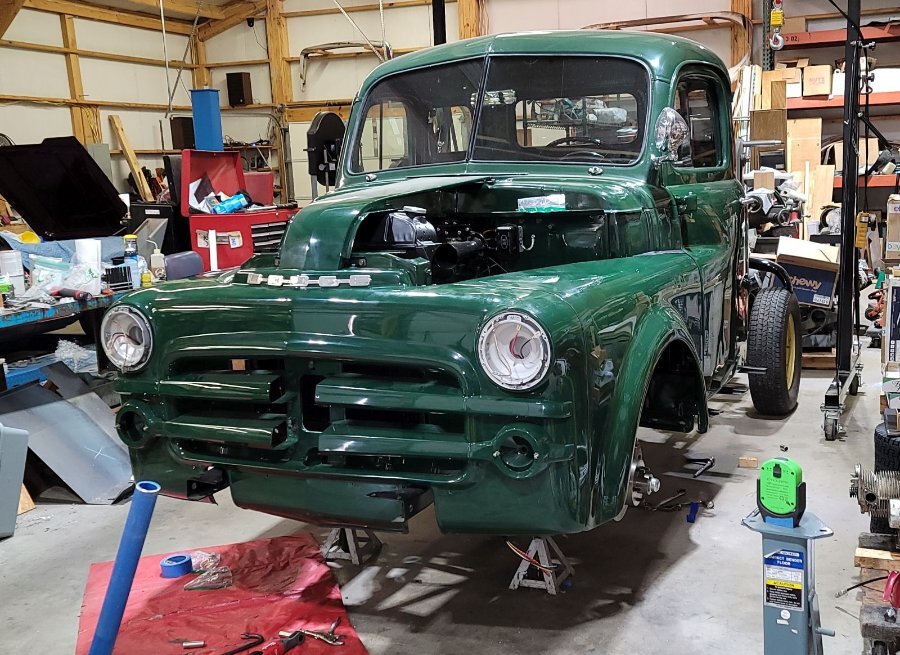
Ok, I've finally got a few things that worth an update. The bed panels are done and the front fenders are mostly installed. I'll be the first to admit the bed panels aren't perfect, but they are good enough for me. The trick is once installed, drive fast enough that people don't get a good look at them The panels are still at the painters, which is good because I currently don't have any room to store them. I've had a lot going on and the shop was packed with stuff so it's been really difficult to work efficiently. I finally managed to make room and once the front sheet metal is all bolted into place then I'll be able to move things around to make an assembly area to build the bed. This morning we worked on fitting the front fenders. Started on the right side and fought it tooth and nail to get the gasket and bolts between the front of the fender and the front nose. The left side we were able to apply lessons learned and it went a lot faster. The bolts holding the fenders to the nose are now tight, but the bolts holding the nose to the radiator frame are still loose. We're having difficulty getting the door gaps to stay put. I can pull the nose on the left side and get a decent gap but after letting off on the pressure it moves back closer to the door. Tightening the bolts on the left side don't seem to help it stay in position, it still springs back somewhat. The passenger side gap is slight larger than it should be so I think the cab needs to rotate slightly. I'm currently struggling with finding a method to pivot the cab (the four bolts are loose). I believe the front left bolt is somewhat of a pivot point and what needs to happen is the passenger side needs to pivot slightly forward. What's the best way to do this? It's been around 28 years since I dismantled the truck and its kinda weird to see fenders on the truck!1 point
-
1 point
-
1 point
-
Continued from previous post… Whilst I was in that area, I vacuumed and wiped the trunk (boot) area down as it’s been filled with all sorts of stuff lately. Comes in handy when I don’t want to get the daily driver dirty. Gave under the hood (bonnet) a once over too and Gummi Pfleged the seals and window rubbers. I’ve had that stick for about 15 years - it lasts forever but does a great job keeping the seals supple.1 point
-
1 point
-
It looks like you have a drop of oil (or something) below the crank flange, so I suspect that the seal is leaking a little. This could be not the source of your massive oil leak, though, but it's a leak alright. Since you have the gearbox out, it could be a good time for a new seal. If you are dealing with multiple leaks, you might benefit from using one of those UV dyes for the engine oil. As for the clutch disk, I've just seen them broken springs, before, on relatively good-looking (but antiquated) clutches. Probably just the metal fatigue. But do make sure that you get the correct replacement for your specific car Do you have the repair manual for your car? This is usually helpful for checking the diagrams for missing/incorrectly installed parts, etc. If you have not already seen it, here is the Chrysler clutch troubleshooting video from 1948, which could be applicable:1 point
-
1 point
-
1 point
-
I'm sure it's sometimes a bandaid. My 48 had toast wiring. I pulled the entire harness and rebuilt it using modern wiring. As an upgrade and to consolidate sizes all the 16 went to 14. I've now put about 30k miles on it with the 6v system.1 point
-
I have one of the Harbor Freight sandblast cabinets. It is good for hobby work but would be inadequate in my opinion if you're trying to make a living with it, unless you heavily modify it. It is easy to modify into a slightly better unit if you're so inclined. I mounted mine on a rolling base and did some minor changes related to airflow for dust control, and lighting. I do have some surging issues with it, but I can put up with that until it's time to replace the nozzle and feed system, at which time I'll upgrade it. The sandblast media you use makes a difference as well, I initially used 80 grit crushed garnet, which worked well, but wore out quickly and produced a LOT of dust, almost more than my filtering system could cope with. Now I'm using 80 grit aluminum oxide (from HF), which is lasting longer and generates significantly less dust.1 point
-
1 point
-
I went to a local AACA clubs spring swap meet this morning. At the second building that I stopped at a gentleman had a set of Senior Trippe Safety Driving lights. I examined them and they were complete even had the correct Trippe mounting brackets and the level in the top of the bucket and the original wire and the original Trippe black tipped bulbs. Came home and polished the buckets and then hooked them up to my 6 volt battery charger and the bulbs even lit up, no cracks in the lens. As many of you might know these Trippe lights are not cheap, the price ranges from 1600-2200 for a set in perfect condition. OK, no i did not even pay close to that amount. I asked the seller what he wanted for them and I was thinking at least $1000+. He came back with a price of yes $100. You never saw any one ever get their wallet out and pay the seller. I basically stoles these from him and I asked him if that was his price and he said yes. Also at the same time he had a box of the Autolite BullNose 6v sealed headlight bulbs in a box. There were six in the box. Asked what he was getting for the bulbs he said $20, I then asked each, he said for all six, so another $20 was spent. Got home and tested these and they all work. There is some rust on the edges and on the back but this can be removed and repaint the back a gray color. As you also know MoParpro sells these same light autolite bullseye for over $200 each. So not a bad day of looking for parts. I attached the picture of the Trippe Lights. Rich Hartung Desoto1939@aol.com1 point
-
1 point
-
1 point

