Leaderboard


Popular Content
Showing content with the highest reputation on 10/27/2019 in all areas
-
Really nice day here today. We had some company this weekend. I took the opportunity to take my brother out for a cruise. Later our boys, their fiancés and a large group of their friends all stopped by for a visit. Always nice to have the girls around. Here I am tucking my Windsor in for the night.2 points
-
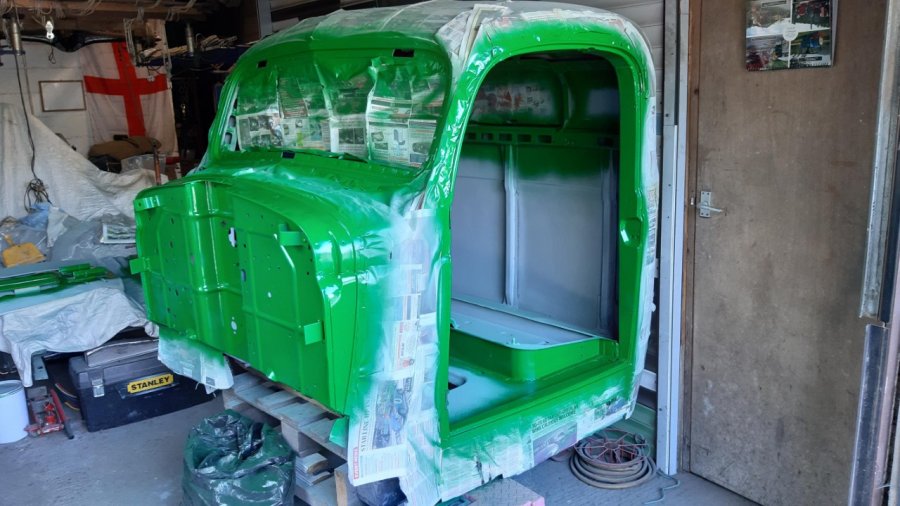
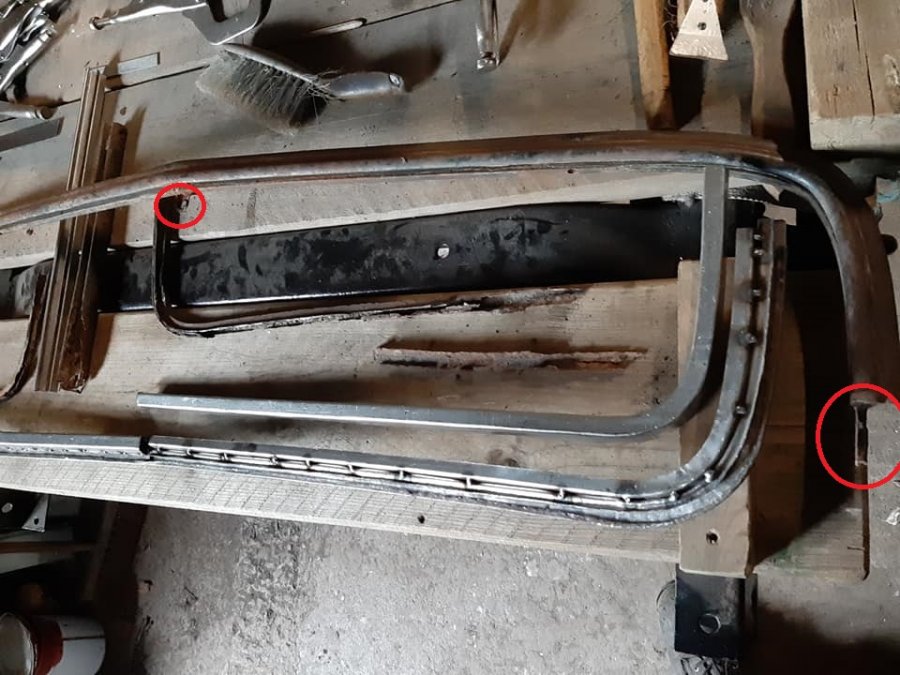
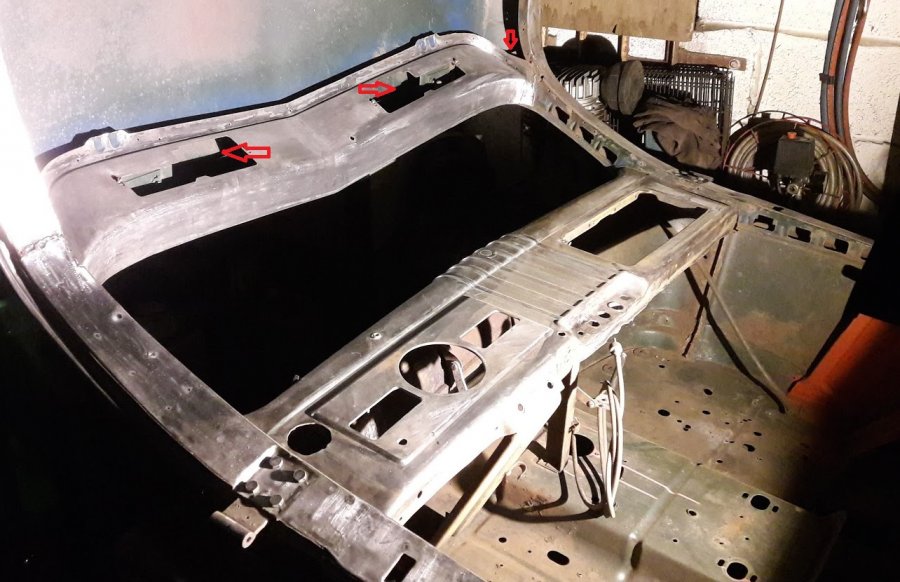
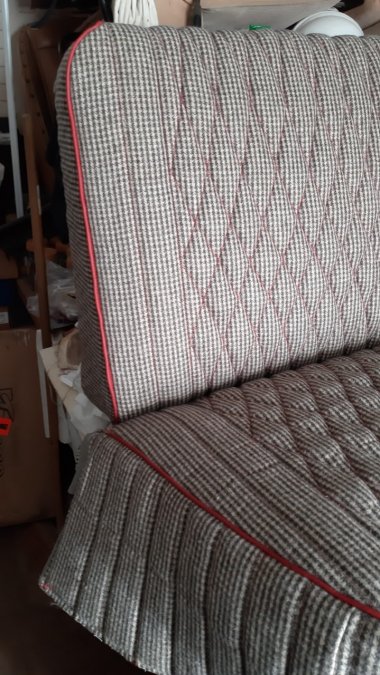
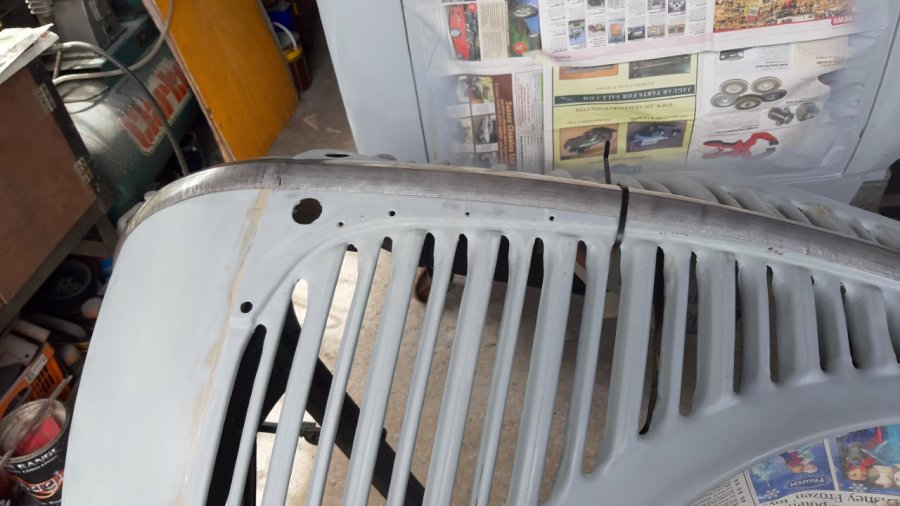
Can't believe it's been 18 months since last posting, so lets see what I can find. Once it was rolled out of the container the Cab was removed single handed, I didn't want to remove the steering wheel incase it fell apart, so with the help of 4 6/1 pulley blocks I lifted the back much higher than the front and then by lift the front at the same time as lowering the back the wheel came through the toeboard opening. Then the rolling frame was pushed forward until I could lower the Cab on to a boggy. The lower inner section of the windshield frame was shot, once the frame was split the outer section of the lower was salvaged. A 3/8" sq hammer form was made to replicate the main section of the inner, no easy task but with shipping cost to the UK plus duties there was very little to lose. Laid the Cab on it's knees got insideand stipped the paint making sure that all the details were sharp, nothing worst than driving along and seeing all the imperfections. The Seat, not something I wanted to do at this stage but after being let down by a sand blaster (£300 job took 4 months) I was fast running out of things to do. Had spent time making up my own wiring loom and installing it as far as I could, time on my hands. Upholstery is one of my strings so lets just say it's my mark on the restoration. Just a bit of prep work before the paint man works his magic.( ignore whats under the cable tie, just a small job that came my way for a PT105 ) Have now got the first fix of the inner front fenders with the fender brace and radiator in position, the lower grille with the fenders all bolted up solid putting 2 penny washer where the welting goes.
 2 points
 -
Color is fine. I did a dark grey on the '47 Desoto engine with a deep read head and bell housing. The head and bell were powder coated. Over the last 10 plus years that really paid off in wiping down oil from things. James PS. I would also like to see the curves. I attached some curves I have from the factory.


 2 points
 -
1 point
-
Just a thought, you might pull the hood off the charger sitting behind your truck, let the shop practice on it. Then if you are satisfied let them do your truck hood. Ok, I am going to run and hide now1 point
-
Trust me - all the effort and drive time will be worth it; every time you look at the louvered hood you'll smile!1 point
-
still a lot of paint.. stick with it...brushing is a long process for sure...but I understand the cutting of lines with items mounted in place....I did this with a brush to the tune of about 8 ounces...middle pic..thinned and brushed as a wash coat for imperfections and crevices but got full pan coverage....followed with another 12 ounces sprayed...this undercoating is only 16 ounces.....of course as seen in the top pic....I put three coats of body color on also...once tack coat, two wet coats...this cab had no connection of the left A-post to cowl, rocker inner fender or floor, metal was gone...as a precaution I did the same repair to the right cowl. Hopefully the cab get set on the chassis tomorrow. A wandering eye would spy the chassis in the background covered by a tarp...complete with poly bushing in the leaf eyes and the shocks upper and lower...got to get rid of that 4.55 rear axle though...lol

 1 point
 -
A lady pulled into an auto repair garage and declared that there was a weird noise coming from her rear end. The mechanic said he could put it up on the hoist and have a look at it.1 point
-
no weapon is political. Just the user.1 point
-
Did you remember to put the proper lube in the rear end before installation?1 point
-
4001 on a 1947 from Canada would be black....1 point
-
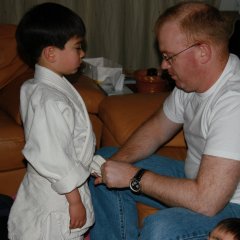
Nicholas's School took first place at regionals today. Nicholas also ran his personal best in the 5k. 17 minutes and 18 seconds1 point
-
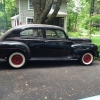
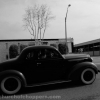
Parked along the street when we stopped for lunch. Coalport, PA.
 1 point
 -
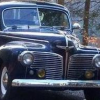
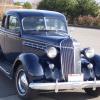
Cleaned up the 36 and sold it a couple of weeks ago to buy this. Might keep this one??
 1 point
 -
Also, Beware the ferrel!!! Where the line attaches to the tank there is an internal ferrel about the size of a pencil eraser. When you disconnect the line from the tank, it will fall out and the garage Gremlins will grab it, and hide it some where in the deepest, darkest corner of your garage, never to be seen again. This piece seals the flare of the line to a seat in the outlet fitting. With out it the connection will leak, suck air and generally make your tank and fuel pump incomcomudo.1 point
-
It seems some folks are unable to see the pic with my new rims. I will upload it here in a different way.1 point
-
Job Done, in the end I removed the 4 screws which hold the right hand rear floating mount, within an hour the bracket was aligned to the mounting and bolted back into the frame. Didn't even break a nail. Now to get ready to firer it up.
.jpg.8ec9efef2fc50e56b3365c03606badf5.jpg)
 1 point
 -
Thanks for your support gents, nice to know fellow Mopar guys find the time to browse the threads, here in the UK space for lock-up are a premium, already have 500 sq ft an ex farmers barn which is not suitable for modern farming. I bought my container as an over spill then had the opportunity to buy my 41 Plymouth PT125 and lost my surplus space. None of the photos show the fact that the floor of the container is 2 ft above ground level, fortunately I have a large flatbed trailer tiltbed so getting the truck out will be a dream, here's today's helping.
 1 point
 -
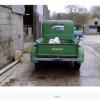
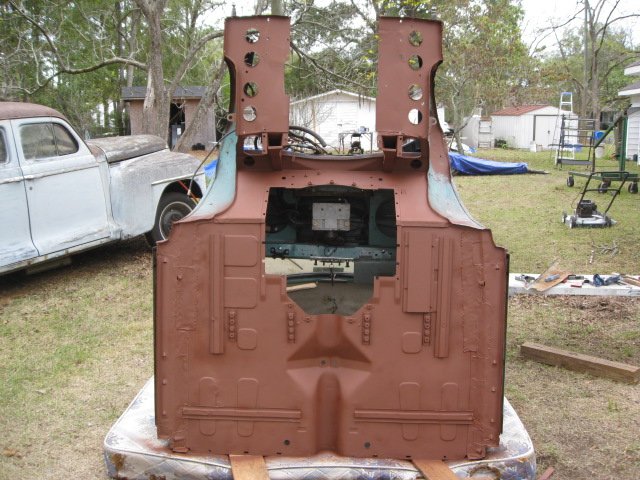
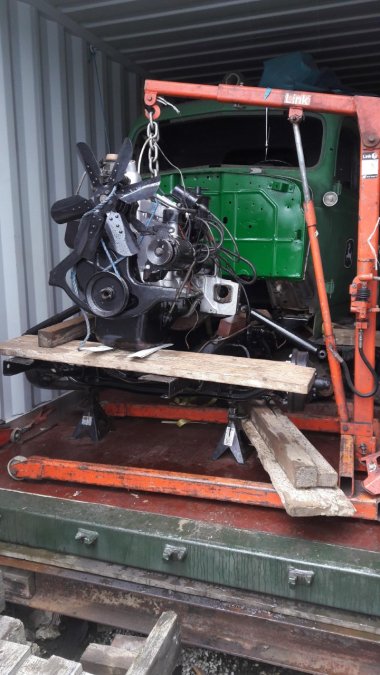
Been a while since posting here, moved along a little with this 41, have stripped the bodywork off of the front end so that I could prepare it for a 1947 T142 engine trans that has been de-coked and tidied in readiness for fitting.Still can't embed Photos into text Primed, Frame with 2 coats of Rust-Oleum, 2 Coates John Deere Green in keeping with it's former life, plus the engine waiting to be fired up.


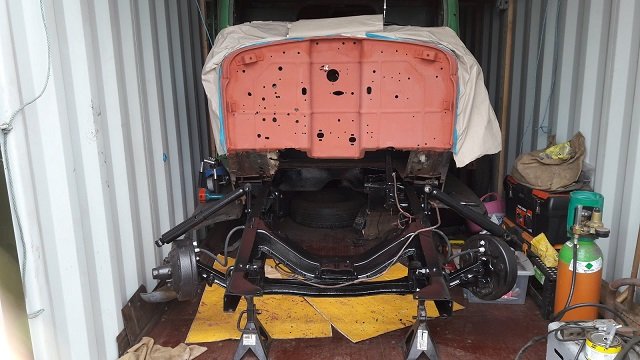
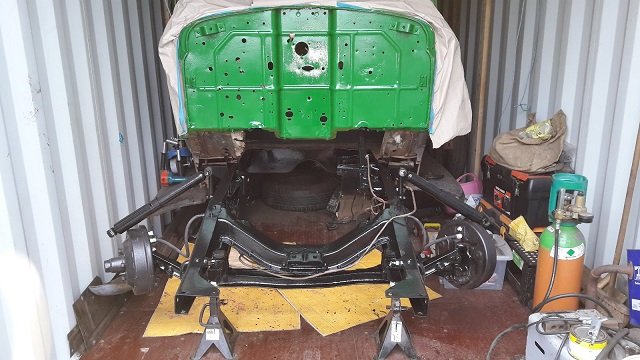 1 point
 -
Few more updates from last week, engine trans is ready to go in, just got to clean up the frame, blast & spray, 3 coats Rustoleum, Firewall will be John Deere Green as it was in service. Rust repair to be completed on both sides of the cab, did they all go there?


 1 point
 -
You want dirt this is the T142 before and during, after is complete color wise but will have to wait for photos


 1 point
 -
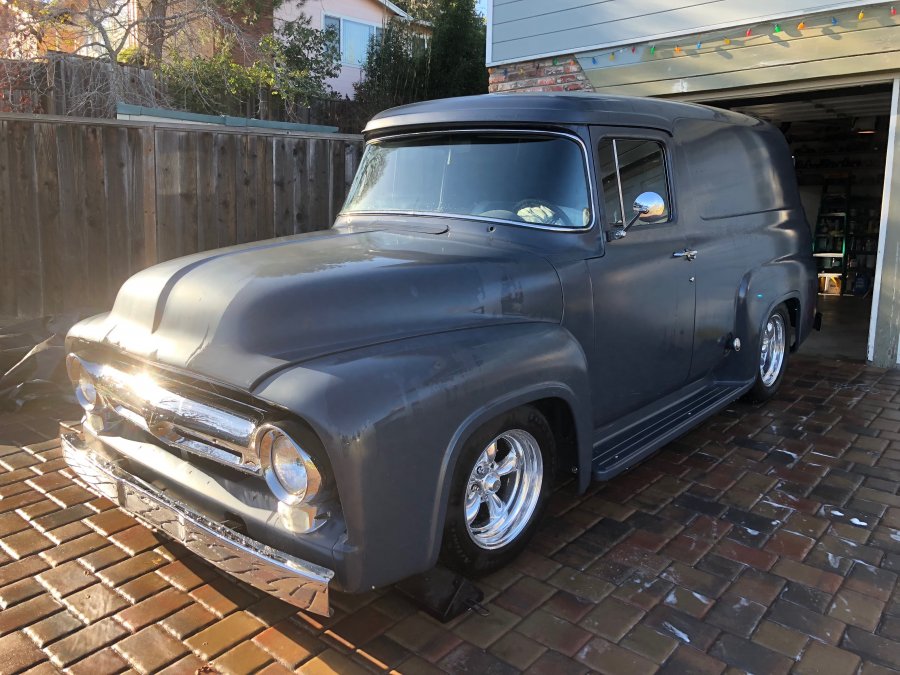
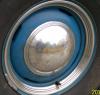
I run 1950's 15x6 mopar wheels front and back, back tires are P235-75R15, fronts are P205-70R15. Don't know what the caps are from, I modified them to fit the wheels.

 1 point
 -
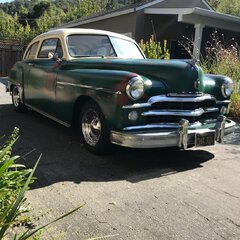
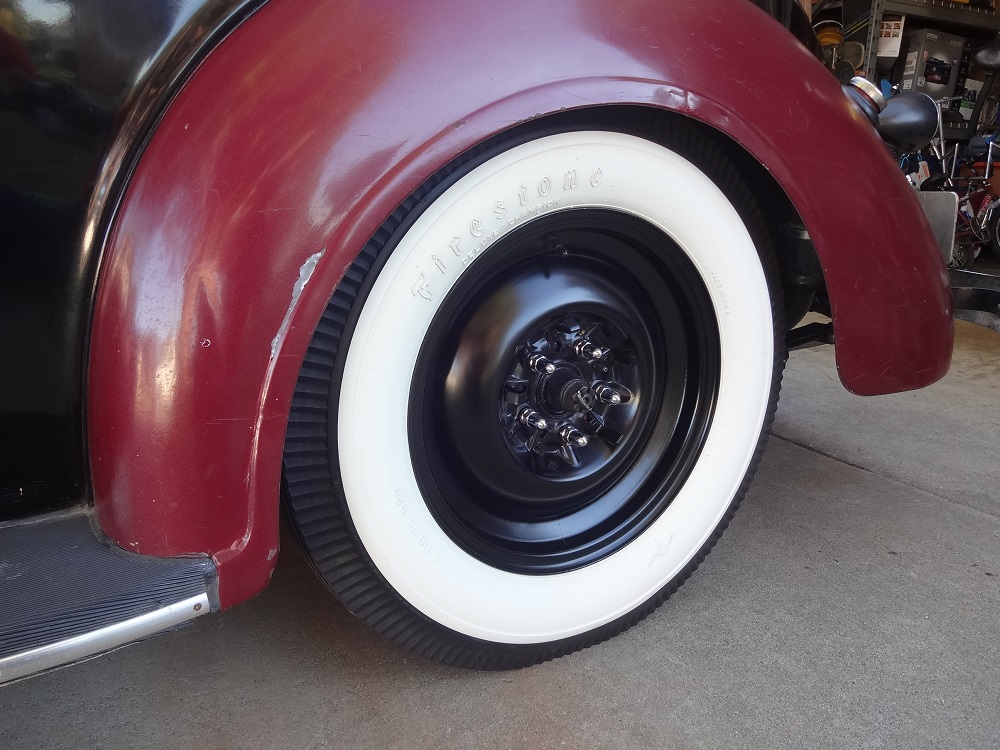
Stock 16" wheels painted black with chrome lug nuts, 6.00-16 Firestone Deluxe Champion bias ply wide whites......
 1 point
 -
Added some compliments to the wide whites, with a visor and skirts.1 point