-
Posts
530 -
Joined
-
Last visited
-
Days Won
4
Everything posted by thebeebe5
-
Matt, The bushings I did were custom. First checked the small end for roundness and taper. I don’t recall if I honed to correct any issues, but normally we’d hone them to make them perfectly round and eliminate taper. Then we called Crower with a spec 0.002” larger than the rod small end ID for proper interference fit. The bushing ID is ordered smaller than the OD of the wrist pin. Once installed (press fitted) into the rod small end the bushing is honed to a final clearance about (edit for this particular build per blueprint notes) 0.0005” larger than the wrist pin for proper oil clearance. Honestly have no idea where these ended up for thickness as that was 6-7 years ago now, but they aren’t very thick at all. Basically they just allow the rod end to be fitted to the wrist pin. These were all bronze. No steel shell. Hope this answers your question! JIM
-
Matt, I apologize I did not see this when you posted. I need to check and make sure I get emailed when a comment is added. The contact of the valve and seat is moved out to the edge of thr valve to maximize the valve size. I could certainly seat the valve further in but I’d not be taking advantage of the full size of the valve. With the equipment available to grind seats integral to this flathead engine block the gain is likely nil, but it’s a technique generally used for valve jobs here at the shop so I adhered to it. It does come into play with multi angle valve jobs on motors that move a lot of air. In some cases a proper valve job with seat contact placed to maximize valve area can see as much gains (or more!) as swapping in larger seats/valves and not taking advantage of the full size of the new valve. Good luck with your build!
-
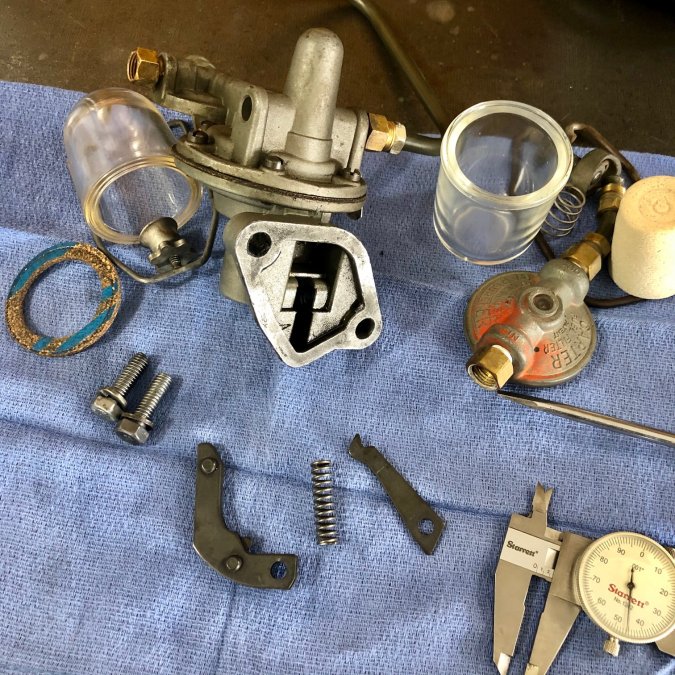
I turned a new, longer pin on the lathe. Left a shoulder on one end and drilled the other end so i could wire it in place permanently.
-
I’ve never had an issue with Transjel Gold.
-
First time on the road (even after a long rest, never mind an overhaul) is always a thrill. Congratulations!
-
Bryan, When I drilled the spot welds out to remove the baffles I did find quite a bit of hardened sludge clinging to the undersides. If you’re handy with a TIG it’s not a bad way to go just to be sure.
-
I was disappointed at how boring the pistons looked when I got them. Flat tops and no “bling”. But they’re what this engine calls for.
-
Matt. Glad you found the thread informative. Lots of good questions here. I’ll answer as best I can. Regarding your first comment related to premature wear, consider 75,000-100,000 was a respectable accumulation back in the day. Oil wasn’t anywhere near what it is now. Our motors get far better protection with lubricants available today, and we aren’t even considering filtration (or lack thereof). Also something to consider is a proper tune. A really rich AFR pouring too much fuel into the chamber (even these days) is a sure way to wear rings and cylinder walls, contaminate oil and speed premature failure. Cold weather dwellers that fired their car up with the choke on full and went back into the house to make breakfast while the car warmed up weren’t doing themselves any long-term favors. All can lead to ring and cylinder wall wear. This wear certainly wasn’t due to inferior materials. Foundries were making better iron back then than much of the imported stuff now. I’ve not had any issues with the engine related to compression or blow by. I did find a crack in the head that I fixed a little over a year ago that was either missed when I Magnafluxed it or developed after the build. I don’t recall if I covered that repair here or not, but while the head was off we had a good look at the cylinder walls and they looked as if they’d just been honed. The oil looked clean with minimal contamination when I did my first oil change after rebuild. Could easily see through it though as expected it did darken in that time. I’d do the same thing again (but not with JE) to save cylinder wall thickness. We only honed until the cylinders cleaned/squared up rather than going up in full 0.010” increments. No visible oil burning at all. A far cry from the pre-build smoke screen. Car has excellent power. I can accelerate from 3rd gear at 20mph up an over-pass with ease. No issues. I’ve got 63,790 miles on the car now. At this rate I’ll drive it forever before I do it again. There are a lot of considerations when custom ordering pistons on the form, but many of those blanks address features that wouldn’t really be necessary in a low performance flathead like our cars run. You don’t need an accumulator groove in a 7.5:1 SCR flathead and contact reduction would be of minimal value in my opinion. I just told the rep what engine I was building and he spec’d a stock style piston (looks like a tomato can IMO...) with the thinner more modern rings. Our decision on rings was simply made by calling Total Seal (a couple of miles from the shop) and asking what ring thicknesses they had for our chosen piston diameter. Once we knew what they could supply we finished the order form with ring thickness specs. The only think I believe you mentioned that you would be required to know is compression height. That’s the distance from the center of the wrist pin to the deck of the block (where the head mates). You don’t want your piston down in the hole robbing you of compression. Likewise, you can’t have the piston too far above deck (also depends on head gasket thickness) where it could contact the head while the engine is running which will quickly destroy a motor. Consider discussing it with your engine machinist. They do this regularly and can answer many of your questions as well in order to get you the proper pistons for your application. I certainly wouldn’t consider it a risky move. It’s a pricey one, but like any other engine building process it involves care. You can’t throw the wrong sized stock components together and expect longevity either. If I missed anything major let me know and I’ll address it. Lunch is over and I’m heading back into the shop to continue working on my ‘67 Ford 352 rebuild.
-

Found my camshaft! - Pulling motor on 1948 Dodge.
thebeebe5 replied to Bryan's topic in P15-D24 Forum
Glad to see you’re making progress on this project. Sent you a DM.... Check your inbox. -

Finally Fired Up My Engine Rebuild. A Summary.
thebeebe5 replied to keithb7's topic in P15-D24 Forum
Awesome. You’ve been at this a while, yes? I seem to remember you making some comments about your rebuild while I was doing my build thread a couple of years ago. well done! -

Can brake line be used for the fuel line also?
thebeebe5 replied to MarcDeSoto's topic in P15-D24 Forum
Nickel copper works just fine (steel would as well). Fuel pressures are very low compared to brake pressures.- 10 replies
-
- 2
-

-
- 48 desoto
- brake line
-
(and 1 more)
Tagged with:
-
IIRC Plymouth used studs without washers until 1938-1939 or so. Saved a couple of pennies per car that way. My ‘37 didn’t have them originally and it came up in a discussion thread here when I rebuild my engine a couple of years ago.
-
$670 for the six pistons.
-
The old Ford p/u has been frustrating me by depositing coolant in the crank case. So I didn’t have it available to collect a downed mesquite tree a few miles from home. I forced my coupe to earn it’s keep this past weekend. Just couldn’t let all that nice wood be picked up by someone else. Anyone else make their vintage vehicle do hard labor?
-
That sounds like ridiculous money... ?
-
That would be awesome, Rich! I’d pull my floor out to replace the one i lost when the bell-housing was vatted years ago. Been going without ever since. I hope I took measurements back then. Would make it easy.
-
I pulled the head because I incorrectly assumed the other shop would braze it again. Turns out Brian has the Lock n Stitch at the shop and we could’ve done it ourselves, but neither of us thought of it… ah well...
-
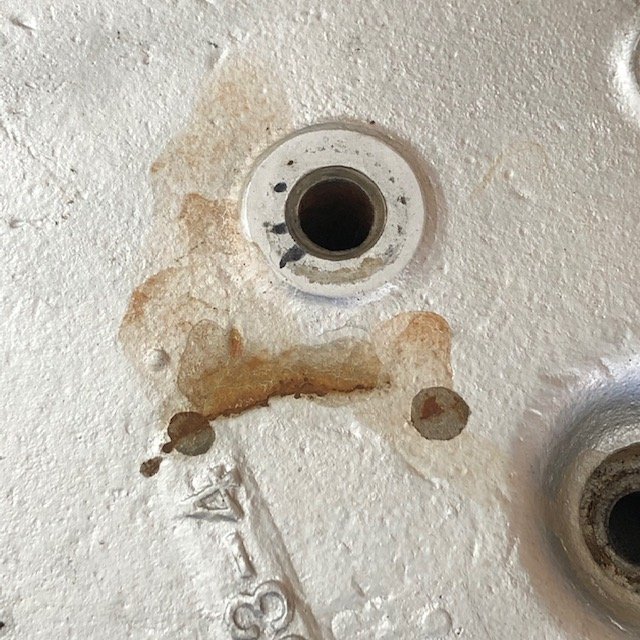
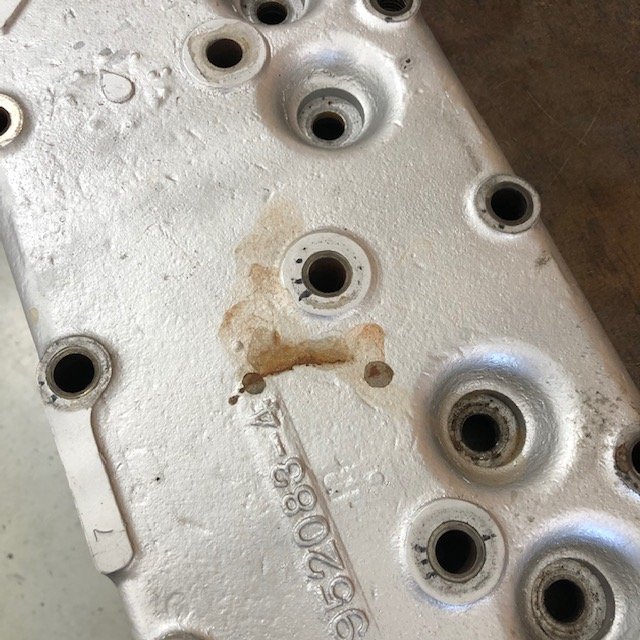
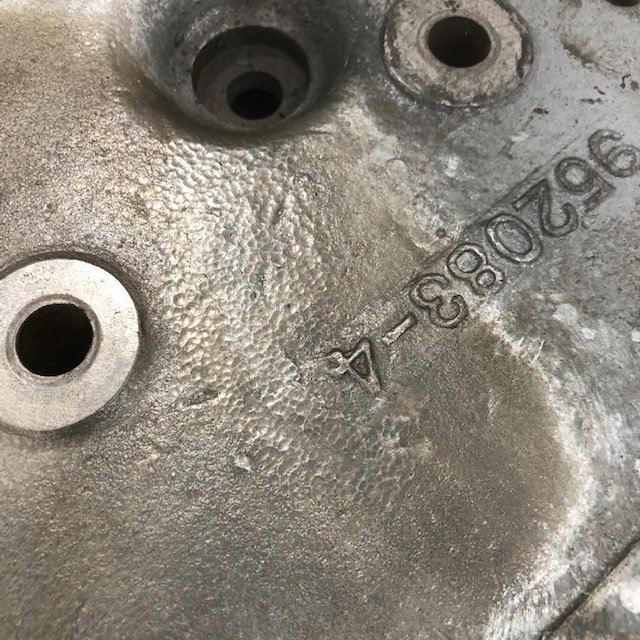
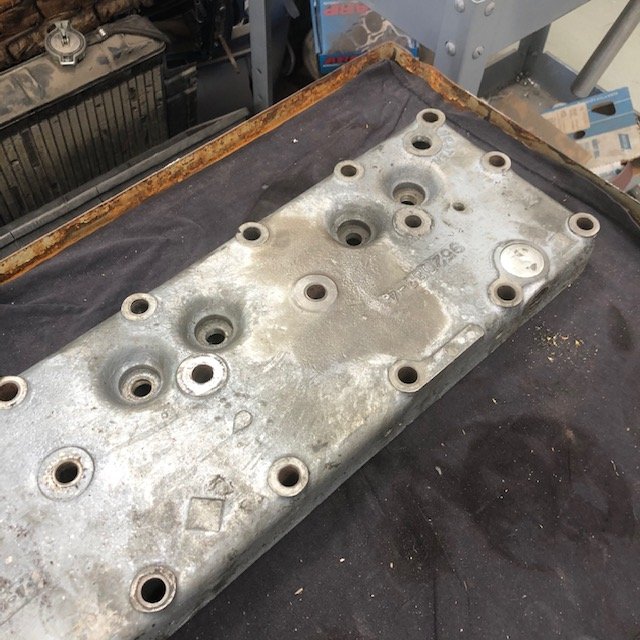
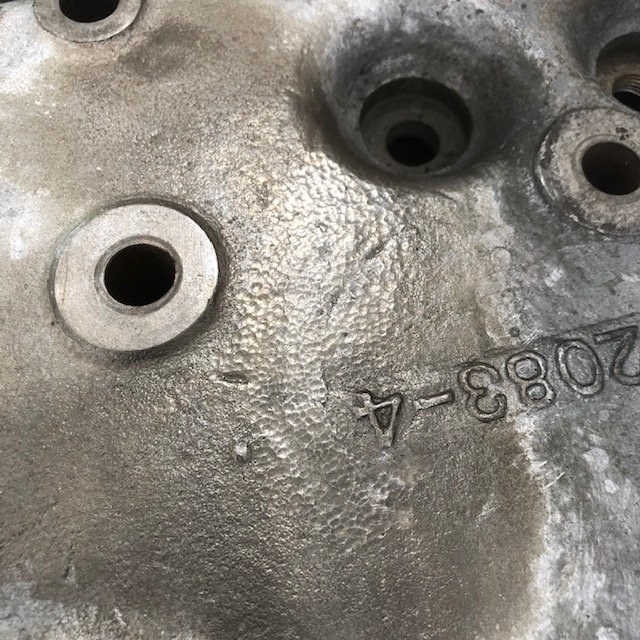
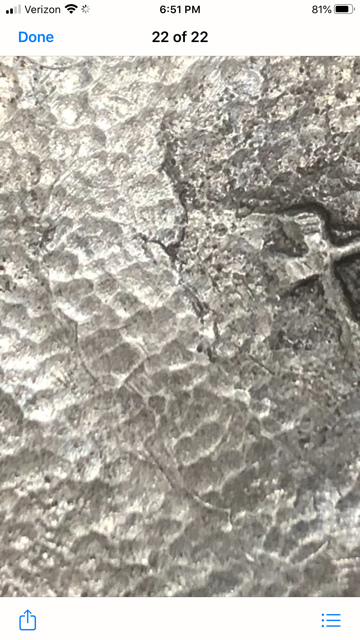
Soon after completing the rebuild of my ‘37’s 201 (Time for an Overhaul thread) I noticed some rust forming on the top of the head between No.s 4&5 cylinders. It turned out to be about a 1.5” crack. Annoying.... Now, I don’t know if it came about after the rebuild, or if (while magnafluxing the head during the rebuild) I’d simply missed it. Could certainly have been the latter. Anyway, being a non pressure cooling system it wasn’t much more than an eyesore. Last weekend I finally pulled the head to have it repaired and here is how it turned out. I assumed the shop would braze the crack as they had the large crack under the water neck, but this time they used the Lock n Stitch product to produce a repair that was effective (pressure tested!) as well as nearly invisible! I’ll be looking forward to reinstalling the head some time today, Friday or Saturday, depending on time availability.
-
@TodFitch That’s just what I did. Kind of... Turned a pin out of tool steel with a shoulder on one side and I wired the other. Don’t think it will be a future problem. It's working fine now. I’ll worry about a diaphragm on another occasion.
-
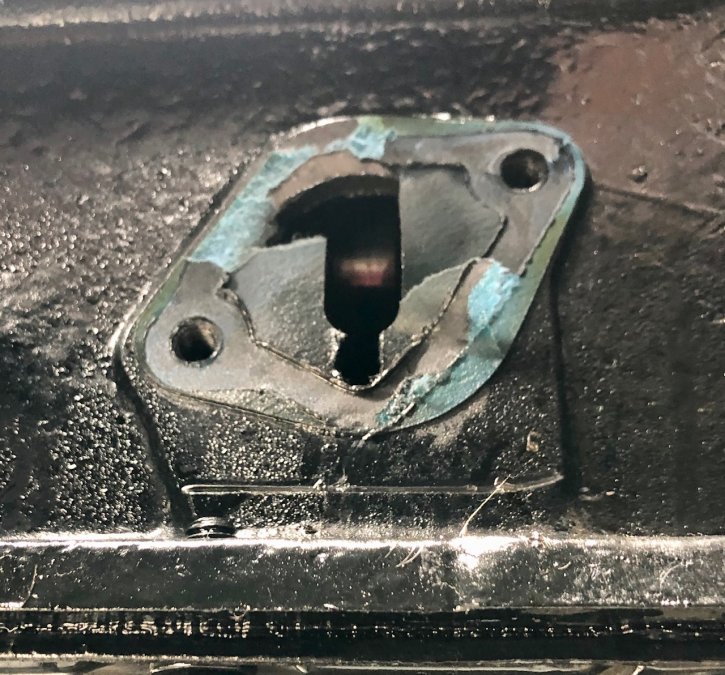
The ‘37 quit yesterday on a drive home from the USPS to check the mail. As it acted like it ran out of gas I had my son bring me a couple of gallons. Gauge read 1/4+, but stranger things have happened. No result with extra fuel and i had no tools with me, so i had it towed to the shop. Checking things this am and the fuel is present but the pump certainly isn’t moving it. So, off comes the pump, and as it comes free of the block parts start hitting the floor. ??♂️ Apparently the pin holding the levers inside had fallen out along the way. I was sure i would have to drop the pan to find the larger lever, but as luck would have it the gasket is narrow enough that the lever was hanging by one of the assembly rivets. It’s not a winning lottery ticket, but it’s close. I’ll make a new pin and reassemble it this morning. Does anyone know which years of these pumps share the same diaphragm? I could replace this one today if I can pick one up locally, but I’m not sure about compatibility through the years.
-
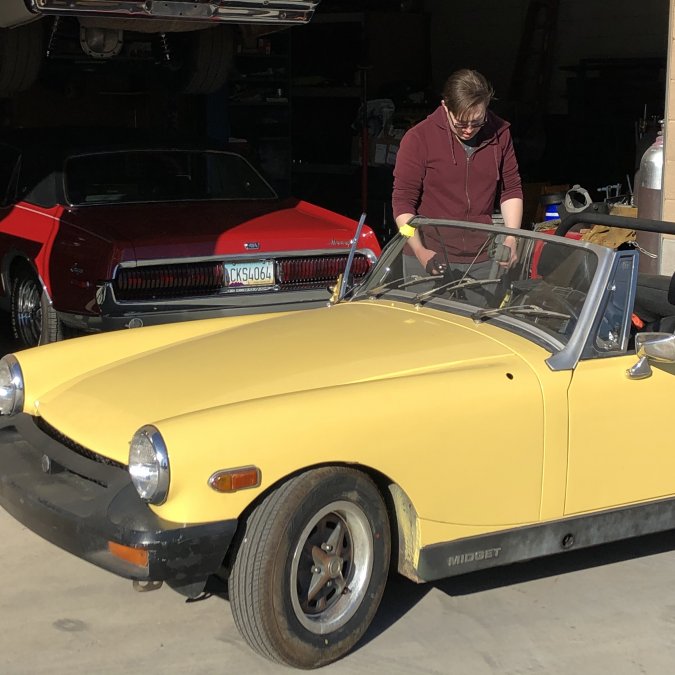
Thanks fellows. People that love the hobby share knowledge that furthers the hobby. I’m always happy to answer questions. My pal Brian (that owns the machine shop I spend my weekends in) selflessly offers advice and technical knowledge. I’ve built an MG Midget 1500, an FE big block Ford and the Plymouth flat 6 chronicled here and disassembled more engines than I can remember all while learning. From reading bearing wear to assessing parts for reuse to tuning the single Carter found on my Plymouth to tuning a phalanx of Weber 48IDAs found on a Ford GT40 Mirage.... All this from an enthusiast that loves to share knowledge. I’ll keep passing it on. I’m currently inflicting knowledge on my 19 year old son. My Pop started me much earlier, but I’m thrilled my boy found a classic that turned him on and thrilled he wants to learn.
-
Reused the original metal frame for this one. You could TIG weld on new tabs if yours are broken off.
-
Thanks everyone, and thanks for the kind words, Andy. Forgive the tardy response. I’ve become very busy at my regular job and even more involved at the shop and I forget to check in.... ? Not sure how many miles I have on the motor now, but I can look. It’s running like a top. Retaining the old lifters created a bit more work in repeated valve lashings until I got it where I wanted it. The turbo is still sitting on the bench where I left it.... ?.... Brian keeps bugging me about “let’s force induct a ‘37 coupe today” when I arrive on Saturdays, but there’s a little work I need to complete first. The cylinder head either developed a small crack or I missed it when we magged it away back when.... over the piston between #4 and #5. It’s a small one.... maybe 0.5-0.75” long. With the non pressure system it really doesn’t leak anything, but it made an ugly rust stain right there for everyone to see. I want to pull it, braze it up and reinstall before I try forcing extra air down the car’s throat. Oil pressure cold is still 60 psi, decreases to 50 at hot cruise, 12-15 psi at idle (factory gauge, so kind of guessing on the low end. Max matched the gauge we used when we drill-spun to oil prime prior to install. Water temp goes to 180° and stays there even in 115° weather. Trans howls a bit. I’ve been collecting NOS parts to do it again and have everything except a cluster and 1/R. I hesitated on a cluster 1st/Reverse set early in the year and missed out. The available NOS ones on ebay are ridiculously priced. It can howl all it wants, but I’ll not shell out $400 for a cluster gear. Still looks good, still gets complements at cruises. Old timers love that I pull in (after a long day at the shop) in a 6v coupe with its original flatty. One guy walked by and asked if I’d mind starting it for him so he could listen. I said “bend your ear over here, Mister... it’s running now” That night I smiled all the way home.
-
Love the car. Love the color!!
-
All i know is my ‘37 is so wedge shaped that even the 6” straight armed mirrors only show me the side of the car unless I turn them out a ways. They’re useless for backing into the garage as I can’t see anything straight behind me. How wedge shaped is a 51? I’m guessing they’re wider up front than the typical 30s coupe. Might be fine with curved arm, but for me I’d still go straight arm.


