-
Posts
530 -
Joined
-
Last visited
-
Days Won
4
Content Type
Links Directory
Profiles
Articles
Forums
Downloads
Store
Gallery
Blogs
Events
Everything posted by thebeebe5
-
Yeah, I’m aware. I thought of it, but there’s not a lot to do. I did bevel the metal strapping I used for good welds, and they’re dead-sexy on both sides. Should be tough as nails, but I’ll be watching it for sure. Also, I’ll be using a modest sized filter, not one of the near quart sized giants. Which reminds me.... I need to go pick a filter.
-
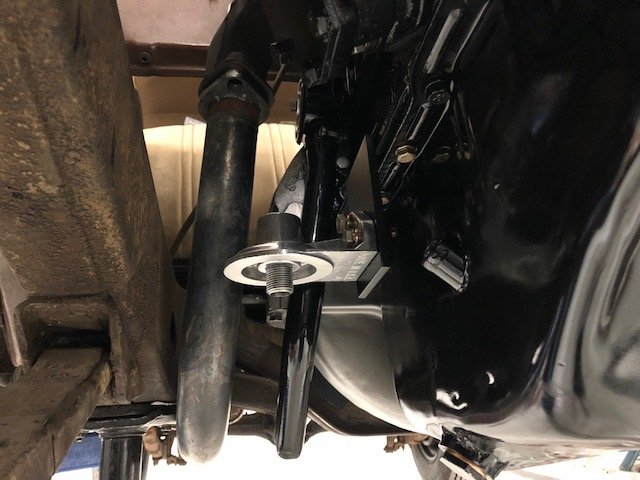
Final bit yesterday was making the last decision on where to mount the oil filter adapter. When I had the motor on the stand I’d considered making a bracket that would mount on the pan rail between the pump and bell housing. Brian thought it best to wait and see how the land laid once the motor was in the car. Well, with the wedge shape of these old 30s cars and with turbo plans there really isn’t much room. At all. Anywhere. The turbo will take some creative planning, but it still apprears the best place for the filter is in my initial location. It’s mounted way down low (but not below the oil pan) and should be out of the way for turbo plumbing.
-
I got nuthin’ but time....! ?
-
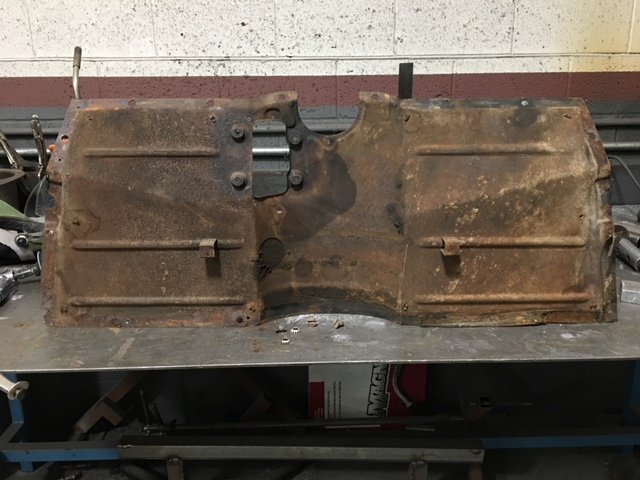
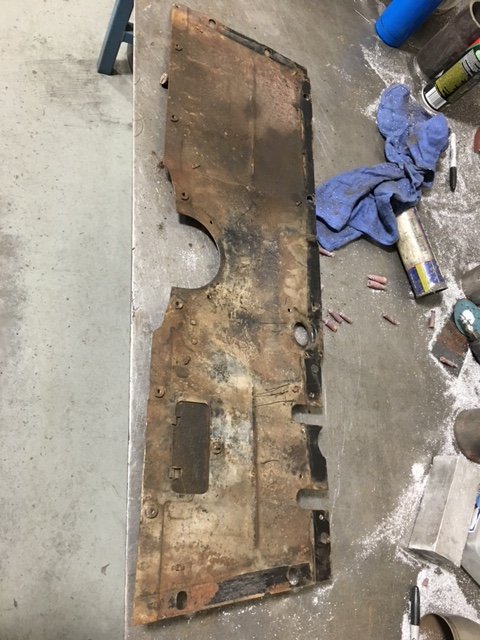
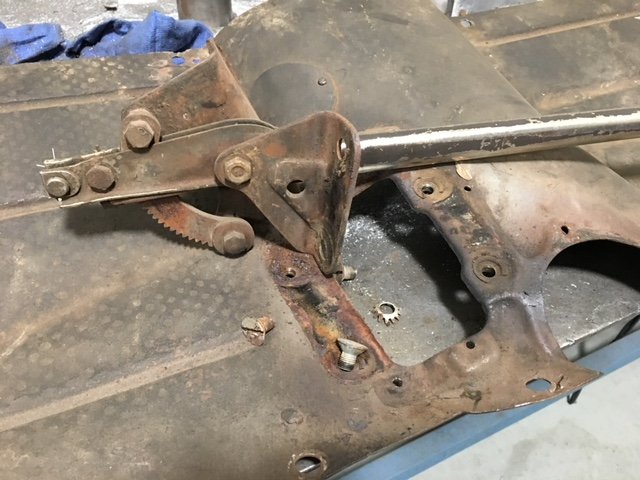
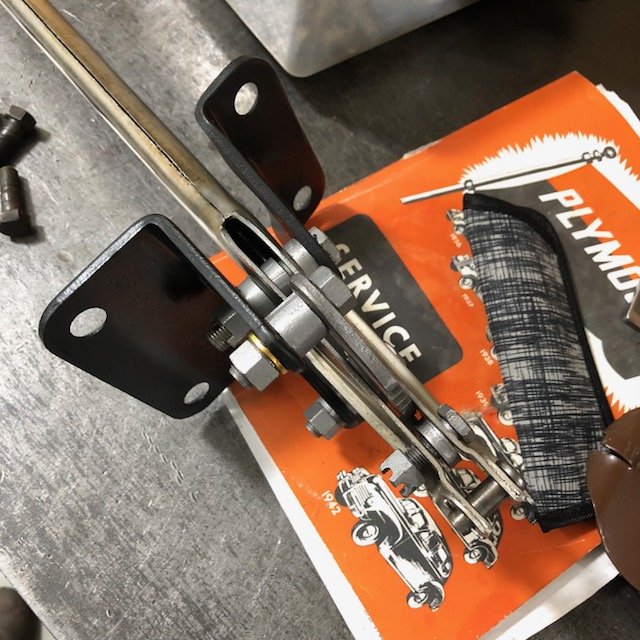
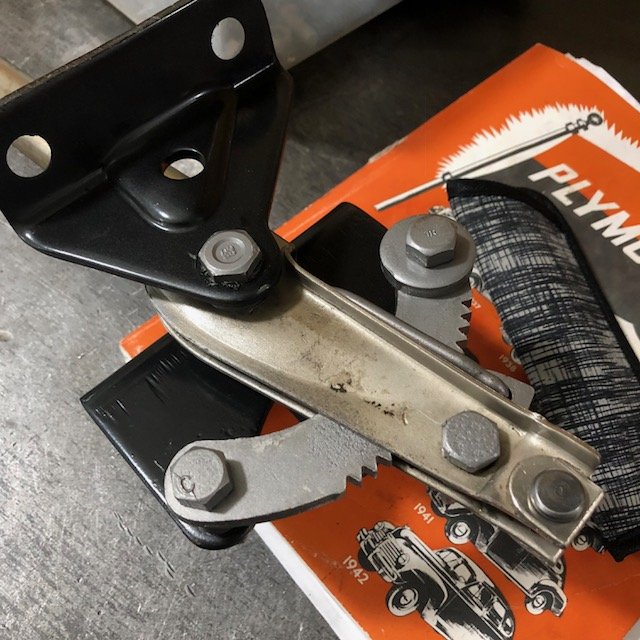
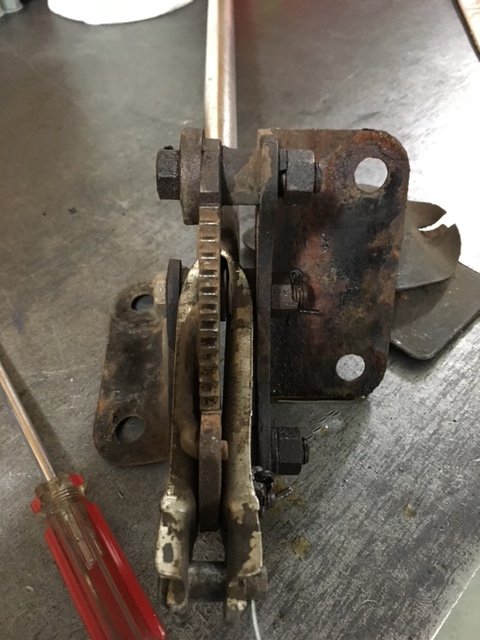
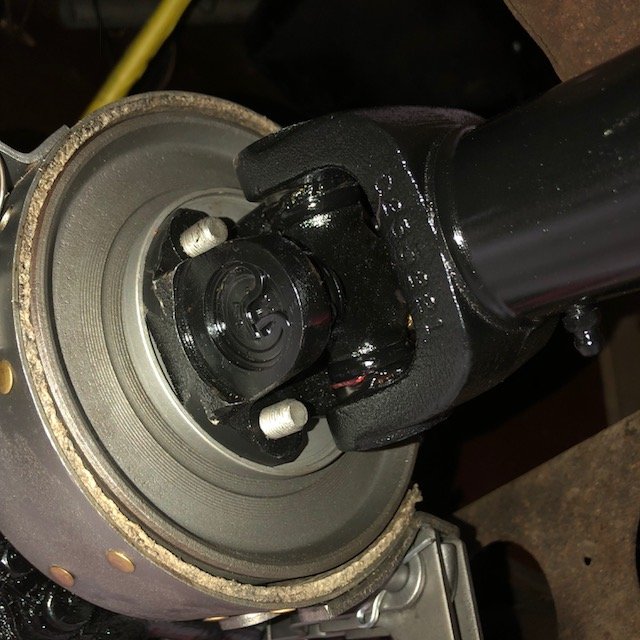
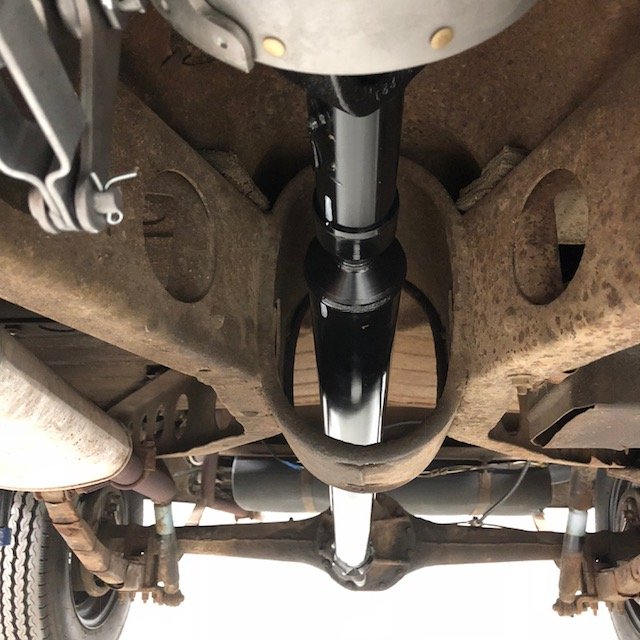
Been quiet lately, but Here’s an update. Took floor panels to Xpress metal cleaning in phoenix and had them dipped to remove paint and... wait. There was no paint. Took them to remove rust. Silly me.... Got ‘em back all nice and clean. Well, what there was of them. The panel behind the pedals is actually quite nice. The floor under my feet was really rusty. Still, there’s some left. At least more than my ‘67 Beetle had that I drove around in as a teenager I painted what there was and will install at the appropriate step. Also, got the e-brake all cleaned and clear coated. Looks much better and function well. And, hopefully my last big expense.... New driveshaft is done and am installing it this morning.
-
I guess as long as you don't use a plastic gas can....
-
Well, all that’s left of mine is bare rivets. ? I can certainly do the same as this though. Assume the same kind of material was used for floor panel joints? I just had my floor panels dipped clean of paint and rust and was wondering about those too. Of course, a layer of Dynamat on each would likely suffice for a joint seal and that’s likely all I’ll do for the floors.
-
Yes, DCM classics for the part. Had to machine depth and width for the seal. Here's the link I thought I already posted, but apparently it went to some other thread, and how that happened I'm still confused. But, I haven't had my coffee yet this morning.... ? http://p15-d24.com/topic/43897-time-for-an-overhaul/?page=10&tab=comments#comment-504019
-
Not sure the size of the hole in the rear of your block, but make sure the seal lips can move freely when the crank is set in place and aren't distorded when the seal is tightened to the back of the block.
-
It will fit, but torquing it to the block deforms the lip, and there’s no room for the lip to ride the crank surface unimpinged. The rear of the block has to be machined to accept the seal properly.
-
Good luck....
-
Sounds like me. ??
-
Don’t be sorry! I’m learning as your sending info. Happy to have all of it!!!
-
Thanks for the tip. Calle AMS just now. They have thrm in stock, but they say the measurememnt is 1 3/16”. The hole in my ‘37 bell is 1 11/16”. I may see if the shop that tanked it found anything though it’s been months... otherwise I’ll make something up.
-
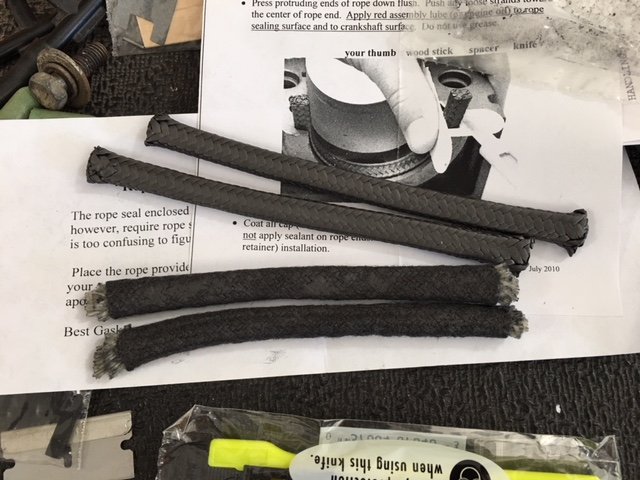
Here’s the BG seal compared to a FelPro seal that comes in the full gasket kit. BG seal is far more firm, and it doesn’t seem to be an actual rope product... Feels like some kind of graphite fibre. Just follow the directions closely and you’ll be good.
-
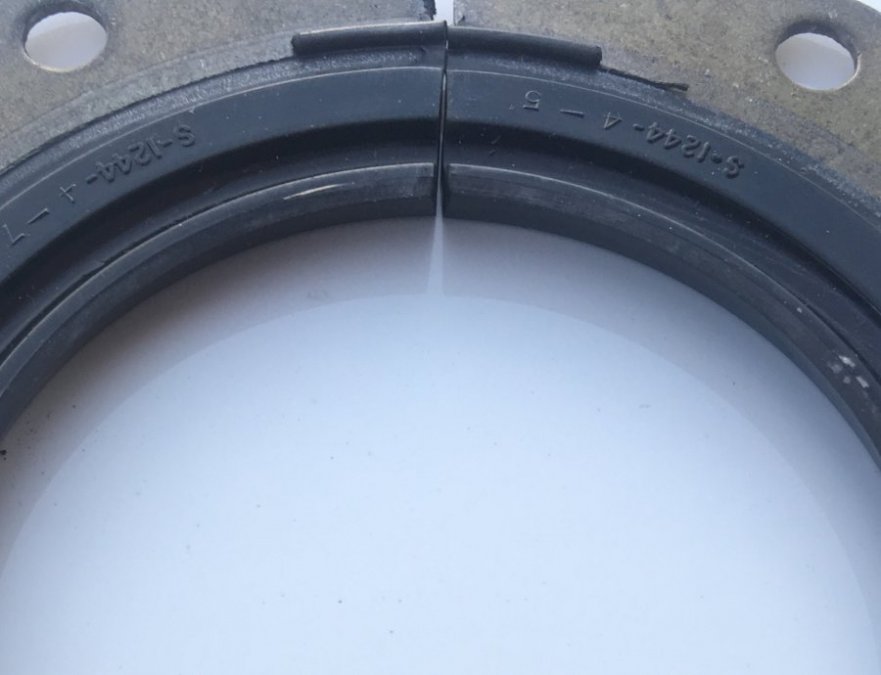
That lip would be distorted if the seal was installed with it towards the engine because it would be pressing against the block. It needs to be free of obstruction to seal properly. Believe me, I made every argument to Pat, the machinist at the shop where I’m building my engine, and he just kept shaking his head and telling me it wouldn’t work unless the hole at the back of the block was opened up to allow the lip to extend unobstructed into the block. He uses the Best Gasket brand rope replacement for all the flatheads he does and they haven’t been coming back, so that’s good. Also, another problem I had with that seal was that the ends didn’t meet well on my sample. And gobbing on silicone sealer wouldn’t have helped the ends mate and keep the oil in. Called Jeggs (the supplier) and heard crickets on that one. Tried to leave a negative review on the product and they struck it down, so couldn’t even alert others to the issue.
-
Any chance something like this is available aftermarket? Doubting I’ll find one.... @Don Coatney
-
Lol. Probably. I guess I’ll be using a rubber plug, because it definitely went to the hot tank. ? dammit.
-
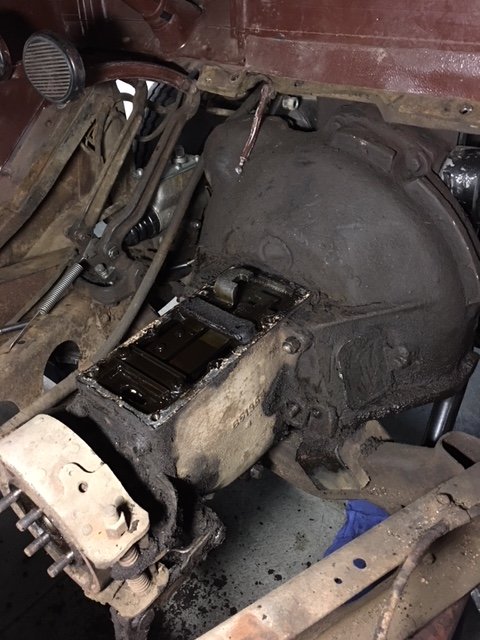
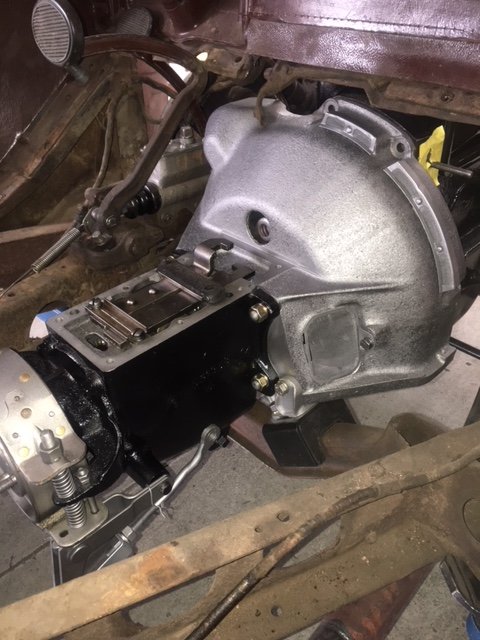
Looking at before and after pics of my installed transmission and there’s what appears to be an inspection hole at the top of the bellhousing. But I don’t remember pulling anything out of it before it went to the hot tank.... Maybe I forgot and it dissolved... ? I got the right side screen out and cleaned. Was there some other screen in that hole, or a rubber plug of sorts from the factory?
-
“..... from the crank at the pilot bearing?” You mean from where the transmission input shaft goes? That’d be impossible unless there’s a severe crack or someone drilled a hole there. Really unlikely. I suspect your rear main seal. The neoprene type requires machining to work properly and be installed with the lip inward towards the engine, not outward towards the crank flange. Call Egge and get a Best Gasket brand rope seal replacement. Install it in your original seal holder following their directions.
-
It does not, DB4U, but a machine shop can open the rear hole so it does. Not sure how that would impact returning to a rope seal if desired though.... might not make a difference since the seal is external anyway.
-
WAY easier to manage now. Good luck.
-
Yeah, that was pre-neoprene and would be a rope seal carrier pictured bolted to the back of the engine.
-
Yeah, check on that for sure prior to proceeding. Would be a major PITA to have it installed and find it dumps oil. The only reference I had was on tod Fitch’s website for the 1928 (i think) flathead and the poster mentioned block machining for seal installation. That, and the fact that I’ve always been taught to install a single lip seal lip-inward to avoid issues.
-
A little concerned about the seal lip orientation on your install.... typically seals install with that lip toward the engine. I looked at using a neoprene seal on my “time for an overhaul” build and the machinists/builders at our shop concluded that the hole in the block would have to be machined larger to orient the lip inwards to prevent leakage. I went with a Best Gasket rope seal replacement rather than machine the block to accept the neoprene seal. Maybe someone that has used a neoprene seal will chime in on their experience? Edit: Also, I don’t see threads in your crank flange. I don’t know the 230, so forgive my ignorance, but do you need to install flywheel/flext plate bolts prior to rear cap installation? Could very well be different than my 201 which required bolt installation before rear cap installation. There was just no room otherwise.


