-
Posts
2,561 -
Joined
-
Last visited
-
Days Won
83
Everything posted by Sam Buchanan
-

Flathead 6 not starting in colder weather Plymouth & Desoto
Sam Buchanan replied to Tim Larson's topic in P15-D24 Forum
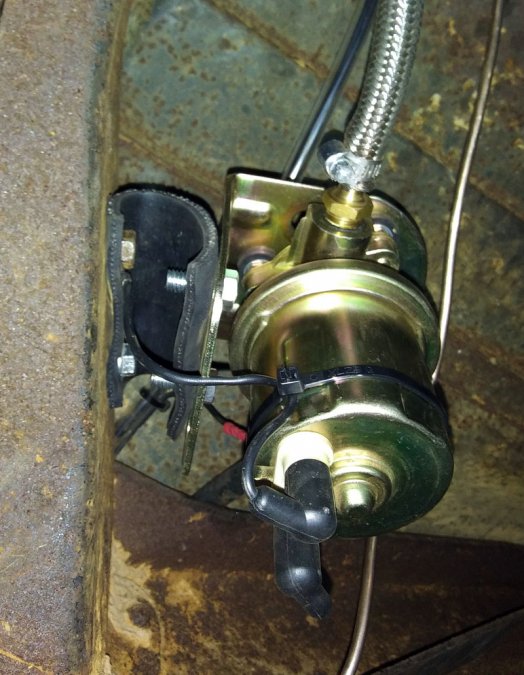
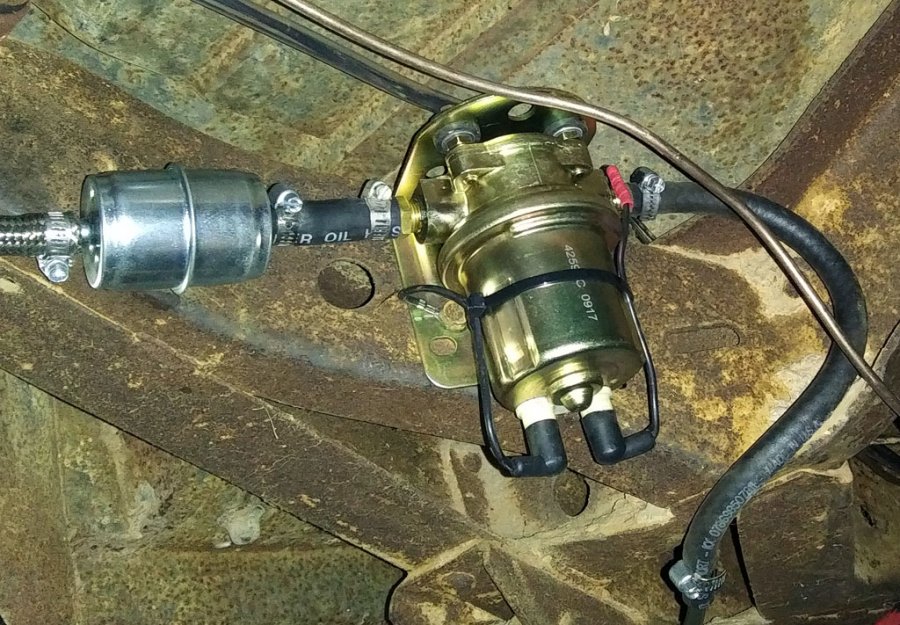
I ran the 12v version of the Carter pump for several years in my kit car with flawless results in all sorts of traffic, a lot of it in-town. The only downside is the pump is a little noisy if bolted directly to the frame. I made a flexible mount for the pump out of radiator hose and it is now practically inaudible. I have soft hoses on each side of the pump to eliminate vibes being transferred into the hard line. -

Flathead 6 not starting in colder weather Plymouth & Desoto
Sam Buchanan replied to Tim Larson's topic in P15-D24 Forum
Man.....I can hardly stand to look at that syringe.....reminds of getting fillings when I was a kid....bad memories..... ? -

Flathead 6 not starting in colder weather Plymouth & Desoto
Sam Buchanan replied to Tim Larson's topic in P15-D24 Forum
Well Jeff.....great minds think alike..... ? Here is the full-time Carter electric pump on my P15, there is a block-off plate where the mechanical pump used to be. The Carter has been flawless and I haven't found the need for a regulator. Turn on the ignition and the carb bowl is full before I have time to punch the starter button. -

Flathead 6 not starting in colder weather Plymouth & Desoto
Sam Buchanan replied to Tim Larson's topic in P15-D24 Forum
An electric boost pump really is the solution for smooth starting when the vehicle has been sitting for some time. The cost of the pump is probably less than the wear and tear on the starter and battery caused by pulling fuel into the carb with the mechanical pump....... -

My First Car -- P15 1947 Plymouth Deluxe
Sam Buchanan replied to NickPickToo's topic in P15-D24 Forum
Looks good, should work nicely. You can try a fit-up with the plate and gasket, maybe the manifold holes will slide over the studs ok. Mine didn't so I had to eliminate the gasket and instead use a liberal coat of red RTV on the exhaust manifold. Once the two manifolds are cinched up you should have a tight fit. -

My First Car -- P15 1947 Plymouth Deluxe
Sam Buchanan replied to NickPickToo's topic in P15-D24 Forum
Install it as-is........you can make the painting decision after you live with the running car for awhile.....save the decal until after the final choice. Nice early Christmas. -
Got the call back today from the engineer at TinyTach who filled me in on details concerning using their device on our cars. As I've stated before the polarity of the electrical system is no factor. However, the new info I received is about issues with using the device on engines with points and coil. The tach is more reliable with engines with electronic ignitions because the mechanical points, especially if not in prime condition, create a 'dirty' impulse as they open and close and the tach has more problems decoding the signal than if it was generated with a hard-edged, discrete electronic pulse. In years past TinyTach has delivered their older model for use with points/coil to the early Ford and tractor community with four-cylinder engines but that device can't be programmed for six-cylinder engines with three firing impulses per revolution. This is a problem because the tach works best on the coil wire when it is used with a points system. Bottom line-------if someone wants to pursue this tach with one of our cars TinyTach is willing to work with the customer to fine-tune a tach and their current tach may work fine if the ignition system is in excellent condition. But the polarity of the electrical system has no impact since the only connection to the car is via the sensing wire wrapped around an ignition lead. Now......we know more about TinyTach than anyone wanted to know.
-
Could be they went to 'great expense' to provide an accurate way to determine TDC.
-
According to the posts in this thread I paid too much for my '48 P15. But the car doesn't need a $5000 interior, or $6000 of body and paint work, and the engine probably has less than 3000 miles since overhaul thirty years ago. I put six months of hard la......ahhh......loving attention into the mechanicals and now have a ride that my bride and I are thoroughly enjoying. The car is now worth........shoot....I don't care what it is worth.....I wanted a vintage car that I can drive and now I have one. The money I've spent on it is 'toy money' and is insignificant enough in the big picture that it gets lost in the financial noise. This project would have been absolutely no fun if I had constantly been worried about whether or not each dollar spent was going to bring a return. I'm quite sure I'll never get all my money out of the car.....and I'm fine with that.
-
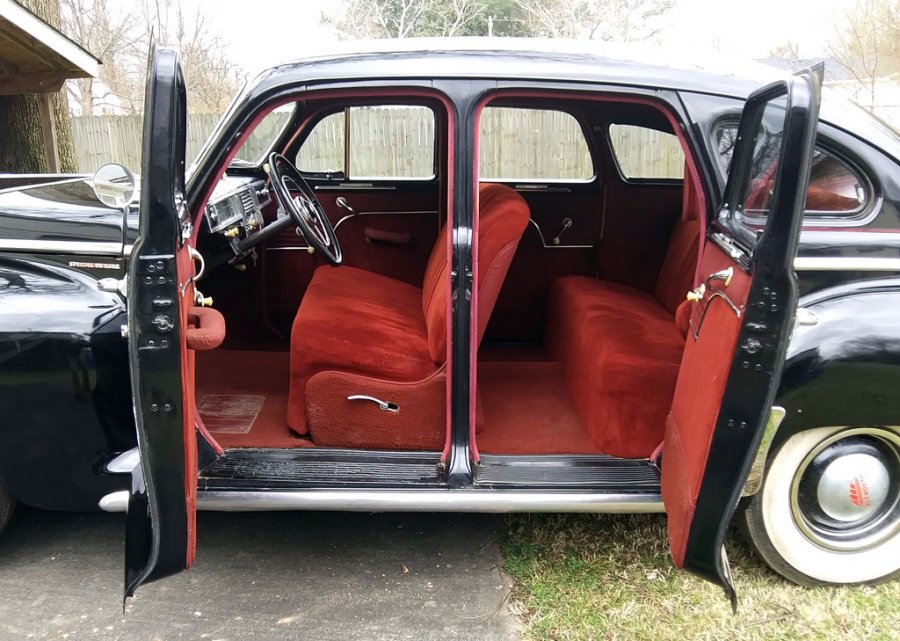
The feature of my '48 P15 that gets the most attention is the 'suicide doors' .......folks love 'em.....they have to get in to try them out.
-
Two items to check on the shifting problem: 1) Clutch adjustment 2) Shift rod adjustment These could have been disturbed or changed in the course of the clutch repair. If the clutch isn't disengaging fully or the shift rods aren't traveling fully there will be difficulties shifting. Make sure both are in spec per the service manual.
-

My First Car -- P15 1947 Plymouth Deluxe
Sam Buchanan replied to NickPickToo's topic in P15-D24 Forum
Cutting a new screen is always an option: https://www.pegasusautoracing.com/productdetails.asp?RecId=734&utm_source=google&utm_medium=cpc&utm_campaign=2575&gclid=EAIaIQobChMIhebrj8jt5QIVBpyzCh2bWAA0EAQYAyABEgKRAPD_BwE -

My First Car -- P15 1947 Plymouth Deluxe
Sam Buchanan replied to NickPickToo's topic in P15-D24 Forum
If the screen is hard to source just put a filter ahead of the pump. -
Ok......but I would not hesitate to use the TinyTach on a positive-ground car and would expect it to work the same way it does on a negative-ground vehicle or one with no electrical system. The factory reply is dubious because the tach has no connection to the vehicle's electrical system. Have to wonder if their reply is due to having never tried the tach on a positive ground vehicle and not wanting to make an official endorsement.....but there is bound to be some old positive-ground tractors out there using this tach as an hourmeter..... Whatever........ ? Update: I called Tech Support at TinyTach to get a definitive answer about this device on a positive-ground vehicle. The tech person is on a hunting trip and will call me later. I asked the person I was talking to (Connie?) if the polarity of the vehicle made any difference...she asked what kind of vehicle. I told her Plymouth with positive ground electrical system. She said no, the tach won't work on any car. What?? (see linked instructions) She then acknowledged she didn't know the answer and I would need to talk to the tech engineer. I'll report back when I get an answer so we can put this to bed.
-

16” Budd split ring 6 hole wheel bolt spacing?
Sam Buchanan replied to DCFAB's topic in P15-D24 Forum
Maybe this question would find more exposure on the truck side of the forum? https://p15-d24.com/forum/6-mopar-flathead-truck-forum/ -
Wow.....that was brutal. ? I sure do like that old-fashioned cowl vent, however.
-
We get wiser....not older........
-
That sir....is some nice work.
-

My First Car -- P15 1947 Plymouth Deluxe
Sam Buchanan replied to NickPickToo's topic in P15-D24 Forum
Cure the paint. -

My First Car -- P15 1947 Plymouth Deluxe
Sam Buchanan replied to NickPickToo's topic in P15-D24 Forum
I don't recall the gage of the mild steel plate but it is approximately the same thickness as the gasket that usually fits between the manifolds. I tried the plate with a gasket but that messed up the manifold hole spacing at the crankcase. The gasket was removed and a liberal coating of red RTV on the exhaust manifold took its place. So far the joint is gas-tight since the two manifolds get cinched up tightly. There is no need to seal the intake side of the block-off plate. No corrosion treatment was used since I assumed it would be quickly eroded by exhaust gases. With all new hardware the intake manifold can be easily removed if service is needed but I think we should be good for a long time. A stainless steel plate would probably be the ultimate option. -

My First Car -- P15 1947 Plymouth Deluxe
Sam Buchanan replied to NickPickToo's topic in P15-D24 Forum
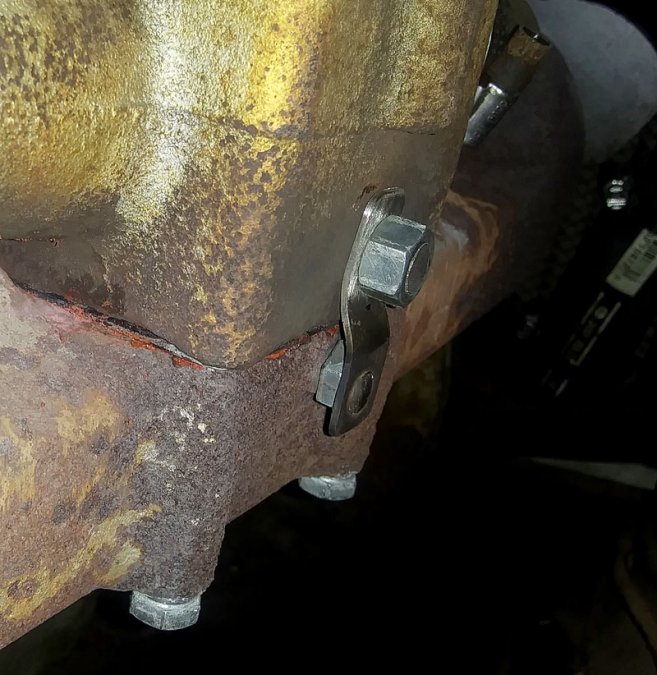
A block-off plate will fit with the flap in the closed position. However, I ground the welds on the flap, removed the shaft and replaced it with a 5/16" bolt which is a nice fit where the shaft used to be. If you go this route use a narrow nut on the inboard end of the bolt and trim it close so you can still access the manifold stud nut behind the heat riser (the one that is often forgotten!). Instead of securing the 5/16" bolt with a nut, I cut it to length so it would be flush with the heat riser and plug-welded a steel strap to the head of the bolt. The strap is secured to the manifold with a 3/8"-24 bolt in the hole that was previously used for the heat riser spring stop. This gives full access to the hidden manifold nut/stud. -

Exhaust manifold nut problem--need ideas
Sam Buchanan replied to Sam Buchanan's topic in P15-D24 Forum
You will probably be fine, the engine may just need a little more time to warm up the intake for smooth throttle response on cold days. -

Exhaust manifold nut problem--need ideas
Sam Buchanan replied to Sam Buchanan's topic in P15-D24 Forum
I may have misunderstood your question. I have a blockoff plate on the exhaust manifold that prevents hot air from entering the plenum in the intake manifold. Rereading your post makes me wonder if you are referring to deleting the heat riser flap and leaving the intake exposed to hot air all the time. I suspect our engines are tuned so mildly that whether or not there is hot air in the plenum doesn't impact power output very much. But it probably has an impact on driveability under extreme conditions. -

Exhaust manifold nut problem--need ideas
Sam Buchanan replied to Sam Buchanan's topic in P15-D24 Forum
Nick, my car seems to be happy without a functional heat riser. However, I don't know if this is of consequence in a colder clime such as Michigan. I'm sure more experienced members will chime in with opinions. -
I've found that a few drops of oil on the flaring tool really improves the operation.


