-
Posts
3,462 -
Joined
-
Last visited
-
Days Won
193
Content Type
Links Directory
Profiles
Articles
Forums
Downloads
Store
Gallery
Blogs
Events
Everything posted by keithb7
-
I pulled my tranny and even on the bench tried like a bugger to pull that seal out. An assortment of tricks and tools were tried. I gave up and removed the rear tranny park brake housing. Then the seal was quickly, and easily pushed from the back side out. A Hammer and a piece of scrap wood made quick work of it. Not simple, but I’d had enough failed attempts. Check your removed brake drum. Make sure there is no wear on it where the seal rides. If a little wear is there, no new seal with prevent leaks.
-
We brought a little positive attention to the old car hobby recently. https://www.castanetkamloops.net/news/Kamloops/330002/Vintage-Car-Club-of-Canada-s-Kamloops-chapter-took-their-Easter-drive-from-Westsyde-to-Valleyview
- 1 reply
-
- 5
-

-
Make no mistake, I prefer closer to stock. I have no interest in owning that Plymouth. I have a pretty darn good idea what it would cost take any car to that level. Pretty easy to spend $30K doing most of the work yourself. Dropping it off a hot-rod shop and asking them to go for it and build your dream car? Whew man! Double that and then some. Although the restorer did seem to cut corners, at least by not re-chroming the hood ornament. Where else? Who knows. Those wheels are gawd awful I agree! Sad that is will turn out $11K or less when sold. I am well aware of situations like this. I just hate to see it no matter how unattractive or undesirable the car is to you or I. I have an alert set up on Kijiji. If any 1938 Plymouth, anywhere in Canada is posted for sale, I get notified. That's how I knew of this one for sale in New Brunswick. Most of last year it was listed for sale, then lately the reduced sell price.
-
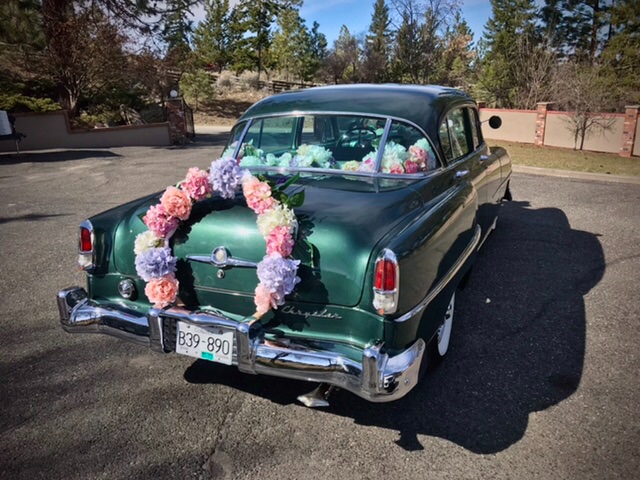
Easter 2021: My local vintage car club has organized an Easter driving tour. My family want to jump in and ride along. I gave my wife free reign to do whatever she wanted to add some easter appropriate decorations. Here is what she came up with. We are headed out now.
-
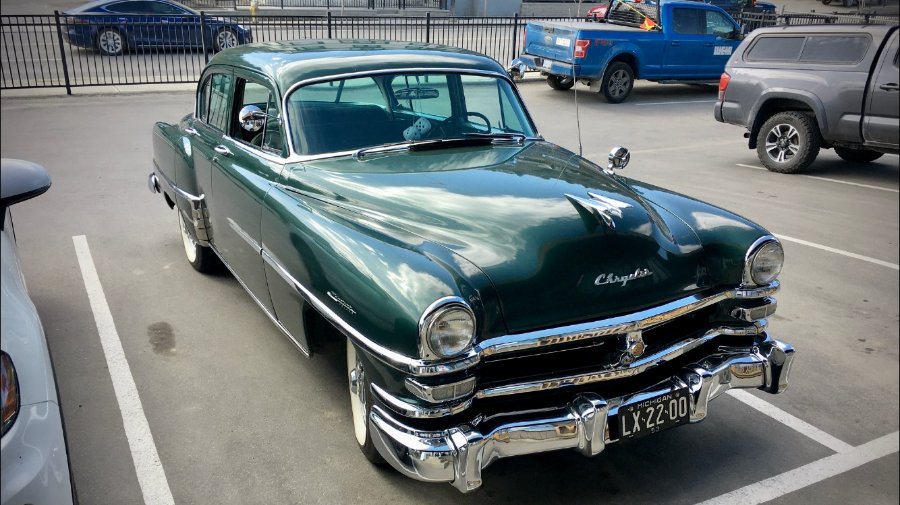
Nice looking car! The arrival of spring is a welcoming time for any old car owner. For the first time, I was able to drive my car every month of the year. I took advantage of rare ideal driving conditions that appeared in each month over the past winter. Today is our local club's annual easter tour event. I am taking my 53 out today for the drive. Looking forward to it.
-
I saw this on-line classified ad. Someone poured a ton of time, passion and money into this 1938 Plymouth. The situation could likely be the result of someone passing. Sadly there are some clues. Zero information is listed in the ad. Yet a mile long list is easily seen. A woman’s name and phone number to contact is listed. Very low asking price. I’ve this same car for sale for some time. The original price was a lot higher. Personally I am not a fan of hot-rodding an old Mopar. The color isn’t for me. I see this car as a deal for someone into the hot-rod scene. If my guess is correct on the liquidation of this car, it is a sad situation. Someone will be getting a heck of a price on a car. Shown is the Canadian price. The US asking price is about $11,000. Not sure why I have mixed reservations about this one. I guess I hate to see a guy’s dreams and passion on the chopping block. The asking price is pittance compared to the skill and money invested to build this car.
-
Just in case, don't use modern GL4 or GL5 oil in the tranny.
-
Welcome to this group. There are an abundance of nice, helpful, willing people here. You’ll get all the help you need here and more. That’s a nice looking Mopar. You may be able to get the engine running without spending much. If you are prepared to roll up your sleeves and dig in. These old cars are excellent for learning new automotive skills. Pretty basic and easy to work on compared to modern vehicles.
-
“Not sure what to do with it”...Uttered by so few here! Lol. I’d make it reliable, safe, and drive it. No shortage of help here if you ask.
-

Clutch assy selection for 1948 Plymouth Business Coupe
keithb7 replied to dartgt's topic in P15-D24 Forum
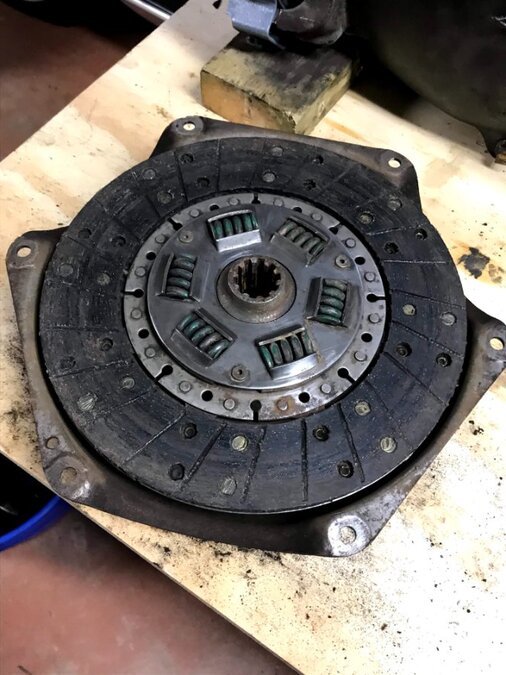
Clutch diameter can vary. 9 1/4" seems to be the average for passenger cars. LWB and taxies got larger discs. Wouldn't hurt to check the number of centre splines. Best practice is to know exactly what is in your car, before ordering new parts. Lots of parts have had ample opportunity to get swapped around over over the past 70 years. -

Oil change and new differential carrier gasket p15
keithb7 replied to Cudan's topic in P15-D24 Forum
I think the procedure is described as “a can of worms”. To change carrier gasket: Remove: Hub cap Wheel lug bolts wheel cotter pin Axle nut pull brake drum remove brake shoes and hardware remove wheel brake cylinders remove brake backing plate Pull out axles get under car remove drive line unbolt carrier and remove Reassemble with all new bearings & seals! Yay! No, its not simple. Yet its not hard to do either. Just lots of steps. I likely forgot to mention a few steps too. -
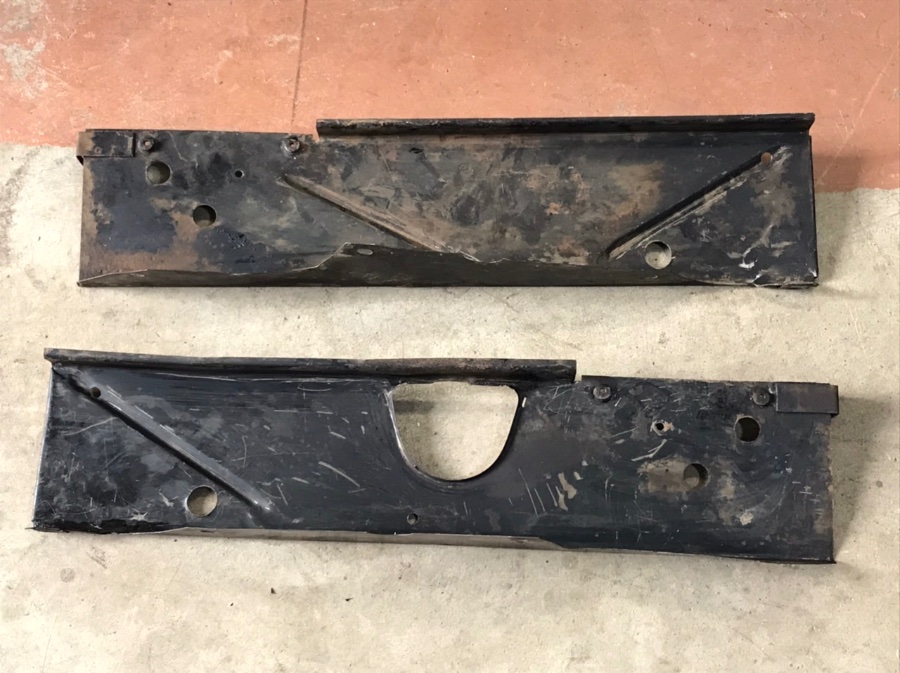
My ‘38 Plymouth has a pair of bolted-in splash pans. One on each side of the engine block. Down low. I also have access To a 1928 Dodge. It too has similar splash pans. One on each side of the block. Both cars, bolted to the inside of the fender. Looking down in my ‘53 Chrysler Engine bay , there are no splash pans. I am interested in learning what their intended purpose really was. I can make a few guesses. Keep water and mud out of the engine bay? Prevent the distributor from getting wet? As I scrape away 80+ years of grease and dust, I discovered fluid gutters. It seems they wanted to direct water flow from the block drain maybe? Along the splash pans to a central drain. Maybe the pams idea was to assist with directing airflow from the fan? Guiding it along each side of the block, exiting the engine bay by the bell housing? When did they drop splash pans? It seems someone must have figured out they no longer served a purpose. What purpose was that? What changed? They do look cool when in place. Making a nice looking enclosed area around the engine.
-
-

What is the most difficult to find part for your project so far?
keithb7 replied to Marcel Backs's topic in P15-D24 Forum
So far, the proper 1938 Trico vacuum wiper motor reseal parts. No luck yet. -
What year/model Plymouth are you referring to? Thx.
-
Does anyone know when it became official when Chrysler focused on and produced industrial engines? I’ll guess around WWII? Since Chrysler had been paid to manufacture so much war machinery, perhaps they saw the opportunity? For powering pumps, generators, other equipment beyond automobiles? I saw interesting video featuring the rare Plymouth tractor. They made 200 of them in 1933. Oddly enough they had a 4 cylinder Hercules engine. The reason seems to be that the Plymouth tractor was not associated with the Chrysler Corporation. It was another company. I suspect they received a letter from the Chrysler lawyers suggesing name change. I don’t know this, only speculating.
-
Great to see photos of the old American manufacturing industry. The Massey photo reminds me of the massive Chrysler and Ford factories of the old days, that I have researched.
-
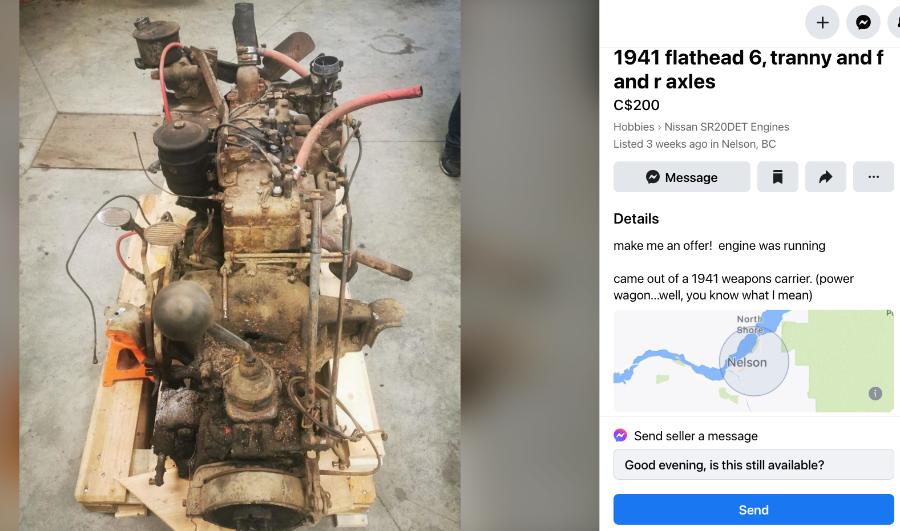
Just took another fresh look and found this one. Maybe I could ship you this for way less than $1800? Local to me. Asking $200 CAD. $155 US funds comes with a tranny!
-
Lol. Sorry $1800 USD is making me chuckle here. If you keep looking and aren't in a hurry, I'd wager you can find the old flathead Mopar engine you want for between $100 and $500 US Funds. Just today I found a running 251 ci Industrial engine in a combine. Asking $675 Canadian. (About $520 US Funds) In my neck of the woods maybe the situation is different? I've had numerous opportunities to buy old flat head 6 mopar engines for under $500 USD over the past 5 years. People don't realize it costs $4K USD to do a half decent overhaul. That's doing all the tear down and reassembly work at home yourself! They put about 1/10th of the Mopars into the Canadian population, compared to the USA. Yet I can't complain about finding old Mopar engines. No, they aren't on every corner but they are out there.
-
Great to hear you are giving it a go @47Jim. Getting grease under the fingernails somehow nurtures great understanding! If you want to sell that same valve seat cutting tool that I have, let me know. I am interested in securing more of the round abrasive cutting pads. Where did locate and buy the vintage seat grinding equipment?
-
@HotRodTractor tomorrow? How am I suppose to sleep tonight? Lol. Perhaps I will dream about two pedigree horses on the reins. While 8 smooth flat head Chrysler engines purr in the distance.
-
I agree sniper. Dry ice would keep them cold. They are a darn tootin' tight interference fit. I know my limits and level of risk. I didn't want to risk doing block damage the route I was on. There is no journeyman here to guide me along! lol. Some lessons are costly to learn. I'd screwed myself over earlier in life enough times to know when to stop.
-
Nice collection! Can we get a solo close up pic of the one that's B&W? It reads "Now 8 Basic Chrysler Engines". I'd love to read that one.
-
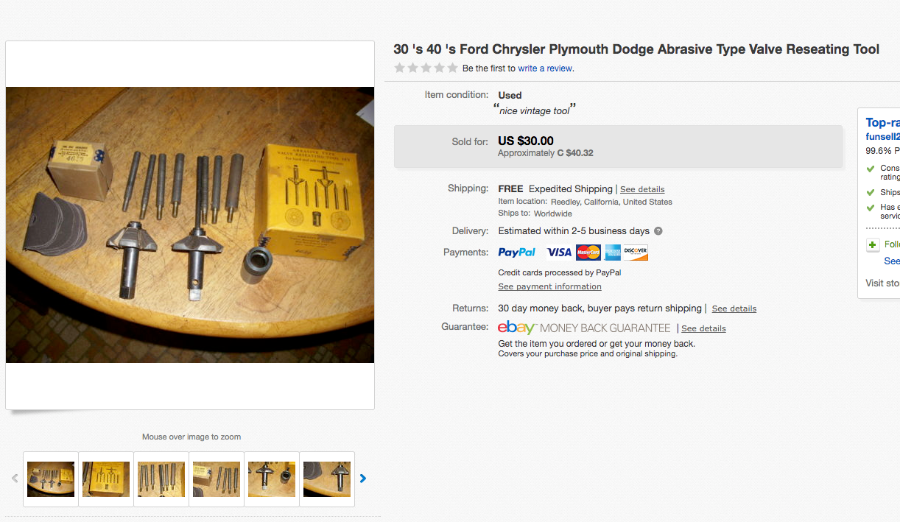
I did an in-car valve grind job. Valves are cheap. I bought all new valves and springs. I found a vintage abrasive cutting tool for valve seats on ebay. I hand cut the seats. The stellite inserts are stubborn and hard to cut. However I was able to do so. I was under the gun for time. I did not replace any valve guides. I wish I did. #1 and #2 cylinder had the little play. Even with the new valves in. The seats I cut to 45 degrees. Then lapped in the new valves. I checked for sea-lability with kersone. I kept lapping until the seats would hold liquid. The results turned out very well. My second attempt at this, was an engine tear down this past winter. Getting the guides out was easy enough with an air hammer and a chisel bit, that I cut down on a lathe to fit nicely into the guide. The guides came out. I attempted to use a similar method to install new guides. I froze the new guides to -54 degrees for a few days in a special freezer at work. I grabbed them. Rushed home and tried to use my same air hammer and custom chisel bit to re-install them. No go. The first one went in the easiest, but the guides warmed back up too quickly. There was no way they were going in. I destroyed 3 or so new guides and gave up. Lesson learned. I am sure there is a way to build a home made puller with some redi-rod, a few nuts, washers and some plate steel. Then you could suck those guides down into their seats in a controlled manner. Pressing them into place with the engine block in the chassis still. I did not do that. I took my block to the machine shop for all the regular machining work it needs and I said, "Here are 12 guides. Install them please". I gave him the specs and the proper indexing of the intake versus exhaust. Here is a pic of my seat cutting tool and a pic of a good lapped valve pattern. Got the tool for $30 on Ebay about 5 years ago?










.jpg.58458a854d3d9c42b937f9960ada99e7.jpg)
.jpg.c1664769e71ef8b532cd1d2c2666cae3.jpg)
