Leaderboard


Popular Content
Showing content with the highest reputation on 05/06/2014 in all areas
-
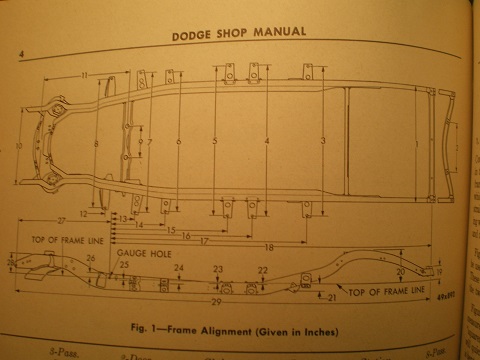
Shop manual is a cheap investment


 2 points
 -
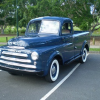
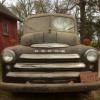
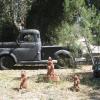
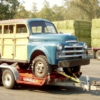
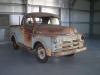
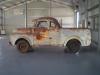
Today marked a big day for my family, as today was the day that we relocated my 1953 Dodge (Australian) coupe truck to our other shed for a complete body-off restoration. I plan to document that restoration for all here to view, learn, and offer assistance as the need arises. The project is planned as an original restoration which will take place over the next couple of years with similar attention to detail as my previous restoration project (my 52 blue Desoto truck). I picked this truck up with my late Dad back in March 2009 from a town called Tara, which is located around just under 4 hours west of my place - I live on the east coast of Australia (near the capital city of Brisbane, Queensland). I had planned on starting this restoration project a couple of years back but life seemed to keep getting in my way and the project was put on hold until now. I do not know much on the history of this truck apart from the fact that it was owned by the family of the previous owner for many years and was mostly used as a wild boar and kangaroo hunting/shooting vehicle. The truck had racks fitted, which stretched from the front to the back of the vehicle, in order to carry those culled animals (which I was told were generally destined for export to Germany). The overall condition of the vehicle was good, apart from a lot of surface rust and the stench of rats! I had initially thought of an appropriate name for this truck a few years back, but have most recently decided to name this truck 'Pop' after my dear old Dad who passed away tragically last week after a very short battle with cancer. Please enjoy this topic and feel free to offer comment, words of encouragement, or advice at anytime.
 1 point
 -
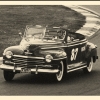
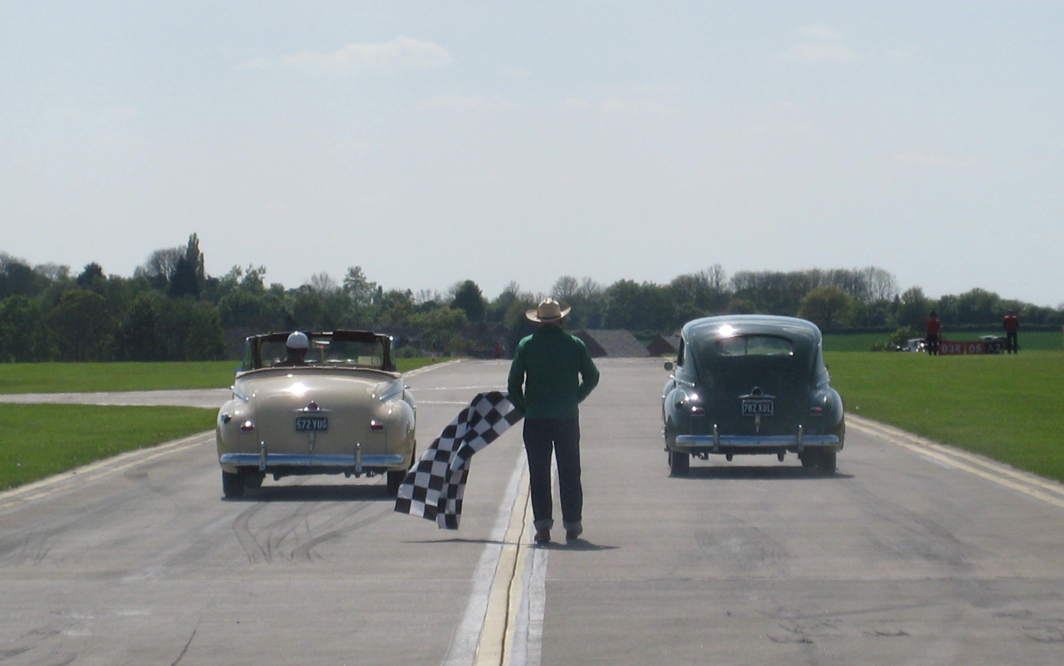
Here's a picture for you. This was Chris' and Dean's first run...
 1 point
 -
Keep the 8 ball1 point
-
If it were me I would just get a new pump that supports the ethanol fuels. By the time you buy a kit for around $40 dollars then have to take the old pump apart drive out the pin then rebuild it then drive it the new pin and people have been saying that the pins are sometimes working their way out of the body and then the pump fails then have to take it out again so this is time and money. Go buy a new pump for a little more money have a new unit put it in with a new fuel rubber line and you are good to go. WHy rebuild if you can just teplace with a fresh unit. This is my two cents. Also if you have a fuel filter on the line to the carb also replace that at the same time. Just did a search on the Parts Geek: www.partsgeek.com. Found a 1955 Plymouth Airtex fuel pump for $49.35 plus shipping. Airtex is a good pump. A kit will cost the same. I just checked the link fromthe prior posting and their kits range from $39.50 to $54.50 and you still have to rebuild the old fp. So way each cost and do what works best for you. Rich HArtung desoto1939@aol.com1 point
-
For each track assembly, four small balls and two large ones. See Post No. 2 above. My explanation is tightly condensed. You have to chew on each line to digest it. I can explain if further, and post pictures, if that would help.1 point
-
As a kid one of my old furd field racers did not have a key. So I used a hacksaw to cut the top off the locks and removed all the tumblers. By doing so one key (any key) fit all. Or one screwdriver, pocket knife, paper clip, etc. fit all.1 point
-
Paul, you mention another four hours of crimping and attaching connectors. I would rather you said "soldering and attaching connectors". Nothing works as well as soldering and it is what is usually done from the factory. I believe it is worth the extra time it takes to solder rather than crimp. Just my thoughts and some will agree with me and some not. Good luck with the project and keep the pictures coming.1 point
-
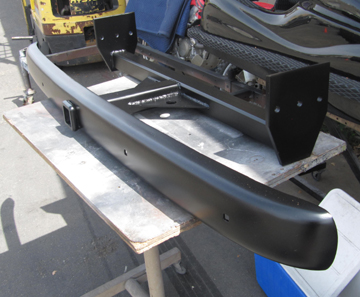
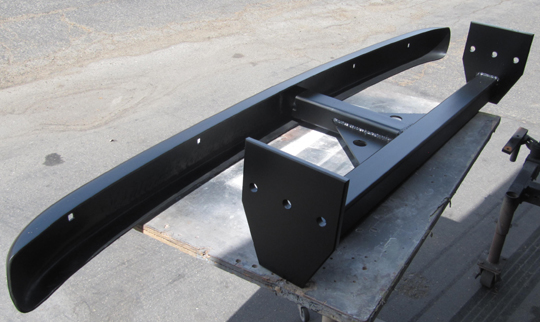
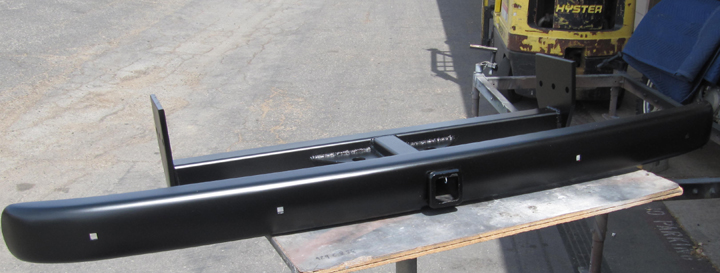
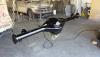
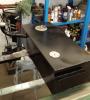
5/5/14 Update Well, we got the trailer hitch all fabricated and painted. I want to thank everyone for all the ideas, especially Gerald (GTK). We kind of copied GTK's design and I am thrilled with how it came out. Here's a couple of pictures, plus one of the gas tank painted and mounted:


 1 point
 -
lol....probably should be noted that a lot of us here have known each other for quite awhile.....years infact. Paul and Tim spend a lot of time on chat....writing each other etc....we help each other out in a lot of different ways. We can be like brothers who fight.....we can go to town on each other and still be standing...but stand between us???? That's another story. 48D1 point
-
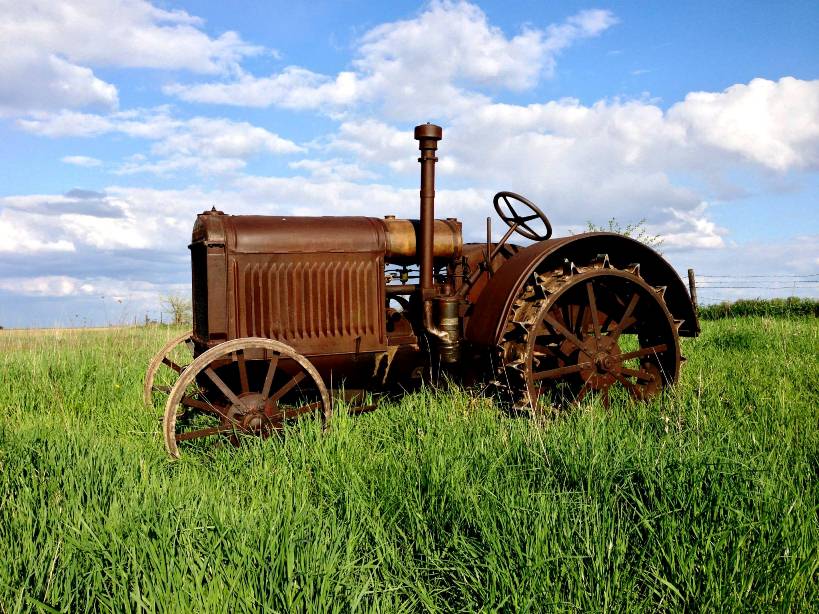
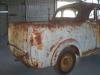
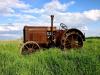
This truck is an easy one when it comes to the question about body work/painting. Lets just say the look I'm gonna aim for is "Old Farm Truck", in which case, we've got her there! My entire place shows its age, so a restored truck would look out of place. I'd like to get the motor running strong, all the lights working...Brakes would be nice, and possibly some minor interior work, like a new seat and headliner. The interior is a bit mousey....lets say. If I wanted to make this truck straight, no rust, no dents, I would end up replacing a lot of the sheet metal, and would be left with someone else's truck, not my family's farm's truck. We just have to get it to run now. And this truck has way less rust than my tractor! I had to search forever to find one of these running that hadn't been restored to the battleship grey with red wheels (which looks awesome...just not what I wanted). I found this tractor that was all surface rust, gave it a scrubbing and treated it with a linseed oil/mineral spirits coating and it came out looking awesome. From afar it looks like it's made out of chocolate. Rust can be beautiful.
 1 point
 -
I am completely jealous. I say wash the windows and drive it with all the dust and dirt....sooo sooo cool!1 point
-
May working and driving "Pop" always bring fond memories of your father.May you always feel that he he right by your side. Hank1 point
-
Davin, Sorry to hear your Father's passing. Our thoughts are with you, Naming the new project "PoP" is a great Idea. Looking forward to seeing the progress on the truck. Rod1 point
-
I'd prefer the use of Frame Bolts to reassemble that type of thing. The have a flange head and a shank that will help align the two pieces. They come in grade 8 or better. Also, use Stover nuts, also available with a flange if you wish, like Dave said. One word of caution with Stover nuts... don't use an impact gun to spin them on. If you spin them too fast they will overheat and destroy their ability to lock in place.1 point
-
my friend so sad to hear of your father's passing. My condolences, I know he raised a stand up gent.1 point
-
Davin Very sorry to hear of your fathers passing. Please know that we are thinking of you and your loss. Pop is a great name for your project. I look forward to following this thread, Jeff1 point
-
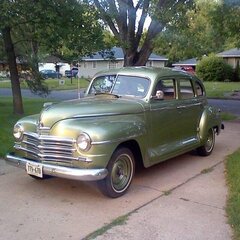
Robin, those seat covers look nice, but I think I liked this seat cover on your car better.1 point
-
Wow, that is a real nice color combination!!!!!1 point
-
Looks very nice. Someday I hope that my seats will be back in my car. When I win the lottery, tour the UK maybe you can take me for a drive.1 point
-
Robin, is that just like it was originally? Looks very good.1 point
-
Suggest next time you gage your PSI or make use of your unloader valve so you don't blow the pressure switch or pop a relief valve or get stuck in the reeds.1 point
-
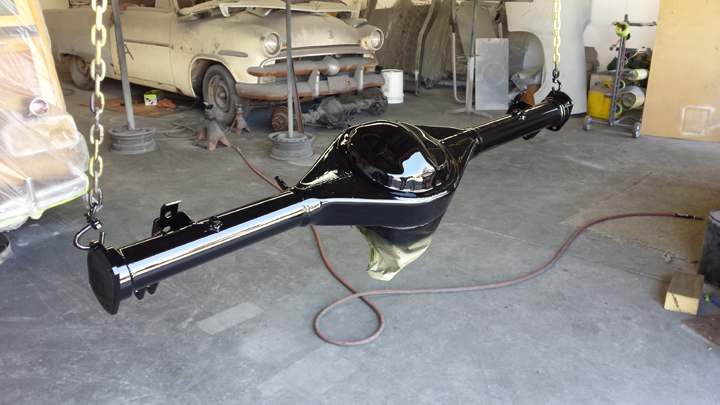
04-24-14 Update Rear axle housing is drying and the gas tank has been reassembled, so they will be reinstalled tomorrow. We hope to have the truck on the road by mid-May so we can get a couple of hundred miles on it locally before we head up to Santa Cruz, CA in mid-June.
 1 point
 -
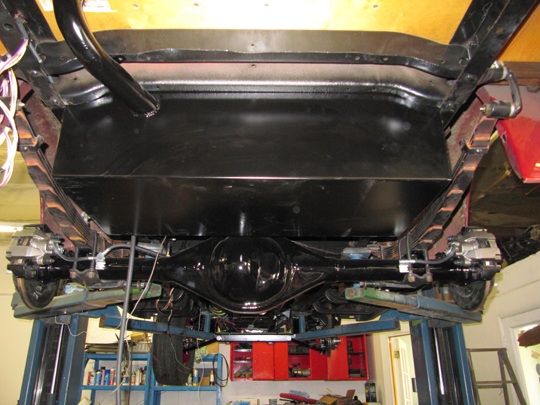
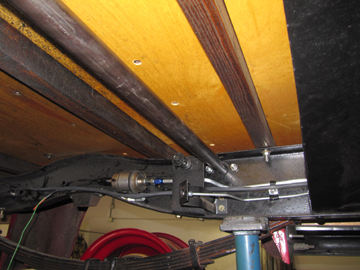
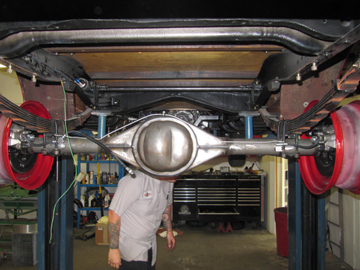
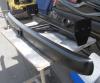
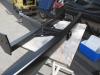
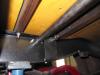
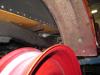
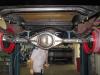
4-18-14 Update The rear-end in mounted and the work on the rear sway bar system is in progress. Here are some pictures. The sway bar is installed between the frame rails ahead of the axle and will be connect to the axle on both sides outside the frame rails. You can see the bearings in the pictures. Because of the weight of the wood body, we are using the same design and components that are used in open class off-road racing trucks.


 1 point
 -
pflaming ..... I see you are from Reedley, CA so I don't think it is necessary to clarify that grass = (hay). Now, if you were from Oregon or Colorado it might be a different story. To answer your question, the rear-end housing will be painted the same semi-gloss black as the frame, gas tank, suspension components, etc. I have intentionally stayed away from chrome and polished parts as much as possible. In fact, the only parts that are polished or chrome are ones that gave me no option. When I originally restored this truck many years ago, I stayed with black bumpers, blackwall tires, etc. to try to maintain the commercial character of the truck's roots. These truck chassis woodies were purchased as mini-buses for boarding schools, shuttle vehicles for resorts and hotels, and other commercial uses. They rarely had upgraded features. In this new upgrade, I am trying to do all I can to preserve the original look inside and out. I am even going with a super quiet exhaust system to eliminate the rumble of a 345 h.p. "Hemi" motor.1 point