

Los_Control
-
Posts
4,907 -
Joined
-
Last visited
-
Days Won
42
Content Type
Links Directory
Profiles
Articles
Forums
Downloads
Store
Gallery
Blogs
Events
Everything posted by Los_Control
-
Might help other people that are actual mechanics ..... I am not and have proven it many times over What year and engine are you working on? Some engines have known issues like leaking intake gaskets or many other possibilities. But yeah, seems like the oil is coming from somewhere in the top end.
-
I was thinking the same about the top of the pistons .... looks like divots. I think it is a optical illusion of the burnt, dried up oil on top of the pistons. .... The puddle of oil is not yet burned. I'm just guessing, but agree with Ivan on valve stem seals .... could the oil in the head leak down past the seals with engine not running. Then you would have a puddle and the puddle would be burnt on start up. .... leakage would be burnt while running .... puddle would occur while not running. Makes sense to me, no way for it to get past the rings if not running.
-
I do not know anything about the DCM MC conversion. Another popular conversion is the 1992 Toyota Celica MC. Simply because of the 3 bolt mounting. You would need to auger out one of the holes to make all 3 line up. You need 2 fittings to convert from 10mm metric to 1/4" brake line. You need to shorten your existing brake rod from pedal to MC. Then figure out the brake line connections ... remembering you need to add in a brake light switch. Your existing pressure switch is mounted to the old MC. You can add in a T to the brake lines and mount it there, I went with a electric switch. The advantage to the Toyota is ease of converting, availability if need future replacement. If running 4 wheel drum they will work fine without a proportioning valve ... If you add disk then you can select and add a proportioning valve. Many trucks running this conversion and not seen any complaints yet. I converted mine but still not driving it yet.
-
The only real advantage to the grease is, if you have a leak. If the oil pours out, then fill it with grease. Mine has oil in it and no leaks, while I might change the oil, I would replace it with oil.
-
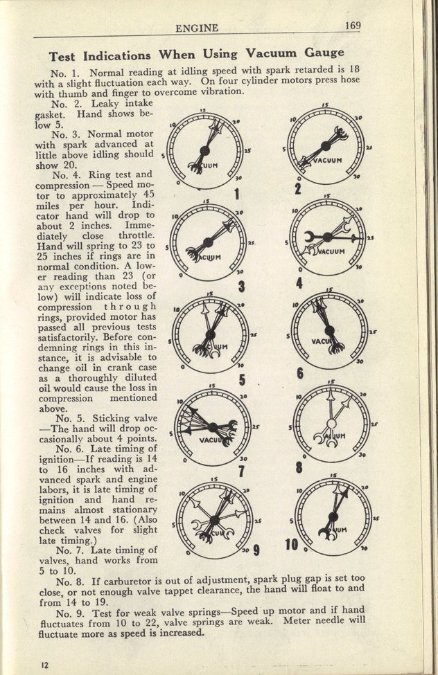
There is quite a bit you can use them for. Setting the A/F screw on the carburetor is easy .... always looking for the highest vacuum for a good running engine. Turn in the screw til the vacuum drops, then open it up until you reach the highest vacuum. Same with timing .... adjust distributor to the highest vacuum. Recently I used it to bench test the EGR valve on the wife car. If you open a old motors manual to troubleshooting, will be a whole page on different circumstances of a vacuum reading, you can tell if you have restricted exhaust, bad valves, late ignition timing ... pretty handy tool to have .... the hand pump claims you can bleed your brakes with it ..... I tried once but had bad results.
-
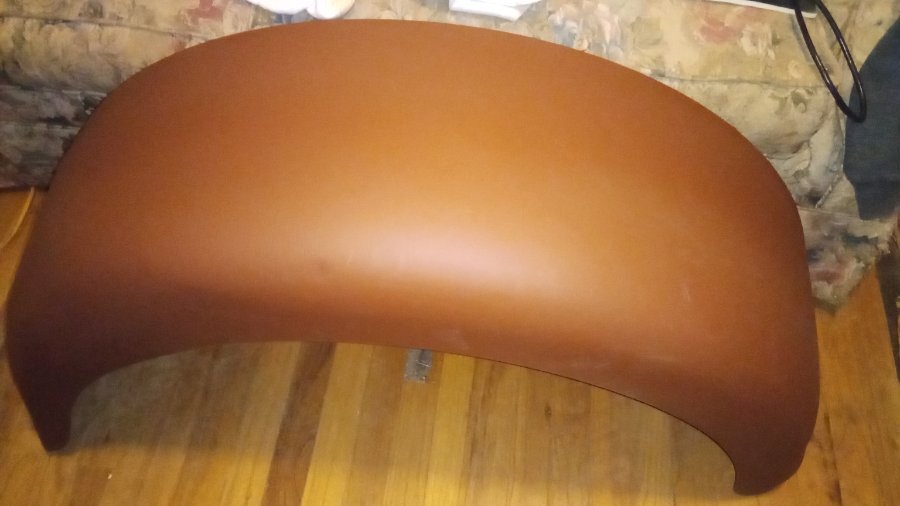
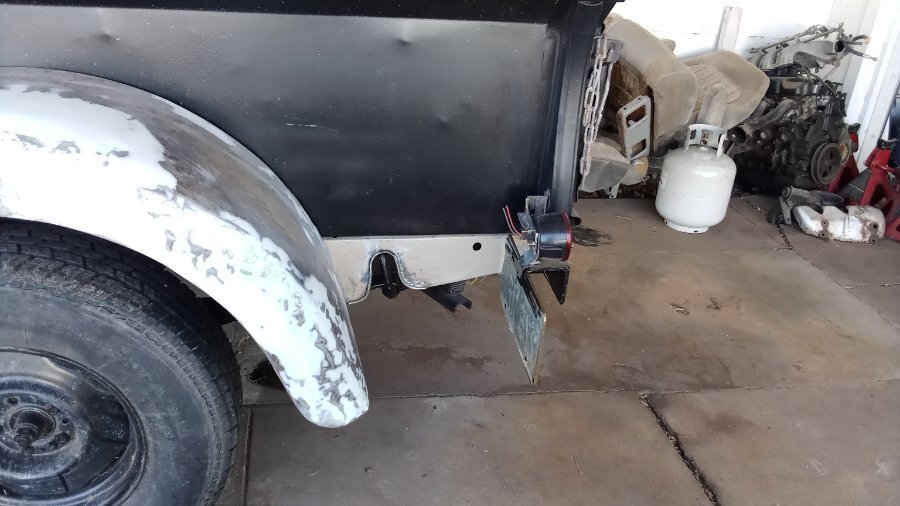
Did I mention I hate paint? .... well let me tell ya I should be shot for this one .... I painted the fenders the wrong color ... gloss black and not semi gloss. Just too many paint cans lying around .... I grabbed the partial can from the corner of the garage where I thought I left it and sprayed. Then I went to put the rest in the office so it wont freeze .... and the low gloss paint was in there. I instantly knew I sprayed the wrong paint. Gloss paint does not work well at all with this truck and especially these rear fenders. Oh well they have paint on them to protect them, I can move forward and work on the wiring now and repaint them later.
-
I agree with adding a aftermarket gauge to test with, until you fix the original. .... I would want to know what the temps are while driving for peace of mind. There is a liquid gas inside the tubing of the gauge .... You freeze the new donor gauge and all the liquid gets pulled into the bulb. Then you quickly transfer the bulb and solder it on before it thaws out. .... there are youtube videos showing the process. Leave the tires on to check the king pins. You want the tires off the ground and then use them for leverage. Grabbing top and bottom try to rock back and forth while watching for movement at the king pins. ..... There should be zero movement .... shows there is wear between the bushing and the pin. I imagine a little play is not life threatening ... Top passenger pin on my truck has 1/16" of play .... I figure in a few years will be time to replace .... will have to keep a eye on it. It also had a bad zirk fitting and would not take grease .... I had 1/8" play, I got grease in it and now down to 1/16". Good looking truck! What is going on with the fuel system? .... you say first drive that sounds like it has been parked. Have you checked the fuel tank for rust and debris? Be interesting to pull off the top of the carb and see if you have any floaters in it that came from the tank.
-
GAWD I HATE PAINT !!!! Nuff said.
-
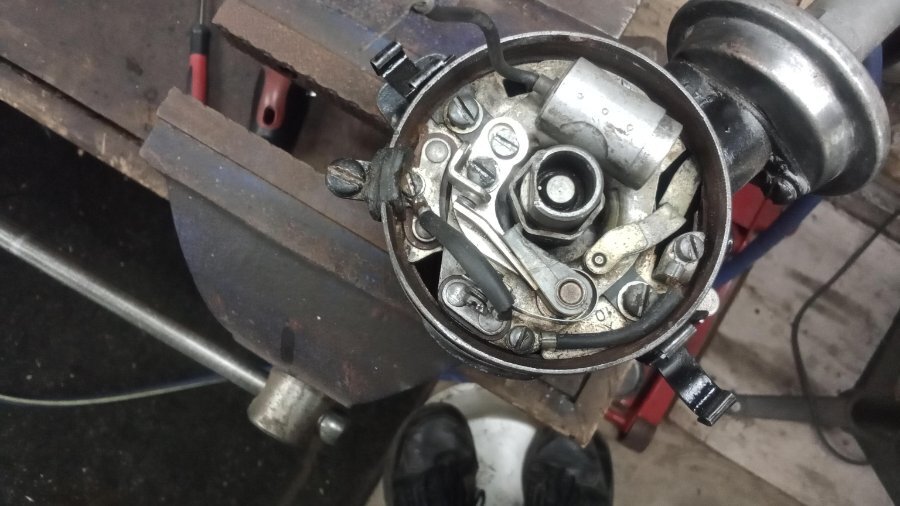
Just my 2 cents. If things are working as they should, the plate rotates smoothly on a flat plane ... I had one distributor with ball bearings it rotated on .... while I did free it up, the ball bearings had rust on them and were no longer smooth and round .... the plate would go up and down as it rotated. And if the vacuum advance is frozen and non working, when the plate rotates and the advance arm does not .... something has to give and the pivot point with no clip would be the weak link. The vacuum advance will pivot with vacuum applied to it ... have you tried this approach to use a little hand held vacuum pump to operate the vacuum advance? Does the lever still pull off using the vacuum pump? .... this is what the parts will see is a vacuum moving the parts. .... not you manually moving them. So in a perfect world, no clip is needed .... If you have something less then perfect .... A clip to hold the arm on may not be the correct fix. These are pretty cheap and many uses for them around a vehicle.
-
Here is a picture of mine before I modified it .... there was no clip.
-
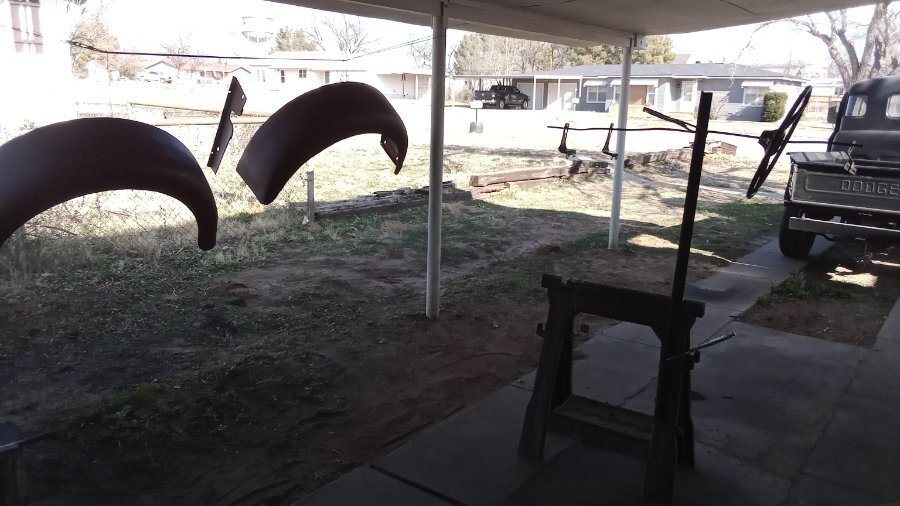
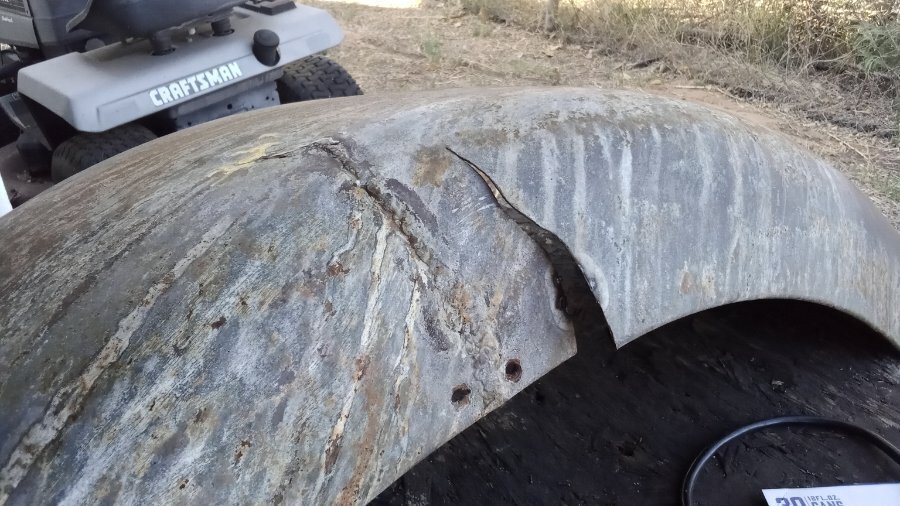
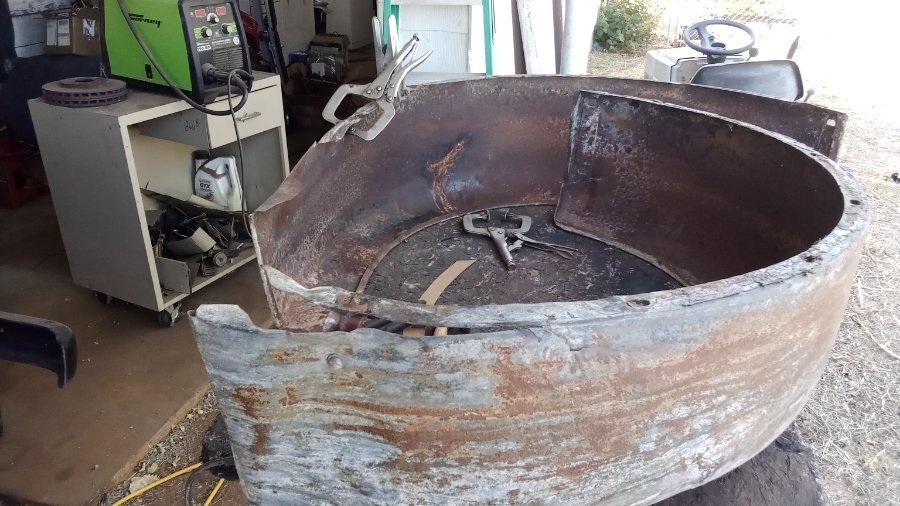
So I opened up the paint booth today. Was a balmy 55 degrees out. There were no bugs injured in the process Actually came out OK, the fenders were total junk. A before pic of the passenger fender, the best one of the two. They are still rough, they are stronger now then when they were new ... I love them. I will work them over before I put final paint on them .... I see a few dents already that I classify as character and will be left alone.
-
 Think it depends on which fitting we are talking about. The vacuum advance technically has 3 fittings and 3 different threads. The middle adapter I believe is NPT threads like @Plymouthy Adams suggest, then standard lines will thread to that .... the carburetor has the same adapter and believe a good hardware store would have them.
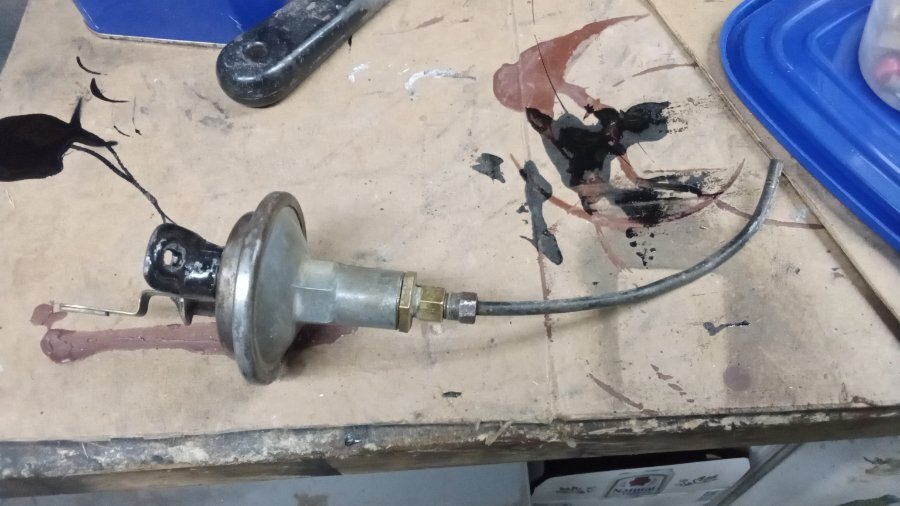
-
I'm guessing no there is no clip. The vacuum advance is bolted solid to the side of distributor and the plate also is stable .... yes it rotates. So with plate in place then attach arm of vacuum advance and then tighten the vacuum advance to side ..... it cannot pop out of position. I do not remember removing a clip from my 1950 distributor while converting it to electronic ignition. When I assembled the 1979 dodge slant 6 distributor to complete the conversion .... 1979 just has a hole in the plate the vacuum advance arm slides into .... no clip to hold it. They never needed a clip to hold them once all is bolted together.
-
Hrm, while I do not remember what I was working on last year .... pretty sure it went on as usual. IIRC, there was not as much group participation as in other years .... but we had the day. This year am hoping to be driving my truck by may and no work needed
-
Beautiful work as always
-
And I say NOT!!! 🤣🤣🤣 Seems like some were and some were not. I went out and took a closer look at mine today and no chance they ever were .... no chance the wood is not original either. I imagine some plants did and some did not, maybe depends on where your truck was built?
-
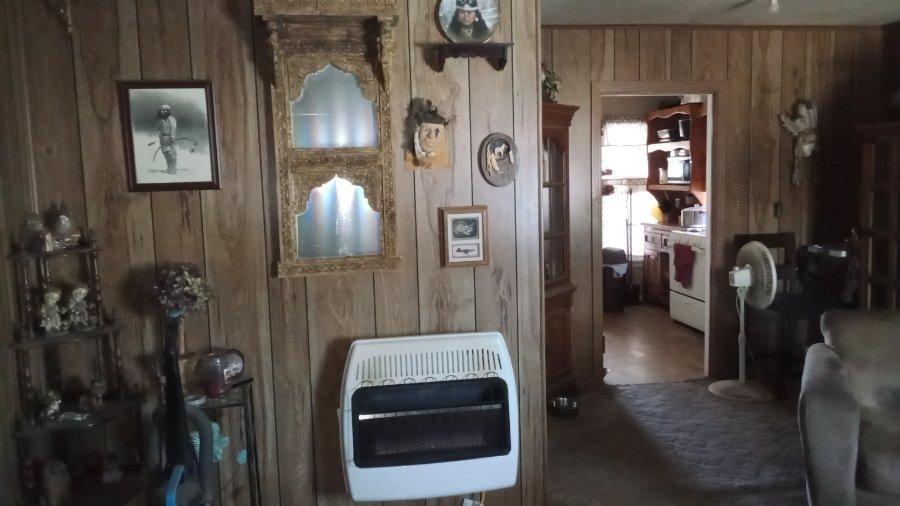
I also like those heaters ... they are cheap I have the big 30K BTU in the living room to replace the original gas under the floor furnace ..... that heater cranks the heat out and does heat the whole 1200 sq ft house. I originally put that heater in my office and it was simply too big. I could run it for maybe 1/2 hour then have to turn it off .... A real pita having to turn it off and on all the time to try and maintain proper heat. So this fall I moved it into the living room replacing the old inefficient floor heater and that thing works perfect in a larger area, heats living room, kitchen , bathroom and sends heat down the hallway. Then in 2 bedrooms I have the smaller 10K BTU heaters and they are perfect for the size of rooms. .... If you lose power you still have heat and they do not need a chimney to vent outside ... central heat would be nice .... would most likely end up in the garage 😡 .... for the short time we use heat they work great, and we just heat the rooms we are using.
-
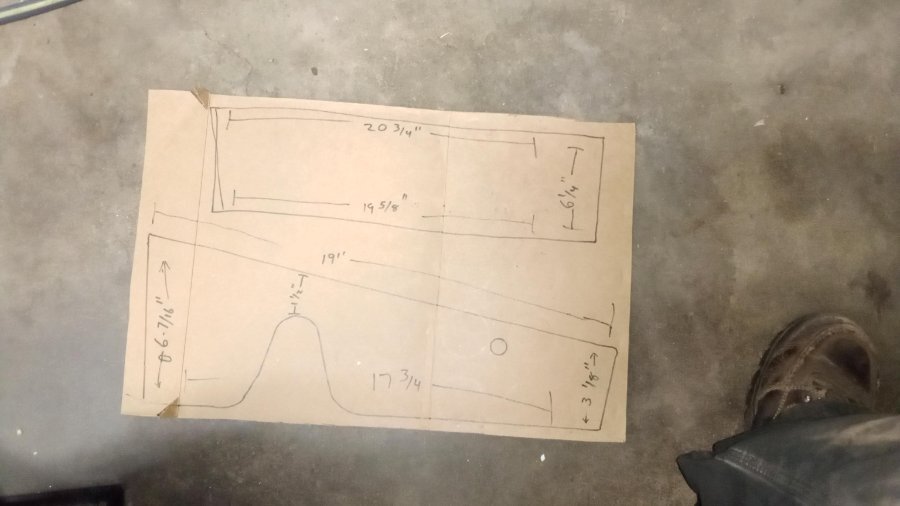
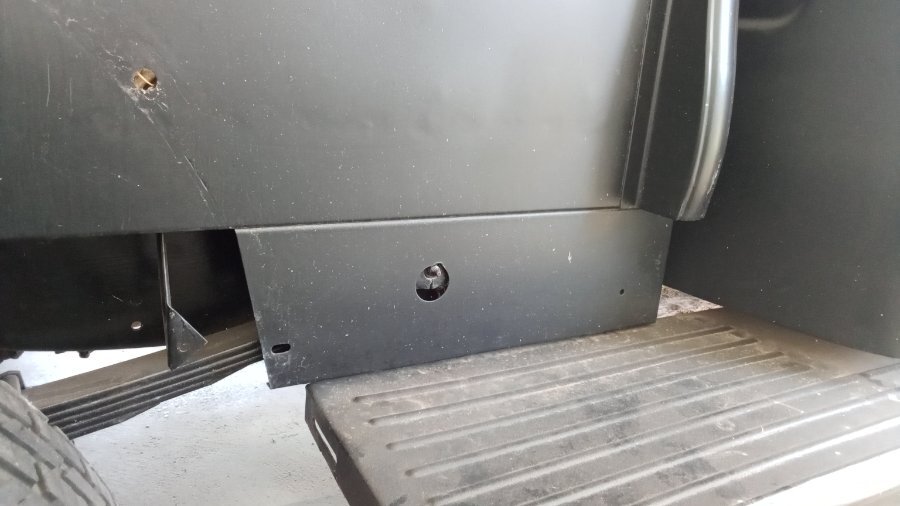
OK I spent a few minutes and fixed the problem .... this time I test fit it Time to quit playing around, my new spray gun is suppose to be delivered today and Thursday-Friday look warm enough to paint @Tony_Urwin Here is a template from the factory passenger side, not the one I made. Here is a photo of the front panel I still need to add rubber pads under the bed to raise it up and then bolt the bed down 😕 will center the zirk.
-
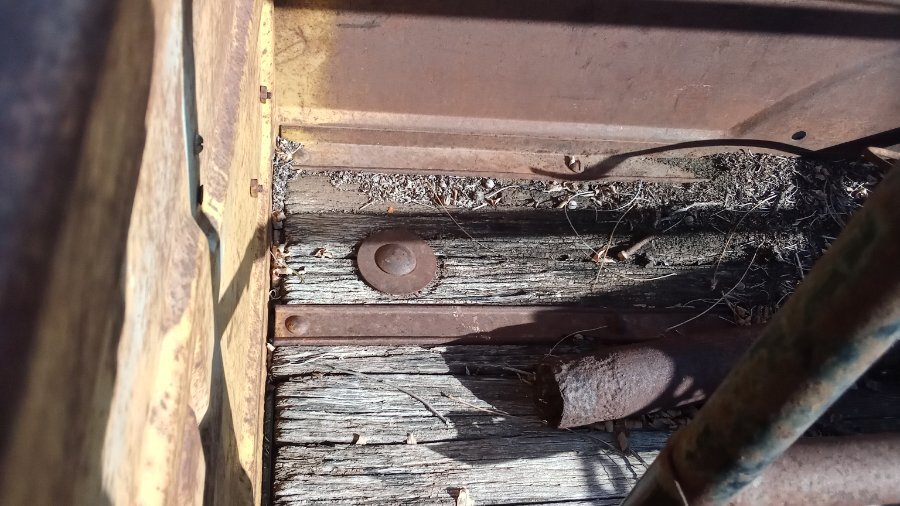
Not saying it is true, not saying it is not true .... As the wood gets older and shrinks and the years go by .... the bolts would become loose. So if a owner crawled under the truck and tightened the bolts up .... they could easily suck the washers into the 1/2 rotted lumber. And appear to be countersunk. To be honest, looking at your photo the washers are actually below the surface of the wood. .... which "could" indicate someone came along and tightened them up. Could go either way .... I can see the aftermarket manufacturers doing it because it looks cool and is clean .... would Dodge do it on the assembly line? Just my opinion they were not countersunk, but later on could have been .... A good place to use your own judgement
-
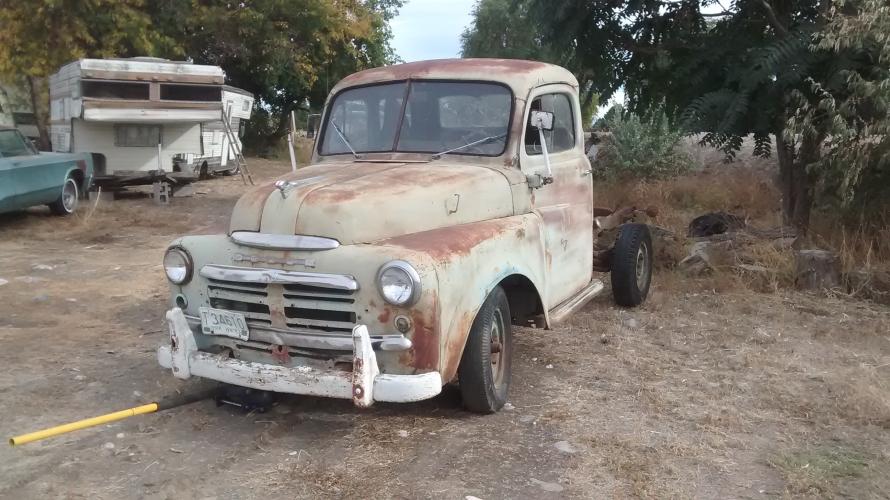
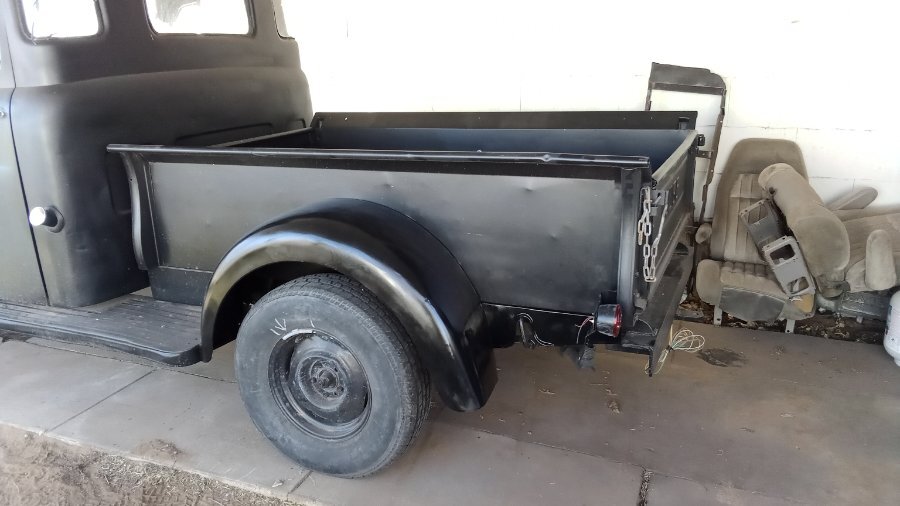
Dodge had quite the sales department ..... they advertised they doubled the payload with their new bed .... was simply the same size as Ford and chebby and a normal size. The low side was very useful for some delivery drivers in the city .... They could just reach over the side to get the delivery and not have to crawl in and out of the bed to get them. While my truck is a 1949 .... it identifies as a 1950. The serial number on the A pillar ends with a X. This means it was built at the end of the 1949 year, and used as a display model to show off the features of the new 1950 models. So I have the low side bed, shifter was moved to the column and E-brake under the dash for more leg room .... mine is not correct either to have a low side on a 49, but it is technically and factory correct .... not rare or valuable ... just different. Seems I made a noobie boo boo The shape is wrong for the shackle .... I used the right side for a pattern to make the left side ... I did not compensate for the angle. The panel is resting on the shackle and pushing the panel out at a angle .... I have a opportunity for improvement situation here. I'm going to spend 30 minute on it tomorrow and see if I can cut out some of the tubing and reshape the hole. Splice in new tubing .... or just start over and make a new piece. Just metal and not a big deal either way. Tomorrow when I remove it I will make a pattern of the pieces and @Tony_Urwin will need to remember left and right when making them.
-
The other corner is missing the bolt and washer .... you can see the wood is flush and the washer was not counter sunk. .... The wood is marked from the washer but same level across. ..... Mine sit on top.
-
Here is what I'm looking at
-
My trailer with original wood has them sitting on top.
-
IIRC, they also would remove the coil wire just so it could not start, until they saw oil pressure on the gauge. Sometimes I think we make things too complicated, just because we can.
-
Thats the real question .... did they make a 3/4 ton with a 6' 6" bed? My only experience with a B1C was a factory flatbed. I know the 1 tons had the 9' box .... what did the 3/4 tons have? Besides a longer wheel base. Seems if you set the bed in place, how much room between the cab and bed .... I dunno. The low side skirts are removable simply from the way they were stamped out ... high side stamped in one piece, low side stamped in 3 and bolted together. ... there is no reason to ever unbolt them. There are several other non-sensible differences .... wood width on side planks is different between high and low sides .... does not make any difference .... just designed by different people and made in different plants .... is my guess.


