

Los_Control
-
Posts
4,963 -
Joined
-
Last visited
-
Days Won
42
Content Type
Links Directory
Profiles
Articles
Forums
Downloads
Store
Gallery
Blogs
Events
Everything posted by Los_Control
-
 All ya all going to fire up the smoker this year?
-
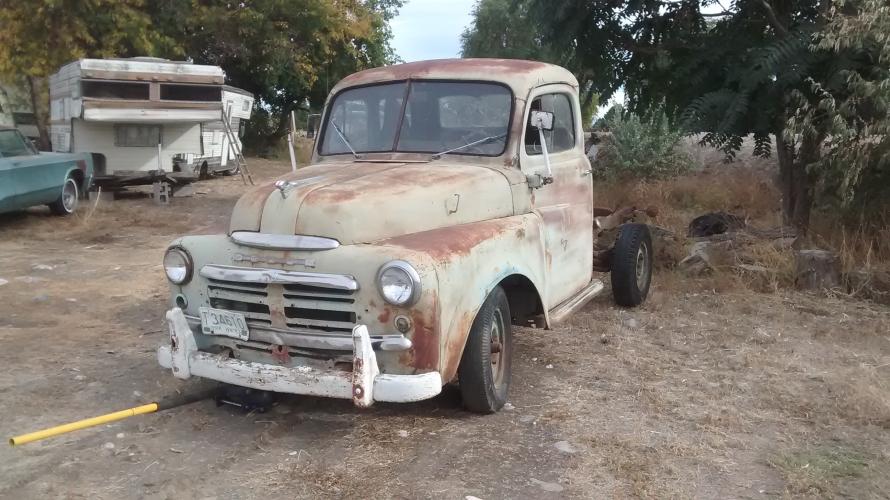
P15-D24 is the model of the cars the forum covers .... although there is off topic for other vehicles. The trucks are numbered differently, I have a B1B ... I believe yours being a 53 1/2 ton is a B2B .... thats all it is.
-
51 B3B build thread - after all these years
Los_Control replied to bkahler's topic in Mopar Flathead Truck Forum
Looking good -
A modern u-joint has a C clip holding the end caps on. A Cleveland has the piece circled in red that holds the caps on and straps then hold the u-joint in place. Clevland u-joints do not have C clips to hold the caps in place. I agree with you replacing with modern, unless you want a 100 point restoration show truck. I would do the same in the future if I have any issues or if I do swap in a modern rear end.

-
This is where I'm not qualified to give advice. I do believe a drive line shop can provide a replacement yoke for your transmission. That uses a modern u-joint. Most likely they can do the same for the rear end so both ends match. This is where you need to think about your truck and what you want in the end. You can swap a 1990's Ford explorer rear end into the truck with some minor labor and welding .... then the rear end would have modern brakes, seals, u-joint. You would then need to bolt on a modern yoke to transmission. You can fix what you have and have a drive line made to fit. Possible you can make a ball and trunnion on one side and Cleveland on the other I'm just saying, if it was me and I needed to invest some $$ into the drive line ... and I'm as cheap as I am .... I would probably upgrade the rear end and have the drive line that came with the rear end modified to match the transmission. New brake drums can cost as much as $400 each for existing rear end. You will need a $100 tool to remove the brake drums from your existing tapered axle. $85 for a u-joint .... you still need hydraulics for the brakes .... there is a China replacement available. I'm still using original factory brakes because all my stuff was in good shape .... I did upgrade the MC. I have the original u-joints .... I took them all apart and cleaned the needle bearings and then put back together with fresh grease. I did all this because they were fine and worth saving .... If I needed to start dumping $$ into the brakes and u-joints, I will replace the rear end and get modern parts. your truck and build it your way.
-
Wish I had a photo to show the front yoke on transmission .... weather is just not cooperating right now.
-
My 1949 that pretends to be a 1950 ... has Cleveland at both ends. I could understand if a car transmission was installed into a truck and it has ball and trunnion yoke .... but my original truck has Cleveland and so does everyone else at both ends. As far as I know, factory used the same style front and rear of drive line and did not mix. But a car transmission would easily bolt up to a truck engine and that would cause a difference. These are just things that need to be taken care of 50 years ago when swapping parts and to keep the same yokes together to make things work. So if you have different styles at both ends .... that is a previous mechanic swapping parts. This is standard Cleveland and what the trucks came with on both ends.
-
My 2 cents. You have the standard Cleveland style U-joints for a truck .... cars have the ball and trunion style. Knowing what you are looking for is 1/2 the battle. .... My only issue with the Cleveland U-joints is availability and cost. Many years ago they were only available from one supplier and they were $85 each. They went out of business and they were no longer available for a few years. Now there is a new supplier as of 7 ears ago? .... no idea what the cost is. My humble opinion, I will replace mine with modern readily available u-joints when it is time .... mine are in good condition and will work for some time to come. If they needed replaced I would spend more $$ and have the drive line rebuilt to accept a modern u-joint and that includes yokes like replacing the rear end with a modern unit. Totally your choice and how you will build your truck, original or modified. .... yes your u-joint are a issue and not a figment of your imagination.
-
See that is my mistake .... I expected to see some movement with gas sloshing around and saw none .... so I assumed the gauge was not working. I honestly do not remember what I did when installing the universal sending unit. One thing that is needed is to cut the float to length before bolting it down .... Me actually cutting it a little shorter so it would still have some fuel in the tank when it reads empty .... totally something I would do. IIRC, I think I did not like the cheesy mounting bolt for the float and spot welded it in place so it could not back off. This is the first vehicle I have ever spent this much time on .... seems we forget things we did a few years ago.
-
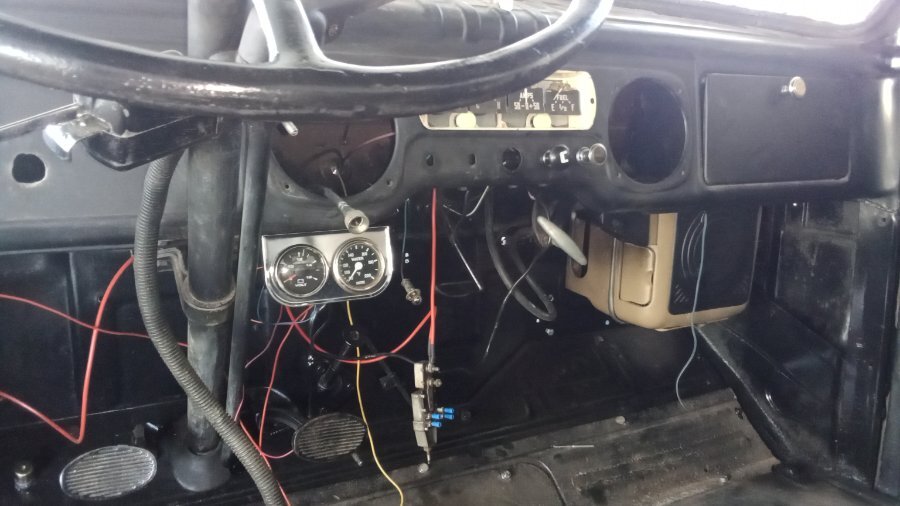
I see you are correct, I have been taking sideways glances at it ... trying to not get distracted and stay on the work I was doing .... Now the headlights are the work in front of me and I have removed the buckets ... I see how the original harness was ran and no need to remove the body panels. .... For wiring. Still not sure how I will get at the front grill bar. You and @JBNeal are also correct about the gas gauge. I know it was low and was expecting it to run out any time ... I ran it a lot since the electronic ignition install and had 2 gallons gas here for when it did, just never put it in .... So it was basically empty and the 2 gallons was all it had. I rocked the truck back and forth pretty hard and thought with 2 gallons the gauge should kinda move a little. It did not. I put 4 more gallons in it today, so 6 total ... The gauge moves. It just comes off of empty, but I have it nose high in the air on jack stands with front tires removed ... all the gas is in the back of the tank. On level ground it should come up more .... it is promising that it works, no idea on accuracy. Tire shop was closed today so no new tires mounted til next week. Will be 87 degrees today and the last day of good weather. Will be highs in the 40's tomorrow and same for the next week ... so not much getting done. For awhile.
-
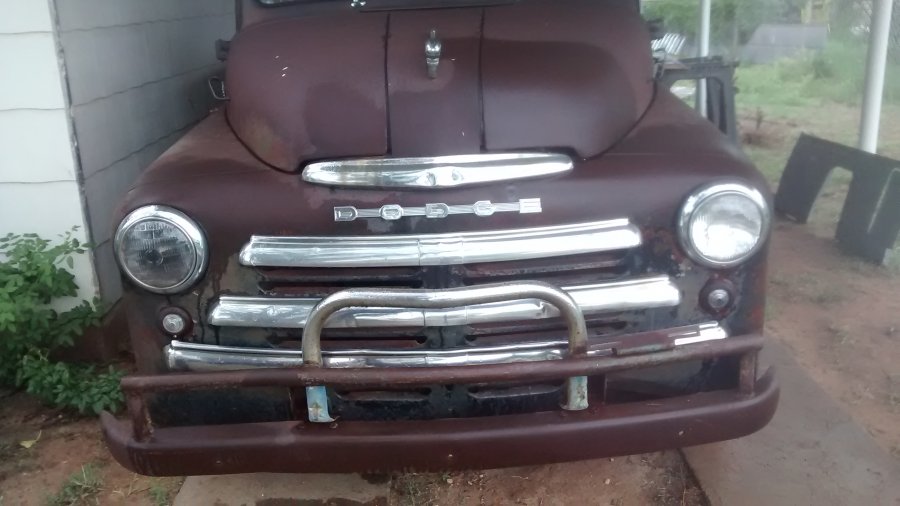
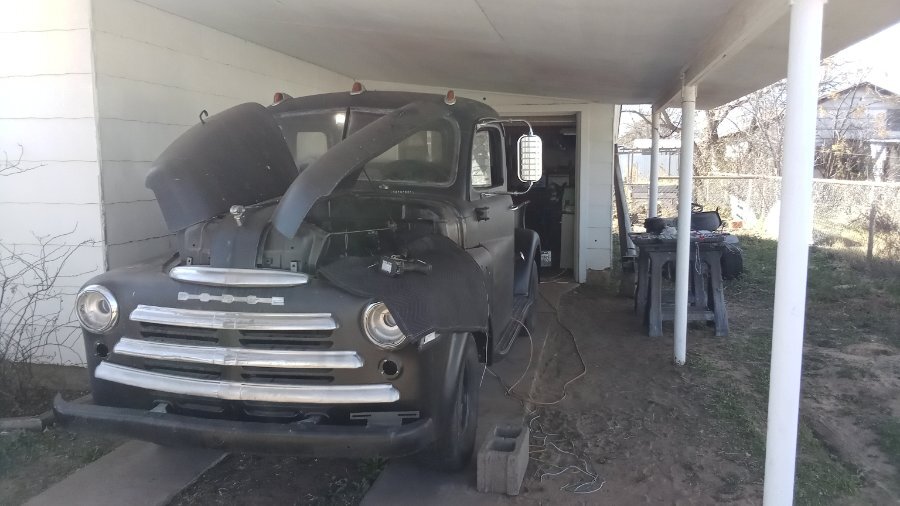
I'm at peace with the front bumper as is for now .... considering where it came from. The bumper has lived a hard life, it is bent, twisted, torn where it mounts and it has damage from where they welded the bars to it .... It is on my list to find a replacement for it some day. What really does bother me is the lower grill bar and the goofy grin the truck has with it curling up into the air. I spent some time straitening all the bars and thought it was good enough .... then when I installed the lower bar and saw I missed the curve .... That bums me out because I know I can do better and just missed it. The bumper, I did the best I could with it with the tools I have available .... I even welded a 8' 2.5" thick well casing to it for a lever to take the twist out of it .... It kicked my arse and I accept that. Leaving the lower grill bar the way it is is just laziness .... I have been known to be lazy also Thank you for the kind words. The van has side lined the truck project a few times over the years .... and is about to do it again. I just needed a break from the van and to make some progress on the truck .... and think about the issue the van has. I have received some good advice in another thread on it .... Today I'm convinced it is a grounding issue and the computer is stuck in open loop ... should be a easy fix .... Wife has DR'S appointments and a surgery coming up next month out of town and would be nice to drive the van.

-
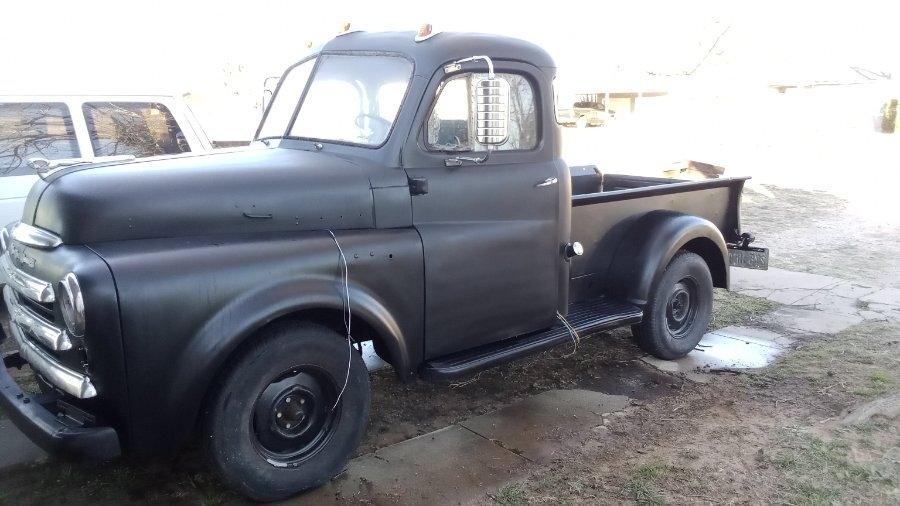
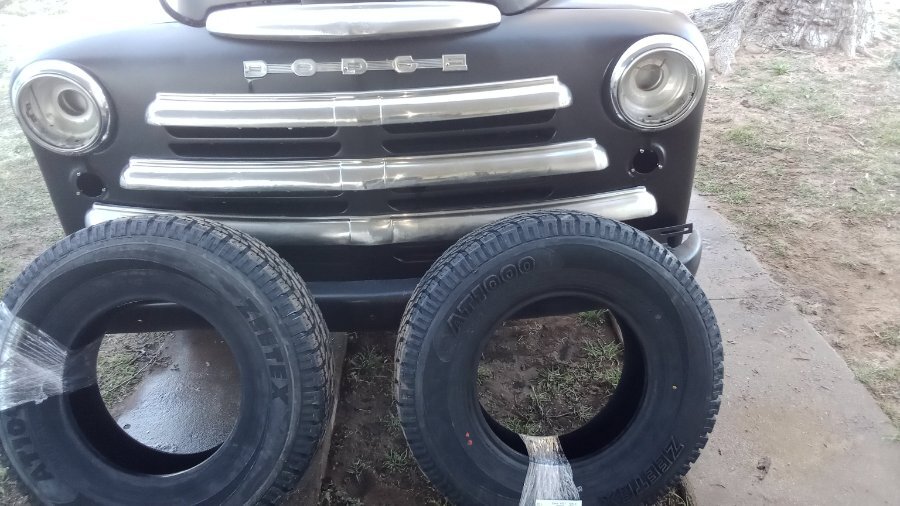
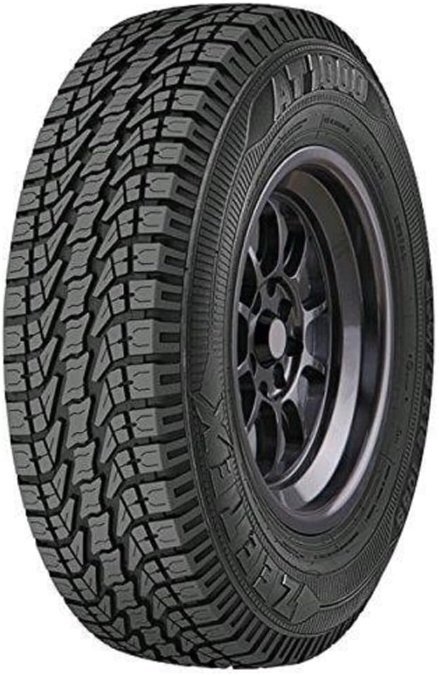
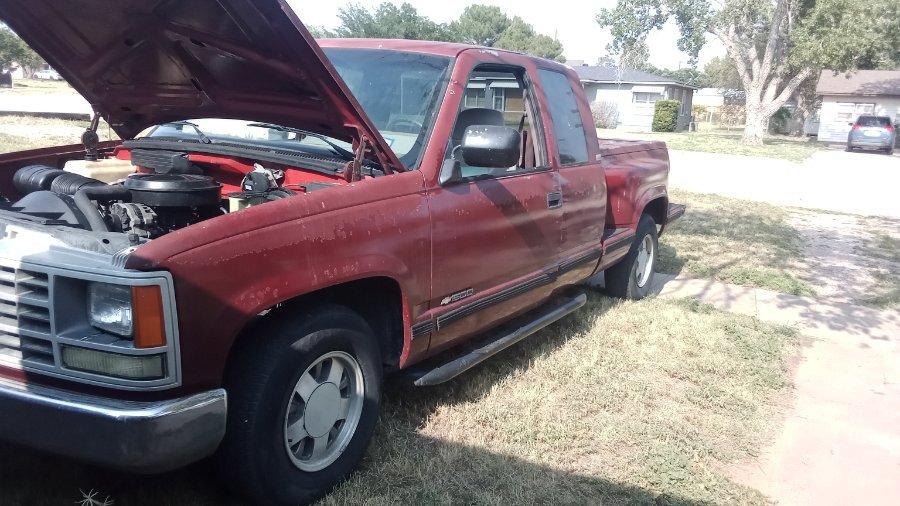
Welll I finally did it!!!! .... I washed the truck today. Now I still need to connect the headlight switch, brake light switch and turn signals. I'm pretty sure I need to pull the front fenders, hood back off .... I;m thinking the wire harness for the front lights needs to be installed before the body panels The bolts are all finger tight for adjustment .... no big deal. My gas gauge just quivers when I turn the key on .... I know it was really low on gas when I connected it .... I put in 2 gallons since then and the gauge still does not rise .... I dunno, new wires, tank, sending unit, 12V > 6V reducer .... I think all is correct, I have a different gauge on the shelf I can try. I did get my new tires in today ... I'm OK with going all 4 the same. I was worried they looked too aggressive for the front. I realize I can put the raised black letters inside and not so aggressive as I thought .... still good traction tread though.
-
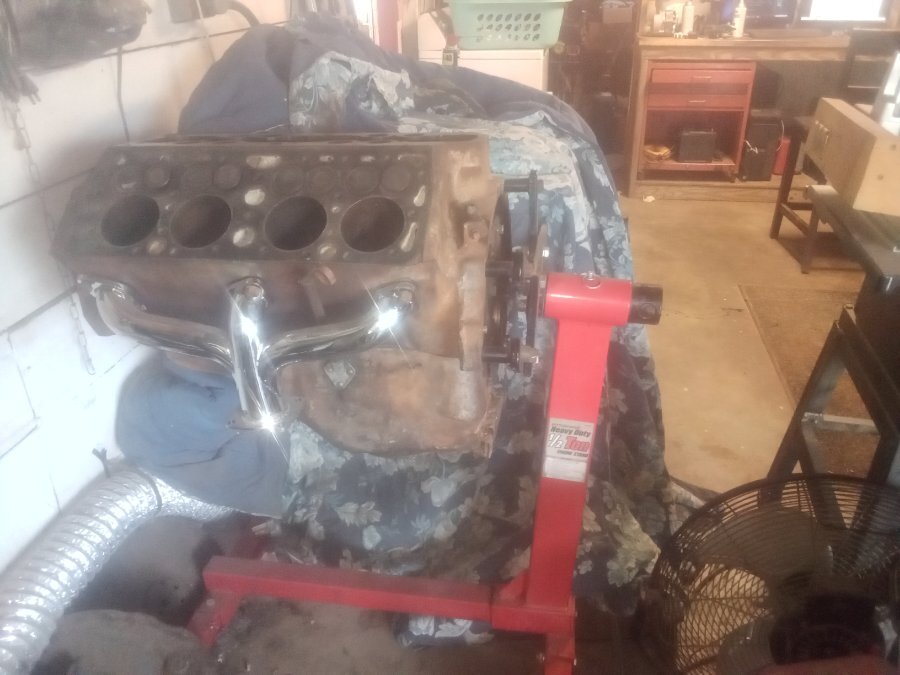
also possible just a casting flaw from birth? .... seems like all the damage is on one side and not the other ... on both chambers. Like they were low on sand on that side. What I see is something that makes you go Hmmm🤔 .... not anything to stop it from going back together. Any idea where the oil was coming from?
-
If mine were metal, I would not give them another thought. Thinking that some day I may run across a set at a swap meet or yard sale. Then restore them. Plastic in the weather is doomed to turn brittle and easily crack and break some day. While metal can be repaired and live on forever. Naturally I wake up at 2:00 AM and start thinking about building a set. How hard can it be? Cut the bottom out of heavy 16GA and roll the sides from 18GA ... make the diameter the same so my existing plastic lenses will fit ... easily find replacement lenses .... some day when I'm bored
-
New B-3-B owner with some basic questions
Los_Control replied to ktb's topic in Mopar Flathead Truck Forum
Seems like it would be possible to rotate the crank out of the way with all the rods loose? To me that sounds like a really bad idea .... good way to destroy a piston. You want to use a block of wood from the top. The wood needs to be wide enough to span across the piston and apply pressure to the sides of the piston equally. Probably need to measure and cut one to size. Then use a 2 pound sledge hammer and knock em loose ....after you rotate the crank out of the way. A wooden handle in the center of the piston top or bottom could easily just punch a hole through the piston .... you are counting on the sides of piston for strength. Lets hope the brake fluid does the trick. -
Seems like I also looked at that hole and thought the same thing .... mine was not all the way through and I think it has a different purpose. I believe it is exactly how it should be and I would do nothing to it .... unless it does not work. You can only hone them so far before they become too large to be safe. What I mean is, I rebuilt mine and bled them out and the brakes felt good .... then I pretended to do a panic stop and slammed on the pedal as hard as I could. The pedal went straight to the floor ... worked fine in a normal situation, but if needed to stomp on them in a emergency they did not work. I only say this because of a aggressive cleaning with sandblasting then honed smooth ... has it ever been honed in the past from a previous owner? Go ahead and put your kit in it and bleed the brakes and do try the panic stop .... either it works or it does not .... do not drill the other hole through. If it does not work, you have options to buy a new China replacement, have your drilled and sleeved and professionally rebuilt ... or go with a modern conversion. When I was a 17 year old kid I worked in a Texaco gas station and I rebuilt brakes for the mechanics. I would hone the wheel cylinders out and then install a rubber cup one size larger then what I took out .... they either worked or they failed the panic stop test. I was told they could be rebuilt safely 1 time, then toss and replace with new .... this was in the 70's and how brakes were dealt with. Was a rule of thumb and same with the master cylinder. Make sure you clean it out properly and throw it together and try it out ... just do not get lost in the weeds trying to save something that is too far gone. Having one sleeved is not out of the question.
-
My opinion with a black truck .... black bumpers just kinda disappear and is good for my truck. The front bumper is a bit twisted .... I do not want to highlight it. I do like the silver paint idea, I have painted my roof lights as the chrome has failed on them .... not perfect but not a bad solution. If I had a better bumper, I would paint it silver .... as it is on the passenger side it is twisted .... black kinda sorta hides it and does not seem so bad.
-
Been lazy today ... I did order 2 tires today 235 75r 15 ... being cheap as usual. I only have 2 wheels painted and ready to mount tires on. Get those mounted and can then remove the tires on the other 2 wheels and get them painted while waiting for the next 2 tires to be delivered. As they say in the semi truck world, a set of drivers for the rear and I may want to run a smooth highway tire for the front. At least with 2 I can play with it and decide later.
-
I agree with you on that. While mine seem to fit and function as they should, sockets are good enough .... the cases are all plastic. I feel I built sturdy brackets and ran external grounds to them ..... They have every chance needed to last a long time .... I'm just not very optimistic mine will last 20 years.
-
51 B3B build thread - after all these years
Los_Control replied to bkahler's topic in Mopar Flathead Truck Forum
Just sucks when you spend the $$ to save time, and it ends up costing you time -
While I do not know the answer, if I wanted to know I would start here. https://hubcapmike.com/ Seems they have just about every type of hubcap and in my case with newer wheels they show how to measure the outside bumps for correct fit. I would assume somewhere in their site is what you want.
-
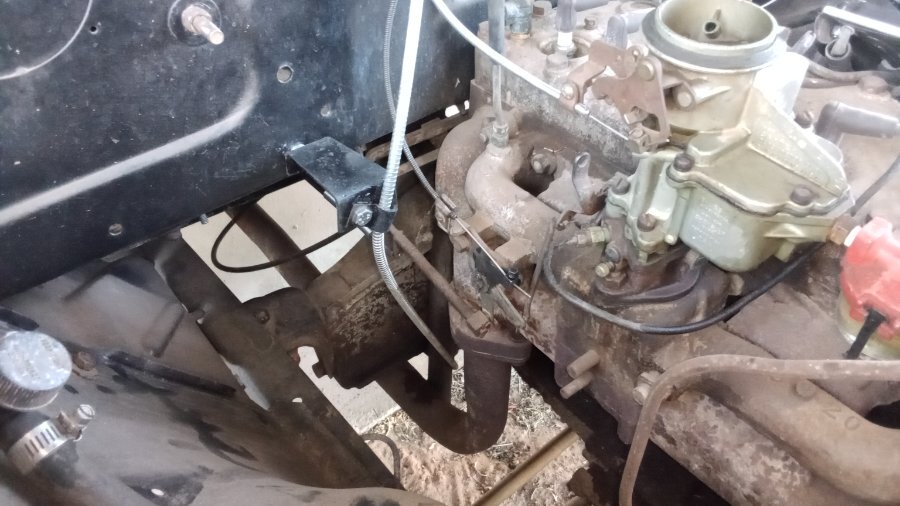
I dunno, I think the way you have approached and built your truck .... it deserves the extra niceties. While my truck is often built on git me byes. The tail lights I posted above are cheap $10 lights sold for semi trailers .... they should work for 3-4 years and then I can decide to buy better. .... I can also decide to install better wire loom at that time .... this will get me on the road. Today while working on wiring, I spent the day connecting engine controls. The choke cable is for chebby and was 8" too long so I needed to modify it. Throttle cable went back the way I removed it. The E-brake cable is also from some chebby truck and is too short, it rubbed on the throttle linkage so I made a bracket for it. ..... I suspect some day I will be installing a different rear end with different brakes .... this is a git me by that works ... Temporarily. Possible if I reroute it, I can gain the 3" needed. My wiring looks exactly as it should .... A mess. But it is slowly getting closer to what it needs to be. I'm satisfied with what is finished .... just what is not is a mess. So yeah I have plastic sheathing on my wires for now ..... I reserve right to change that at any time in the future.
-
Looking at the failure on my step .... It all looks perfect, except where the bolts and washers attach it to the frame ... Tightening the bolts damaged the coating. It would probably be fine if we used something like LINEX uses with their masking tape with a string in the masking tape to create a hard line to stop the product. And stop the powder coating at the mounting holes and just use regular paint there. My step I'm talking about, they clean up and look fine and are pretty old. Just where the mounting bolts go through it fails and makes the whole thing junk. I have these headers I bought, I'm afraid they are powder coated ... they might not be .... If they are, I would suspect them to fail around the mounting holes and start rusting after a few years and basically look like crap. .... they might be chrome but I doubt it. Probably why Summitt had them at a clearance sale for $40.
-
Several years ago while bored, I was doing a fair amount of research on DIY powder coating. I never used any of the knowledge and quickly forgot it. .... seems a basic kitchen oven could work for items that would fit. Then I was reading on how others were building their own ovens for things like bumpers and such. Not really technical .... did not need to be a rocket scientist to make it work. I was thinking it could be something fairly easy to get started at home and be a potential way to make some cash on the side, powder coating for friends and local persons. As pointed out above, proper preparation is everything to creating a quality product you can sell to friends and remain friends. Oh well, I seem to have lost interest in the process. I can say the steps on my daily driver are powder coated, where the bolts pass through for mounting, has broken the seal of the powder coating and caused rust. This has just multiplied the rust process making it far worse then if they were painted and the paint failed. ... would have surface rust. Where the powder coat has failed, literally has eaten the metal and has large holes in the steps now .... some day I need to remove them. Same time, if they were painted ... I could weld in patches and repaint them. Removing the powder coat would probably require sand blasting and outweigh the cost of simply throw them away and buy new ones. Done wrong, is not a good thing.
-
Your truck has the real cool cloth covered wire protectors .... that's sexy. I wanted to ask you where you got it from .... to be honest, the plastic works fine for the purpose of this truck .... a daily driver. Cheap and easily replaced if needed.

