9 foot box
-
Posts
677 -
Joined
-
Last visited
-
Days Won
15
Everything posted by 9 foot box
-
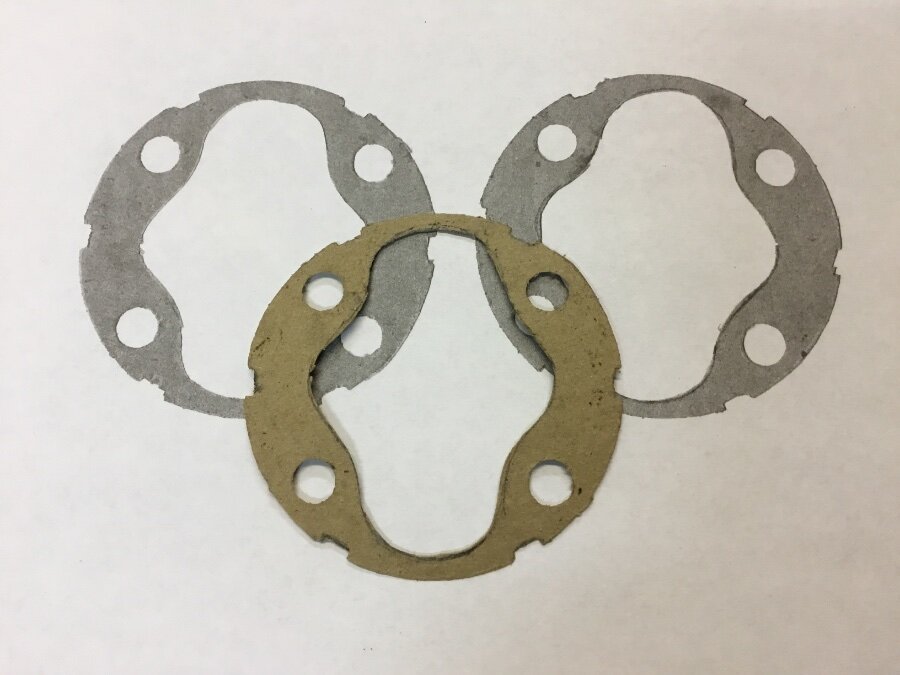
I removed the driveline on my 56 Belvedere today. It has front and rear trunnion universal joints. Same thing, lack of grease, or the grease has turned to wax. The gaskets were broken. It’s a preventive maintenance that is overlooked, until you need a new driveline. I peened a couple gaskets, and made a copy.
-
I recently had a sound sporadically that I couldn’t quite figure. I pulled the drive line and could see grease overspray on the underside above the front trunnion. I opened the six tabs that hold the cover on, with opening each bend as little as needed to remove the cover. The gasket 16-03-20 was in pieces and the body was dry. I flushed the body and all the rollers and needle bearings were present. The rubber dust covers are still intact. I peened a new gasket and packed the body with the ounce and a half of grease and reassembled. I opened the rear trunnion and replaced as much of the old black grease as I could get out. Took a fifty mile drive and I think I caught the problem before any major propeller shaft work would have been needed. I might put the leather boots on another car that the boots are broken, I will use less grease, and let centrifugal force keep the ball and rollers lubricated, but the 16-03-20 gasket is still needed or it will sling the grease out. Rick D.

-
You would need the 91006375 adapter. The throttle on a 3bolt is on the right side, you would need to change the linkage. A Weber 32/36 carburetor, with a 2025 adapter would bolt up easily to existing linkage. There is triangular throttle piece with seven holes that you need on the carburetor. Google “Plymouth flathead weber32/36 conversion”. It’s a you tube video.
-
1952 cranbrook convertible top stopped working suddenly
9 foot box replied to terry G's topic in P15-D24 Forum
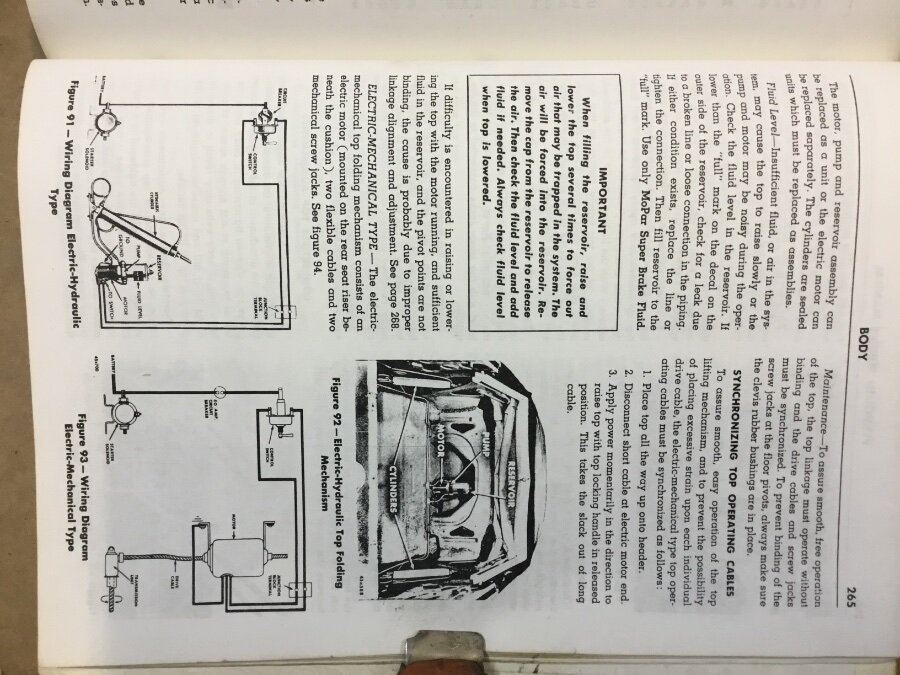
It could be that the electric motor needs to be cleaned. Here’s some information from my 46-54 Plymouth Service Manual. When I corrected the orientation, it cropped the picture. Rick D.

-
Full Flow Oil Filter Part Number and Applications
9 foot box replied to Matt Wilson's topic in P15-D24 Forum
Since my last post on this subject, I put the shorter starter on my 49 251 Chrysler engine that’s in my 47 WD21. I have temporarily looped the oil flow connections with a braided line when I removed the Chrysler solenoid type starter. The oil filter was mounted to the block with a one piece gasket that fit the housing. I’ve seen different block configurations and as Rob has said, he just replaces two o-rings. I’m going to make a gasket and use anaerobic sealer with the correct length bolts. Maybe my oil filter has been adapted for an easier gasket replacement, but it does seem to have used a different seal at one time. As an aside, how is the maple flowing? Rick D.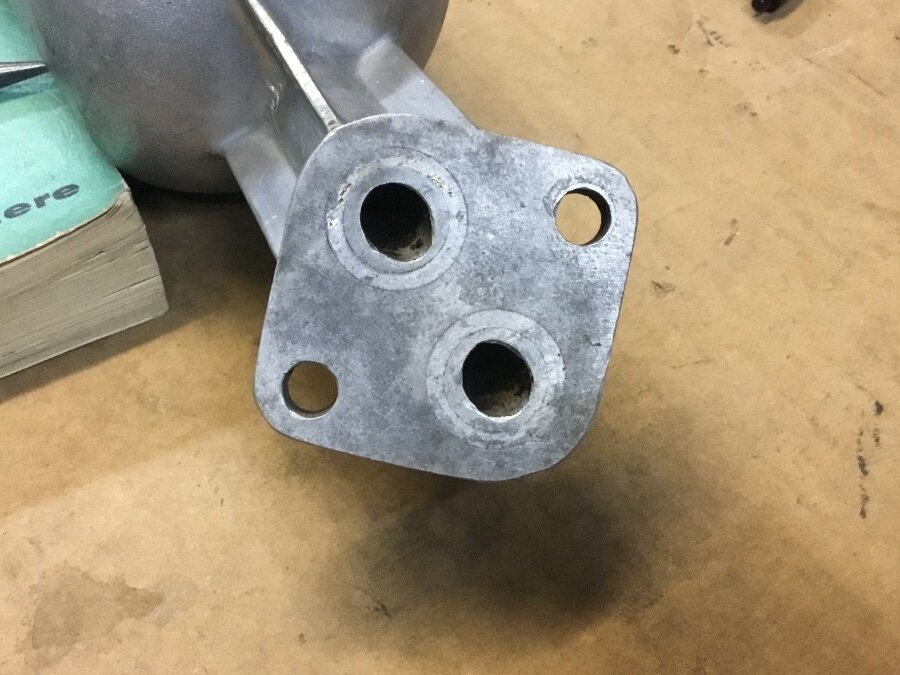
-
Your brake pedal should have some free play before the push rod engages the MC piston. With the changes that you have done, that’s my first guess. Pull the pin for the push rod to the MC and it should release the brakes, shorten the rod for free play. Some have had a problem with the pin on the wheel cylinder being too long on aftermarket wheel cylinders. If you haven’t done a minor adjustment and the brakes are still tight, that could be the reason. I had to file down the slot on the WC pin on one of my projects to get full retraction of the brake shoe. The original pin didn’t fit the newer cylinder boot seal.

-
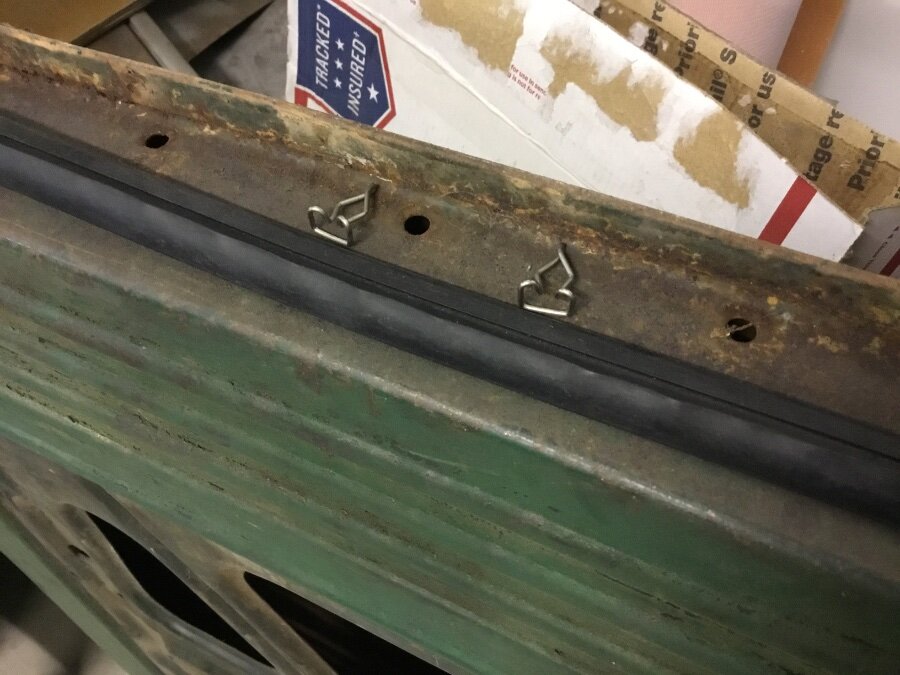
DCM Classics has a RW-121 bottom door seal and clips to install RW-121 C.
-
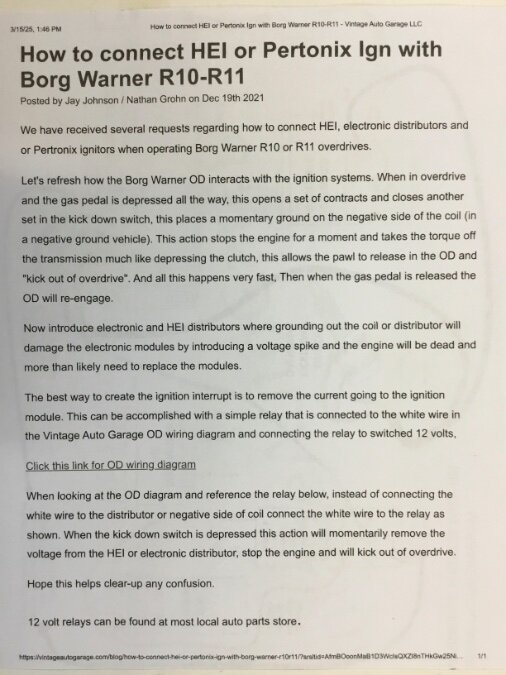
Wired the conventional way, the kick down switch grounds the point. That would probably ruin the module in an electronic ignition. Vintage Auto Garage has a schematic that wires a relay in the system that cuts the power to distributor. Google search a R10G1 overdrive with electronic ignition. You should find the information. Here it is.

-
It didn’t snow much until mid Jan. to mid Feb. I’m was fortunate to find a vintage Craftsman 24” snowblower to make my life easier. 18” total they say. Amos, liked it. All gone a week ago.

-
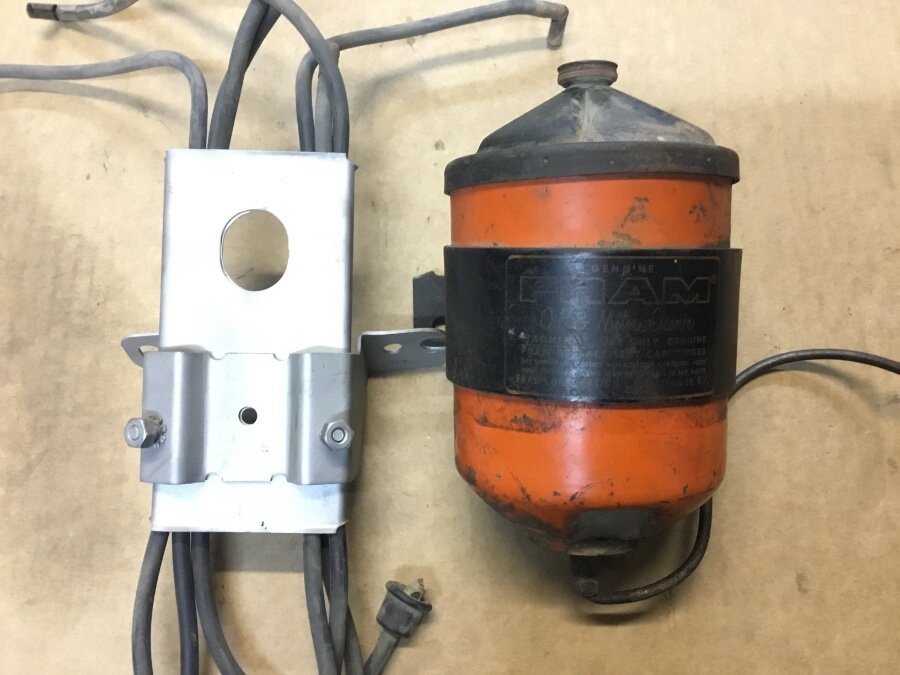
The part in the center of your picture is a Sisson automatic choke. You have a truck or Plymouth carburetor on your car with a manual choke cable. It looks like the outer part of the choke cable isn’t secure, so it is moving, but the choke butterfly is staying in the choke position. The lower device, under the carburetor is the manifold heat control.
-
This is a IAP-4103A-1 distributor that was in 49 and 50 Plymouths. The bare wire is a ground. The other wires need to be insulated. Here’s another, with a different condenser. This ground wire needs to be insulated.


-
Do a Google search “4.0 Jeep in a 51 Plymouth”. I’ve never read of anyone doing that modification. If I wanted more bang for my buck, I would find a 265” Chrysler Six. It would just about bolt right in. No firewall change needed because of the longer Jeep engine. I won’t go into all the other cons.
-
I found that a C364009 fog lamp looks like yours.
-
Your engine should have a plug wire loom. I put a Fram canister for reference. I put a Wix 24755 adapter to a spin on filter on three of my cars. The oil canister that you pictured is for something else and is missing the center oil return tube. For less than $60 you could put a spin-on bypass filter on the truck. The filters that I was using in the old canisters seemed to fit, but the cap gasket was wrong. The Wix adapter eliminates any guesswork on a replacement filter. I use a NAPA 1320 filter for its smaller profile. Thank You Sam B. for your post on the subject. Rick D.

-
I like the style that Panhead posted. You could check Menards for a N220533 rope hook for about $2 apiece. They have the nub on the end, that seems to be a cleaner/finished appearance. My concern would be drilling the holes, without splintering the paint.
-
Resurrecting and diagnosing…
9 foot box replied to Matfirstattempt's topic in Mopar Flathead Truck Forum
I bought this tool to get to the two piece valve keepers. Cover the bottom oil return holes, so you don’t lose any keepers into the oil pan. With the manifolds off, you could probably use the loaner tool from Advance Auto. You probably need a torque wrench when you get to putting the head back on. But I’m getting ahead of the process, you need to chase all the threads that go into the block and use thread sealant on the threads, to get a proper three step torque sequence. That includes the manifold bolts. They all go into the coolant chamber. A retired seller used to say we are all in this together. Being a newbie, it’s hard to tell what advice to listen to. If you don’t have a Service Manual for a B1 or B2, it would be helpful. I have bought original printed manuals for my cars and trucks, that might be a little worn, but have better visual pictures than reprints. There’s a story about the rooster, but it reminded me of your five year ago post of the pig on your door.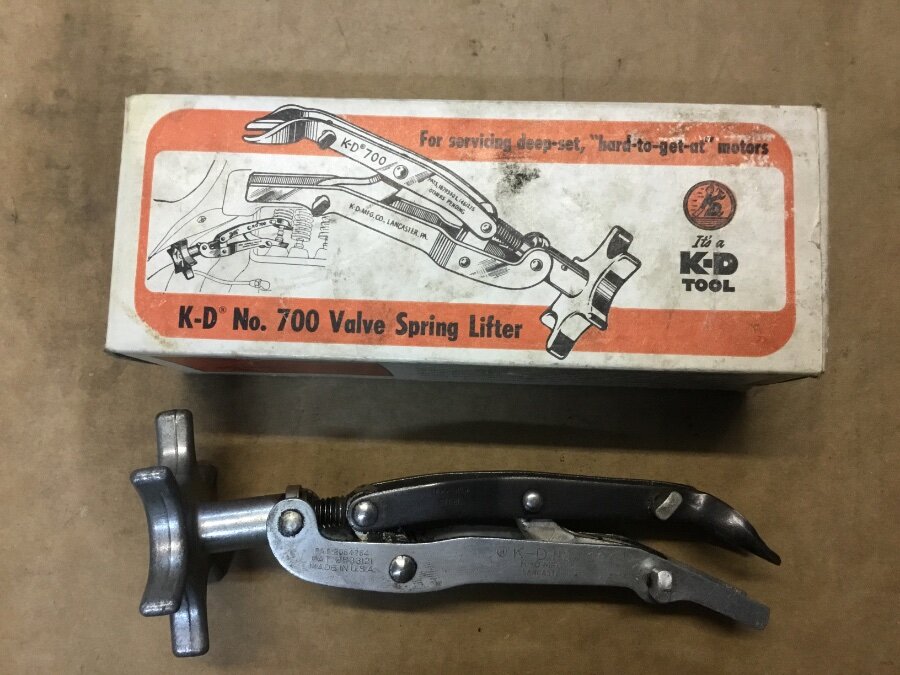

-
A 3.9 gear ratio would have a 43 tooth ring gear and a 11 tooth pinion. See if there is a stamp on the top flat of the carrier. My U.S. differential is stamped 3.9 in both places. You can determine ratio by securing one wheel and rotating the other wheel one full turn, counting the revolutions of the pinion. It would be less than 4 revolutions for a 3.9 ratio. I’m not disagreeing with anyone, just additional information.
-
Brake Master Cylinder Rebuild on a 1948 Chrysler Royal Question
9 foot box replied to Tom Skinner's topic in P15-D24 Forum
I put a kit in my 49 P15 without removing the MC. I honed it with brake fluid as a wetting agent and cross hatched the length of the cylinder and installed the kit from the rear. The push rod and boot were removed for visual inspection of any blemishes by using a light at the forward port before assembly.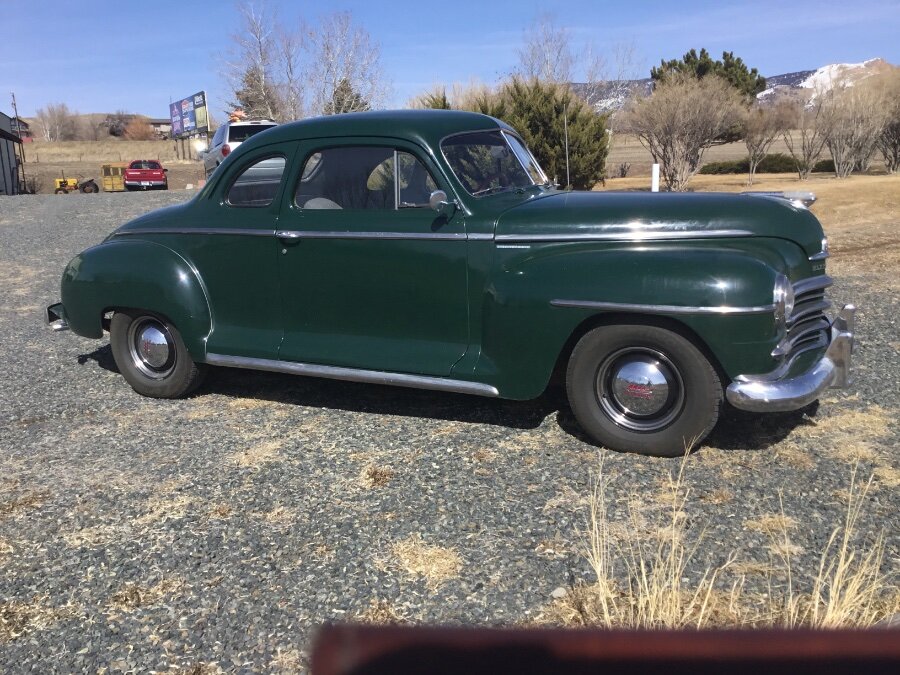
-
This is from my P15 service manual. When you do get the engine running and up to operating temperature, let the block cool overnight and retorque the head bolts in the proper sequence. Don’t idle a new engine in the garage for any length of time. Run the RPM’s up to 1600 or so, gradually, and don’t rev the engine when you’re showing off that it starts. Watch your oil pressure and temperature gauges. The real break-in for the engine is when you’re driving down the road.

-
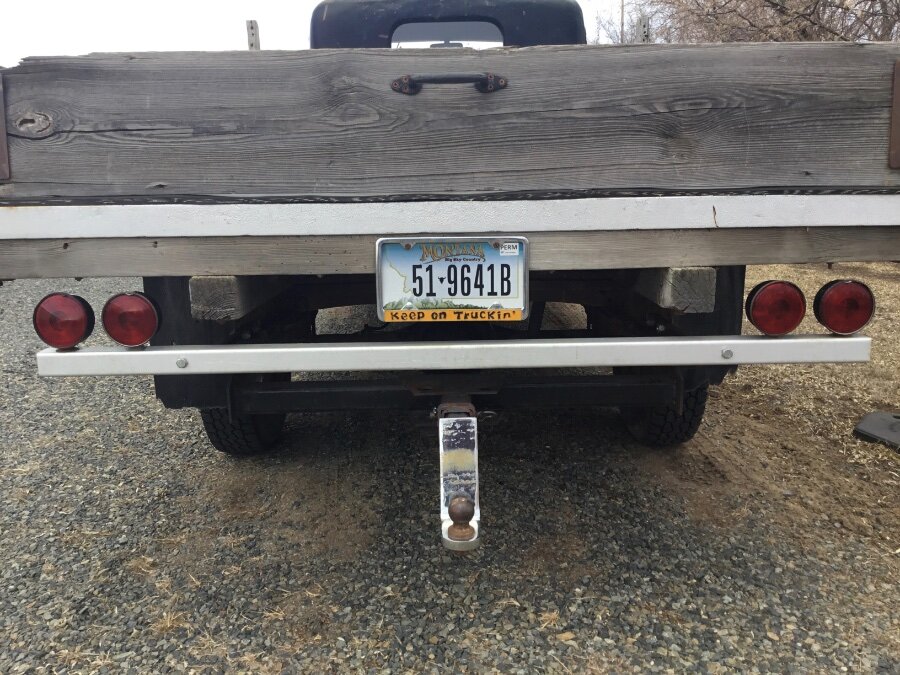
If you have to move the front end, it would enable you to pull the right side of your bumper back into place. With the fender out of the way you can pull it far enough back to allow for spring back. The twist is an easy fix. I added a class 3 hitch to my 47 one ton. You’ve come a long way, considering the van engine change. Rick D.
-
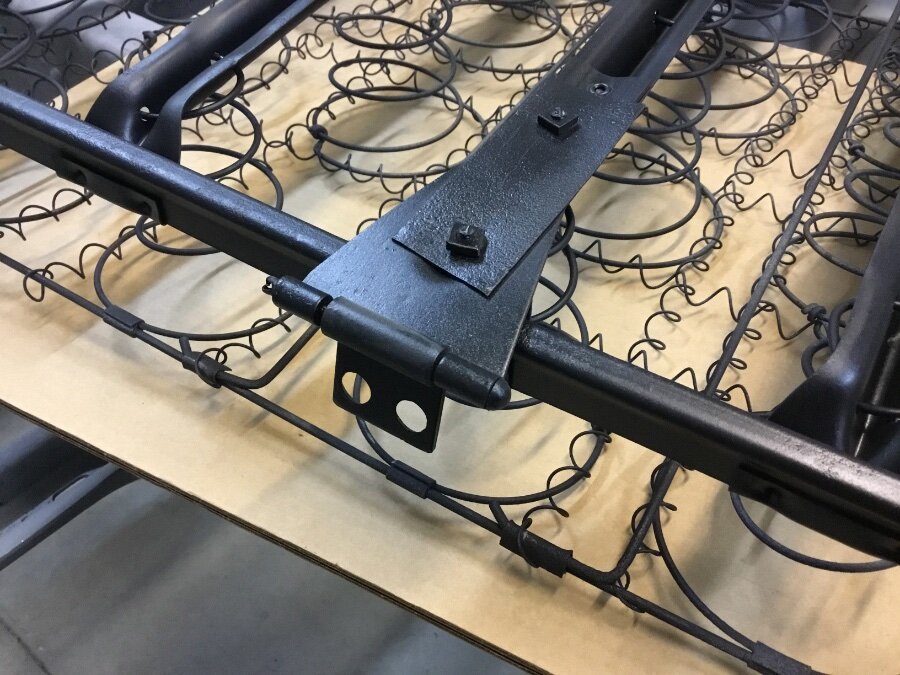
It broke off the seat back at the first of three rivets that hold the rest of the hinge on the seat back. You can see that mine has a reinforcement added.
-
41 Plymouth - any tips for removing side trim clips?
9 foot box replied to 41 Plymouth Coupe's topic in P15-D24 Forum
You have to pinch the two tabs flush to pull the clips through the body hole. I would clean the sealer off of them. I haven’t seen the last rearward clip available on your side trim, so be careful removing the nut. If you are going to leave the trim on for now, pressure wash any dust that has accumulated behind the trim till it’s clean. It might save what you can’t see. 10-4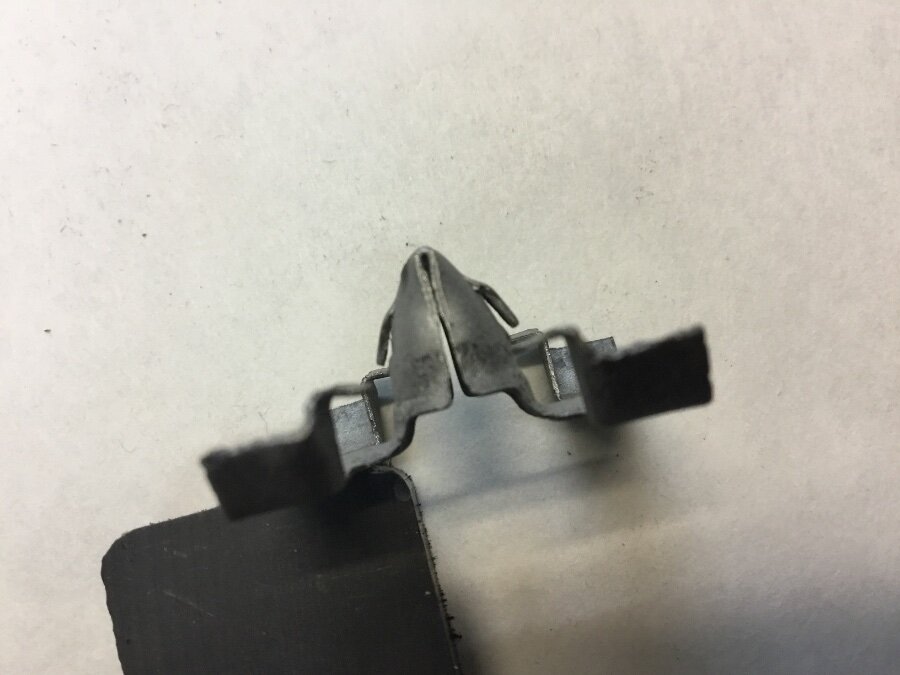
-
This a page from a 56 Plymouth service manual. Rick D.
-
The part number for the nut is 865760. Vintage power wagons has them as CC865760. Restoration Specialties has them as 2347-clp. I think I’ll call RS 814-467-9842 and get a new catalog, mine is a 2015 version. Auveco has an online catalog for clips a fasteners. Rick D.

-
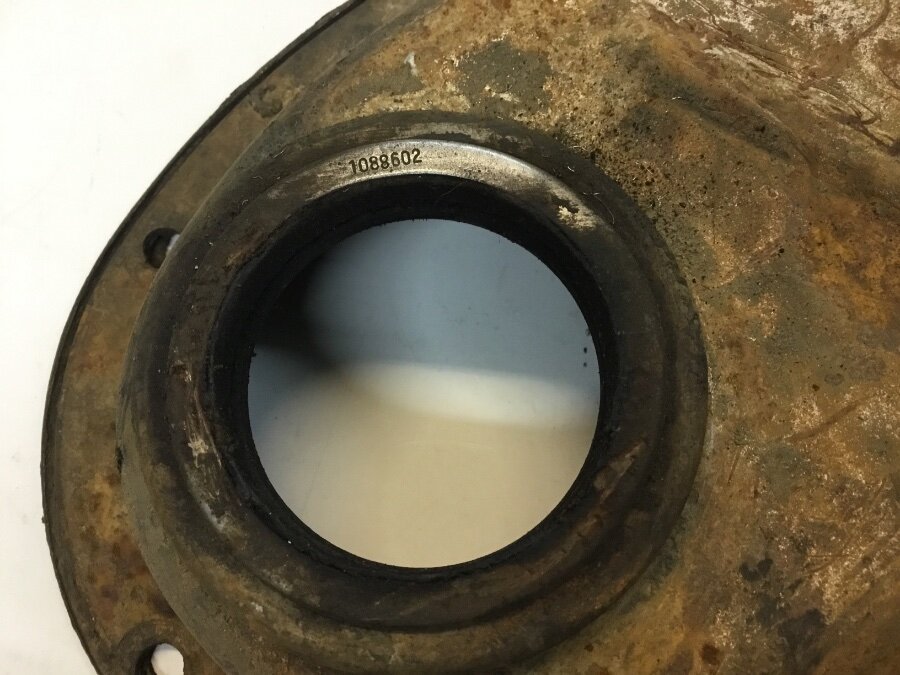
The original seal number is 1188602. The only replacement that I have found is a SKF 21820 and a SKF 99218 speedi sleeve. The cover has to be removed and supported for removal and install, so the cover isn’t damaged or distorted. Some of the bolts for the cover go into the water jacket, they need thread sealant. I put an oil pan on using this method to keep the gaskets aligned. This is a dodgeb4ya technique that I found after taking a dent out of an oil pan.