-
Posts
1,657 -
Joined
-
Last visited
-
Days Won
20
Content Type
Links Directory
Profiles
Articles
Forums
Downloads
Store
Gallery
Blogs
Events
Everything posted by John-T-53
-
There was factory clearance at the rod journals. There needs to be clearance otherwise it wouldn't spin. Per the manual the clearance should be .0005" - .0015" Therefore, for a STD journal size would be 2.062 to 2.061" If it's been ground .010" under, then 2.052 to 2.051". You can keep subtracting for every .010" thereafter... Journals are sized provide the correct clearance for the bearings that will be used.
-

Is it a radiator, or a wall hanger?
John-T-53 replied to Los_Control's topic in Mopar Flathead Truck Forum
It appears that the fan blades impacted the core...if that's the case I'd bet that the tubes have been compromised too. I am generally not a fan of aluminum parts in cooling systems because it is more susceptible to corrosion from electrolysis, and can't be fixed like copper/brass radiators. -

12th ANNUAL CLEMENTS TAILGATE BBQ, Clements California
John-T-53 replied to 48Dodger's topic in Mopar Flathead Truck Forum
I think this year it would have been John, with Kevin coming in at a close second. There has also been an Estrada family member whose beard has been likened to "Mohammed style", in the past... Yeah...BEST BEARD should be a category for next year. -

12th ANNUAL CLEMENTS TAILGATE BBQ, Clements California
John-T-53 replied to 48Dodger's topic in Mopar Flathead Truck Forum
Does this mean that the one ton is coming again? -

12th ANNUAL CLEMENTS TAILGATE BBQ, Clements California
John-T-53 replied to 48Dodger's topic in Mopar Flathead Truck Forum
Add me in on that too! Will trade for drive in mine... -

12th ANNUAL CLEMENTS TAILGATE BBQ, Clements California
John-T-53 replied to 48Dodger's topic in Mopar Flathead Truck Forum
Keeping an eye on the rain....the weather keeps going back and forth about rain or clouds or both on Saturday. As of now it says rain on Friday and overcast on Saturday. A rainy Friday will get in the way of our cleanup and mowing day... -
- 29 replies
-
- 1
-

-
- heater valve bypassing
- heater valve refurbishing
- (and 11 more)
-

Sticking valve in a rebuilt motor
John-T-53 replied to 41/53dodges's topic in Mopar Flathead Truck Forum
Were the tappet covers removed? If so, any corrosion or varnish may be evident on the valve stems in the closed position. If considerable corrosion is evident, it should also be present on the other interior surfaces of the motor. Take some photos of the tappet chamber and post them here. -

Sticking valve in a rebuilt motor
John-T-53 replied to 41/53dodges's topic in Mopar Flathead Truck Forum
What are the guide to stem clearances that were set? I believe that the spec calls for a pretty tight clearance (.001 - .002" or so if I remember correctly - just guessin') and the exhaust is a tad looser than the intake. This leaves little room for slippage if any foreign material, gum, or varnish gets in there. I'd try applying some extra lubricant as others have said. If it still gives you trouble you might have to remove the head and valve and 'kiss it' with a guide hone. I too had a sticking valve after doing a valve job a few years ago - on the way to the BBQ actually. it happened on the side of the freeway. Luckily it popped back with a screwdriver and didn't stick again, and I was back on my way shortly. The culprit was a speck of metal or something - it scratched the stem. -

12th ANNUAL CLEMENTS TAILGATE BBQ, Clements California
John-T-53 replied to 48Dodger's topic in Mopar Flathead Truck Forum
Beer is handled, so bring PUMA. Given today's standards, you could have her as your emotional support animal on the plane! -
I'm making a comeback! Sometimes life gets in the way of old trucks. Ok here we go for new seals: http://corvettespecialty.com/corvette-heater-control-valve-seal-kit-1956-57 The valve is from a '56 or '57 'Vette. The valve housing looks different but the innards apparently are the same as the 'Ma' version. http://corvettespecialty.com/corvette-heater-control-valve-1956-57
- 29 replies
-
- 1
-

-
- heater valve bypassing
- heater valve refurbishing
- (and 11 more)
-
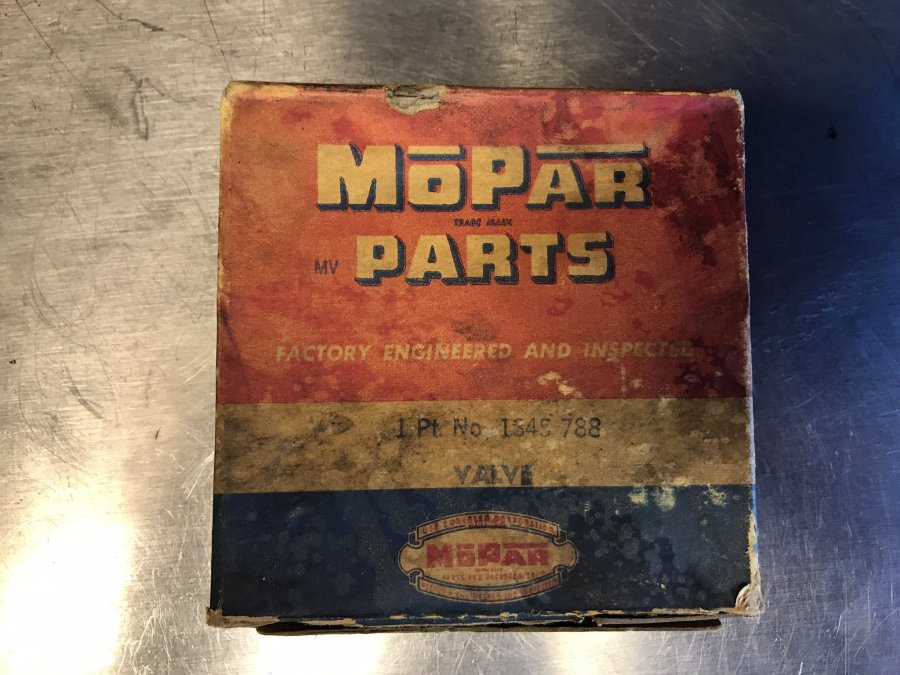
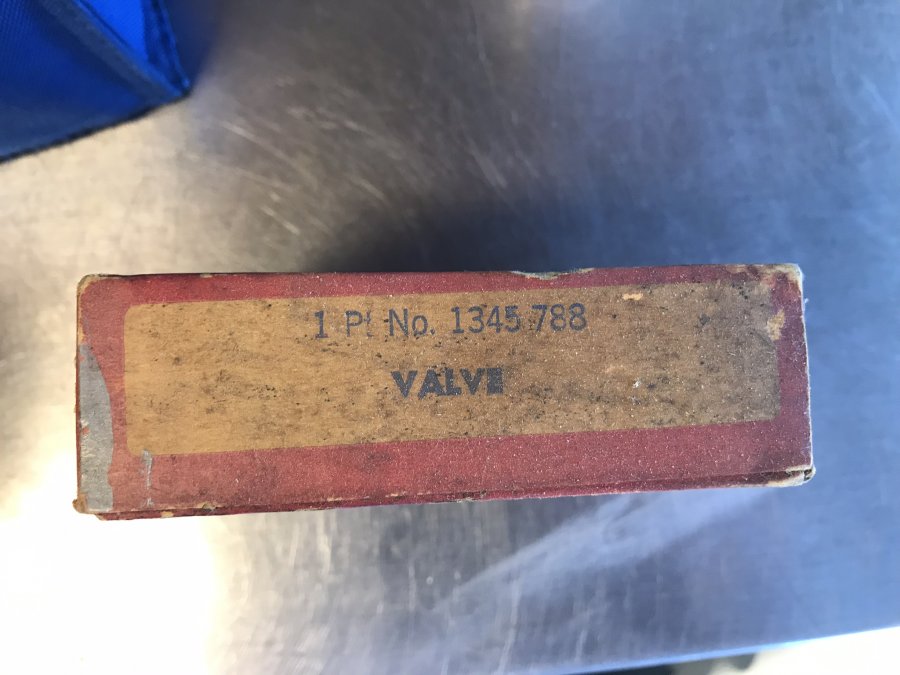
I too have the "Corvette" valve on my engine and need to get new rubber seals, because I can't close it via the cable control from the dash pod (the seals too stiff). I should have ordered them when somebody found the website years ago and posted it here....I'll keep looking. If I remember correctly, my valve came in a Mopar box. I'll see if I can dig that up too.
- 29 replies
-
- heater valve bypassing
- heater valve refurbishing
- (and 11 more)
-
Wow, that's nice, how bout some more shots of that one? I always liked the blue paint color on these trucks.
-
My machinist friend has seen those slots on the head before, just on "very old stuff" he said. This one appears to be factory cut. And yes, the keeper groove on this one appears to be unique! The screwdriver lapping method (especially if you had a strong magnetic one) sounds more reasonable than the rubber suction cup method - those dang suction cups always slip off.
-
It might make a good piece for a trophy...perhaps? "Tuff Trucker" award?
-
-
I found a valve while building a fence on my property last summer. Buried about 18" down, where a post was going. I've been curious what it goes to, maybe some experts here know... It's definitely from a flathead something. length: 7 1/8" stem: 3/8" head: 1 3/4"
-
If you're going to be spending some nights "in the dog house" might as well make it to fit your own needs. That way when it's mandatory, it'll actually be enjoyable. If it's on wheels, all the better!
-
The "frame" might already be separating from the body on its own!
-
Do you have a build thread already going for your project? If not, please start one. There's a lot of good information that could be shared and it seems you're setup for doing it right.
-
Re-sleeving and rebuilding service: Karps power brake in Pomona, CA: http://www.karpspb.com/
-

12th ANNUAL CLEMENTS TAILGATE BBQ, Clements California
John-T-53 replied to 48Dodger's topic in Mopar Flathead Truck Forum
I'm late to the dogpile, but yes...the answer is yes. I'll pass this along to the Linden crowd once again. Thanks Lyle! -

$450 to Paint a Set of Wheels?!
John-T-53 replied to FlashBuddy's topic in Mopar Flathead Truck Forum
Absolutely No confidence if looking at a computer screen, or a print of a scan or color copy. The only way is to have the original chips in hand, and I'll bet that these are as true to color as when they were new, unless exposed to the sun for a few decades. If faded, a little rubbing compound would easily expose a fresh layer. But even then, the new color match is only as good as the knowledge and skill of the person making the new batch. You can still get original paint chips from vendors on ebay, at swap meets, or through ads in Hemmings. -

water out housing for non bypass
John-T-53 replied to jpellican's topic in Mopar Flathead Truck Forum
A hard to find part. I found one by calling up Vintage Power Wagons. I'd give them a try. -

$450 to Paint a Set of Wheels?!
John-T-53 replied to FlashBuddy's topic in Mopar Flathead Truck Forum
Hope your jack stands are sturdy sir. What about the corrosion protection factor that paint has to offer?


