


Tooljunkie
-
Posts
977 -
Joined
-
Last visited
-
Days Won
2
Content Type
Links Directory
Profiles
Articles
Forums
Downloads
Store
Gallery
Blogs
Events
Everything posted by Tooljunkie
-
There are 2 options for the points,one arcs left and one arcs right. Depending on distributor model. i looked them up on rock auto to identify which ones i needed.
-
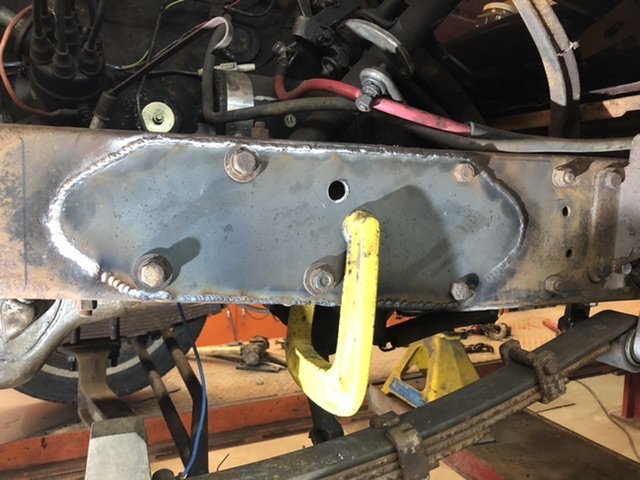
Look closely around brake hose. the patches were definitely a farm repair, bottom if frame rail was 2 pieces of leaf spring. Most of the welds were just flux and a bit of birdshit holding it together.
-
TRUCK MASTER CYLINDER UPGRADE ADVICE
Tooljunkie replied to PT81PlymouthPickup's topic in Mopar Flathead Truck Forum
Was digging around, found a spare m/c for my dart. No go, too long. but the pt cruiser i have in the back parts pile has a short one,i think its a 15/16” bore with inverted flare lines. Next on my list. -
TRUCK MASTER CYLINDER UPGRADE ADVICE
Tooljunkie replied to PT81PlymouthPickup's topic in Mopar Flathead Truck Forum
Shiny... -
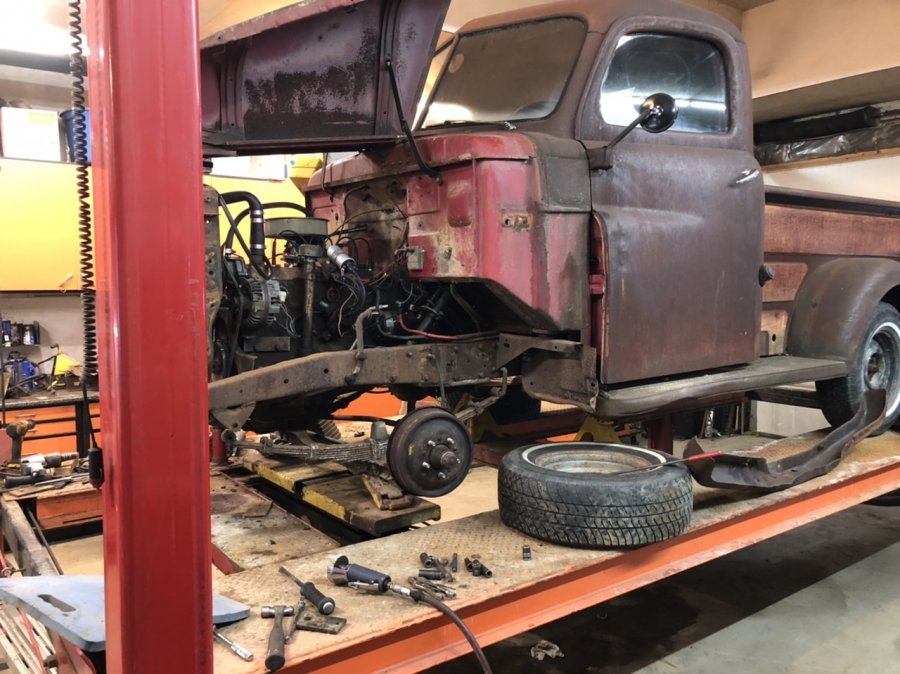
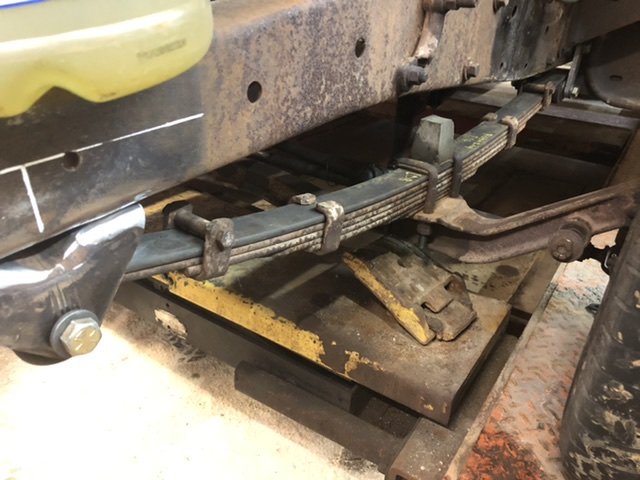
Well it’s getting closer. While revamping front suspension I decided i should address the poor attempt at frame repair. Cut Off old plate and leaf spring That was welded To frame, re-aligned crack and gave it a fish plate. Will eliminate any concerns i had.
-
And with the new style bushings,urethane will slow the spring action as well.
-
Made another tool for my '67 Barracuda rebuild
Tooljunkie replied to Bobacuda's topic in Off Topic (OT)
Both great ideas. Sniper, i also have a 65 Barracuda. From the looks of the rear end you plan on making it go. Mine shall retain the 7.25 for the time being, unless i trip over something better. the cart i use for my rear diff is a rolling cart, some plywood screwed to the sides with v-notches. -
Think there was originally 5”. will take 1” off bump stop. New Shocks will help. this wont be seeing much for rough stuff any more, just a putt to town for parts or lunch.
-
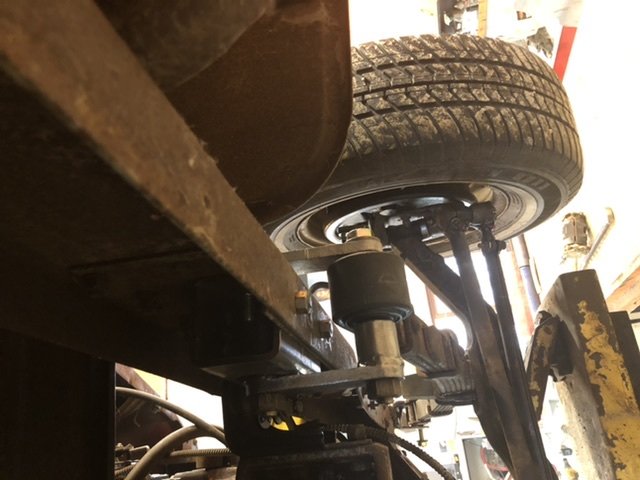
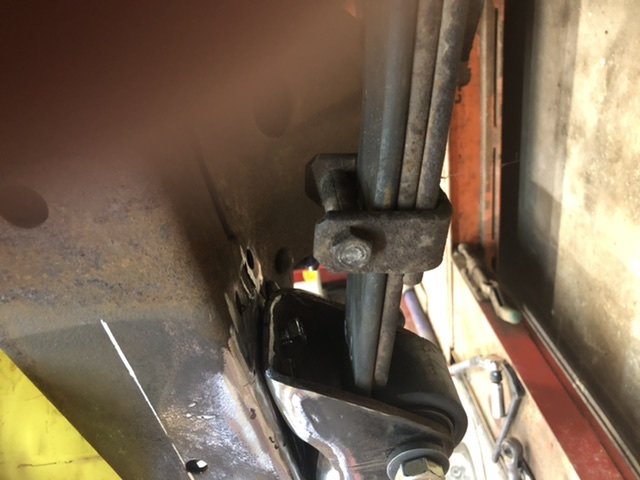
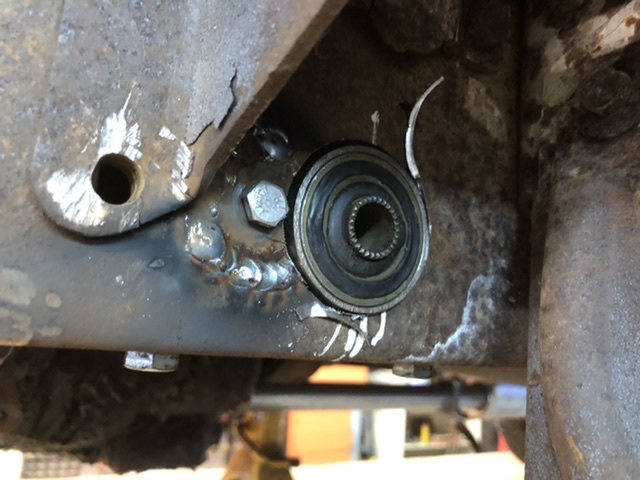
Update, got rear bushing tubes welded, and installed. Shackles made and everything hung where its close to its final resting place. a few photos to show progress. sorry about sidewards Photos. 5” between snubber and frame, just under 2” now. Will trim snubber if it becomes an issue. can see the reversed eyes on the top leaf, that was near 2” on its own.


-
I have really good luck with irwin brand. But i find it difficult to find a decent arbor That will keep holesaw running straight. So i first bore a chunk of wood and clamp it where i want the hole. Keeps saw from wandering. Once you have a good start, remove wood. use the steel plug and a1/4” bolt to keep saw straight, then there is no need for a pilot bit.
-
I used hole saw. Drill press on slowest speed. Have to use ones of fair quality. If you heat them up they stop cutting instantly. they need to be for steel. I have used mine to cut many holes. I could go into the various hole sawing techniques to get decent results, but all that can be found on youtube.
-
I wonder how you sleep at night with so many project vehicles? i have the one truck and it keeps me awake quite often. its like it calls to me. very impressive collection. Would be something to see in person. im starting to become more passionate about the old metal. Not to the point you are at,as my wife would have me committed. Bless her heart..
-
Not sure if i have enough pictures. Will post what i have. bottom plate, single hole with 2 mounting holes. 1” strips for the box. 4 bolts welded to bottom of top plate for mounting carb. fuel line facing rear,and a z bar linkage to carb. Still working on automatic choke,the electric will suffice for now. Wired direct to 12v ignition source. will grab a couple more photos tomorrow. to add, the two nuts that hold adapter to manifold are inside the adapter. If nuts were to loosen, they cant fall in intake as the studs almost touch adapter top plate. still working out the bugs, needed it to run so i can move it. It runs decent, started in below 0 farenheit temps.


-
Thanks. You built your spring Hangers? as far as dropping the hammer goes, its more like a pillow. The 218 leaves something to be desired in that department. But i should set it up decent, no telling what i may trip over in the future.
-
Hadnt thought about that much. makes perfect sense.on the front i set springs under frame and let the weight settle. Then made my vertical line. When all is said and done they are vertical at rest with load on. will follow same steps with the rear springs. Only issue is the box will be off. I will come up with a load to keep weight close. Maybe set it up with a little extra weight to be on the safe side.
-
What's the Most Useful Item You Found at the Side of the Road?
Tooljunkie replied to JerseyHarold's topic in Off Topic (OT)
4 empty garbage cans. All stacked together. I always tie mine in. they obviously blew out of a truck. -
Made a spacer to match the axle, so the spring centre pins are correct dimension. drilled my other mounting bolts that hold bracket in frame. Now for some welding.
-
Gas tank repair suggestions needed
Tooljunkie replied to John Rogers's topic in Mopar Flathead Truck Forum
Rinse it with hot soapy water, then hot water and dry with compressed air. If you choose not to use the soapy water, just run some air through it for a while.shop vac exhaust or compressed air even. After welding i have used a shop vac to check for leaks instead of compressed air. Shouldnt make so much pressure. great progress. what are your plans for rust-proofing tank afterwards? my fargo is getting a plastic tank,so rust isnt a concern for me. -
Way i see it is design as you build. i enjoy fabrication work. There are less forseeable problems now than yesterday. After years of wrenching this stuff gets easier all the time. Sure is a nice break from certified auto technician’s daily grind. figure i got it 2-1/2” lower, but the rad support repair moved the fenders back up at least 1/2 that. thanks for your words of encouragement.
-
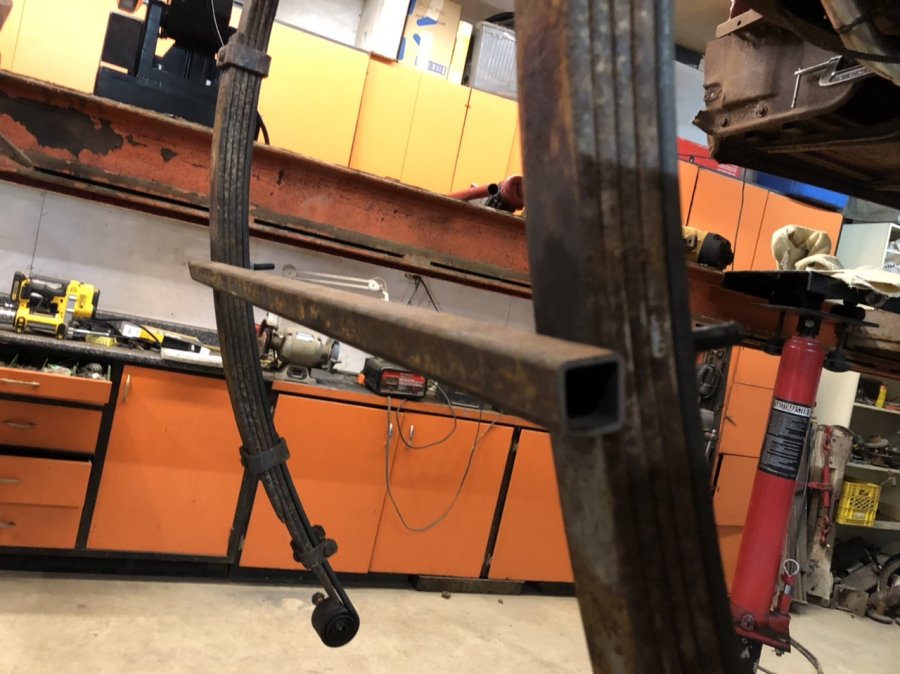
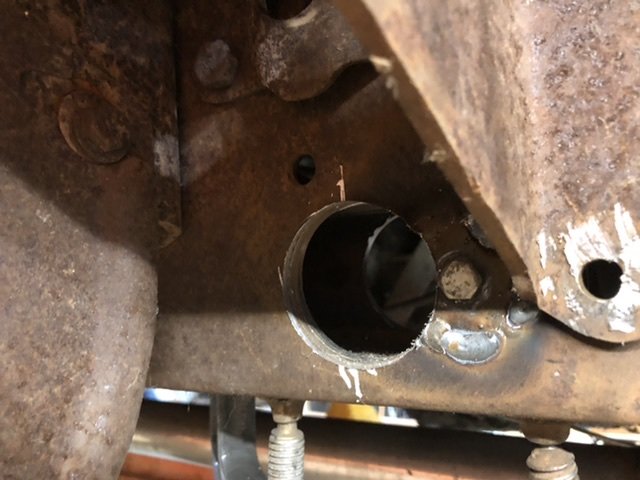
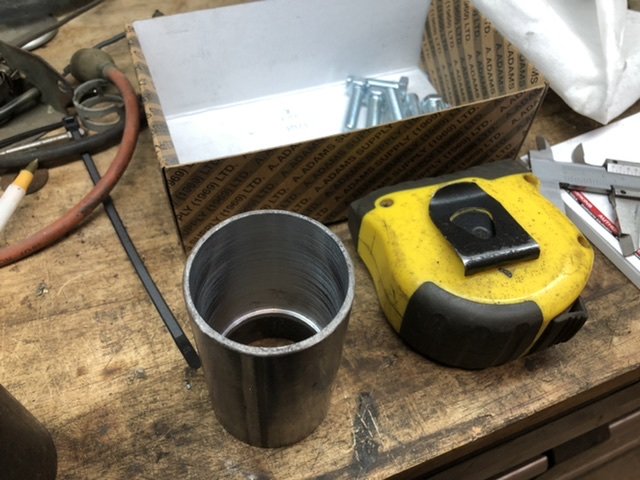
Spent the day welding plug into old hole,machined out some sleeves to press new bushings in. Bored holes in frame, mounted square tubes and a quick test fit with an overbored sleeve. next is new shackles.tack it all together and see how it sits. very happy with today’s progress.
-
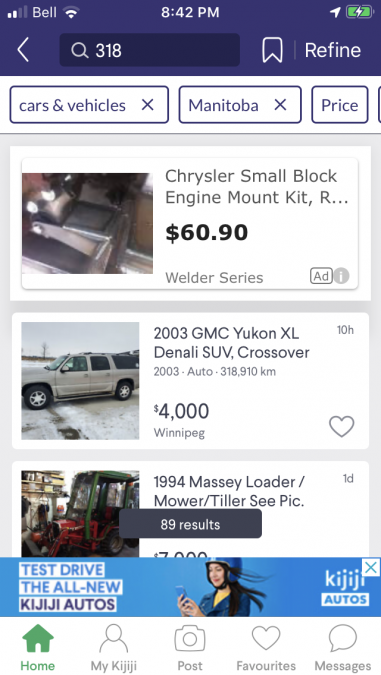
Go on kijiji. Type in 318 and search it. Top o the page. Last help im offering. All you need to do is get spool mounts. Cheap.
-
Can you please elaborate on the sweptline brake and hub swap? on a king pin front end?
-
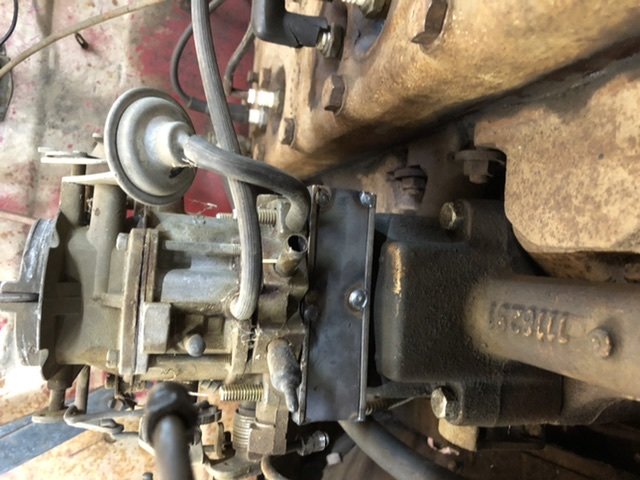
I got mine done on monday, the snout on the pulley was brazed and turned down on a lathe sometime in its past life. Pulled pan,cleaned it, and all the other parts. Could have used a timing chain, nothing avaiable locally. a little paint to clean up the appearance and it seems the leak is fixed. At some point a chain was hooked to front bracket and bent out.straightened and its all good now. Welded rad support to frame,as 1 rivet was left holding it on. Truck had a rough life.
-
Back end is getting a diplomat 8.25” and dodge a body leaf springs. i tried rear shocks from the dart, if i didnt lower Fargo so much, they would work perfect on the front. still working on ride height, so i may be able to use them.
-
Think when i pull them out again i will split them and wire wheel and a coat of paint at the very least.


