Bryan
-
Posts
1,612 -
Joined
-
Last visited
-
Days Won
13
Everything posted by Bryan
-
I wonder how many engines were ruined by knuckleheads like me flushing the oil with kerosene...
-
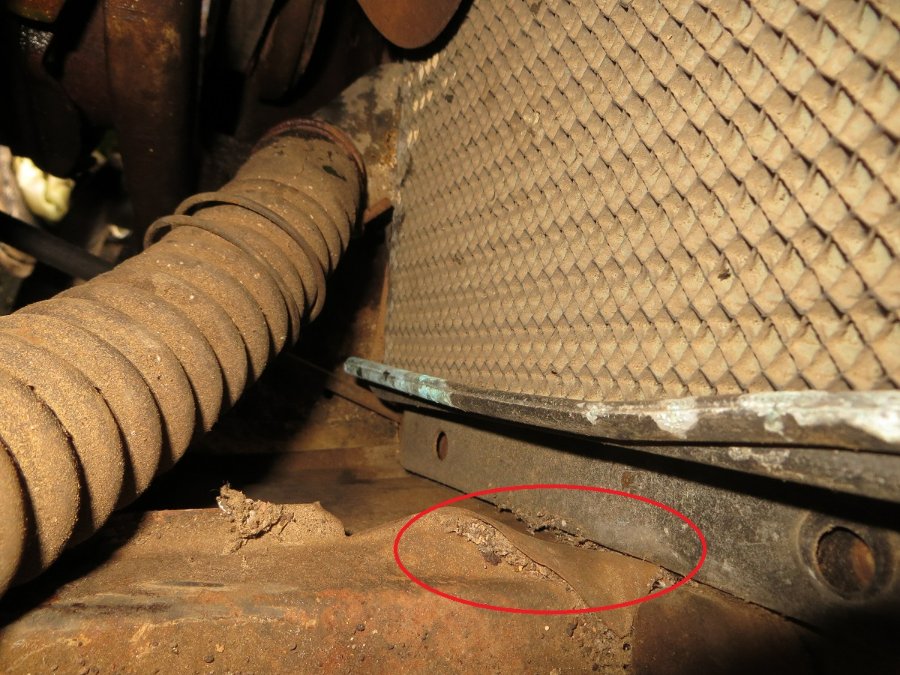
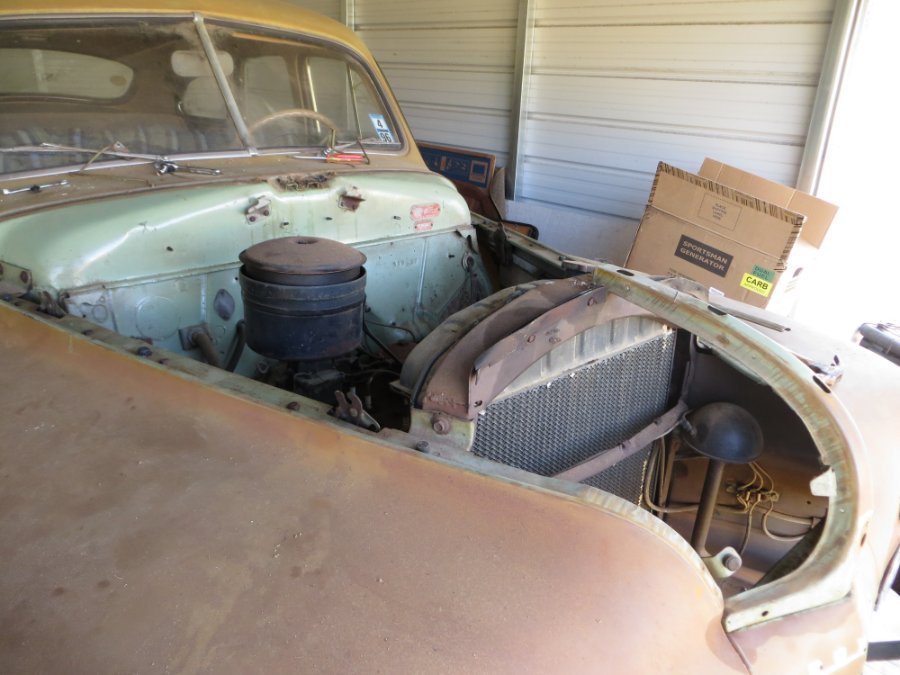
Sometimes it would help to read the service manual before doing something. Went to remove the radiator today in prep for removing the engine. Clearance looked enough to loosen the bolts, hoses and lift. Nope...and me wondering why it looked like someone had been beating on the radiator support.. it lacked about 1/8" clearance in a spot about an inch wide. So I beat on the support trying to roll the lip under..heck it was beat up anyway. It also looked like at one time someone had a hook on it trying to lift the front end up.. imagine me standing on each side of the support (I'm 150lbs) where the hood latches are (thick metal) trying to do a dead lift of the radiator.. didn't work. FINALLY looked at the manual...you have to remove the fan blades.. oh well. Least it didn't come free and have me falling backwards off the front of the car with the radiator. Noticed on each side of the radiator there is a spot that keeps the bottom from moving inward towards the fan..don't know whether on purpose or not..


-
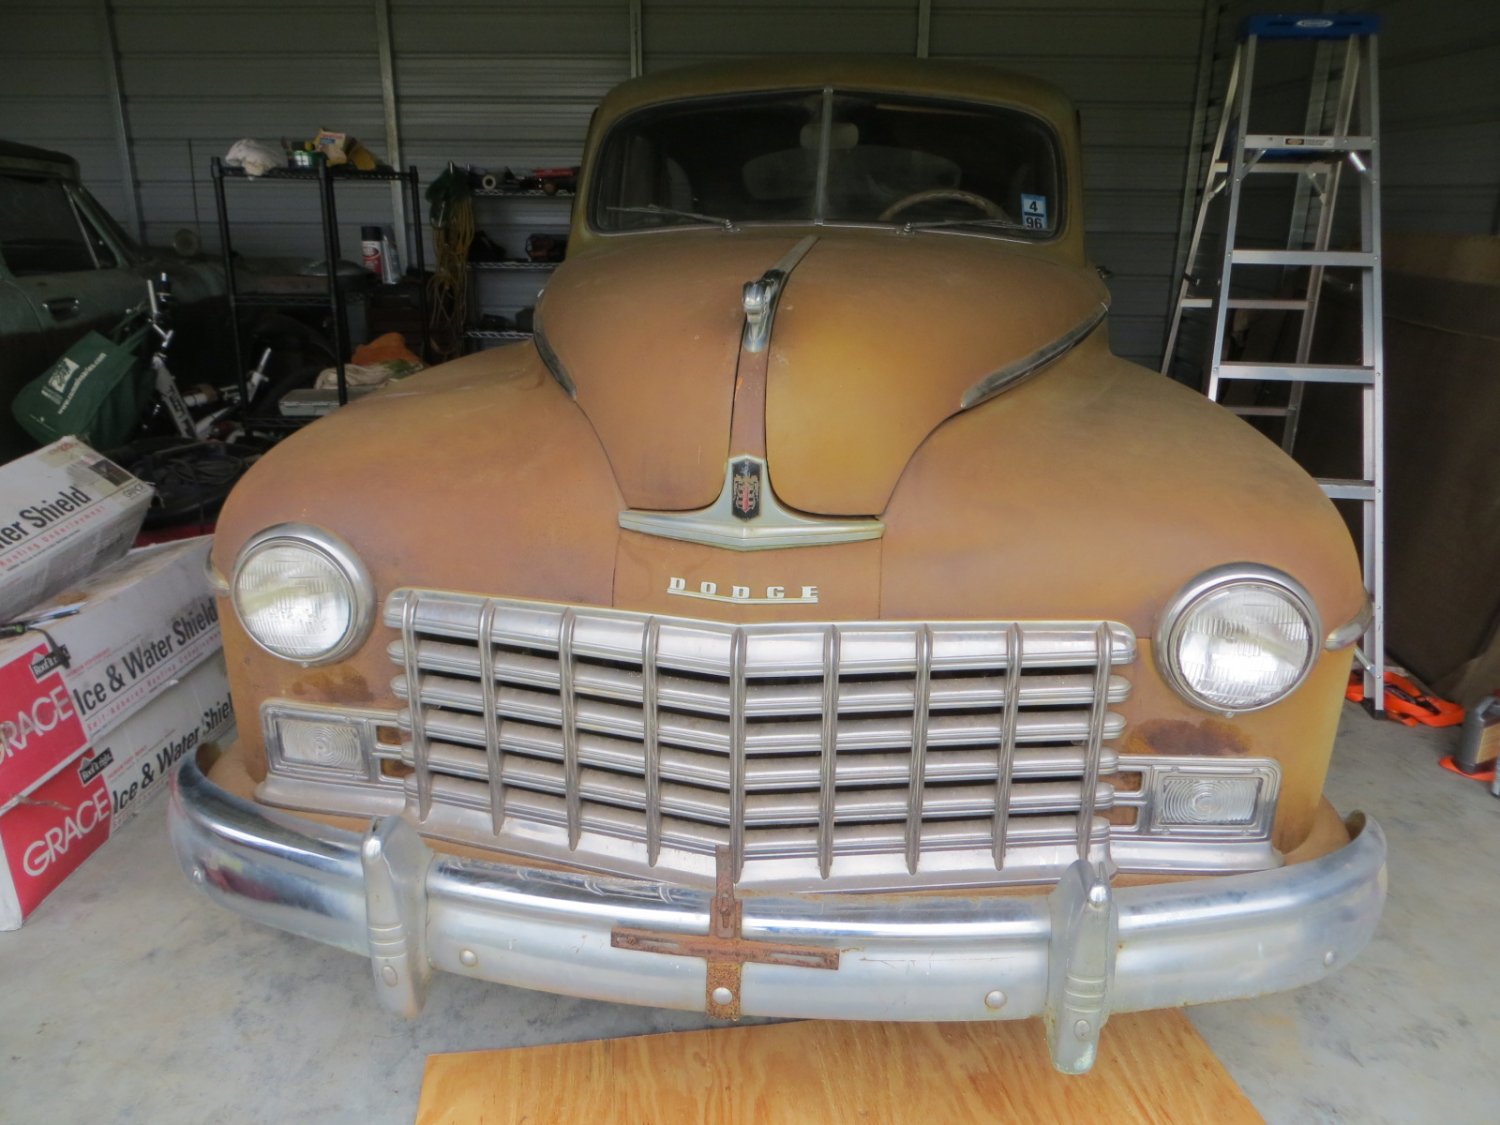
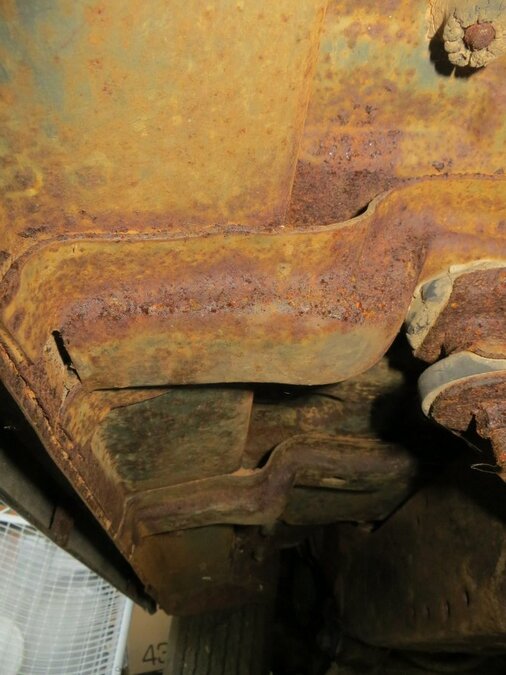
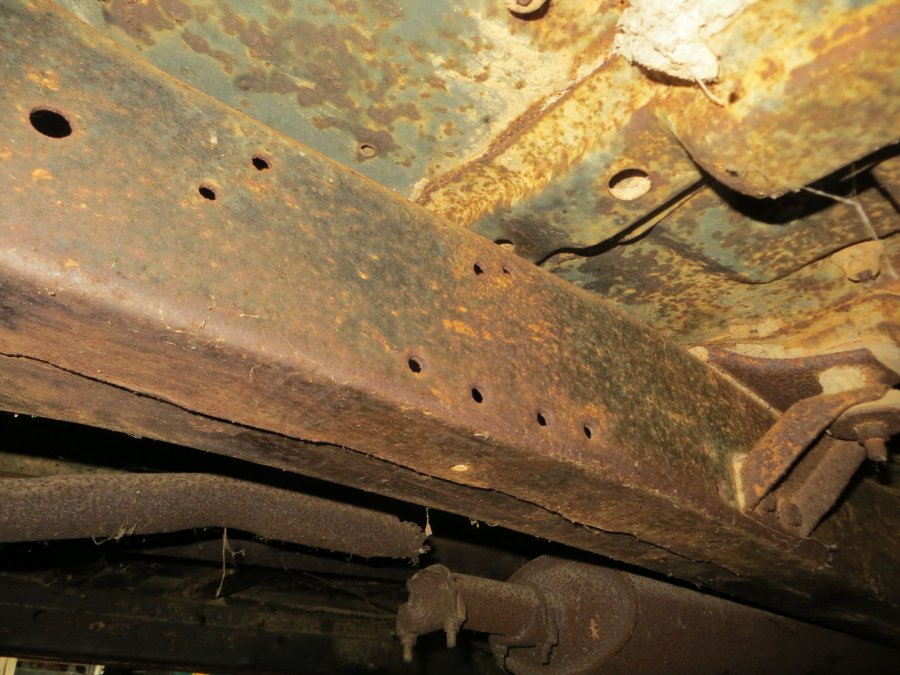
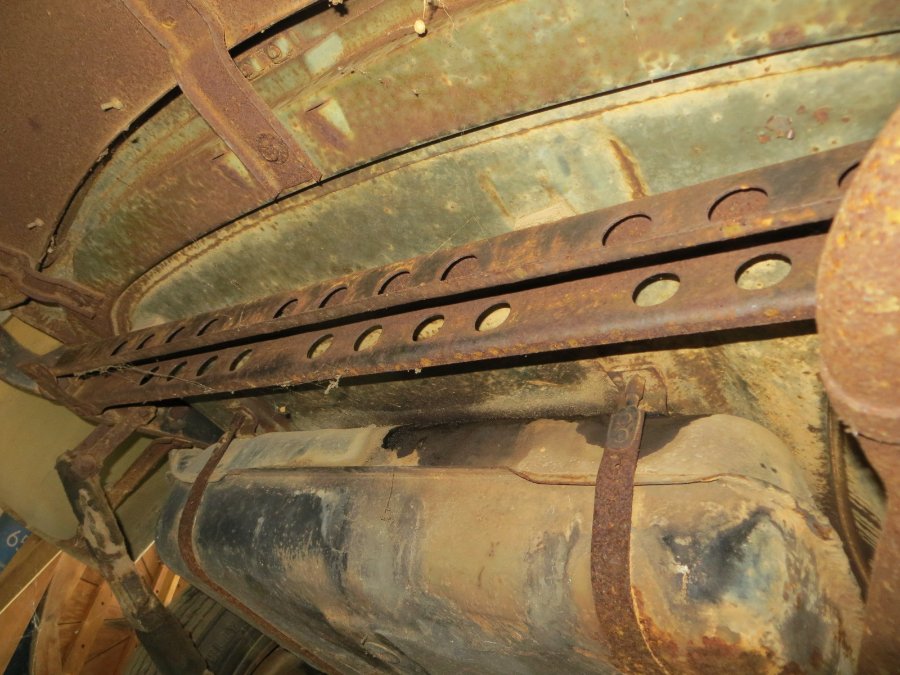
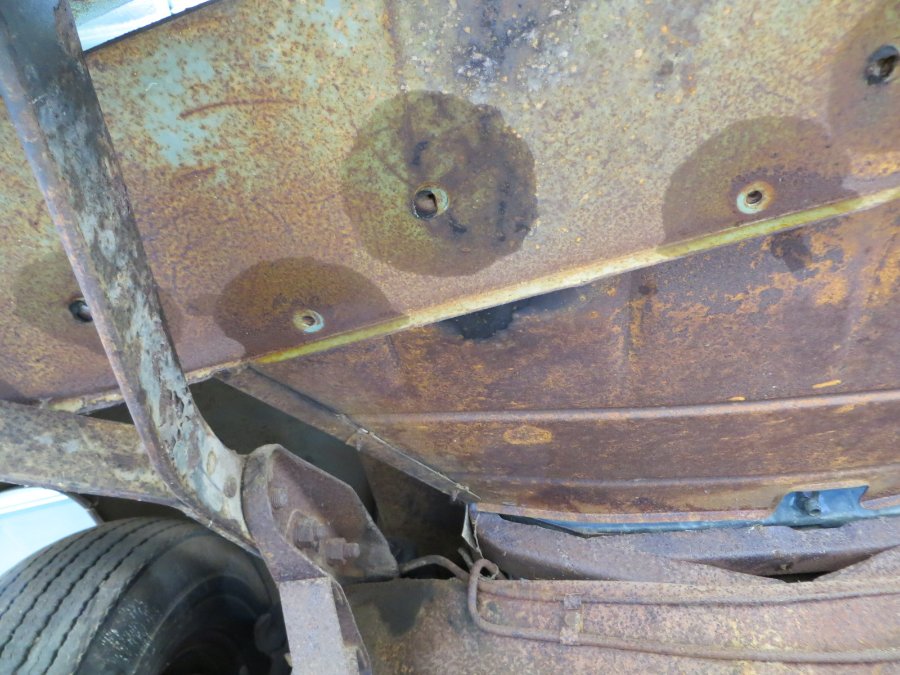
My pictures broke up the text. Isn't terrible underneath, but while I'm waiting for overhaul will work on the rust, then install new tank (already bought), fuel lines, brakes & lines, etc. This will be a driver and not a show car, so remove rust and rust reformer underneath. Will keep original where possible..cloth covered wires.
-
Underneath isn't terrible but still needs derusting..

-
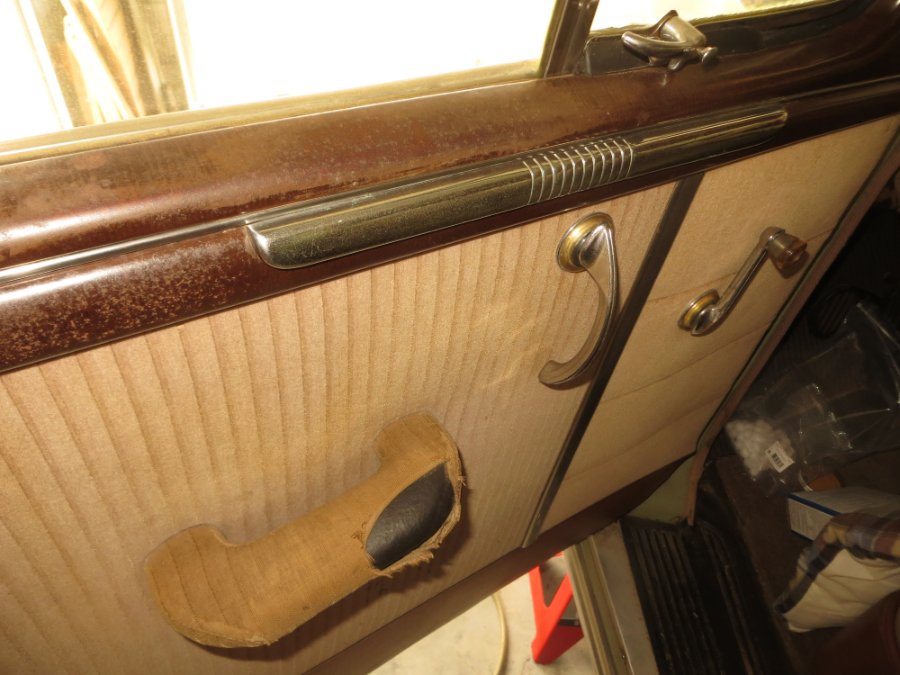
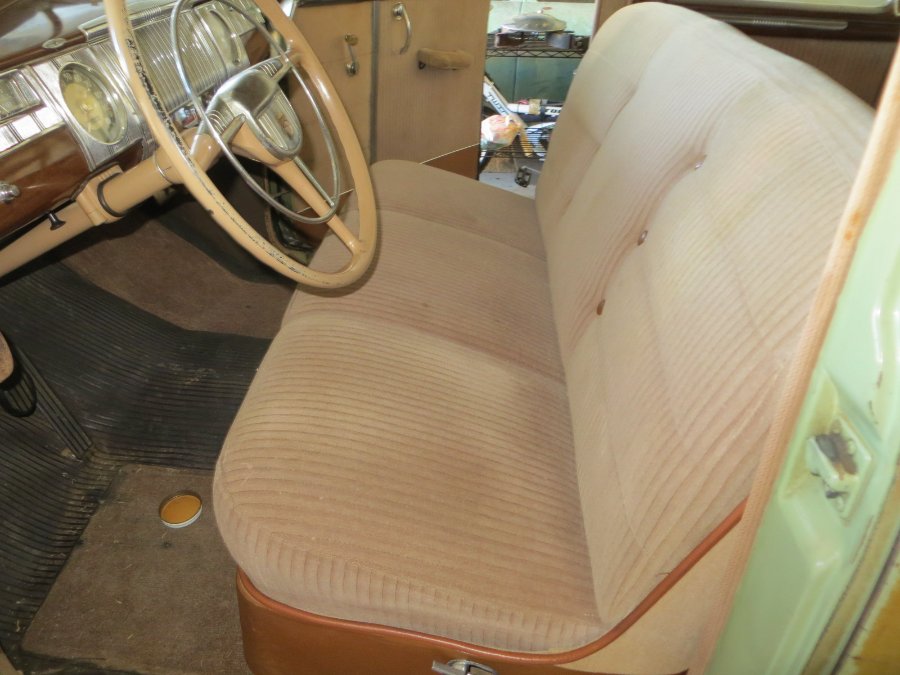
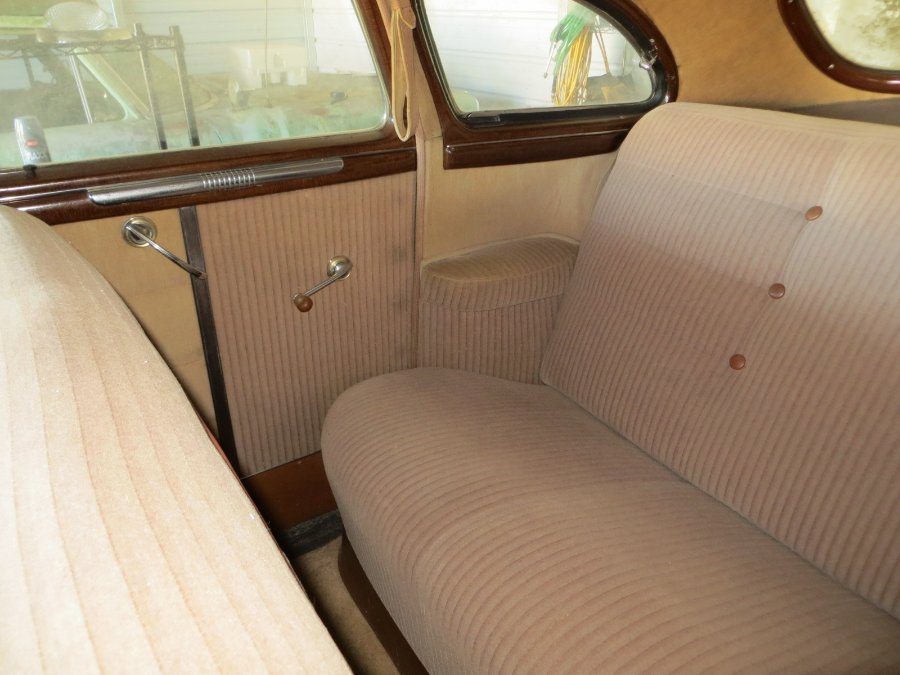
The only bad places on the interior are a few scattered moth holes which I stopped 10 years ago by keeping a bag of mothballs on the floor, and the drivers armrest. Also the paint on the driver door trim is bad. Some damages to dash knobs which I'm replacing.. guy left his grandson in the car in the 60s with the standard cigarette lighter..see the steering wheel emblem.

-
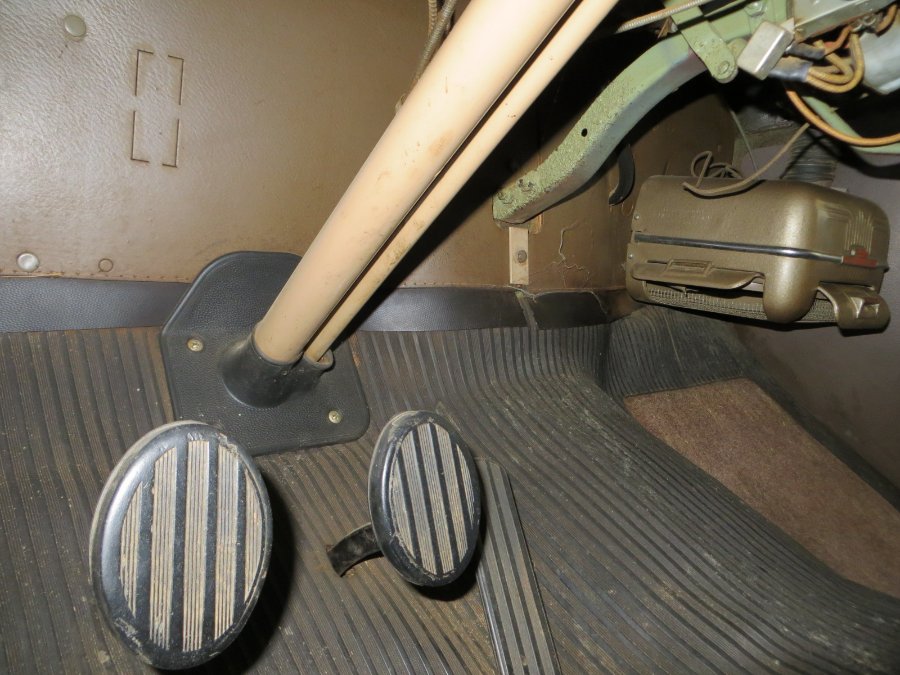
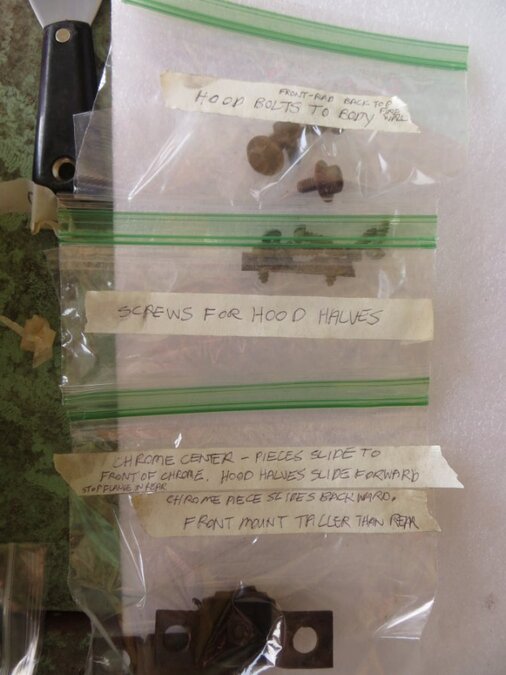
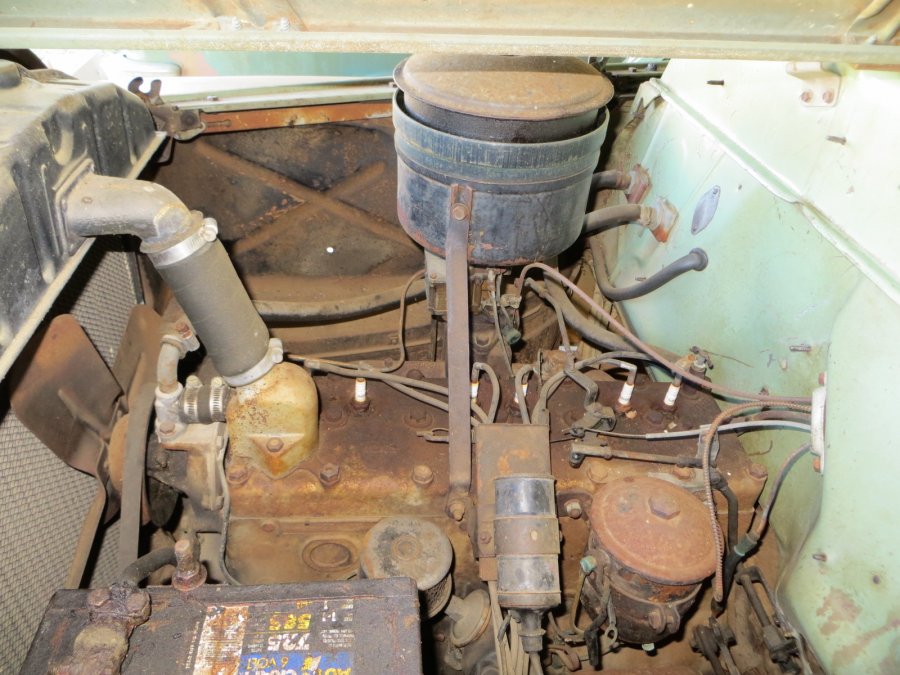
Going to pull my 1948 Dodge's motor (1949 Plymouth replacement) to either get it overhauled or overhaul another Dodge motor that I have (car's in the woods). Using discussions from the forum to keep me from screwing stuff up. Learned about sliding the hood halves forward from the middle section, and that the front hood mount is taller than the rear. Bagging and labeling all the bolts and screws. Got to take the passenger fender off..probably will do both and clean up everything. Has original interior.
-
I've bought a tank for my 48 Dodge about 2 years ago and one for 58 Dodge in the last 2 weeks from the VansAuto seller on ebay. Seem very good quality.
-
Bought the same tank and I'm about to order fuel lines. Getting 5/16 nickel copper lines. Thought the line fittings were 1/2 - 20. You said the gas tank from Vans has a 1/8 NPT fitting. Do you know the fittings for fuel pump, filter and carb? Any suggestions what sizes & hardware to order, such as elbows & unions?
-
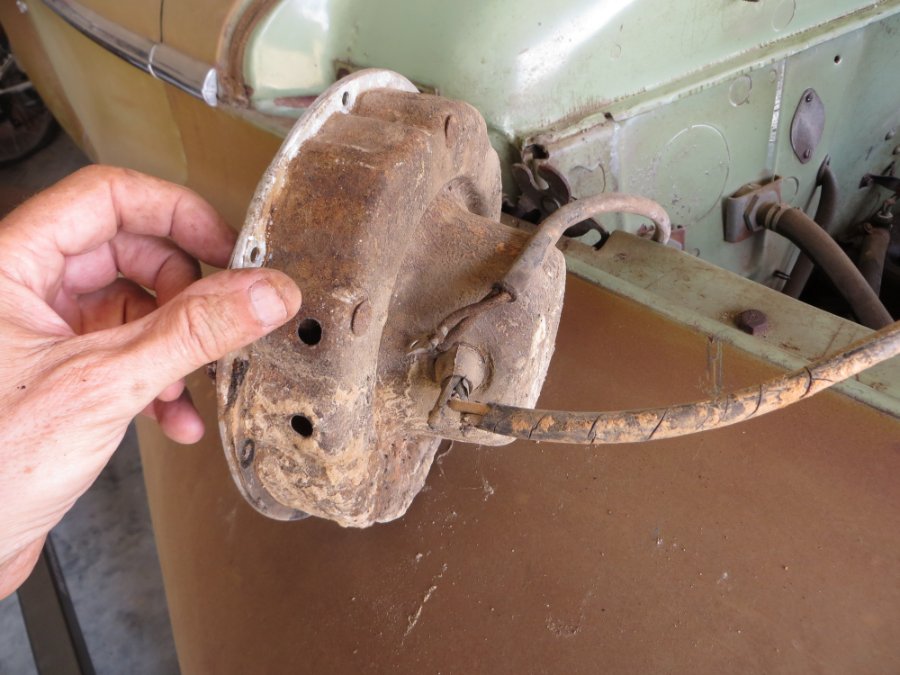
The threads look stripped up on the right side hole on the oil pump face, or am I seeing things? What's it for?
-
You need to provide more info. As someone else asked, do you still have spark to the plugs? Did you change timing any since the problem, or just checked it? Make sure the firing order and wires are correct before anything else if you changed it. Then start with the simple stuff. Check your throttle plate again...if it stuck one time it could stick again..the engine might not want to crank at full throttle. Have you got gas in the tank and is it fairly new? If it smells sour (funny) then it's too old. Spark to the plugs at the right time, fuel, air going in and pistons at the right time is all you need. Don't think a rebuilt engine would slip the timing chain ...how long did it run at full throttle? Did it run smooth while it was running?
-
If it were a recent crack you would think it would look clean..see if any dirt or staining is in the crack..if so it might have been there a while.
-
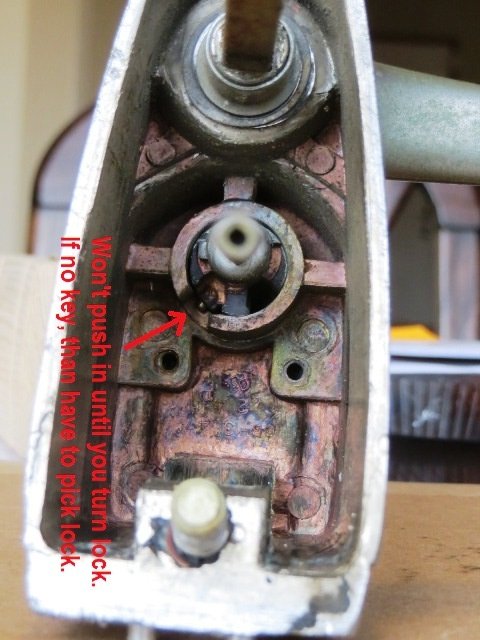
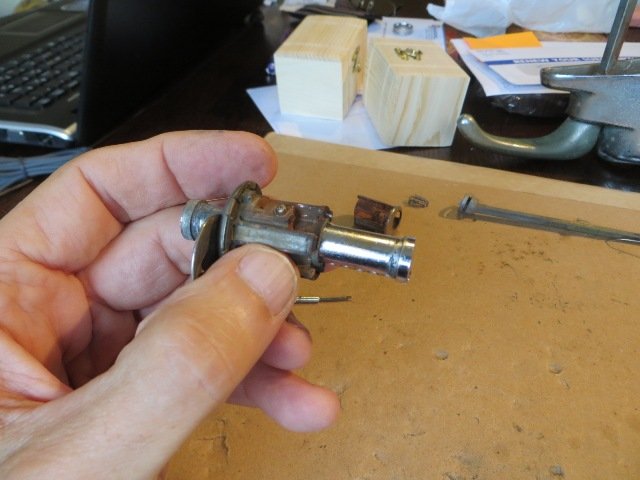
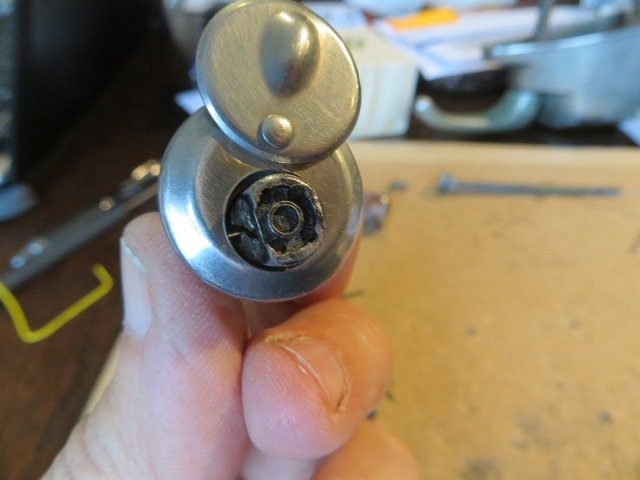
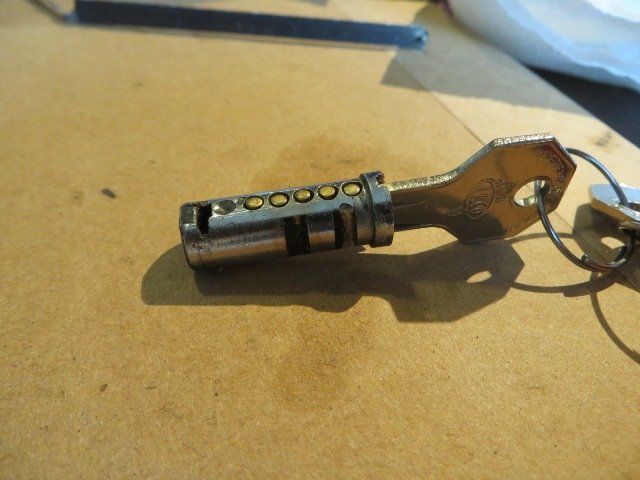
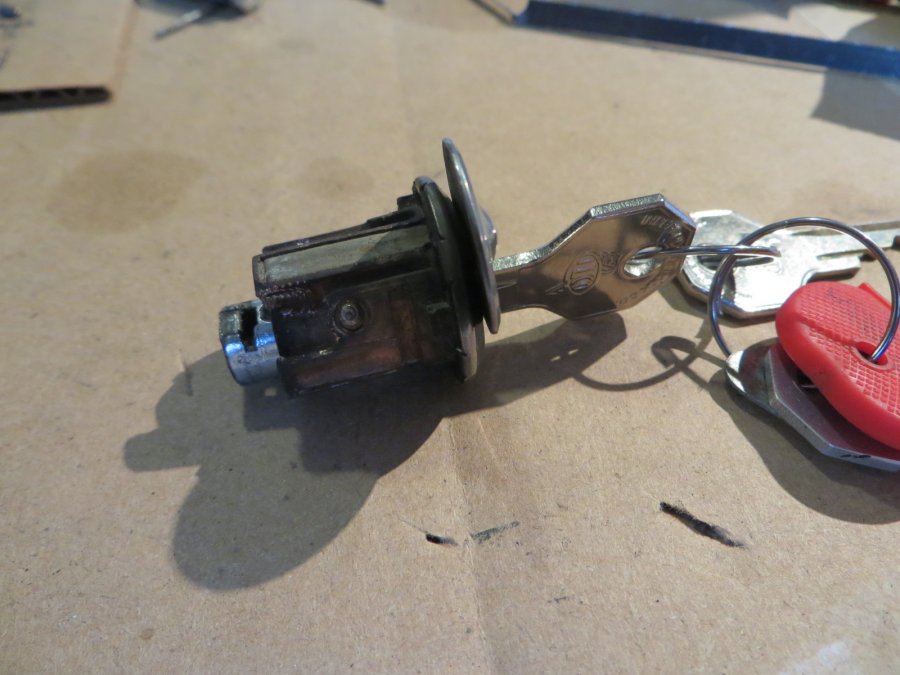
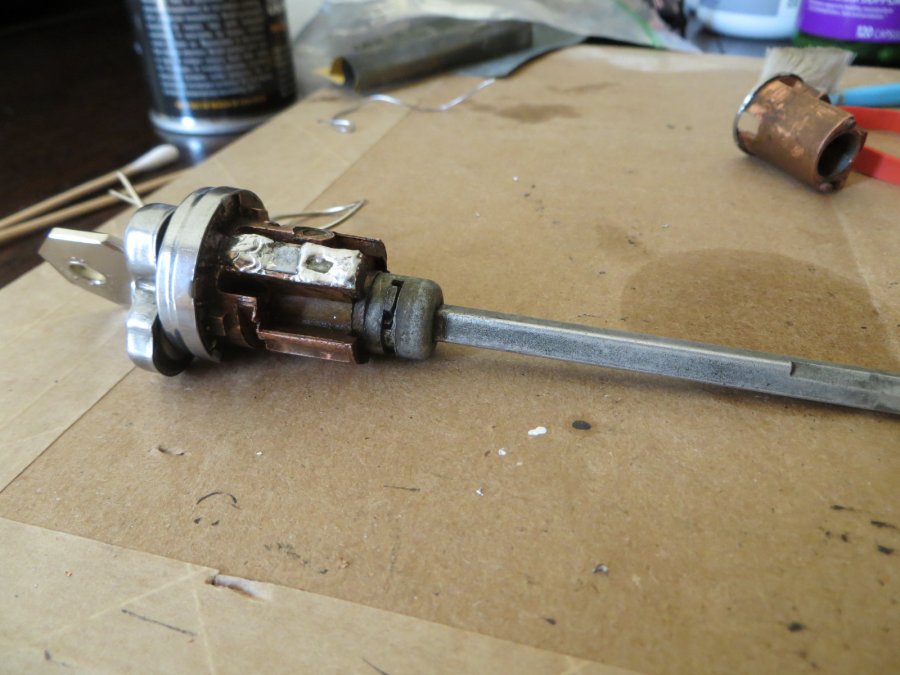
Removed my 48 Dodge trunk handle so I could rekey the lock. Took me an hour to pick the lock so I could remove the cylinder from the handle. Replaced the pins with those from my old ignition lock so I would have the same key for all doors and the trunk. Found a better way to exchange the pins...used the old core from the ignition lock to push it through the back as I removed the lock cylinder. Kept all the springs & driver pins from falling out. Still was a bear. Use smooth part of core lined up with the rectangular tab where driver pins and springs are. Push core from back as you remove trunk core. Pins will fall out but if you are changing them doesn't matter about order. Pins from old ignition lock in same order as doors. When they are correct pins are flush with core. It works.
-
The only locksmith in our podunk area said he had never taken an old car door lock apart..and at $ 30/hr I wasn't about to try him..
-
Got my door lock back together after receiving the keys. Had to file 2 high places in the keys but they work now. Had to solder the plate on the lock covering the tumbler pins. The plate is so thin, and there's practically no ledge around it to hold it in. Tried staking it on the edges, nothing. So just soldered it over.
-
Thanks..would be doing bigger stuff but been fighting a cold off and on for 2 weeks...and still don't have power or heat for my relatively new garage. Need to overhaul brakes, new fuel line, overhaul engine, etc.
-
I'm assuming someone left their kid in the car alone before my father had the car.. God, I wouldn't even rumple the newspaper up before my father had it, to keep from getting whacked. Wondering who would leave a pre 6 yr old in a car alone, but back in the 1960s everything went..
-
Started working o the knobs again. Only limiting factor on the knobs without lettering is the hollow sections. Got close. 220 grit, then 1000, then 2000 wet. Before: Someone left kid in car in the 60s and they found the cigarette lighter. After - normal light. Hollow sections visible in bright light.
-
Here's mine..
-
Mine has a little plastic black knob the same shape as the dash knobs. My father probably got tired of poking his leg on it. Would have got around to asking what it was.
-
So if I order any individual wires from a place like Rhode Island Wiring..the "strickers" are not black or white tracing..solid red cloth covered wire will have the white strickers, solid yellow wires will have black strickers..etc? A lot to learn.
-
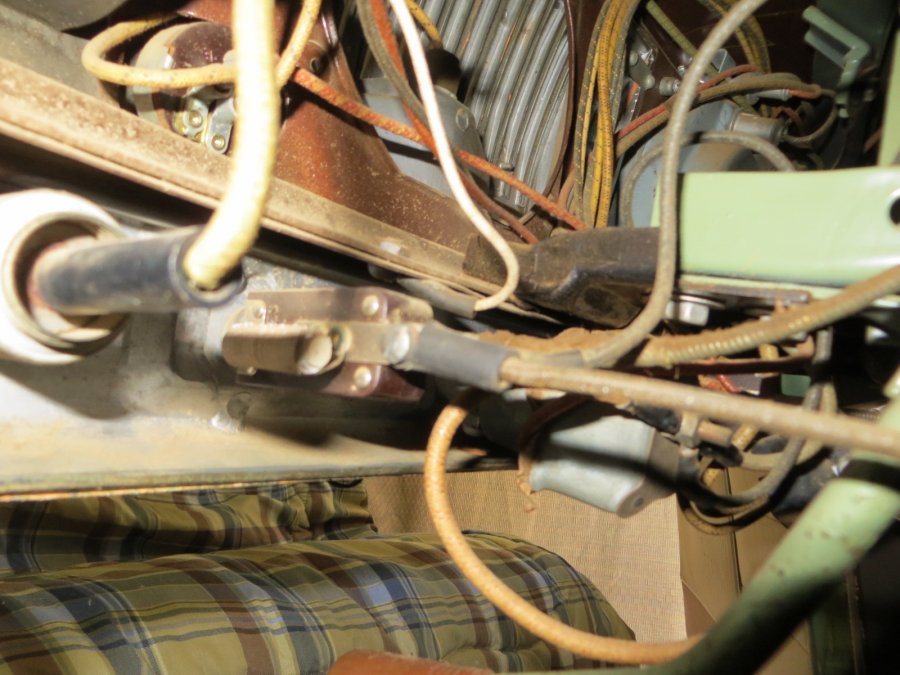
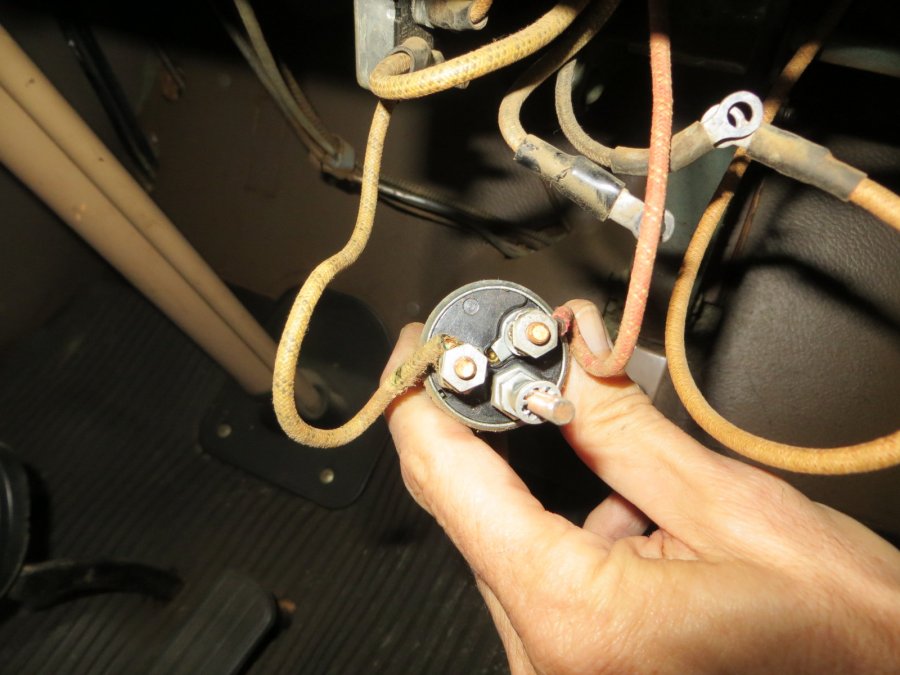
Under the hood most of the wire is dry rotted and about 1/2 insulation is gone. Plan was to splice (solder and heat shrink) where some of the wires come into the hood area if needed. And fully replace between voltage regulator, solenoid, etc under the hood.
-
I have a new shop manual for my D24, and a laminated wiring diagram from ClassicCarWiring. Neither indicate the wiring gauges. And from pics under the dash the color codes don't seem correct (pic doesn't show a blue wire to ignition switch). I'm planning (one of these months) to rewire under the hood and to the headlights, with splices to the wires coming from inside at point out of the firewall. Does anybody have a full diagram showing wire gauges, at least for under the hood? Not many solid colored wires as in chart. Supposedly blue, brown yellow & red solid colors..
-
Happy Thanksgiving to you and Yours!
-
I contacted Rfurtado1 on Ebay that sells 1199B key blanks for $8-$10 and will cut them according to code for about $ 13. I wrote to him that I didn't have the code, and if he could use pin heights from the lock to cut a key. Good news...his response. "Hello Bryan, Yes, I can do that for you. I would need the measurements of the five bottom pins (the ones that go into the lock cylinder itself). List them 1 through 5, #1 being the pin closest to the opening of the lock. Measurements will be in .001ths. Thanks, Bob" So that saves $35 from ordering the build card from Fiat-Chrysler...
-