Leaderboard


Popular Content
Showing content with the highest reputation on 11/10/2024 in all areas
-
I like it this way....consolidates information. And reminded me that I have not yet returned to finish removing my door lock since my last attempt 14 years ago as documented above.... humph2 points
-
Please don’t think I still get upset about hot rods. I’ve out grown that. The hot rod guys love really nice paint and chrome. Their cars look fantastic! But the fact is, they were never built that nice even by accident when they brand new. I’ve had the pleasure of closely inspecting genuine “original” Model T Fords. Let me tell you they were just awful! However original Model Ts are extremely rare, they all have been repainted with modern paint and if the owner repaints the car they usually make the body parts fit right. Henry never made them that nice and if he ever saw one that was perfect, he would be mystified how that happened. lol In my miss spent youth I was a dealer mechanic. My Plymouths follow the formula of what a dealer mechanic would drive back in the day. If I can find an improvement from another MoPar vehicle that a dealer mechanic would know about, my car will have it. I have a Model A that the previous owner installed a T5 in. I really don’t like it. I am changing it to a 39 V8 gearbox with a torque tube mounted R10 Overdrive. As far as the wiring and switches and solenoids go….well a dealer mechanic would have an Overdrive that worked as designed. I appreciate the charm of the 49 to 52 Plymouths. I don’t want to get too far away from that charm. I think the Overdrive does nothing to diminish that charm. That’s my formula and while I like it, no one else has to like it. In fact I like the idea that most folks would think my car is dead stock. It’s all about fun and enjoyment.2 points
-
I usually do the feathering of the gas, as you put it, while engaging the clutch. Probably more out of habit than necessity. I have, on occasion though, put the car in gear with the brake applied, and taken off from there. The owners manual says you can do that for certain situations such as taking off on a hill or in slippery situations. I've even mistakenly started the car in gear with the clutch engaged. Jumps enough to realize the mistake and hit the brakes, but doesn't die.2 points
-
Not 100% correct but pretty darn close.1 point
-
1 point
-
i just watched a couple days ago a Y-tube video (Make it Custom) where he made a 3 piece steel hammerform that could be bolted to a panel and with an airhammer formed crisp beads. He experimented with a simple x pattern and then made a specific hammerform for the firewall of a car. He also said he may be selling the x pattern hammerforms for interested customers.1 point
-
You can slip the clutch when accelerating from a dead stop...I do it at times with out just dumping the clutch. You can accelerate from a dead stop faster when needed by properly slipping the clutch. The FD clutch discs are not that delicate is all I'm saying.1 point
-
I've never been able to wear the clutches out in my 1948/50 Chryslers over 40+ years slipping the clutches in them.1 point
-
Hotrod tractor is MIA for over a year....and I never had a phone number for him or really his real name so no means to check on him. We swapped PMs quite frequently and then one day....no more replies and it was to me strange as we were in the middle of a conversation. Anyone have any knowledge as to his current status?1 point
-
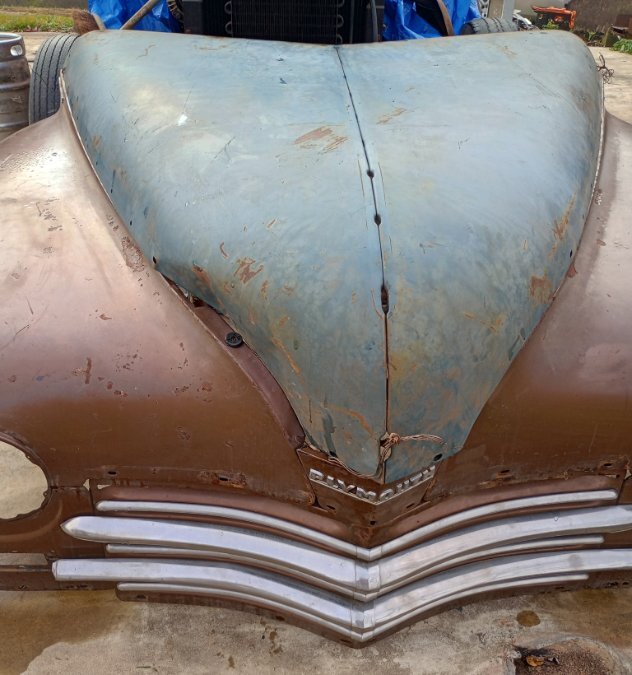
That flat floor is the reason for bead rollers existing. A few beads properly placed will improve the looks and remove the flexing and popping. Do you have an access to one? Maybe a friend or a local fab shop?1 point
-
That's because your transmission has a load on it when you're stopped it doesn't have when you're moving. It's kind of like an automatic when you put it in gear it'll twist a little bit. Soon as you step on the clutch you're disconnecting the output of the engine from the input of the transmission and that load goes away and it quit so your transmission is moving1 point
-
I had one of those new pumps that locked up after about 15 minutes. Very odd failure and no indication that it was going to happen beforehand. Properly primed, spun freely etc. Knocked two teeth off the drive gear and nicked the cam gear a little. Not the best day... The one I got for the full rebuild this time is fine, no issues. That being said... I always check all clearances myself during reassembly regardless of who did the machine work. I check all bearings, gap every ring in it's appropriate cylinder, check valve contact, adjust valves, etc. Be sure your engine stand is secure and preferably has 4 legs. These are heavy buggers especially once the bellhousing is on and stability is key. Make sure the pistons are facing the correct direction and the rods are in the correct spots. Oil hole faces the cam. Make sure all the rod caps are matched to their attendant rods. Put rubber hoses over the rod bolts as you put them in the block so you don't nick the crank and damage it. I dip the full piston assembly into a coffee can of oil before I put it in the block. Clock the piston rings 180° apart when you put the pistons in. I also do a rotation check after each piston is installed individually to see if there are any binding issues. Prime the oil system before startup, I use a syringe plumbed into the gallery until I see oil at the bearings. Good assembly lube on bearings, seals and valvetrain sliding components. I also plumb in a mechanical test oil pressure gauge. Reassurance that everything is good with a good gauge you can trust. Don't forget the oil relief plunger and spring! If it's a new cam, I put Rev Lube on the cam lobes and tappets along with actual break in oil (for flat tappet cams). New flat tappet cam for me also means prep all ignition, fuel and cooling system for immediate fire up and 30 minute break in run on first startup at 2500 rpm. That oil is changed after the 30min break in and a new filter is installed too. fill the cooling system as far as I can before I put in the thermostat and housing. Helps prevent air pockets and overheat on that break in startup. Make sure you put all the oil gallery plugs back in and sealed. Make sure you coin all your freeze plugs in place. I also seat them in 599 grey silicone myself, but do as you see fit. Be sure the coolant petcocks (both) are closed. Make sure you put the timing chain oil tube back in! Don't forget the oil slinger before you bolt on the timing cover. Center the timing cover seal to the crank. Make a tool or use the crank pulley. Make sure you attach the oil pump transfer pipe back in the correct way or the crank will hit it! Disassemble and clean the oil pickup screen thoroughly if that was not done. I always paint the timing pointer and timing marks on the crank pulley with my favorite bright colors before assembly. Makes tune up work much better later on. Don't reuse any hardware that looks suspect. If it feels funny when you tighten it and torque it, stop and find out what is wrong. Paint everything you want painted now. Replace the water distribution tube and reinstall it with the opening slots facing the valves. Remember to install all the seals. Use your favorite version of thread sealant on all headbolts, manifold bolts and timing cover bolts that pass into water jackets. They will leak if you don't. I personally seal all gaskets. I have never trusted paper alone once something has been apart. Your choice on this, but my rebuilds are leak free. Use whatever sealer you prefer. I like 599 grey. Torque the head in sequence and in steps. Remember head studs have a lower torque than the bolts if you have any studs. Torque them all again hot at the end of your first warm up, they will be loose. Spray copper sealant on the head gasket, one side or both according to your feelings on the matter. That covers most things I can think of. I can reassemble and run in a normal day once all the machine work is done, but each person and each engine is different. I would prefer to spend more time and be absolutely sure it is correct if in doubt. It's just careful work, not crazy complex stuff, but missing a nut or bolt in the wrong spot can end the engine. Just go slow and double check your work. Work without distractions and don't entertain anyone while your doing it. You have the wherewithal to be cautious and ask these questions, and that alone makes me feel like you will do a good thorough job on it. Most of all, have fun!1 point
-
I took my time assembling my flathead engine. I checked and re-checked all my work. It was a first time flathead rebuild for me and I took it slow. I thoroughly enjoyed the process. I suppose a flat-rate mechanic back in the day would have done so many rebuilds, he could do it in a day. Not me. I did it when I had spare time. Between my full time job and honey-do lists. Everything that I was unsure of I stopped and researched. Even when I was sure it had it right, but didn’t grasp the why, I stopped and researched some more. I considered my engine to be a self taught correspondence course in flathead rebuilding. I learned a ton. If I recall I dragged the block home from the machine shop in about mid-June. I let it sit all summer. I believe I started reassembly in early Oct. i flashed it up about Jan 1 or so. A very memorable, enjoyable period in my life. Out to the shop to tinker and make a real man outta myself. Lol.1 point
-
Since it seems to be story time: Back in the mid 1960s a 49-54 Plymouth was considered a "Transportation Car" and you could buy a nice one for about $150. My Dad's partner in a Beer Bar favored them and had just washed his before going on a date. After completing the task he went in for a shower and shave. When he came out the car was gone! Looking around he hear a commotion down the street, so he went to investigate. There was his clean Plymouth upside down in the middle of the street. Within a day or two he had another one and was very careful about setting the hand brake from them on. In college I decided I needed a spare car. I was racing my SAAB 96 in autocross and it was getting temperamental from time to time. (I'd shear the key in the countershaft for 1st & 2nd and I'd only have 3rd & 4th) So I bought a 49 Special Deluxe two door. Once I was out with a friend and we chatted for an hour or so in front of their dorm. At mid night they got out and I fired up the Plymouth for the trip home. Drove about 3/4 of a mile on a foggy night when something went radically wrong! The car lost power and stopped suddenly in the middle of the street. As I sat there behind the wheel trying to figure it out I noticed tendrils of smoke coming up through the floor boards between me the the dashboard. I tried the starter and the engine fired right up and ran as sweetly as ever, til I let the clutch out. It died without even making the car shutter. Star Trek was popular then and one of the storylines was about the Enterprise being caught in a "Tractor Beam." "Get us outta here Scotty!" "Captan she's givin us all she's got!" I laughed at myself as I rolled the window down. The fog was just below the level of the street light hung over the center of the road and it made a spooky kind of glow but gave no indication of any aliens. Nothing above me so it must be below me. My first thought was about an old movie about little creatures from Mars that tunneled under the ground then coming up to grab unsuspecting people with Octopus like tentacles. Another nervous laugh and a deep breath for courage and I opened the door. I leaned over and I could see orange light under the car. I slammed the door, took another deep breath. Then decided to face my fate head on. I opened the door and leaned way over to find the source of the orange light. There in the darkness under the car was that damn brake band glowing a bright orange! I sat back up feeling like the stupid 20 year old kid I was. I turned the key and released the parking brake and drove home feeling very embarrassed at how far I let my imagination wander. I resolved to watch less TV and study more. You can be sure it never happened again.1 point