Leaderboard


Popular Content
Showing content with the highest reputation on 05/20/2017 in all areas
-
I got vinyl lettering for Dolly's sign.. When I was in High School I had a wood headboard with the same sign.
 7 points
 -
Bummer, I refuse to join the Facebook cult2 points
-
Only 2 things required.2 points
-
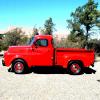
I'm at a huge car show in Ocean City, MD. Saw this beauty yesterday. Unfortunately the owner was not around at the time..


 1 point
 -
You are missing a lot more than a spring. You need at minimum part numbers 6-52-5, 6-53-5, 6-52-11, 6-52-3, 6-27-5, and possibly more.1 point
-
I did that 5200 RPM watching my Dixco tach back in 1968 in high school racing a 53 chev... beat him of course.HA Ha.. Never beat any flathead engine that hard since. Think I just needed to do it hear it once. I have a 265 in my truck and with that 4-3/4" stroke...... I would never beat on one of those either! I like my stuff to last forever.1 point
-
Worden18, Yep, you’re in Minnesota (man, it gets cold there, and the state bird is said to be the mosquito—at least that’s what my dad used to say, since he was born there, and his relatives lived on a dairy farm there), while we live on the Atlantic coast, not too far from the “I-95 corridor”. It ain’t a great place to live, and we’ll be going back home to the mid-west semi-soon. Yep, again. Same here—if I take something apart, I can usually put it back together again. However, if too much time passes between when I took it apart, and when I’m trying to put it back together (and I’m only talking days here, not weeks) . . . . well, let’s just say that the results can sometimes be abit “ugly”. And “yes”, I’m definitely going to have the parts handy before I tear into this. You sure you don’t want to take a trip to the coast??? Best regards to you and yours . . . .1 point
-
How about chat?1 point
-
Worden18, Thank you for the information. I really do appreciate your passing that along to me. Now, after I’ve ordered it, how do I get you to install it???1 point
-
I just primered 1 of the kids 66 Acadian. First stripped ithe 3M stripping discs then used DAand a palm sander. I much prefer Norton papers. I use straight xylene or acetone even used a bit of lacquer thinner a few times. You don't need special enamel reducer necessarily. I have also added hardener to alkyd rust primer dried and cared faster. I used Tremclad red oxide primer cut it 25 to 30 % xylene. This stuff flashed and dried fast shot out of a cheap gravity feed gun 1.5 tip. Next time I use this stuff plan to use a cheap help with 1.8 tip.1 point
-
This week I completed the installation of new front and rear leaf springs on my B-4-B. This afternoon I took it for a spin to experience the results. What a huge difference the new springs and shackles made! I ordered the springs from Betts Spring in Fresno, CA (available in standard or heavy duty configurations, based on original Mopar specs). They have been making springs since 1868. I dealt with Sam Holmes who was a delight to work with. Mounting hardware came from Eaton Detroit Spring (shackles, shackle grease seals, and U-bolts. DCM provided spring pins (which take 3/8”-24 grease zerks, by the way). Yes, I had to deal with three suppliers, but the results were great!1 point
-
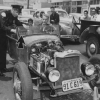
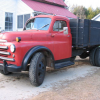
Picture isn't vintage but the truck is. Random pic off web.
 1 point
 -
Found this for sale locally, not advertising, just thought I'd share: https://tulsa.craigslist.org/cto/6090164130.html Neat old truck in very good condition1 point
-
Sounds good. Now to find the reason for vapor locking.1 point
-
Been awhile since I have posted but thought I would share the finished product. I built this with the thought of a guy in the 60's building it in the garage. The only thing I did not do to this is paint it. (at the request of my wife). stock under the hood, static dropped (no bags), the only out of period part would be the 5-spd conversion I did.
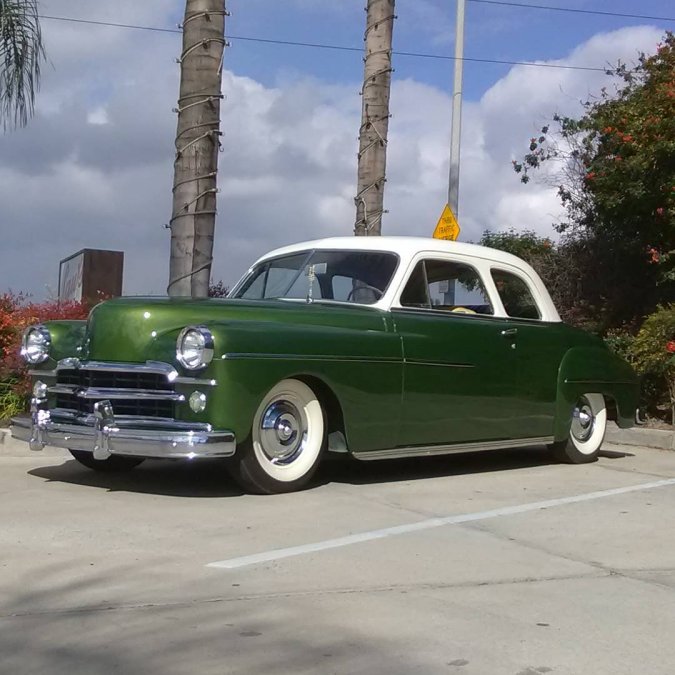
 1 point
 -
I ignore the sides as a starting point. I center the front and stretch it till the 1st bow has some tension and is starting to pull and straighten a couple behind it. Then go to the back and do the same to tension up the rear bows and make sure they all look evenly tensioned/ moderately tight and the listing seams are straight. Keep going front to rear till all the bow seams are tensioned even and look right and the sections look/ feel taught and have the headliner soft curve look to each section. Then work a little bit side to side stretching working the wrinkles out a section at a time. Work your way to the rear section at a time side to side. The last section around the rear window is last and same thing work it a little bit at a time till all wrinkles are out. Round and round the sections of headliner till you get it right. Don't over stretch it the first go around. A Little bit at a time. It's very important to properly center the headliner to the roof of the car in the beginning. Mark the roof and the headliner which probably already has centering marks. And Google vintage car headliner installation to get some more info. Expect to take a very long day or better two days so you can take a break to do a good proper wrinkle free job. You can use a clothes steamer to remove very slight wrinkles you cannot seem to remove. I've done five plymouths and chryslers 1946-52. Gook luck!!1 point
-
My girlfriend was busy today...so I lit a fire under her butt by paint the cowl area. She wants to do it,.so maybe this will get her going ....
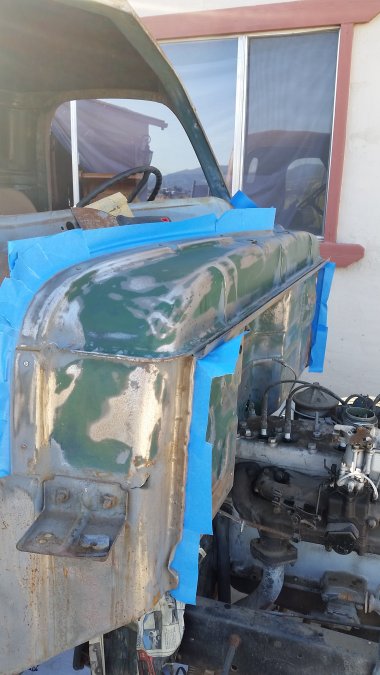 1 point
 -
merging a number of hard drives came across this pic of the 41 Dodge I built some time back....375 HP 440 cu in, 727 (I first built with an A833 got tired of shifting) 4WD 3.73 ratio1 point
-
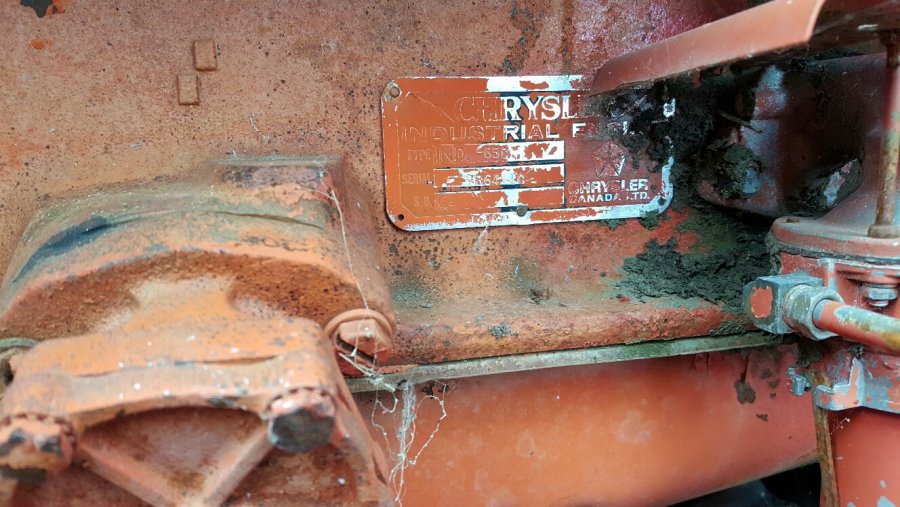
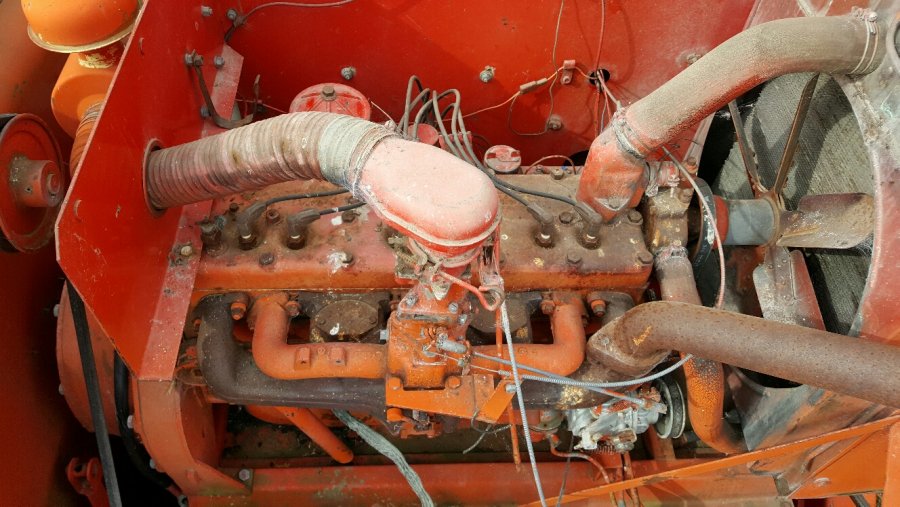
So yesterday scored 2 265 engines, both turn both run, the 1 out of it,s application was run few years ago. I can now add this to my other 265 engine, for 3 of these babies for future use for myself or other flathead Hi Perf enthusiasts. The gent I am acquiring these engines from also had a 237 and a 250 both running, he also had a low mile 313 Poly V8, so a real Mopar dude. 1 engine spins freely, has nice dark oil, quite clean valve lifter chambers, and no broken manifold studs in the block. I will of course need to go over this engine, it has been rebuilt once at Winnipegs largest engine rebuilder, then and now, Piston Ring Service, .040 pistons, .010 rods, 0.20 mains. Now if the mains are out of spec again, might not use this crank for Hi Perf use. Here are some pictures, it was a great afternoon and visit..
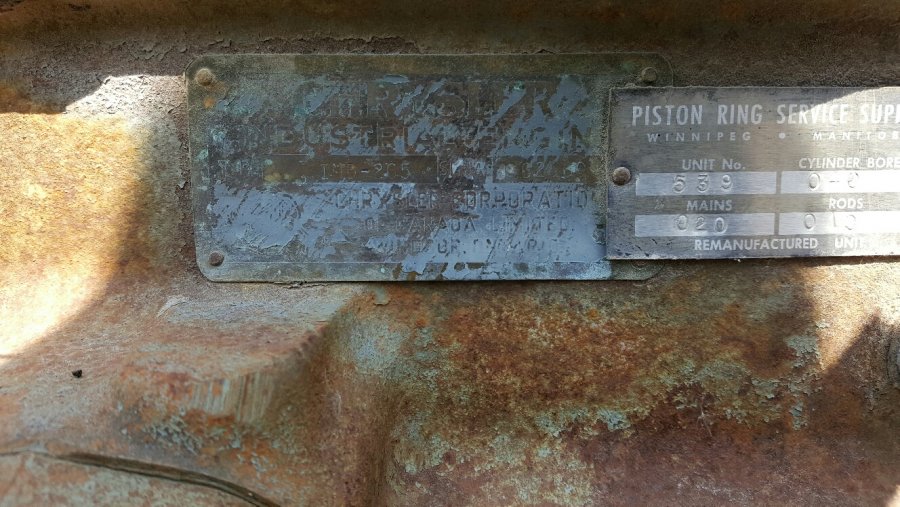
 1 point
 -
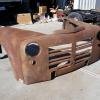
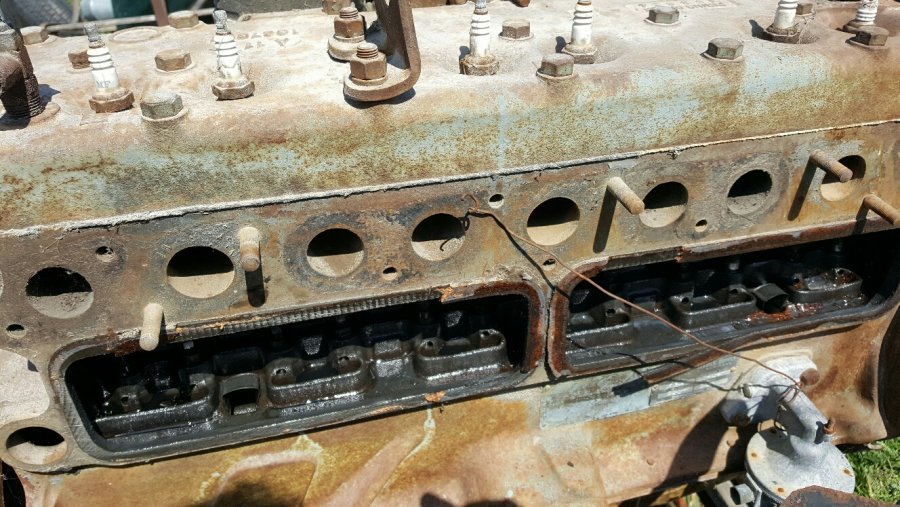
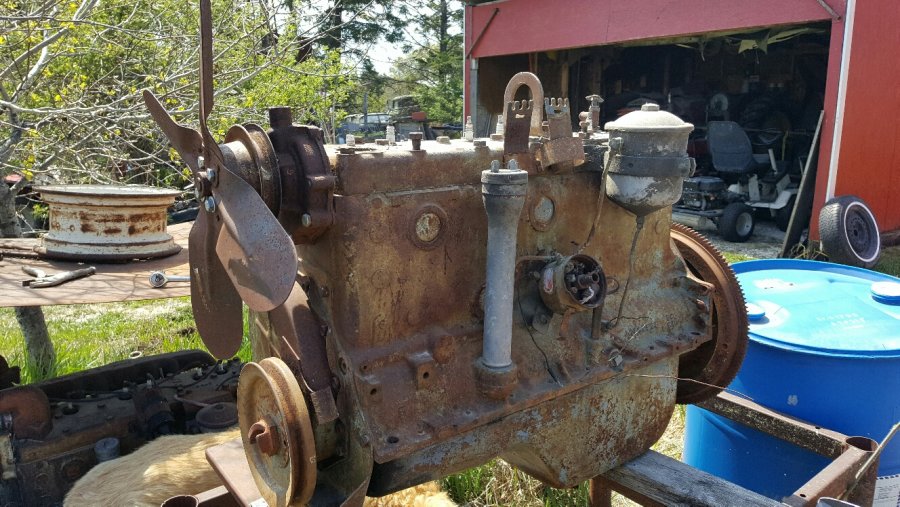
Okay, so the current engine in my 55 Fargo is a correct numbers 1954-56 Canadian Dodge or Fargo engine, and could very well be a 54 or eraly 55 as it is a 228. I do not have a spec for HP, Torque or Compression Ratio. My little engine has always ran good, burns no oil, and never smokes, and has very little blowby. She starts well, has the usual small amounts of oil leaking etc. I have done a compression test, both dry and wt, with a good and warm engine. 90-95 in 5 cyls, cyl #4 is 85, adding oil did not change the results to any degree. So next was time for a "Leak Down Test", on a warmed up engine, this engine has 40% leakage with cyl #4 in the 80 % range. There is no air loss via the intake or exhaust, all out the crankcase, so no doubt cylinder and ring wear, or possibly broken rings. I did the test 3 times, to make very sure. I will run my little engine for the summer, and most likely install a 265 this fall or winter, do not think I will be rebuilding this engine. If I did rebuild it, most likely would go over bore to 3 7/16 pistons, a nd a hotter cam with a milled head for added compression. This would or could make a nice little revver of an engine. But as my good friend Tim Kingsbury would say, no replacement for displacement, and why try to make a "silk purse" outta a "sows ear"......LOL here is my good running donor 265 engine, have to do a diagnostic on it before I would install it though...
 1 point
 -
1 point
-
You can do the math , I don't know the max rpm or I would do it for you . So here is the formula .rpm x ci / 3456 =cfm. Hope this helps .1 point
-
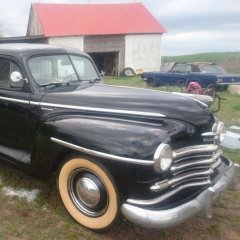
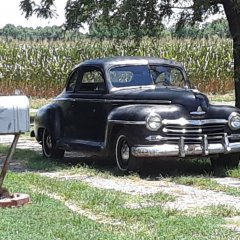
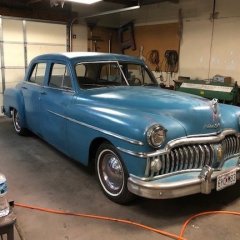
Got the car cleaned up and been cruising around for the last few days; a few little bugs to work out but really happy with it. I took it over to the original owner's house and took him for a ride; he was really happy to see it going again. That's him in the last picture. Last time he drove it was around 1980 and it was parked after that.


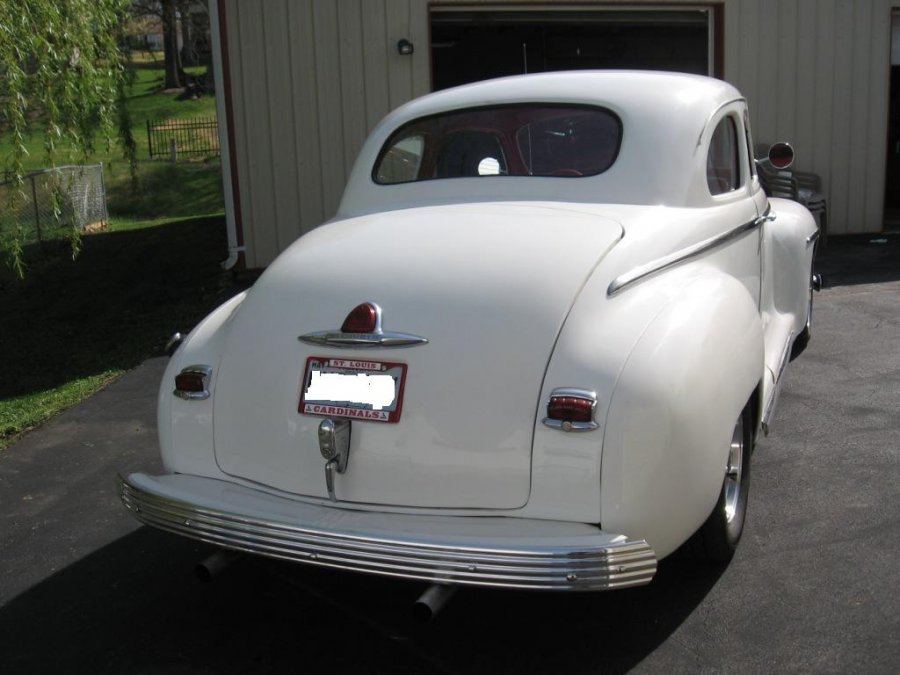


 1 point
 -
1 point