


kencombs
-
Posts
3,097 -
Joined
-
Last visited
-
Days Won
29
Content Type
Links Directory
Profiles
Articles
Forums
Downloads
Store
Gallery
Blogs
Events
Everything posted by kencombs
-
I responded to the question about battery tools. I have a lot of them, reciprocating saw, drill, little impact, little chain saw/pruner, leaf blower etc. But for anything requiring real torque I'll grab one of my IR Titanium/composite impacts 2115 or 2135. I've had those for years and they never disappoint. But battery tools are really handy with no hose to drag around, get caught in creeper wheels etc.
-
Wheel torque usually requires a 1/2" drive model. I have taken some off with my 3/8 DeWalt but it doesn't get all of them. I have the DeWalt battery system so that's what I'd recommend, not because their necessarily better, but changing battery systems is expensive! If you have battery tools, get the same brand, otherwise IMO their all OK.
-
I poster earlier about those. I even have a few laying around. Came from the hydraulic motor mounting on an old Case garden tractor. They are 1/2x13 thread with a 1/2" 12pt head. I'm pretty sure they are near the correct length, but can be easily shortened. Should be available in lots of lengths from specialty sources. Just looked, McMaster.com has them.
-
I think I saw one of those back in 59-60 maybe. PS takes almost no HP to operate unless turning, and then only if stationary as it take so little effort to turn the wheels at speed and it is an open center system, no pressure unless needed.
-
Always, Always! take those off with two hands. One holding the screwdriver, pick, needlenose etc and a magnet in the other, held closely to the clip. My magnet-on-a-stick hangs on the side of the upper tool box so I don't have to look for it, and probably overlook it. Hold on, I found something better today! Local hardware store got in a line of those super strong little magnets. Since I'm going to be working on my chainsaw carb, I grabbed one. Haven't actually used it yet except to try it out. Placed it near the hinge of my little needlenose pliers and the whole thing is a magnet! Plenty strong enough to capture those pesky little items.
-
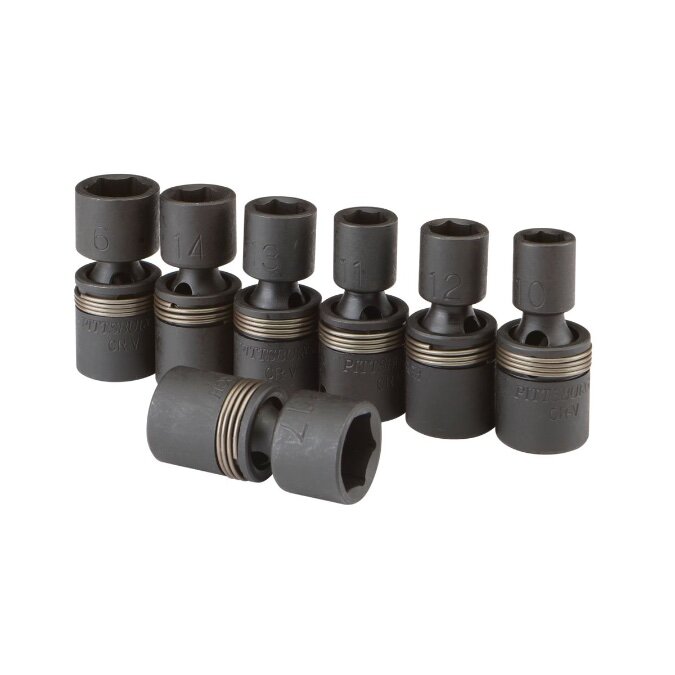
this is the only swivel socket type I’ve found that really works. Others are just ujoints and just flop around
-
IMHO, the rivets or bolts are not absolutely necessary. I believe the wheel will clamp the drum solidly enough. They where probably made that way to assure the hub and drum could be machined as a unit to assure they were concentric. But, again, IMHO they can be substituted with a flat head allen bolt. Well, a slotted head would work but I hate those things! This would allow turning the drums at some point in the future to original alignment. Will probably have to be countersunk in order to do that. The last similar thing I did the bolts needed an 82deg countersink. Ordered one and it worked out fine after trimming the bolt length.
-
Yep, I mess with old garden tractors too and on the old Case and Ingersolls the hydraulic motor is attached with 1/2"/13 threaded bolts with 1/2" 12pt heads. Perfect for starter bolts.
-
As long as the flywheel and start match you're OK. I wasn't sure if you were using the 57 or 50 starter and/or flywheel.
-
Proud of that set they are! In my Yoda voice.
-
I’ve never seen one break but I know there can be a tooth mismatch between later starters and older flywheels. I think 56 was the only 12v year that had the correct drive pinion for older flywheels
-
Maybe someone should cut up a ratcheting box end wrench and weld back up in the shape of one of the old starter wrenches. I have one of the old ones, somewhere, haven't seen it in years.
-
I’ve been known to do that. Only reason it crossed my mind is issues some had in the early PCV years, like Chevy s ‘beer can’ in the valley. Without it lots of oil got picked up.
-
except that it looks just like (In flow direction/etc) to that posted by Bob R above . And the way mine will look, if I ever get it all together. Chev valve screwed into the manifold or carb adapter, sealed oil filler (or maybe valve covers not sure yet), the valve cover location will avoid the flying oil in the crankcase. And the road draft tube blocked.
-
Unnecessary, but that is the path all the later implementations, at least the ones I've seen, seem to go. Supposedly provides better filtration, maybe of a couple of hundred thousand miles on a newish car it may be better, who knows?
-
You are correct regarding backfire protection. But, the description of flow direction does not match my understanding. All PCV systems introduce the crankcase vapors into the intake path, after the air filter. If the oil fill is sealed and a hose attached from that tube to the air cleaner, the purpose is to filter the air entering the crankcase. The vacuum from the PCV valve pulls the fumes from the crankcase. air cleaner to crankcase to pcv valve to intake manifold, is the flow ain my inderstanding. That is what I was taught and believed for the last 60+ years of dealing with them.
-
First let's discuss the size of the studs and nuts. 1/2" tools may not have enough power for larger stuff. I have a 1/2" IR Composite/Titanium which is one of the most powerful around and it wouldn't handle the 35MM nuts on my 1T. The alternative may be a 3/4" drive socket and breaker bar with a cheater if needed. It's amazing what big leverage can do. Use that to break them loose, then a 1/2 drive to complete the removal. You may need more leverage to get to the required torque on installation too. Many loaders/trucks etc have really high torque requirements so you may not be dealing with and overtorqued situation, just 'normal' torque. Skid steers impose some terrific side loads on the wheels.
-
Absolutely correct. Usually richening the idle mixture and maybe setting the accelerator pump in the richest hole will get it done. .Some may need the path for off idle transition changed too. Then there are different pcv valves that pass more or less air, or have a different rate of change from idle to cruise. I've chosen an early Chevy version that screws in to the intake, kinda backwards from the norm. It's not running yet but I'm hoping the vacuum and flow of a late 60 GM six, is close enough.
-
Now you're talkin'.
-
That is just like the one I had. At least looks like it. If so it has a diaphragm separating the air and fluid. Excellent tool. Wish you were closer I’d be at the yard sale
-
The lid doesn't even have a flat spot, it's kinda domed. I could flatten it, drill a hole and use a bulkhead type fitting, but I could drill and weld a standard fitting from my tool box on there while thinking about the alternatives.
-
I've never seen caps stamped, only bearings. Cranks are usually only stamped if they are going into the company stock. Customer supplied cranks,, drop-off and pickup may not be. All that I've had done had a paper tag attached. Machinists don't machine or stamp bearings, they just turn the crank and order, or remove from stock, the right size. I've never even bought bearings from a machinist, other than a big rebuilders that used to offer a package, cleaned and bored block with new cam bearings installed, crank, bearings, rings and pistons. Good for me as no wait time for the work, they had the popular ones in stock.
-
I looked into those and it's an option. What put me off is the reports of 'vague' steering, no feel or feedback. No experience, just what I read. Not an issue for me, but if using on a generator system it would likely drain the battery in low speed driving.
-
Just a caution on homemade or cheaper pressure bleeders, be sure not to expel too much fluid before refilling. Most cheap solutions don't separate the air from the fluid and can refill you system with air if not refilled with fluid soon enough. Older, professional models had a diaphragm separating the the two. Sure wish I hadn't sold mine. I plan to weld a fitting into my reservoir cap to attach a hand pump, even a bicycle pump would work. I'm using a later, firewall mounted master so the lid isn't thick enough to just drill and tap.
-
I don't think I've ever seen a crank that was machined for a customer(rather than for shop use) marked, other than a paper tag attached. Big rebuilders always attach a metal tag to the block somewhere, usually riveted on. On my current engine, it had no tag, no markings at all on the crank or block. Pistons stamped .040, bearing shells marked on the back, .020, probably a rebuild in the past at an independent shop. Like I've always done, tear down, measure, send crank and/or block to the machine shop, and probably two different shops. Local guy did boring, cranks went to a bigger shop, or just pick up and exchange crank at a local engine rebuilder. I then picked up and assembled, usually after a hone in my place to my liking. I usually did the valves but had the head surfaced at a machine shop.

