Leaderboard


Popular Content
Showing content with the highest reputation on 09/30/2024 in all areas
-
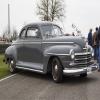
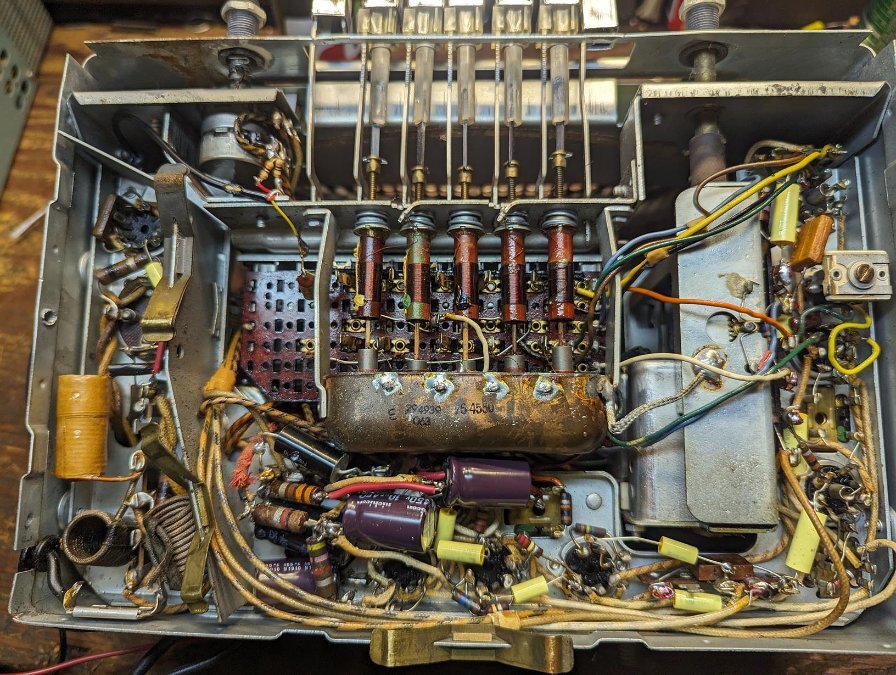
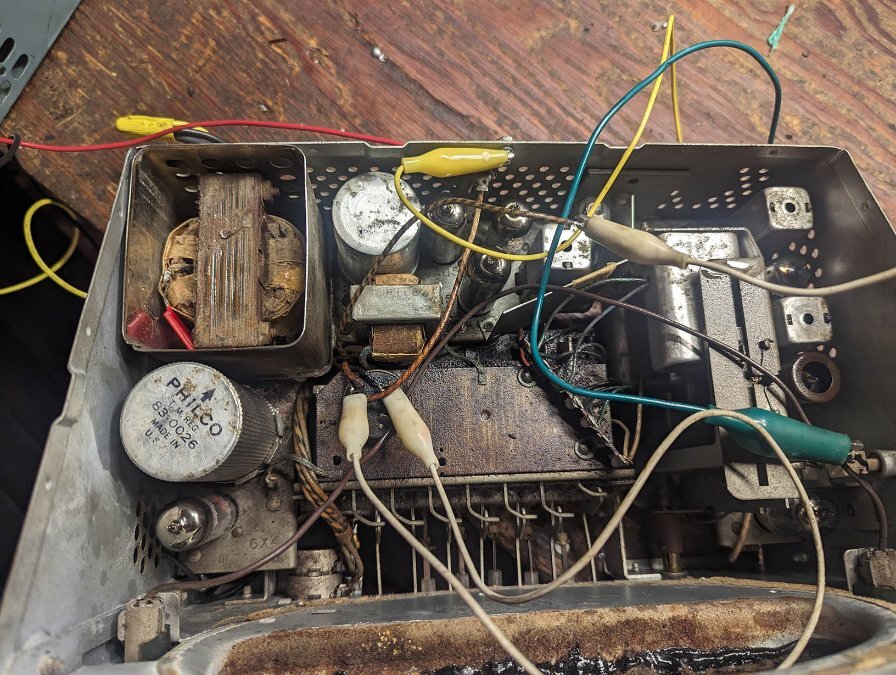
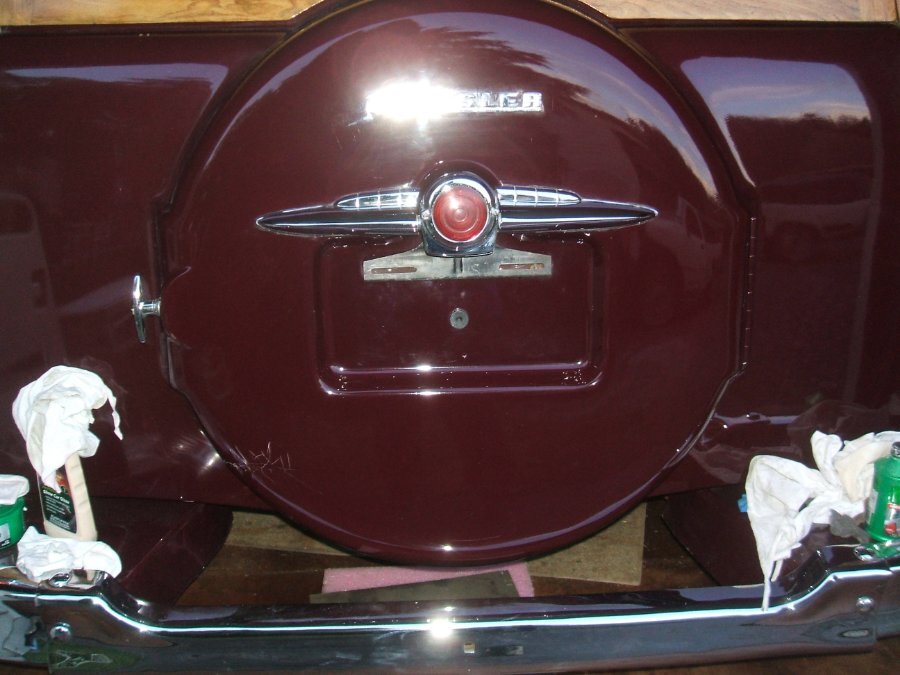
Thought I would stick this on here but over the weekend I overhauled the radio in the plymouth. I work on a lot of old radios but not many car radios. The wires had been snipped and when I first tested with a power supply nothing happened. Tube filaments and pilot lights came on but no B+. The radio uses conventional AC tubes you'd find in many AA5 table sets. It does have push-pull audio and uses a pair of 6AQ5 tubes, which are nearly the same as a 6V6 octal tube. These use a "vibrator" which mechanically converts 6 volts to AC which then is used by a transformer to create the high voltages needed for the tube plates. Anyway, it is absolutely key to COMPLETELY replace all of the capacitors in these. Not only do the old caps suffer from being in a hot car for decades but the vibrator beats the crap out of a 1600 volt "buffer" cap that goes from the vibrator to the transformer. Its key to meet or exceed that voltage. Took around 5 hours to recap. The space is very tight compared to the sets I usually work. And its important to keep the caps as close to their original locations. I used 104 degree rated electrolytics. I replaced all caps except a few that were difficult to reach. The first test resulted in very poor audio and reception. Turned out the last cap that was the most difficult to reach was shorted. That and the 6BA6 tube it was associated with was very weak. As I volunteer at a local museum that has at least 50,000 spare tubes I got a fresh set of output tubes, a new rectifier and new tubes to replace those that tested less than perfect. On table sets I'll leave even semi-weak tubes in since those are easy to change. Not as easy to get the car radio out so its going to have all good tubes. I might install LED pilot lights. Not sure. I also added an audio cable that comes off of the volume control. right and left channels are tied through a set of 30ohm resistors to get true mono. Tied resistors goes to the pos of the volume control. Neg goes to ground. This way I can either listen to the radio, which is AM only or listen to a bluetooth module that plugs into a audio cable that can run into the glove box. Good thing I fixed my charging problem. The set uses a whopping 8 Amps meaning it wouldn't take long to drain the battery with the radio alone.
 5 points
 -
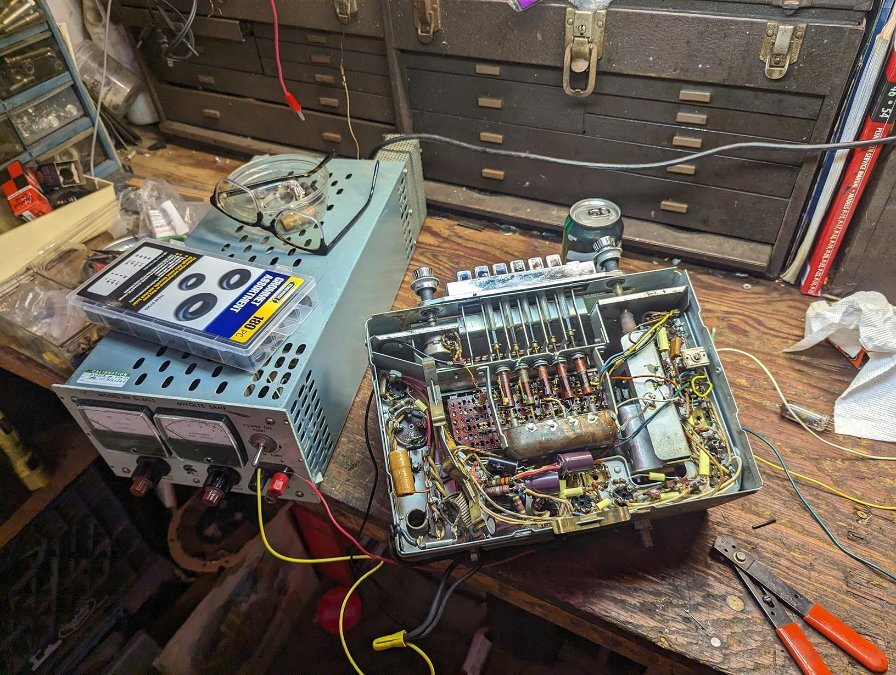
Here is a great place to start: https://antiqueradio.org/recap.htm There are TWO very different capacitors in this radio. A aluminum can mounted up top that has 4 capacitors inside. The values and voltages are marked on the side of the can and has symbols to indicate what lug underneath is what. It is VERY important that these are wired in the right polarity. Chassis is negative and the leads that go to each lug of the can are positives. If you look at the images and see the new brown caps, those replaces the 4 values of the aluminum can. The rest of the caps are NOT polarized and can go in either way. The most important cap goes to the transformer inside a metal shielded box. Remove the top and you'll see it. Its something like a .003 Microfarad cap at 1600 volts DC. That thing gets beat to death. Here is a link to decoding the bumblebee caps: https://pickguardian.com/wp-content/uploads/2014/04/Sprague-Bumblebee-Chart.pdf As far as aux cord to the radio the set has a dual stacked pot, which is the volume and tone control. Each of those will have three leads: A top, bottom, and a center lead. Ignore the center lead. These come right off the volume control itself ( the thing that the volume knob is attached to ) I ran a 3.5mm stereo cable into the set with a 3.5 mm male at the end. Take the right and left channels and run each side to a 30 ohm, 1/4 watt resistor. Then tie the two resistor leads the other end together. That will mix R an L channels together safely. Then that will go to the positive side of the volume control. Its the side where the radio signal comes in. You can test with some clip leads first. I'll try and post better pics later.2 points
-
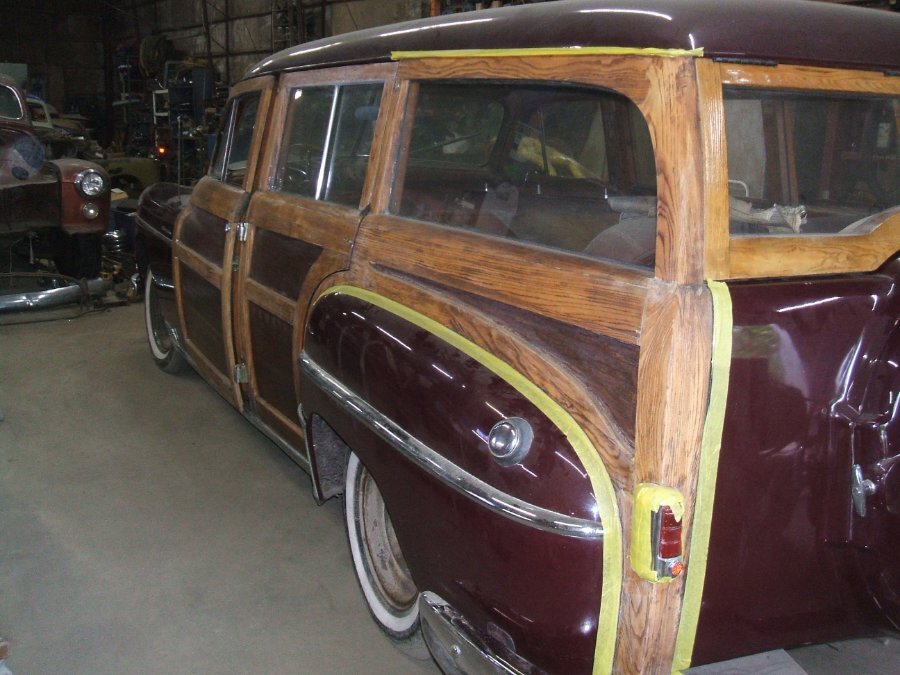
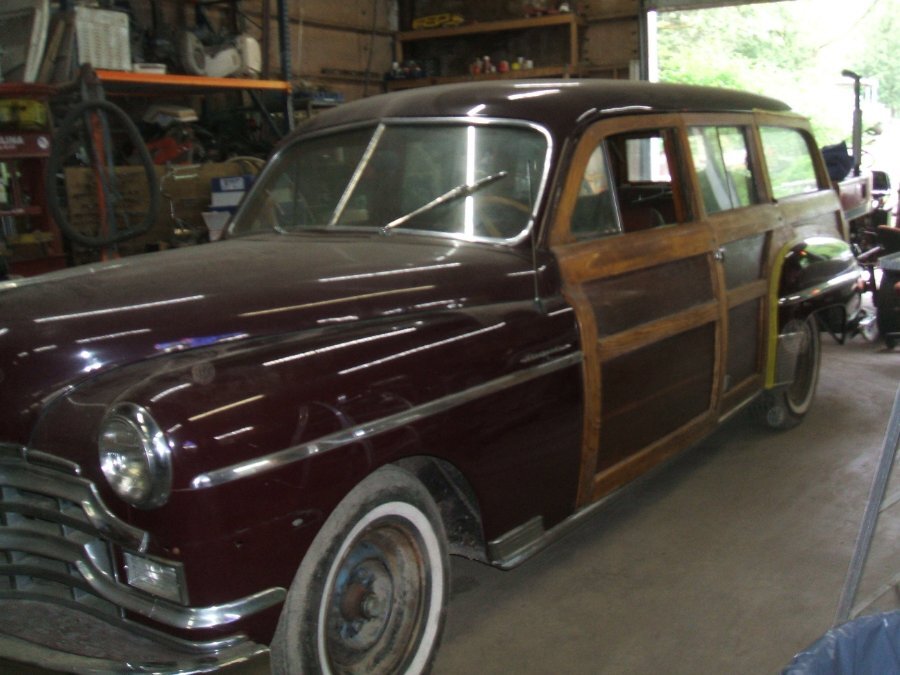
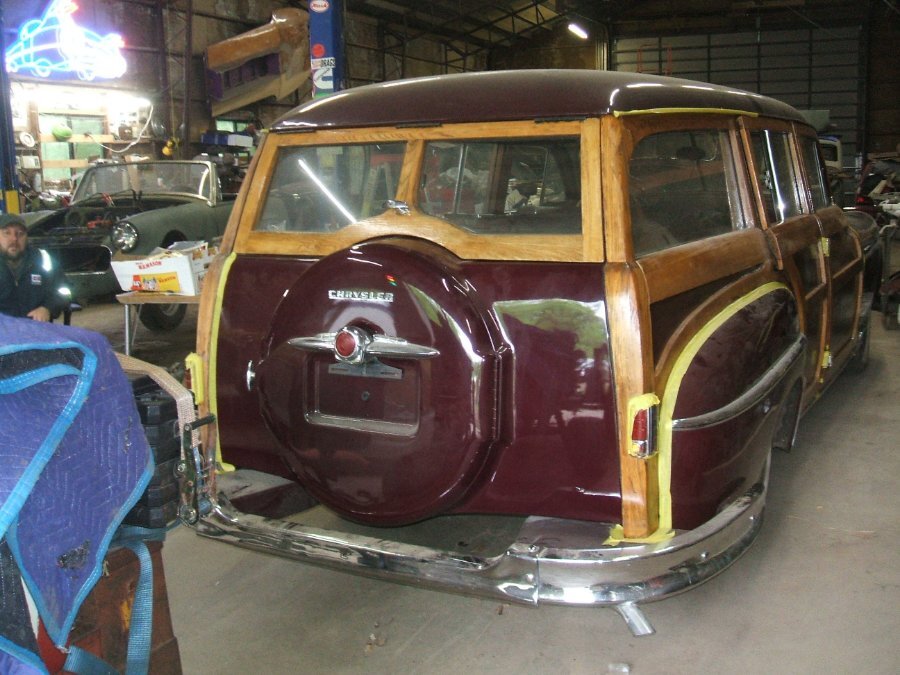
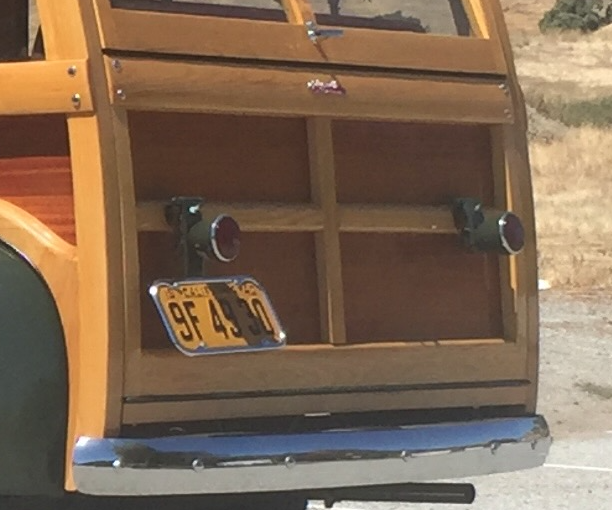
I went and did it again. I FINALLY started to realize that maybe I should "thin the herd" - and I was actually doing it. I sold a couple of old cars and my motorcycle and I was trying to convince myself that I felt good about it. I was actually starting to believe that - BUT THEN IT HAPPENED - AGAIN!!!!! I was innocently browsing Facebook Marketplace (mistake #1) and for some reason I opened an ad for an antique car which I had ZERO interest in - NONE But as I was scrolling through the pictures in the ad (mistake #2) I noticed a car in the background of 2 of the pictures. Of course, I HAD to message the person running the ad asking if he'd be interested in selling the car in the background (mistake #3) I got a reply in a few minutes saying "Yes, he'd sell it, and when would I like to come see it. I immediately replied that the next morning would be a good time to go look at the car (mistake #4) The next morning I go look at the car (mistake #5) and now as they say - "The rest is history" It's a 1949 Chrysler Woody - 1 of 850 made. Picture after a little cleaning
 1 point
 -
You may need a longer Pipe LOL!1 point
-
That's dangerous. Dad bought a 50 Plymouth radio at a swap I think in 89-90. Ran into someone in the parking lot that said oh you must have a 50 Plymouth. Dad says no and they get to talking and a few weeks later that guys car became Dad's.1 point
-
Here's my method 3/4" drive breaker bar and a subtle piece of pipe for extra leverage!!!
.jpg.e476471359af6f8e7efd9a7b91fce530.jpg) 1 point
1 point -
The reason for the jeep or explorer axles is the width .... I'm guessing here but think I remember about 58". So your axle centered would make the tires/wheels stick out 2.5" on each side .... no idea how that works with your fenders. I can say a different guy had a 3/4 truck with 5 on 5 bolt pattern and used a Silverado rear end that was wider. He used Cadillac rims with a reverse offset and thought it was a perfect match .... it is doable. Depending on your engine/transmission, 3:55 might be to steep for a stock setup .... 3:73 is the sweet spot. Sometimes free is not cheap ..... You might be able to shorten your axles .... 9.25 is overkill for a stock 90hp engine. Probably just cheaper to hunt down the right part for the job.1 point
-
Speedway Motors sells threaded tubing in various lengths and if they don't have the length you want they will custom cut one for you they charge accordingly though. You can screw tie rod ends into those and use them instead of heim joints1 point
-
It is often suggested to leave the nut on a few threads to keep the drum from attempting orbit.1 point
-
I am going on 5k since last change. Tractor Supply 15w 40 all fleet oil. Car will be going for annual state inspection some time in Oct. Will get oil and filter changed while its there. Going on 55k since rebuild and install. Use Napa 1080g element. Operates at 42 to 45 psi on the gauge. Just had it in for our P15 Picnic pre-tour check. Checked hoses, belt, fluids. Added a smidge of differential lube, pinion seal is dripping a bit. Added 1 pint of engine oil prior to 550 mile jaunt. Still above add line1 point
-
there is a very simple way, to check the generator Release it from the belt, open the regulator and press the palette of the relay the most on the left, if your generator turns slowly into an engine, it is good for the service and in addition it will be polarized correctly, If he does not turn he has a problem1 point
-
Welcome to the very small club of Chrysler, Desoto, Dodge and Plymouth woodie owners! I've had my '40 Plymouth since 2003 (restored it finally in 2015). I would strongly suggest joining the National Woodie Club There's probably a chapter near you. And of course feel free to contact me and other Forum members with questions. Chrysler used some slightly different parts and reused other parts for the wagons. For example, my taillight buckets are stock (they reused them from 1937 Plymouths), but a hinge was added so that the can flip up when the tailgate is down.
 1 point