John-T-53
-
Posts
1,696 -
Joined
-
Last visited
-
Days Won
21
Everything posted by John-T-53
-
Good info. I can see the front fender extension in Paul's pic below! Looks like it's about 12" long at least. Are the big blocks that much longer than the little 23" flatties?
-
It's a shame anyone would want to "torch" this truck. Even more so that another rare biggun' gets converted to mere parts and scrap. It's good that at least some parts are being saved, too bad not the whole beast!
-
Thanks...I didn't find 4070 but came up with # ECH 4270 at the local NAPA. Bushings are on order, they are coming out of a warehouse in MN!
-
I've seen a few of these grinder/wire wheel setups. I worked for a guy in SLO who had one; he said he made it with a motor from a gasoline pump back in the 50's. I spent many hours on that wire wheel cleaning various parts over the years...but the bushings were shot so it made a lot of racket. Putting thicker oil down in the cups seemed to help...
-
Confirmed...the shaft is a little loose in the distrubutor body, and I witnessed the point gap move as the shaft was rocked side to side. Anybody ever rebuild their dizzy with new bushings? I couldn't find any threads where this was covered in detail (as you know I like to revive old threads)...however sending it out to a shop that rebuilds them has been discussed. I'd at least like to find where new bushings could be sourced. After pressing them in, I'd imagine they would need to be honed to fit the shaft perfectly, probably with less than half thou' clearance. Thanks,
-
I just got my newly rebuilt (for the 2nd time) engine running last week again, and have been tuning it hard core over the past few days. It's running strong and drives great at all rpm's. Initially, it was a lil' rough running and had throttle problems, but the carburetors have been tinkered with several times and the setup is now synced up pretty good. The slight miss was still there though. A timing light showed the miss on the pulley mark as it would skip a beat about every ten flashes. I was running an original auto lite coil, but had a new spare on hand so I switched 'em. Now, a consistent flash on #1, however the mark moves around slightly, about two deg when running. BUT...at least this showed the old coil "skipping when it should be in attendance". If I put the timing light inductor on the #6 wire, the timing is advanced about 4 degrees that that of #1, and there still a very slight miss evident in the tail pipe at idle. The dizzy has never been rebuilt, although points and coil have been maintained. The dwell is 39 deg at idle and moves down about 5 deg when accelerated. It might be time for a new dizzy, possibly a pertronix unit... Does this now sound like a dizzy problem?
-
RE: springs....I had a pair of fronts rebuilt for about $160 at A-1 Spring in Oakland, CA.
-
Wow, that is LOW! Hydraulics?
-
Merry Mopar Christmas to all!
-
Same here, tried RTV and it worked a little, but this time I used JB Weld around the outside. No leaks yet... Before applying the sealer, the seam must be absolutely clean - oil pan empty and the seam blown out with brakeclean and compressed air.
-
Hardware store... This one would be a jamb nut, so you could take a standard off the shelf nut and grind it down... Also stake it in 4 places to make it a lock nut.
-

Installing fresh air and defroster options
John-T-53 replied to Jeff Balazs's topic in Mopar Flathead Truck Forum
Well I'll be dipped! POR-15 silver engine paint? Even if you could get bulk cable, it wouldn't be too hard to "re-cable" the dash ends. The wire looks to be brazed/swaged to the moving shaft the knob screws onto, and the sheath is swaged to the outer hard sheath at the dash bracket. -
Installing fresh air and defroster options
John-T-53 replied to Jeff Balazs's topic in Mopar Flathead Truck Forum
Mark - First of all, I like how all your hardware and cables have fresh zinc plating - this is a top notch detail and looks great! The "AIR-OFF" knob is from a mopar car (got it from Neil Riddle) and was what I could find at the time - I've since found an AIR knob so now the gang of knobs at the dash control pod is all "correct". I was able to come up with a long cable for the air control valve by adapting a hood release cable I bought at the Car and Truck Shop in Orange, CA. See their catalog, page 29: http://www.scribd.com/full/96301675?access_key=key-27swkaiy967wyva19b8o On that subject, I wonder if there's any place out there that can rebuild these bowden cables? It would be great to send in the dash end and get installed any length of wire and sheath on it...anybody have any ideas on this? Or know of a place where cable could be bought in bulk? -
Installing fresh air and defroster options
John-T-53 replied to Jeff Balazs's topic in Mopar Flathead Truck Forum
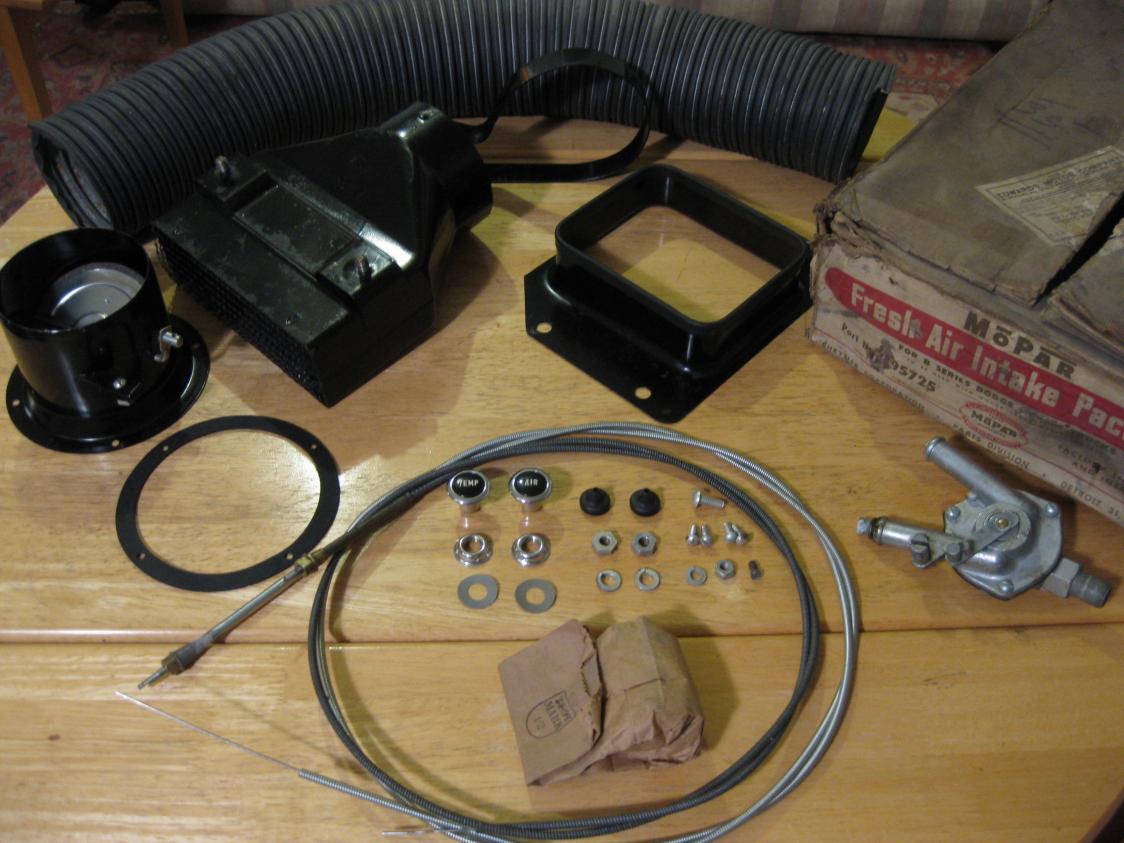
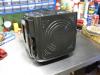
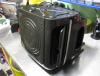
I don't have any recent "installed" pics, but pics of all the individual pieces, including the heater, before they went in. I had to find all the fresh air parts separately, then found a complete kit as a spare after that. I was able to get the 4" duct hose at Napa. I highly recommend the fresh air kit! Makes the defroster work a lot better than the old recirculating heater.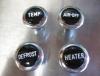

-
I'd be curious to know if there are other ratios available for the Dana 35's. Like up to 4:10 like our trucks usually have? Or even a 3.9?
-
Toe Board and Trans. Cover Anti-Sqeak
John-T-53 replied to Barry Maxwell's topic in Mopar Flathead Truck Forum
The other goal here is water and air proofing, especially at the sides where the removable panels form the back of the wheel well. Sealing will also help reduce engine fumes inside the cab. I don't recall the roll of foam tape costing a lot at the time (from Orange Engine in Dana Point). -
Toe Board and Trans. Cover Anti-Sqeak
John-T-53 replied to Barry Maxwell's topic in Mopar Flathead Truck Forum
I've found a self-stick foam tape product called "pickup truck cap tape" that worked excellent. The foam is about 1" wide and 3/16" thick and comes in a big roll. I installed mine about 3 year ago and it's still there after removing and reinstalling the floor boards several times since. -
I liked my experience with Tennessee Clutch because they can supply parts based on description, not just make and model like everywhere else.
-
Looks like the truck has the fresh air kit.
-
From what I've heard they don't have a true HEI unit for 6 volt. But they have solid state 6v distributor and an external coil that looks like the original. I've been thinking about getting it...
-
49 Dodge B1b108 Woodie upgrde
John-T-53 replied to Charles Furman's topic in Mopar Flathead Truck Forum
I like that brake booster idea....I wonder if there's a way to adapt it to work with the stock brake pedal mounted on the stock clutch shaft? Figuring out a booster setup is the only thing preventing me from switching to discs. Looking forward to seeing the progress on this woodie upgrade project! -
1935 Desoto head retoration.
John-T-53 replied to Fernando Mendes's topic in Mopar Flathead Truck Forum
An aluminum head? What mounts on the side where all that rot is? -
CHROME won't get you home.
-
49 Dodge B1b108 Woodie upgrde
John-T-53 replied to Charles Furman's topic in Mopar Flathead Truck Forum
Ah, so that's what the 3-spd column is for! Glad to see it going to good use! With the disc brakes, do you plan on installing a firewall-mounted booster/master cylinder (as your current brake pedal setup will go bye-bye with the auto tranny)? -
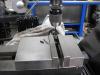
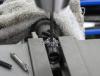
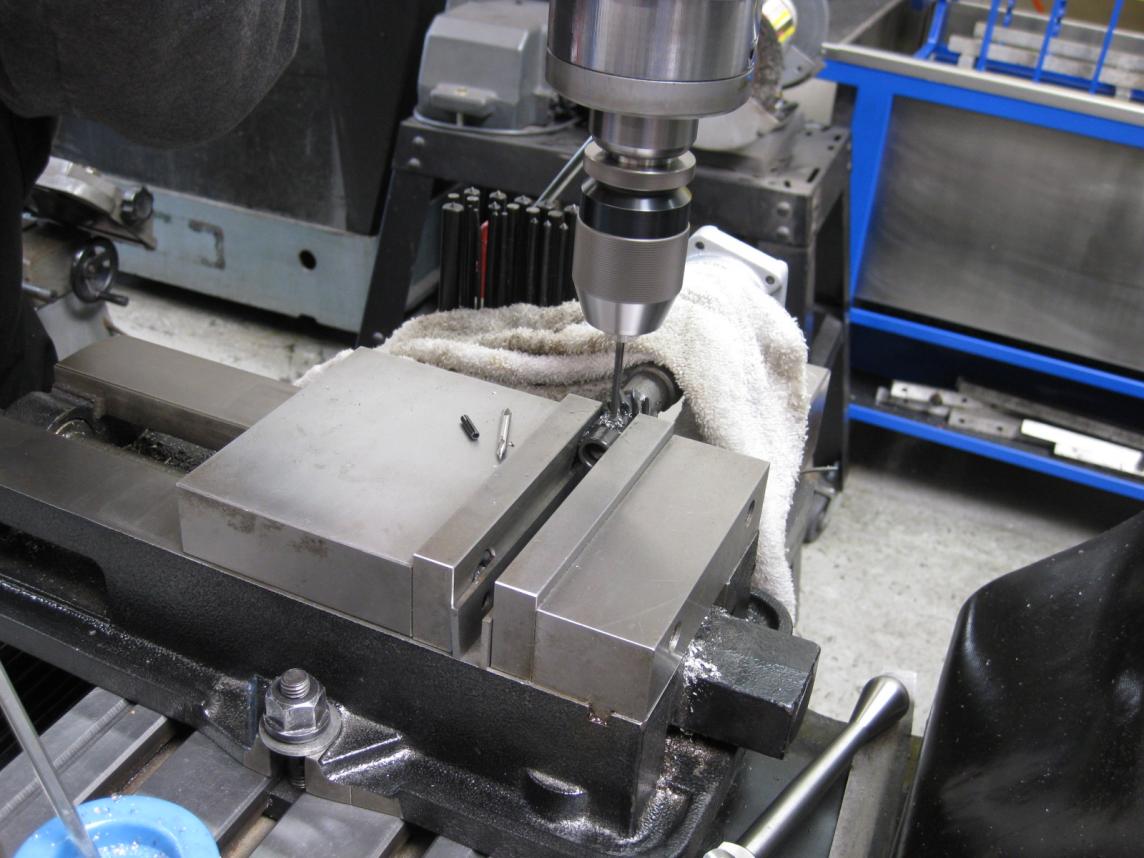
To conclude... Finally got to drill the new pin hole today. All done!