-
Posts
3,462 -
Joined
-
Last visited
-
Days Won
193
Content Type
Links Directory
Profiles
Articles
Forums
Downloads
Store
Gallery
Blogs
Events
Everything posted by keithb7
-
Thanks Richard. I will see what I can do with those numbers. By chance is there bore sizes listed in your book for these part numbers you supplied? I also stopped in to my local Napa store today. The oldest guy working there dragged out the oldest brake parts book he had. Blew the dust off. Under 1938 it said...N/A. Boo...Hiss.
-
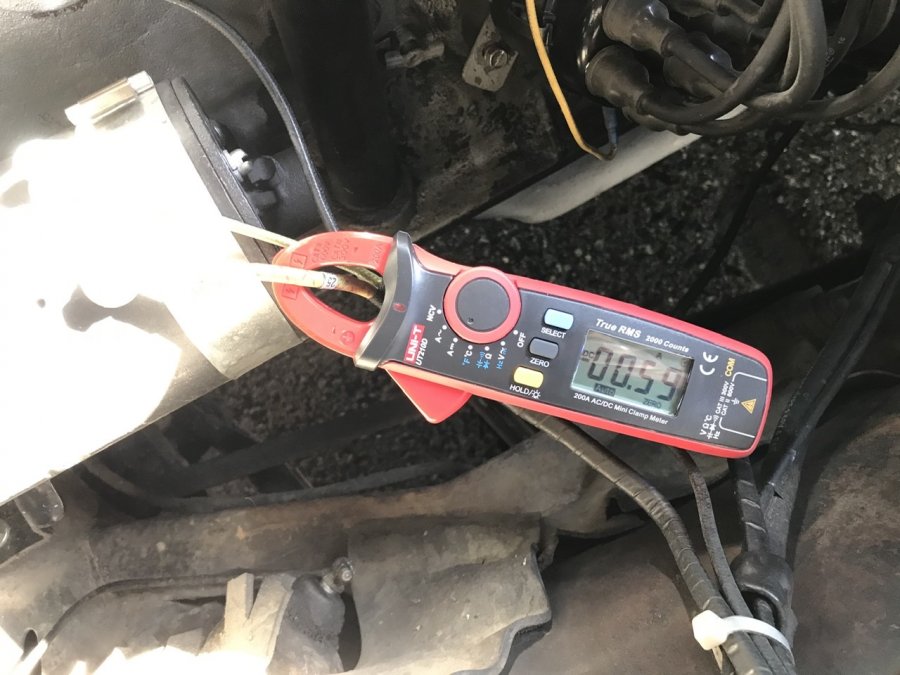
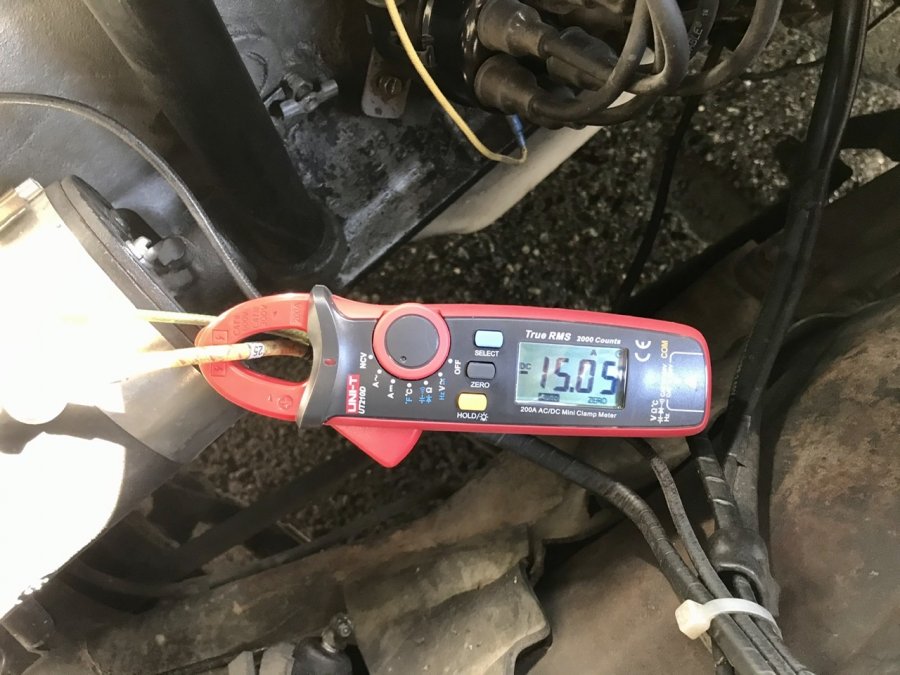
I picked up one of these clamp style multi meters recently. I tested my generator output with it. The tool and the generator seem to work well. Max output setting seems to be about 15-16A on the generator. Both my ‘53 Chrysler and ‘38 Plymouth seem to put out similar max amps. I cannot recall the proper specs as I type this. I’ll look it up later. Seemed like a good little tool. i was hoping however to clamp around a starter cable to see max amp draw. The tool has a measurement hold feature too. However I can’t seem to get an amp reading off a starter cable when I crank it. Maybe I’m doing something wrong. The specs claim it can read upto 600A DC. Auto ranging. Idle and high RPM generator amp output shown in pics.
-
Hi folks, bit a of a mix up here with my brake cylinder sizes. Perhaps someone who is brushed up on hydraulic force calculations can chirp in here: I had 1 left rear leaking wheel cylinder after going through and reassembling my brakes. I looked around for new replacement options. I found various parts listings for wheel cylinders. I was unsure, I'd get the right part. So I contacted my chosen supplier. I emailed them to ask if they could run to the shelf with a slide caliper and measure the front and rear bores of the LR brake cylinder, that they list for my 1938 Plymouth P6. I stated that being as the car is 82 years old who knows if my cylinders are stock? I wanted to attempt to buy a match. I waited and waited and they never responded. I took a chance and went ahead and placed an order. Two weeks later it arrived. Looking at it, it seemed a little big to me. A week later, this morning, I finally get things apart. Yup different cylinder bores than the one I removed. The cylinder I removed is 1" bore front end. 1 ⅛" bore rear end. The cylinder they sent 1 ¼" same on both ends. So my thoughts are, I only bought 1 new cylinder. I likely should not utilize it, and have two different sized cylinders on the rear wheels. Correct? My options are to order another new matching RR 1 1/4" cylinder so they are the same; or seek out a new stepped cylinder to match the old one that I removed. So for now I will polish up the old stepped cylinder and re-install it again to get the car back up. (I enjoy driving it too much to leaved parked for two weeks, waiting for another new cylinder) Does anyone know what stock rear cylinder bores should be? My car was built in Canada. So maybe a different size was used up here, when built new? If I go with 2 of the new 1 ¼" cylinders, what effect does upping the bore size do? More braking force? Thanks.
-
Looking at the ebay pic of the $49 pump, I’d be weary about the main pin retention. I see its punched 2X with a small pin around the pin bore. I’d be pouring the JB Weld again, on both ends of the pin.
-
-
Just for kicks I asked E-bay to calculate the shipping cost to ship the $49 pump to Canada. The result could push a sane, normally friendly Canadian into a rage of frustration. Beyond ridiculous. I mail parcels to and from the USA a lot. Actual freight costs for this pump? I'd estimate $15-$20 US funds....So I must find ways to adapt. I spend hours of time researching alternatives....Sorry. I'll move on now. Quantity: Change country: -Select- Afghanistan Albania American Samoa Andorra Anguilla Armenia Australia Austria Belarus Belgium Bhutan Brazil Bulgaria Cambodia Canada Central African Republic China Comoros Croatia, Republic of Cyprus Czech Republic Denmark Dominica Eritrea Falkland Islands (Islas Malvinas) Finland France French Guiana Gabon Republic Georgia Germany Gibraltar Greece Greenland Guadeloupe Guam Guernsey Guinea Guinea-Bissau Hong Kong Hungary Iceland Indonesia Ireland Italy Japan Jersey Jordan Korea, South Latvia Liechtenstein Lithuania Macau Macedonia Malaysia Malta Marshall Islands Martinique Mayotte Mexico Micronesia Monaco Nauru Netherlands Netherlands Antilles New Zealand Niger Niue Norway Palau Poland Portugal Puerto Rico Romania Russian Federation Saint Helena Saint Pierre and Miquelon Saint Vincent and the Grenadines San Marino Serbia Singapore Slovakia Slovenia Spain Sweden Switzerland Taiwan Thailand Togo Turkmenistan Turks and Caicos Islands Tuvalu Ukraine United Kingdom United States Uzbekistan Vatican City State Vietnam Virgin Islands (U.S.) Postal Code: Shipping and handling To Service Delivery* US $52.20 Canada USPS Priority Mail InternationalTM Estimated delivery within 7-23 business days Seller ships within 1 day after receiving cleared payment- opens in a new window or tab. US $71.05 Canada USPS Priority Mail Express InternationalTM Estimated delivery within 4-6 business days Seller ships within 1 day after receiving cleared payment- opens in a new window or tab.
-
I see one here for $49. Quality? Rollin' the dice I guess. https://www.ebay.com/itm/Fuel-Pump-Single-Action-1946-1953-DeSoto-6cyl-NEW-46-47-48-49-50-51-52-53/142987275025?fits=Year%3A1948|Make%3ADeSoto&hash=item214ab4ab11:g:A7kAAOSwdGFYrx7C
-
@Johnathin I gave my friend Mike your number. He'll call you soon. Good luck.
-
Johnathin my buddy lives in NW Washington state. He has a spare '49 Fluid Drive unit. I bet he'd sell it. I will ask him and get back to you. He has the matching '49 M6 tranny too. Recommend you take both pieces.
-
The rear seal likely is leaking. It will drip down and land in the lower clutch cover plate. There is a hole at the bottom where it will drip out. Mine is cut in a way that I think it acts as a venturi when you are driving. Sucking any oil out and helping with dust control on the roads. To change this rear engine seal, is a bit of a project. The tranny, clutch and flywheel have to come out. Then the oil pan comes off, then the rear main bearing cap. At that point both the upper and rear seal halves can be changed out. Enjoy your car this summer! I am on the hunt now for a dwell meter/tachometer to help me keep up on the points. As they wear and we file them, feeler gauges are not adequate for setting dwell. My understanding is when the dwell is proper, the points stay closed longer. When points are closed longer this allows for a healthy full charge of voltage to build up in the coil. Then the points snap open, giving a good strong powerful spark. Better spark is more power and better fuel efficiency! Right? So my curious nature has me wanting to get all over the points dwell. Plus another good excuse to buy another old tool.
-
Richard is spot on here. The majority of parts people seem to be only good at looking up part numbers on a computer. The Rock Auto site is one of their tools. They hide behind their monitors and look there often when they are lost. I chose to rebuild my recent fuel pump as up here in Canada, the new $80 pump is about $160 by the time I have it in hand. I put JB weld on the fulcrum pin at both ends the pump is now reliable again. The pin cannot walk out. Personally I prefer the glass bowl type fuel pump. You can see sediment building. You can see the fuel present and its colour. All good clues to what might be going on in your fuel system. The original pumps have Made in Canada, or Made In USA on them. Beats the modern offshore built pumps any day in my opinion.
-
If the engine has been sitting since 1981 does it bar over? Or can you pry it to turn at the ring gear? From your original post it sounds like perhaps you reassembled the engine back in 81. Likely, with very tight bearing fitment. It sounds like your Dad had the intention to drag it around to free up the bearing clearance, but that had not been done to this engine? So, the starter cannot turn it, and it has not yet to this day 40 years later? Do we know we have a good strong starting motor? Corrosion free, proper gage starter cables? Good clean ground connections? Fresh fully charged battery? If I am adding this up right, it sounds to me like it's time to pull the engine and dig into it again.
-
Thanks for the well wishes guys. Appreciated. @tjlarson88 @lepic56 @JerseyHarold @Worden18
-
Lately I have tweaked with the carb a bit. I have noticed when pulling the hill home, while under a good load, gas pedal pretty well to the floor. Holding steady at about 30 MPH in 3rd, the engine has bucked a few times in the past week or so. At that point I figure the carb is pouring in, all the fuel it can deliver . Max torque the engine can produce probably. The next few times it happened, I gave a flip of the switch for the electric fuel pump, it cleaned up and the engine pulled hard again. On another trip up the hill again I randomly hit the switch on the electric pump to proactively assist. There was no bucking at all then. So I figured it was probably a fuel delivery problem. Maybe something in the needle and seat? Maybe the float set too low? Unable to keep up with the steady demand for more fuel on the hill? On the flats, around town driving, there is zero problems. Yesterday I took the carb apart and set the float a little lower. Cleaned the bowl up again. Checked all. Looked good. Needle valve good. Reassembled and test drove. 3-4 trips up the hill home and no more bucking. No assistance from the electric pump used. I might have solved it. However I suspect the A/F may be slightly rich now. When I hit the accelerator from idle, in gear, there is a brief lag. Maybe about 1 second, then it accelerates fine. That symptom was not present before. I am thinking maybe I need to go back in and just raise the float a teeny bit. I am thinking the engine is a little rich, it bogs for that brief second. Then the engine cleans up and revs normally. It only does this just off idle. Maybe I could back off my accelerator pump a just a little too? Hmm... We'll see. More experimenting to come. Your comments and experience are always welcome. The hill home is like having my own testing ground lol. It exposes every little thing that needs to be addressed. My Son behind the wheel here in the pic. I think I get as much, or more enjoyment seeing him drive the car, as I do driving it myself.
-
My parts manual reads: Drain Cock Water Jacket Part Number 103647. https://www.ebay.com/sch/i.html?_from=R40&_trksid=m570.l1313&_nkw=mopar+103647&_sacat=0
-
A new generic readily available timing light will be 12V. It can used by hooking it up to any 12V battery. A spare car parked beside you is fine to hook up to. A ride-on mower or motorcycle battery is also just fine. Just hook the inductive clip on your car’s #1 plug wire and pull the trigger on the gun while pointed at your spinning harmonic balancer. I’ve not used my vacuum gauge to set the timing before. I might try that soon and post my results. Before and after vacuum-readings would be interesting. Cool thing is the vacuum gauge also doubles as a fuel pressure gauge. A good tool to have.
-
Very nice classy look. We'd all certainly enjoy something similar.
-
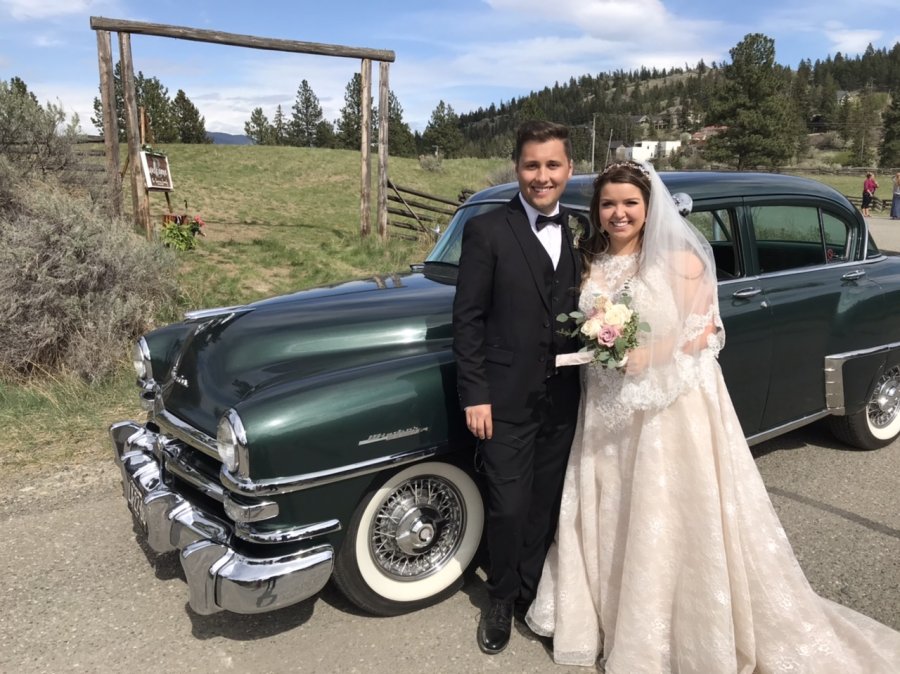
First wedding for the Windsor today. My son and his new wife. I was chauffeur as I went to pick up the bride and her Dad before the ceremony. The 4 doors were perfect for this occasion. Was a great day. Big brownie points to the bride and groom for asking to have both of my old cars in their wedding.
-
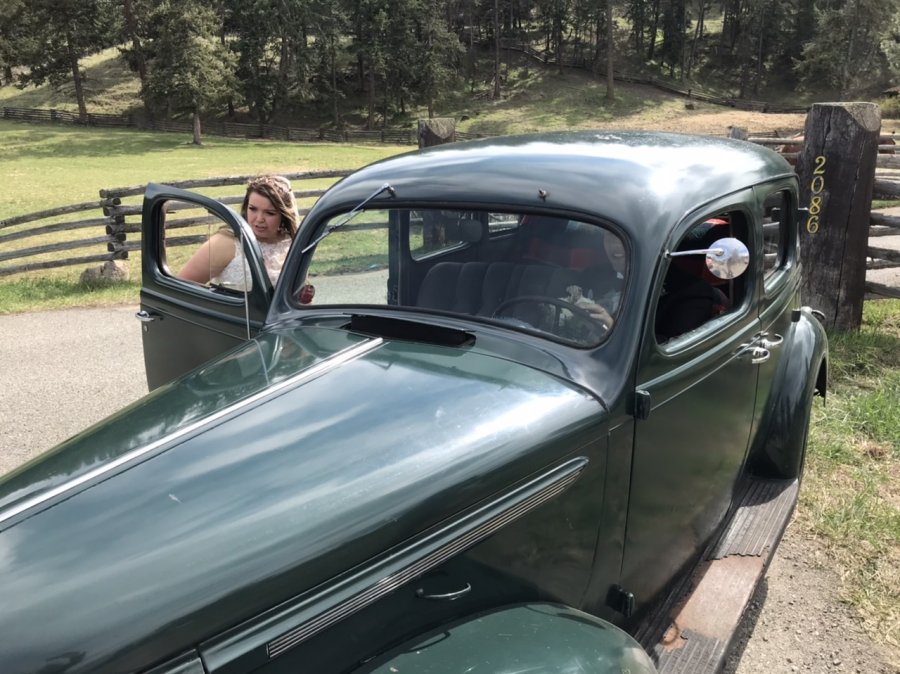
Today was a big day for both of my old cars. My son wanted both of my old cars in his wedding. Was a great day for all. Last night the old aaoogha horn packed it it. Oh no! We wanted it working as it was a mix of a drive-in type wedding. I pulled the brushes out and hand sanded everything clean. It worked real well after and the horn is producing tones better than ever.
-
Actually I do Eddie. I document a lot of service work that I do to support new younger people who may get into old Mopars in the future. I muse and ramble on too at times, romanticizing vintage Mopar ownership. I am encouraged as Mopar people do seem to like my shared tips and content. You likely watched my video on driving a Fluid-Torque Drive equipped Chrysler. Then you bumped into my thread here.
-
-
It's your computer, there is sound. A tool as shown will get you much improved brake performance. I sent you a PM. Check your in-box here on this site.
-
This guy seems to have a lot of tail lamp sockets. Might be worth emailing him: http://www.taillightking.com/
-
All these old cars are prone to leak somewhere.The diff leak is not a big deal. Just keep your eye on the diff level until you get to it. Your shop looks like mine. No hoist....What worked well for me was degreasing and cleaning. I went to a farm animal feed & tack type supply store. I bought a good sized round, robust plastic feed bucket. Probably designed to feed sheep or goats or something. Lower profile, put probably 2 ft diameter or so. It's great for fluid changes and cheap. Go to an auto store and a similar type oil collector container is 3X-4X the price. It also worked very well as a solvent tank when needed. I'd get a solvent brush and clean my parts in some solvent in the tub. I had a 5 gallon pail that I would dump the dirty solvent in. When full of old brake fluid, engine oil and solvent, I'd take in to the oil recycling facility to dispose of. The bucket also went under components like your diff seen here. I'd use a hand pump-type pressurizer spray bottle. Put solvent in it. Spray solvent on the diff and use a brush and de-grease everything. Catching it in my feed bucket. Next day when the remaining solvent on the diff evaporated, everything looked great, and clean! Then it's easier to trace an oil leak too. It does appear that the pinion seal is at least partially responsible for your oil leak seen in the pic. Oil can start leaking there and work its way down to the bottom of the diff carrier housing and then drip to the ground from there. With an old car there generally is long list of issues to address. This one, to me, is not a priority to get the car running and begin road testing. In my experience, road testing is a big reward for some work done and really helps in keeping you motivated. You can go back and address the diff oil leak later. If you are going over your car, consider pulling the rear axles out. Replace the outer axle bearings and seals. Pull the diff carrier out and install a new main gasket. Add a skim of silicone to the gasket on both sides. When the axles and brakes are buttoned up, reinstall the wheels and lower the car back to the ground. Or at least on blocks to allow yourself some room to work. Then you can get to the pinion seal. I figure its easier to deal with the pinion nut when the axles and wheels cannot turn. Sure be nice to have one of these hoists, but....Its likely not in the cards for me. This was at the exhaust shop last week. You can see the results of my degreasing techniques in my simple, ill-equipped garage. The rear end was literally caked with 80 years of road grime and oil leaks. Scrape the big stuff off, then the solvent and brush that I mentioned above. Plenty of shop towels, and many many floor sweeps later, It's coming along. You're going to love the concentric brake tool. It'll net you very good results when used properly.


