Leaderboard
Popular Content
Showing content with the highest reputation on 09/10/2024 in all areas
-
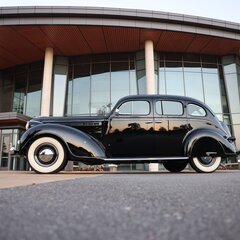
We as well all know that the weather is changing this only means that MECCA or as we all know it that the Great Eastern AACA swap meet and car is basically just a few weeks away. This years dates are Oct 7-11. Monday the 10/7/24 is pack-in day for all of the venders. Set up time and sometimes you can find those early parts that you are looking for. Tuesday - Thursday 10/8 to 10/10 is the official parts swap meet. Friday 10/11/24 is the AACA car show. Most of the venders have left becasue everyone is basically going to view the cars which will be on display just be hide the new AACA Headquarter Building. I will have two Sites over in the Orange field parking lot that is near the Giant Indoor Arena. My site number is ROW OAD site 7&8. I have been at this location for the past 5 years. I will be listed in the Program Directory under my last name and also under DeSoto Parts. I am very close the new AACA Headquarters and Library so walk over the AACA building will visiting. If you plan to attend please stop by and say hello and take a rest. You can also leave some heavy items and then pick them up at the end of each day. I do not stay on the field at night time but go to my daughters house and return each morning. So if you are planning on going let me know. Rich Hartung Desoto1939@aol.com 😄 Cell 484-431-81572 points
-
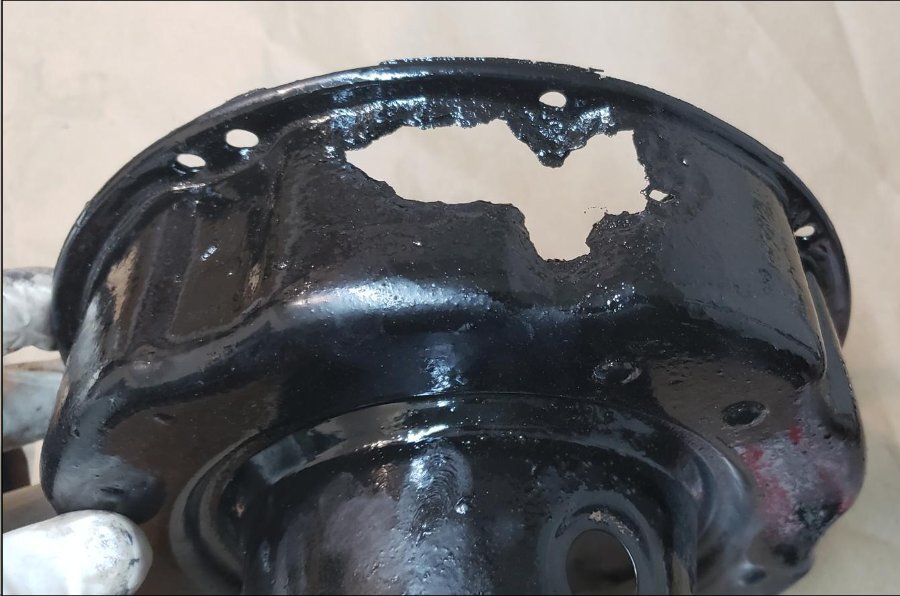
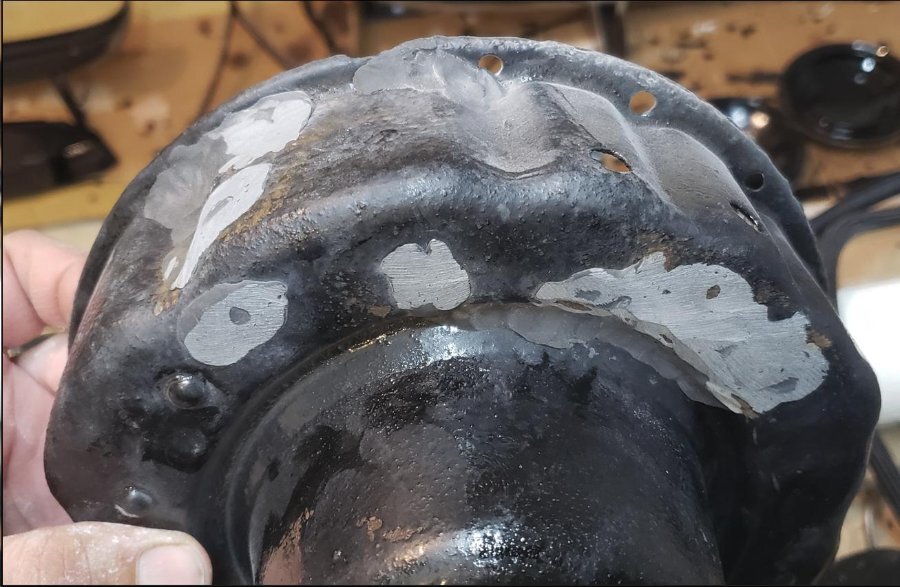
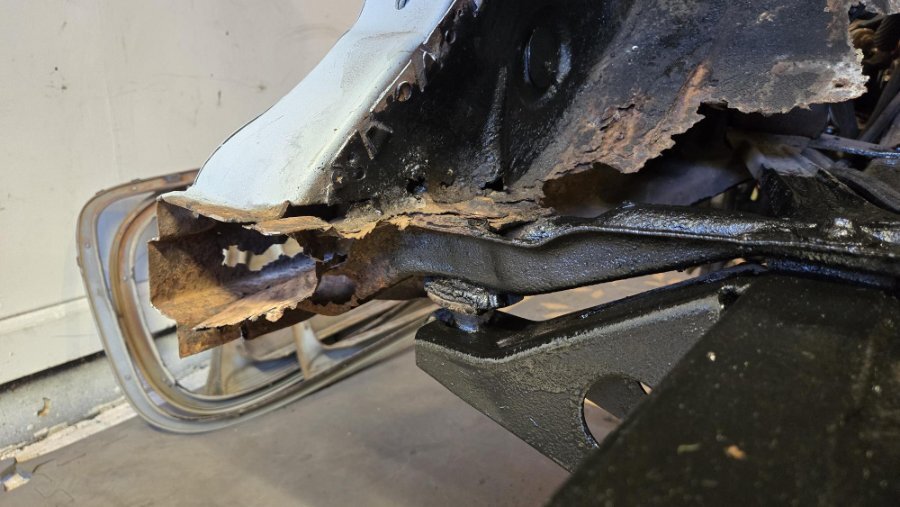
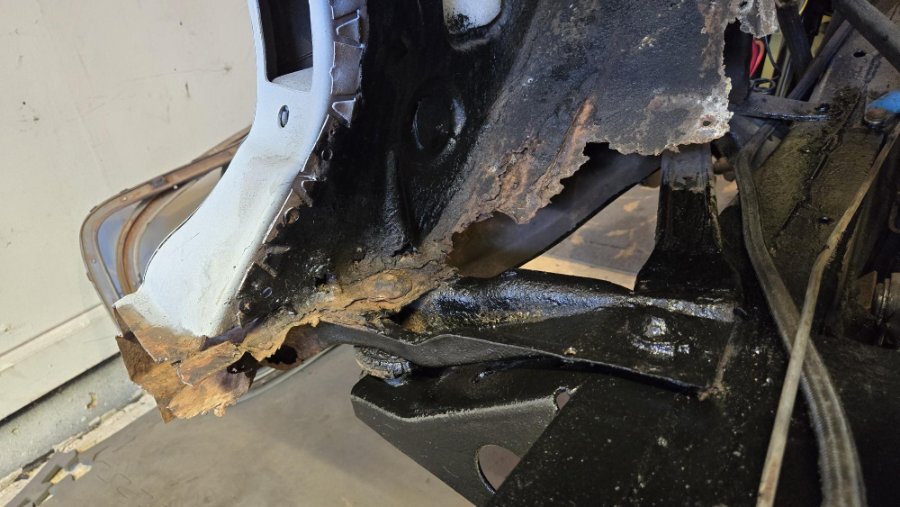
Question: Does anyone know if the body mounts that are just inside the front doors of a P15 can be removed without causing the body to lose support? There is another major body mount (to frame) 8/10 inches inches forward of this mount where the firewall comes down to the frame. I want to replace these metal supports and fabricate new ones that will sit on the rubber mounts and then weld in to new rocker panels that I will be installing. Here is a picture of the drivers side front door frame with the support that I want to replace. You can see that the rubber mounts are gone and it has two rusty and degraded bolts that are holding things together. They are actually pretty firm and would probably last another 70 years (LOL), but while I'm doing the rest I might as well fix these. Thoughts??2 points
-
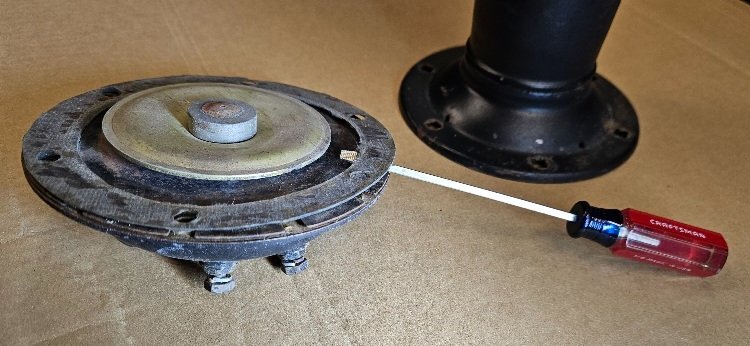
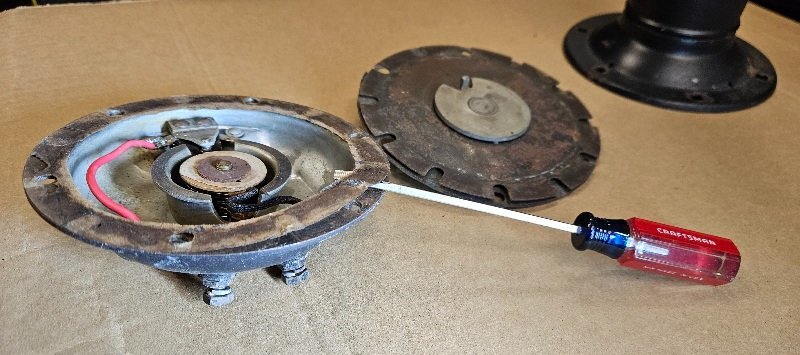
If the horn is the same as the B series, you may have to clean the contacts (done it seems)and/or make adjustments on the set screws on back. I had to dial mine in a bit to get a good "honk".1 point
-
1 point
-
1 point
-
1 point
-
Originally there was a thin paper gasket on both sides of the vibrator to isolate it from the bell and the coil end. Back in '98, I used a brown paper bag (thicker than the ones they dole out at the liquor store; hardware store has the best) to trace one gasket out and cut with a sharp utility knife. I also had to solder a new wire in there as the original was kaput. I had some leftover gasket paper that I used to make the other. I had painted the whole horn after I put it together, and it was clear that I did not clean it enough as it was getting rust spots on it by '99. But the Rustoleum has held up decent, as the rust is minimal surface variety. When put on the truck, it be LOUD (like in the video)1 point
-
1 point
-
If the bolts and adapter plate came from the same source, why don't they "fit"? If this 833 swap has been done many times, we sure could use some more documentation on it. So in that regard, thanks. I look forward to seeing the finished product.1 point
-
Thanks for the reply. I don't think I've ever seen a SAAB 96 in the wild though I have seen a Sonett III. I did an oil change last night (6 quarts of 15W-40 Motorcraft Super Duty Diesel oil, has 1000+ PPM phosphorus in the form of ZDDP). While I had it on the stands, I also drained and refilled the fluid in the T-86 transmission and R6 overdrive. I didn't think about flushing it first with ATF but I let it drain for several hours. I filled it with 4 /4 pints of Pennzoil Synchromesh fluid and checked the lubricant level in the differential which was topped off. I drove it to work today. I'll need more seat time but the synchronizers didn't have any issues shifting into second. I forgot to order water pump lubricant but did that today.1 point
-
To test the brake switch you can carefully put a jumper across the terminals on the switch (don't touch the jumper to ground), if the brake lights come on you have found your problem.1 point
-
the brake light switch is probably on the driver's side frame rail (inside) just ahead of the rear axle, at least that is where it is on my 51. There should be a T fitting there that it is screwed into. Since it is exposed to the elements and road hazards you may find that it is likely the failure point. It works by pressure so have an assistant handy to step on the brakes to test it.1 point
-
You need to check the brake switch, all associated wiring from headlight switch downstream, the sockets themselves and most important integrity of all ground connections. Forget the flasher until brake and tail lights are good.1 point
-
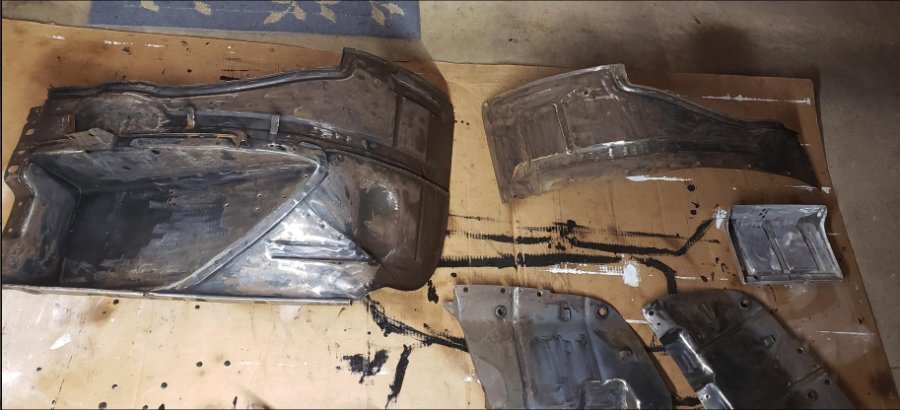
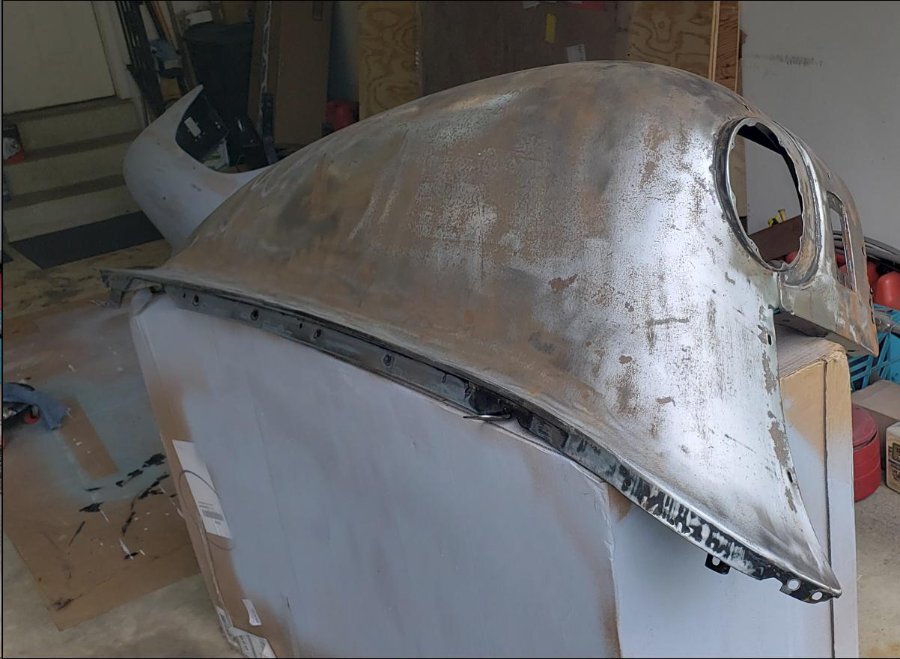
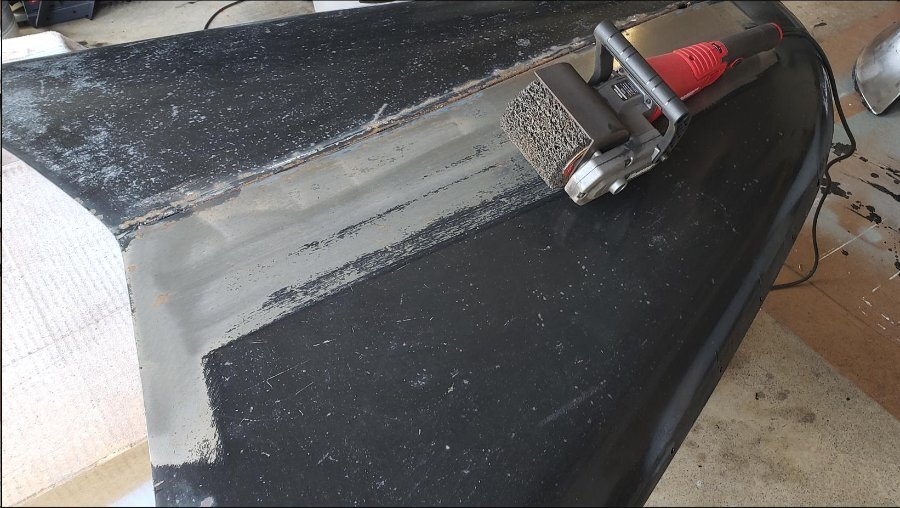
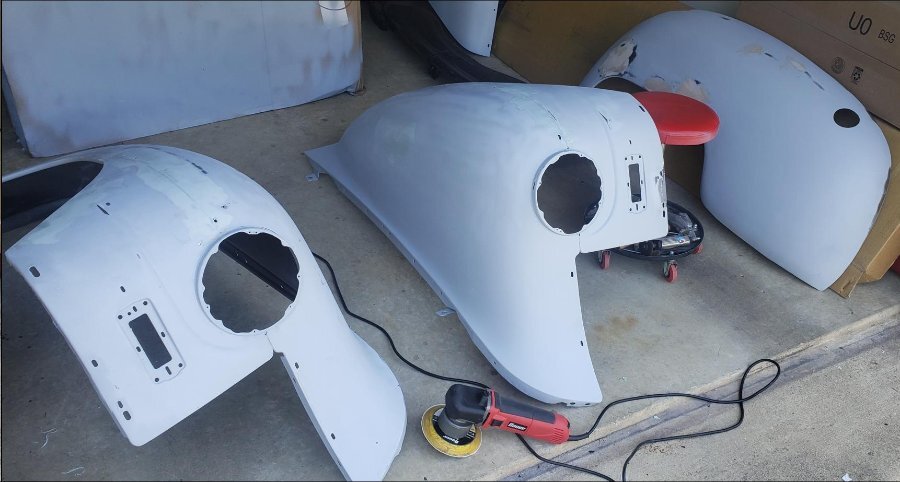
Luckily, I did not have a lot of rust on the fenders, doors, hood, trunk, and interior panels that were up around the engine compartment. For all of those I removed them from the car and sanded them (often to bare metal, but not always) and coated them with POR-15 Rust preventative paint (two coats) (See the first couple photos attached). There were no hidden cavities of these pieces. Where I found hidden (but rusted out) cavities were the rocker panels. Basically, my inner rockers were gone and the floor pan supports were not attached to anything. My plan there is to just cut them out completely and replace the inner rocker with a 1"x1" steel square tube since I can't find inner rockers anywhere. This is the part that I am working on now and I have a lot of thinking of what to do. Was there a specific hidden cavity that you had in mind?1 point
-
Wow. Looks great! Please keep posting as I love watching these old cars get freshened up.1 point





.png.8ca0342809952b79dc9bd162b75c1008.png)
.png.ecfadf80a3d72fbb74b1592f271a86f9.png)
