Adam H P15 D30
-
Posts
1,320 -
Joined
-
Last visited
-
Days Won
14
Content Type
Links Directory
Profiles
Articles
Forums
Downloads
Store
Gallery
Blogs
Events
Everything posted by Adam H P15 D30
-
Hurry up Worden, I miss your drives and pictures!
-
I learned about this when a friend tried to use a point distributor to trigger a GM HEI module. The module would fire when the points closed instead of opening causing the spark to happen when the rotor was between the cap towers. Seeing these Pertronics modules really mess with timing when they are dying and the picture of the distributor cap brought back that memory. It's like if the point cam was out of time inside the distributor. Worden has put a lot of time chasing what could be the problem and seeing that the timing magically changed all of a sudden on a car that is driven a lot leads me believe the Pertronics is the root cause. At this point I would drop a set of points in it, time it and see what happens. Hope this helps....
-
Most of the Pertronix modules I have dealt with are garbage and eventually will leave you stranded with replacement parts days away. That said, I have seen them act exactly like you describe when they are on their way out. First indicator was the timing was all over the place, backfiring, popping mufflers etc. and eventual death. FWIW.... On Edit: Looking at the picture of your distributor cap, it clearly shows the coil is firing when your rotor is NOT lined up. Cut a hole in the cap next to a post and point your timing light at it, you will be able to see the improper timing. The rotor timing is different than ignition timing.
-
Why not?
-
Yeah, basically what I said about the computer. The 200 can be built to handle a lot of power just depends on how deep your wallet is. I have used Bowtie OD in your part of the state.
-
Just to add to the post above, if you want a modern automatic overdrive but are put off by electronics, there are good options out there. Chevy: Less than 400 HP, the 2004R can be used with a 2 wire hook up, no computer. A 700R4 can also be used with a simple stand alone unit with a 2 wire hook up or no electronics at all with a couple of internal modifications. Mopar: SB LA engines can use an A 500 or A 518 from the early 90's with a 2 or 3 wire hook up to engage OD and TC lock-up (if equipped), no ECU. For early A, Poly and Hemi engines only the A 518 can be used with appropriate adapters, again no ECU. B and RB transmission choices are more limited. I THINK there is an adapter to a LA bell housing allowing an A 518. Options are endless....
-
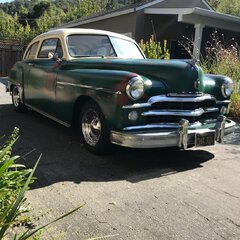
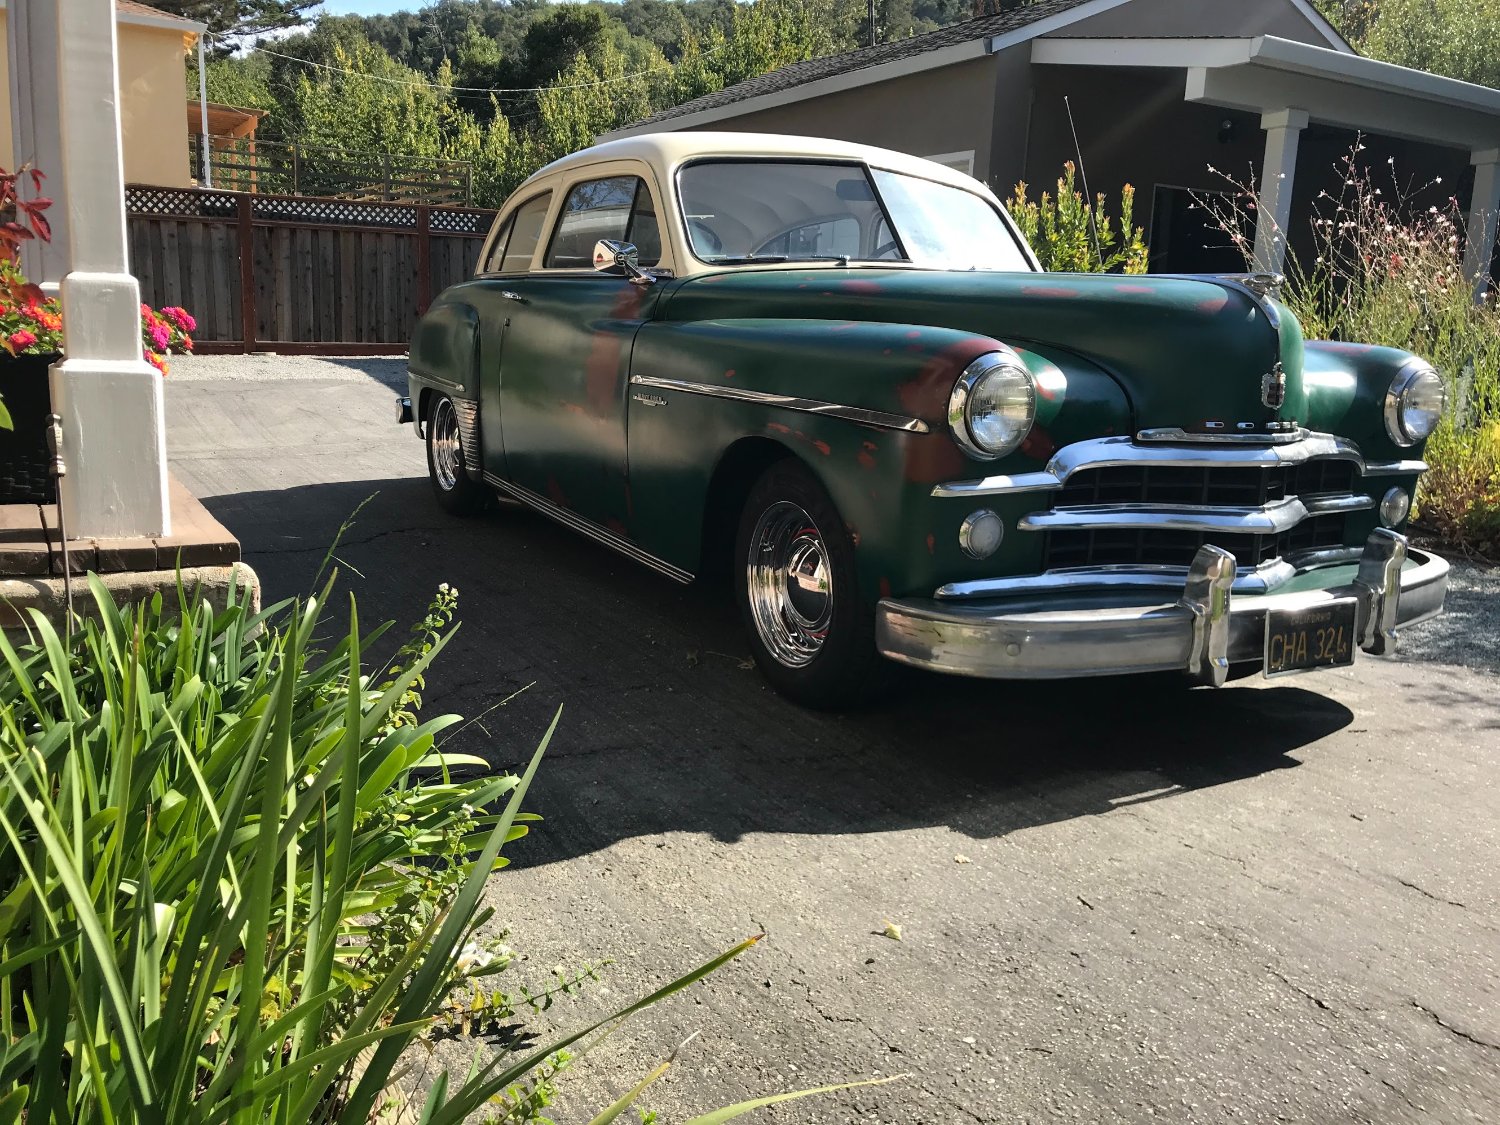
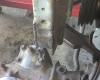
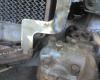
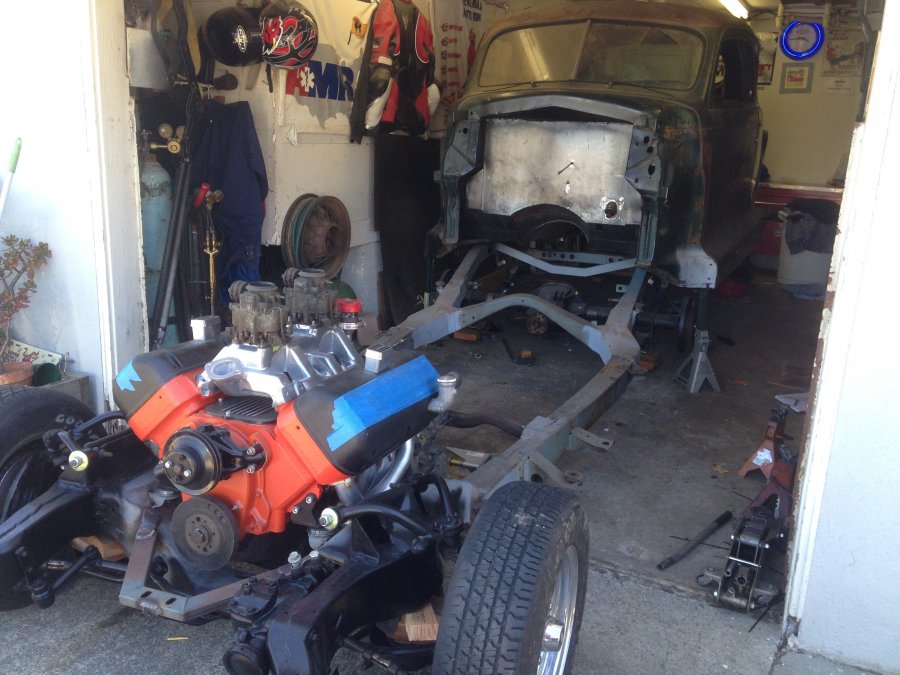
Some older pictures of my 47 with a Camaro clip. Completely gets the steering box out of the way and only minor radiator support surgery to clear. Sorry for the goofy picture layout
-
Just an FYI, I don't think going to an LA engine will give you much more room except the oil filter location might be more convenient. Go with what you want, not what might be easiest, that's what grinders and welders are for.
-
I've used Volare and Camaro clips and a couple of Mustang II front end kits in the past. I find the Mustang II good for lighter, narrower Pre war cars. My favorite is the Volare for ride, adjustability and handling but that steering box is big and sometimes in the way. A very close second is the Gen 2 Camaro with the front steer, works great on post war cars with a lot of room in front for the steering box. Add a Pontiac quick ratio box and it is a phenomenal front end. Any of these are a big improvement over the stock set up because of modern geometry and improvements over the last 80 years. Don't underestimate the amount of work one of these clips take, the TV shows are a joke! Also after you have measured 10 times, remeasure 10 more times and always make it look like it belongs and not slapped on and welded up.
-
First one I built with my pops 25 years ago and back then it was just the way it was done. Some sentimental value is attached to this one and I would not change it easily. Second is the 56 Panel. It came set up for a SBC and the frame was powdercoated, I just couldn't take the cutting torch to it. This will replce my Dodge as a semi-daily driver so I guess it doesn't matter.
-
I despise SBC engines, though I manage to have 2 Ford hotrods with them.
-
I painted the roof of my 49 with Rustoleum through a paint gun and it came out really good. The main difference is you can add hardener (catalyst) if you are using a gun. The hardener makes the paint really glossy and hard, it also cuts drying time significantly.
-
Yes, the plugs work well, less of a mess also
-
Check the ports in the bottom of the reservoir and make sure they are not plugged
-
Yes, the residual pressure valve is removed as part of the disc brake upgrade. It's a non-issue
-
@Edward Garcia Yes, I made a mess and let the fluid squirt out while the pedal was depressed, plugging the holes on the return. As sniper said above, only take a few pumps. Was the bore in the master cylinder clean when you took the plug out? Did you check for gunk in there?
-
^^^^^Exactly as Sniper said, if you don’t bleed the master cylinder first you will never get a pedal. I disconnected the lines at the back of the master cylinder and had my son depress the brake pedal. Plugged the holes from the lines with my fingers when he let up. Repeated until I had a good solid stream of fluid. Reconnected the lines and went to the front brakes first. Keep an eye on that fluid level.
-
Thought you may enjoy this little diversion while we're all locked up
-
- 2
-

-

-
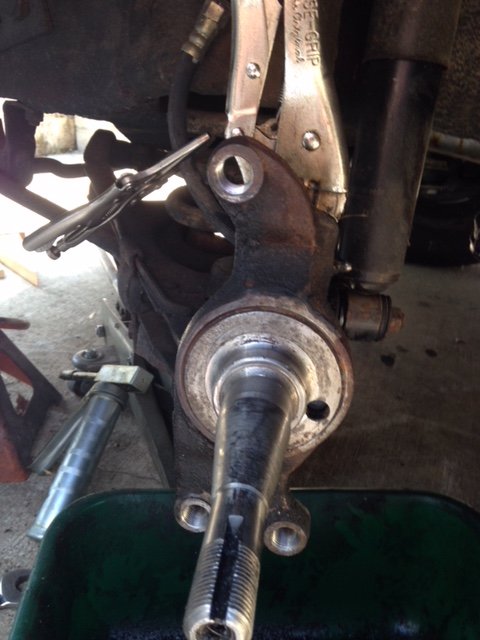
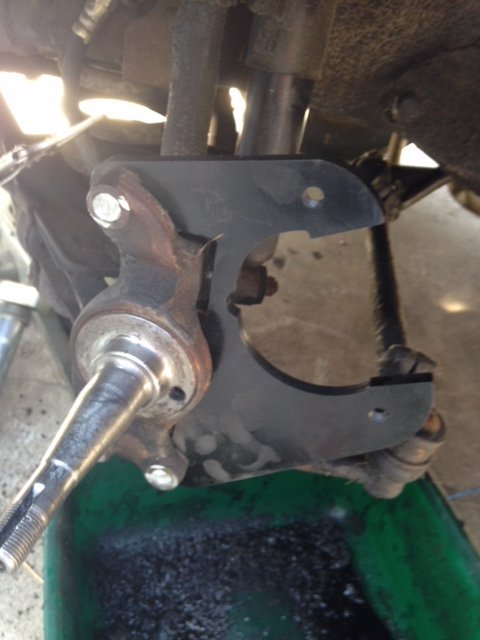
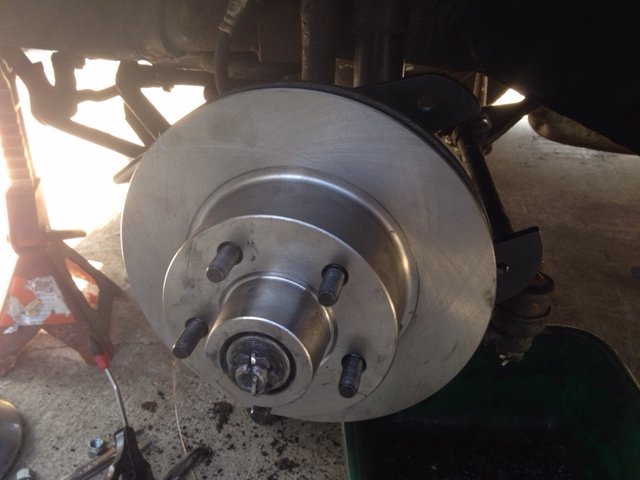
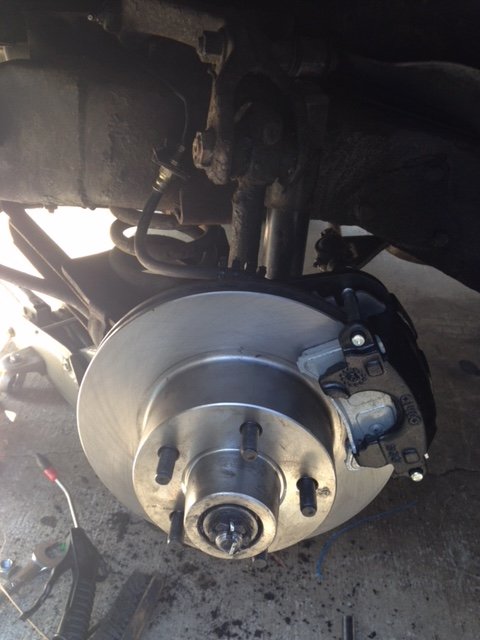
Lots of recent threads on this, I used Rusty Hope and couldnt be happier. The spindles are soft as butter so tapping was an easy process.
-
Glad to hear, does the pedal stay high after it sits overnight?
-
No, hoses don't care which side they are mounted on. When you remove it to replace the washers, inspect the caliper casting carefully for burrs or damage that might be causing the washers to not seal. You could also heat the washers with a propane torch till you see the copper start to turn color then let them cool slowly. I've seen some pretty hard washers before and done this a few times. Make sure to take a good look at the washers you remove to check the impression left from being compressed.
-
That's 15 minutes more work than I got done on my projects I always do the disc brakes first as they take the most fluid. One trick I have learned is to NOT pump the brake pedal but slow movements full stroke until you get good fluid at the bleeders. Keep an eye on that reservoir level..
-
Also, that reservoir is small, make sure to keep an eye on the fluid as the calipers fill.
-
No problem bleeding the brakes.... Try removing the lines at the master cylinder and use your fingers to seal the holes while you have someone in the car slowly cycling the brake pedal, kind of like an on car bench bleed. Is there pressure? Check the holes at the bottom of the reservoir for obstructions, use a wire to clean them out. Was there any crud in the bore of the master cylinder when you took the rear cap off to remove the valve? I sprayed some crap out of mine while I was there.
-
My guess would be the unique rear axle and only a 4.30 or 4.9 ratio available.