


billrigsby
-
Posts
1,132 -
Joined
-
Last visited
-
Days Won
8
Content Type
Links Directory
Profiles
Articles
Forums
Downloads
Store
Gallery
Blogs
Events
Everything posted by billrigsby
-
Another homemade one is ATF and Acetone, not sure, maybe 50/50.
-
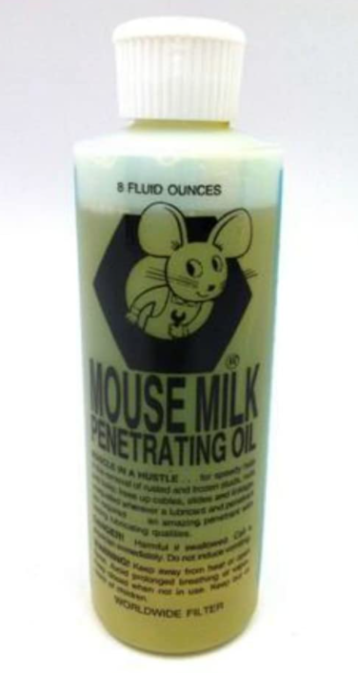
I have not used this, but I hear it is great stuff... Mouse Milk
-
FINALLY - My 1948 B-1-D Build Thread, 33 Years Later
billrigsby replied to billrigsby's topic in Mopar Flathead Truck Forum
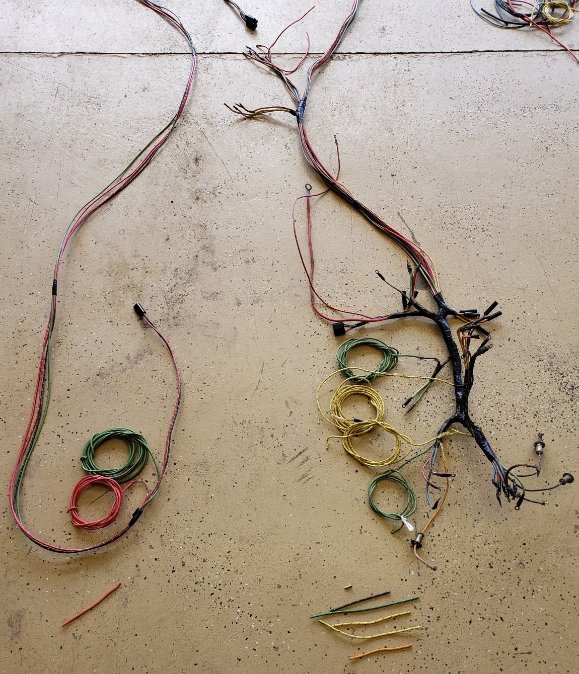
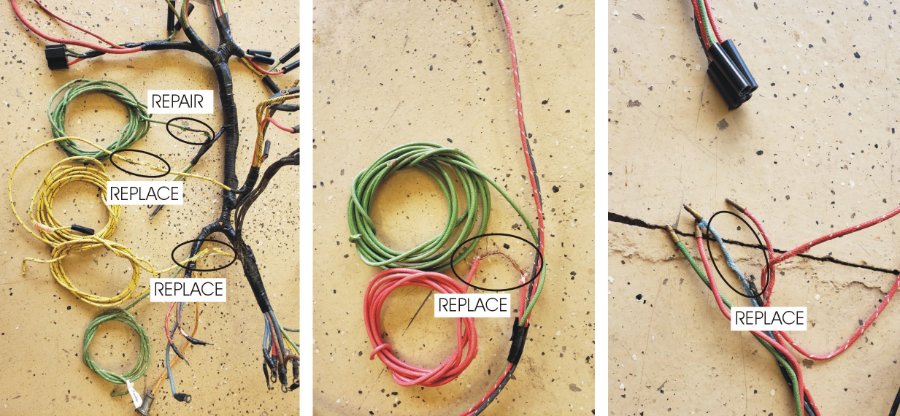
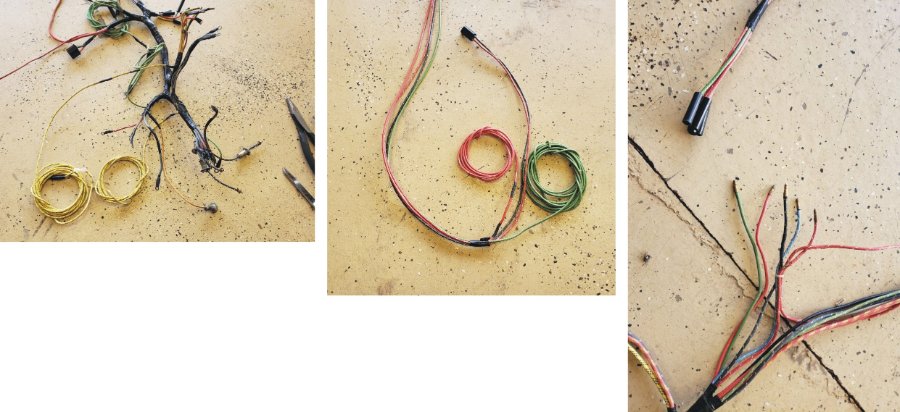
Turned my attention to the 'mouse damaged' 'new' (30 years ago) wiring harness. Laid it out for an inspection, along with the remnants of wire from the build. (and people ask me why I don't throw ANYTHING away, This is why)! Have all the right bits for color correct repairs. + These are the only real bad areas, the other smaller spots can be fixed with tape. Major damage fixed, this will be stored in the house until it is needed.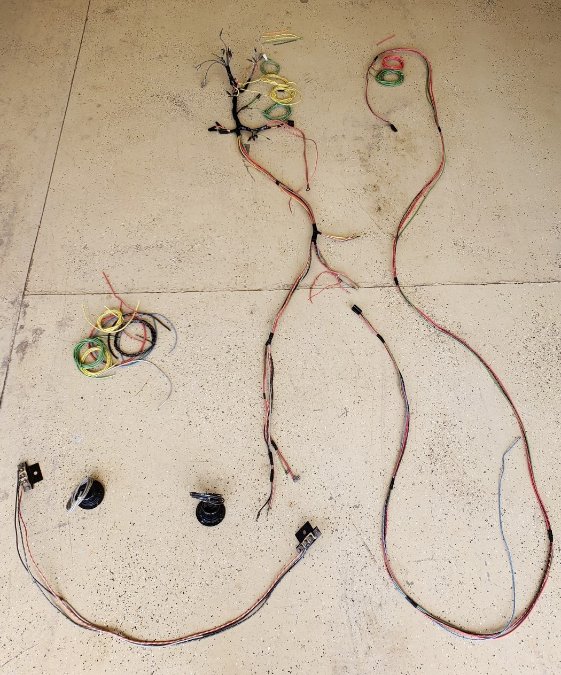
-
FINALLY - My 1948 B-1-D Build Thread, 33 Years Later
billrigsby replied to billrigsby's topic in Mopar Flathead Truck Forum
Sorted through and polished all the switch/cable - nuts/escutcheons today, found eight acceptable ones, four nice, four passable, the rest are too scored. May get a quote for re-chroming, I'll be sure to be sitting when I see that! ?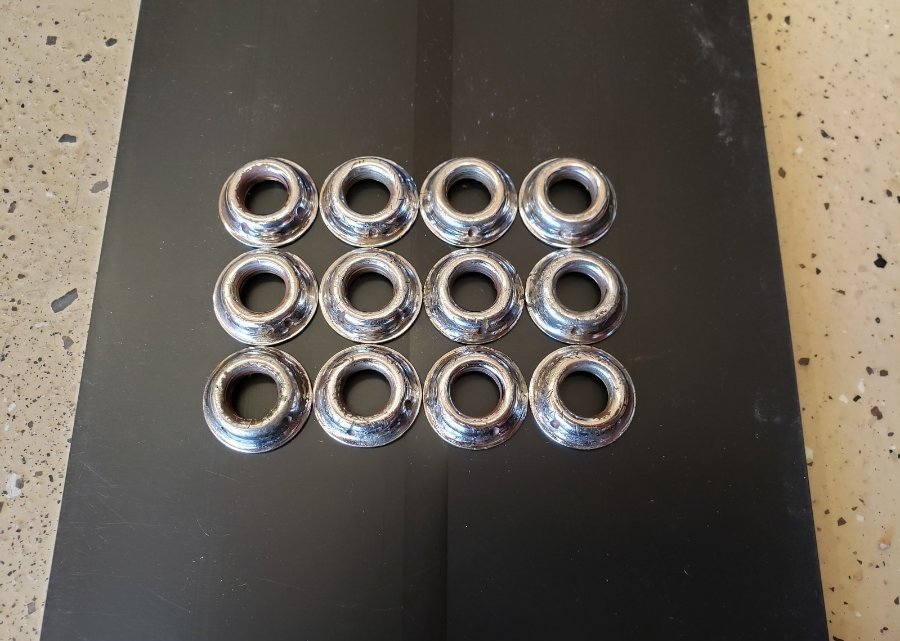
-
Nothing in my Dodge manual, but.... Proper torque
-
FINALLY - My 1948 B-1-D Build Thread, 33 Years Later
billrigsby replied to billrigsby's topic in Mopar Flathead Truck Forum
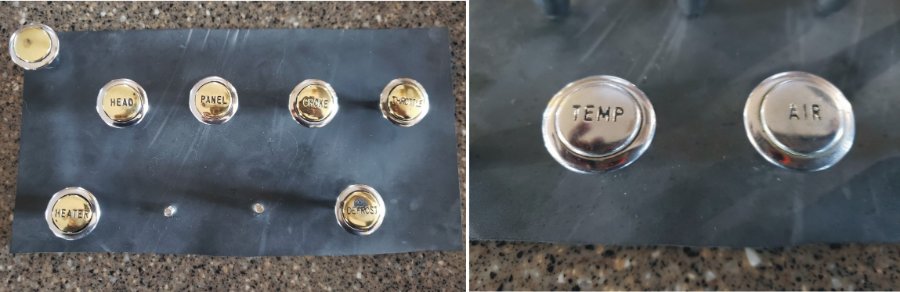
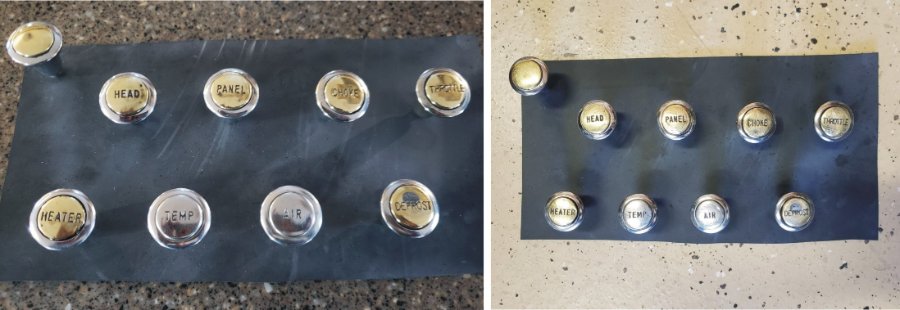
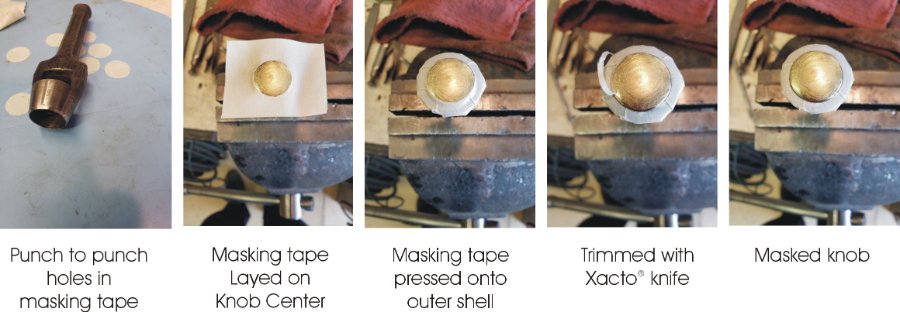
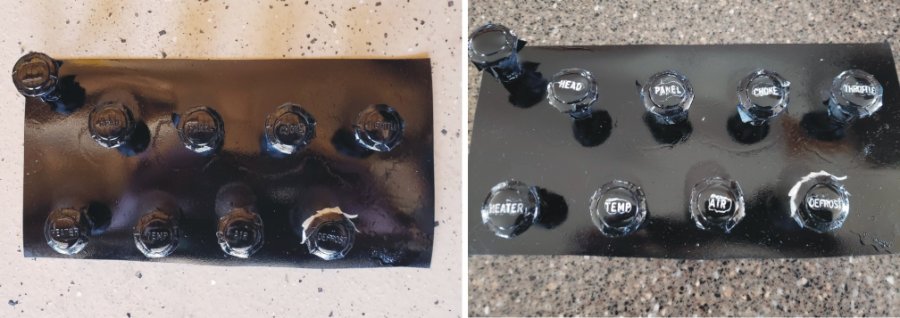
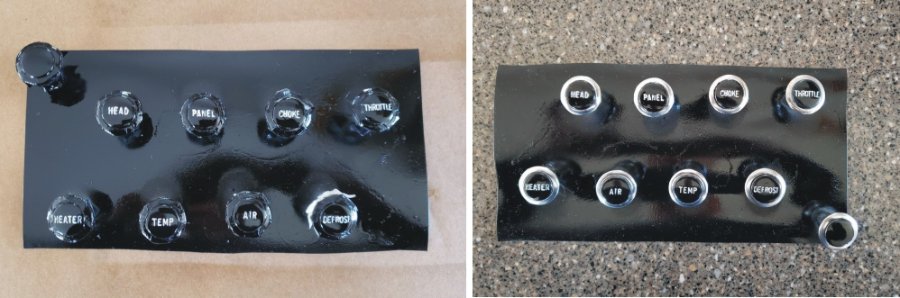
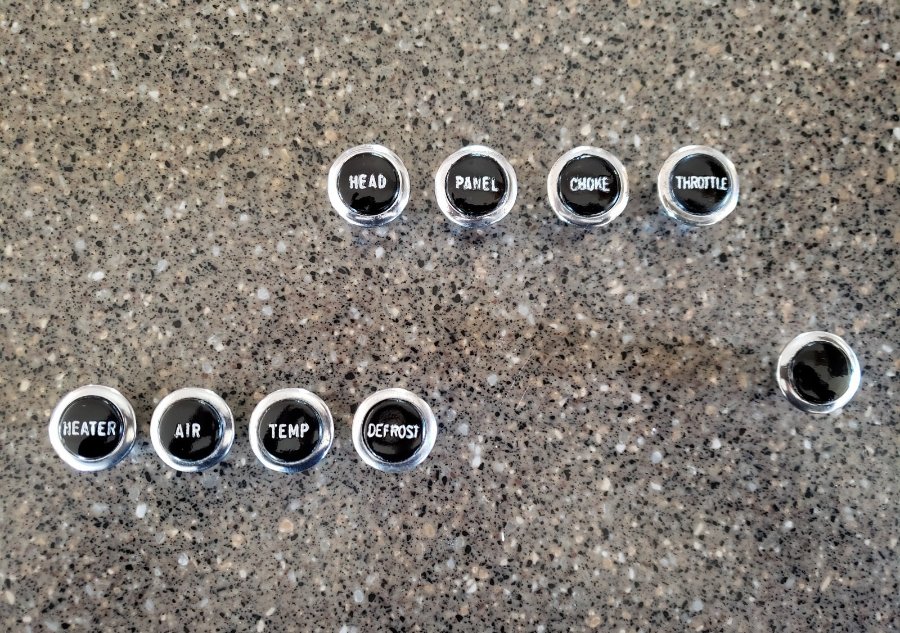
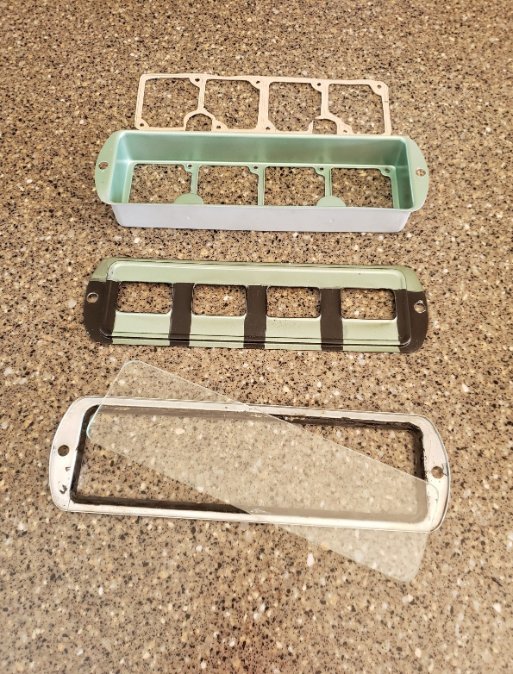
Got the dash, sub panel and glove box knobs done today Here is the assortment I started with and the ones I chose to work with All the chrome polished, thanks to @rekbender providing the last two missing links The complete set and the faces 'roughed' up with some emory cloth These are the steps I took to mask the faces for painting Ready for paint and a coat of DP50® epoxy primer A coat of Krylon® appliance paint, forced cured at 170°/1 hour, and lettering filled in with white acrylic enamel and the first problem, not sure what happened here, did not see any issues with the final color coat Wet sanded with 1500 grit, a coat of gloss clear and things look OK Still need a bit of touch up here and there, not real happy at this point, but better than they were, a lot of the lettering was not evenly stamped or they were worn down from use, not sure which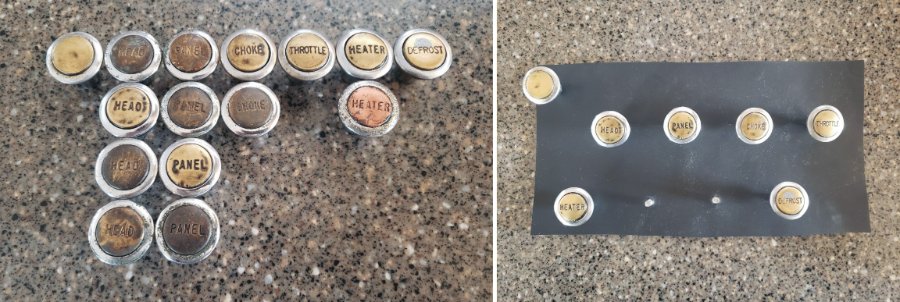

-
Are you using 'rattle can' or 'spray gun' appliance paint? I just did my knobs today with DP50® Epoxy Primer and Krylon® Appliance Paint, the can specified dry to touch-30 minutes, dry to handle-2 hours, I did a 170° bake for 1 hour. I also did a test piece to confirm durability before moving on to the lettering. all was good. I was about to post results when I saw your thread.
-
Removing ‘36 1/2 ton truck bed
billrigsby replied to Rodney_Hamon's topic in Mopar Flathead Truck Forum
So glad I found a 'decent' set of 81" NOS boards for $95.00 back in 1988, the originals had been dragged across so many trees they were toast. Even the NOS ones have a few dents, but fixable. -
39 TF-37...So It Begins (Lots of Pictures)
billrigsby replied to TooManyIrons's topic in Mopar Flathead Truck Forum
This was the last email I got from Danielle. Hello Bill, Thank you for contacting the FCA Historical Archives. At this time, we are unable to do the research needed to answer your request, due to corporate guidelines, and have limited physical access to the archival records. We are able to answer requests where we can remotely access the materials. While we cannot provide a timeframe as to when we will be able to assist you, I would expect that it will be towards the end of the year, but there is no target date at this time. Thank you for your understanding on this matter. We look forward to being able to help our customers in the future. Danielle Szostak-Viers EDIT: dated January 11th 2021 -
FINALLY - My 1948 B-1-D Build Thread, 33 Years Later
billrigsby replied to billrigsby's topic in Mopar Flathead Truck Forum
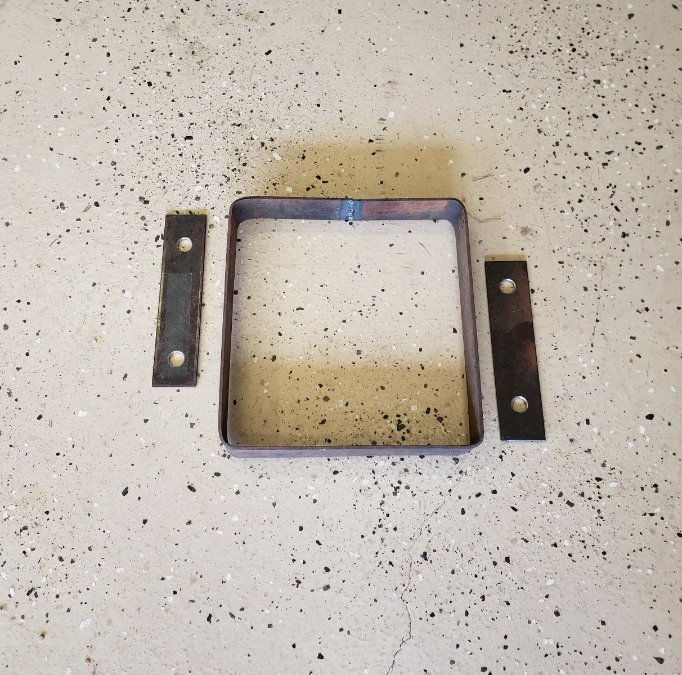
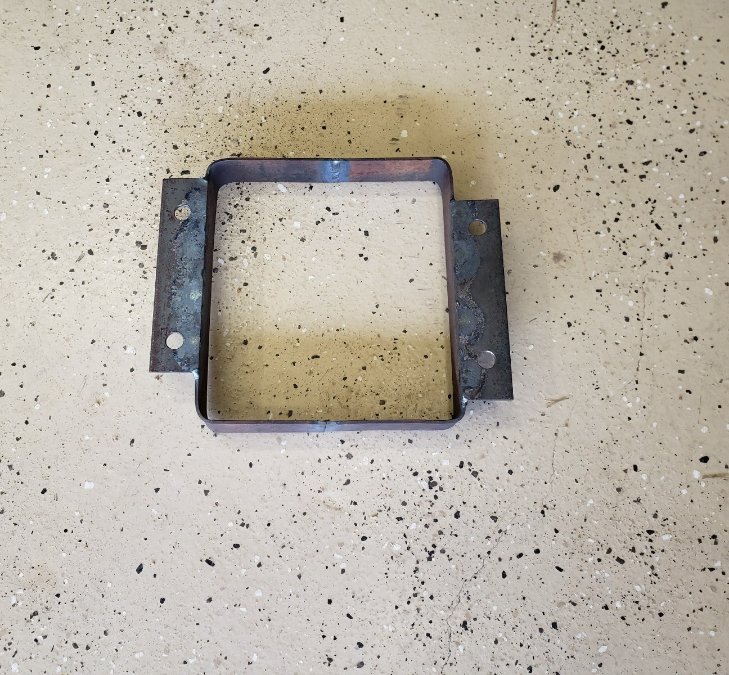
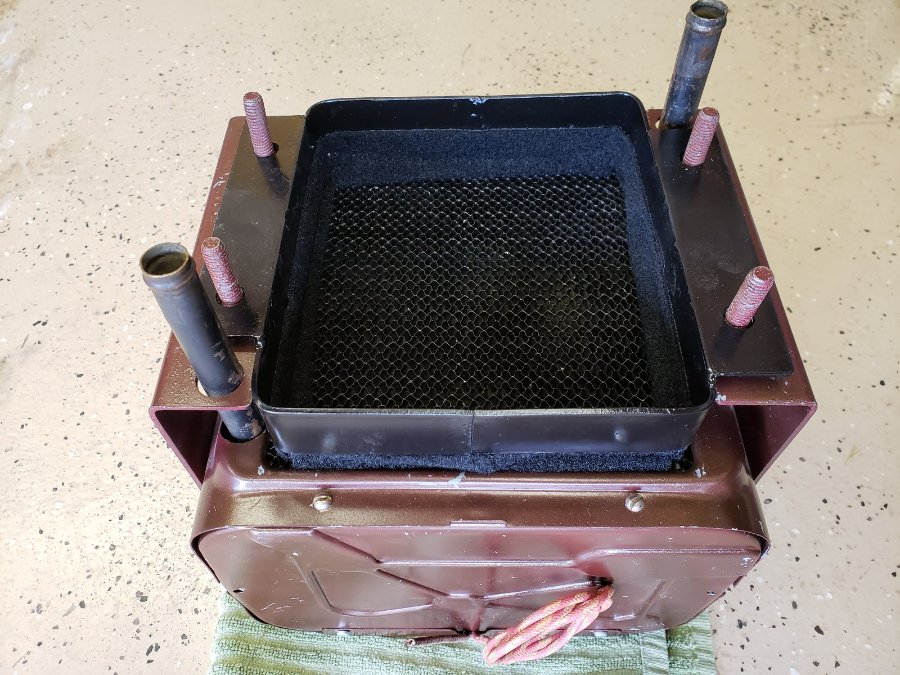
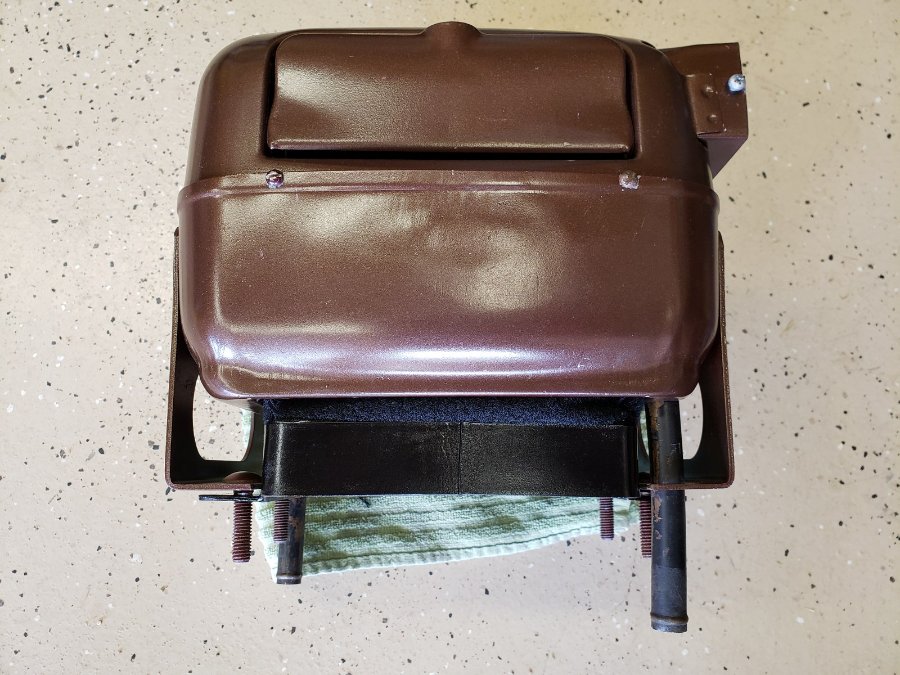
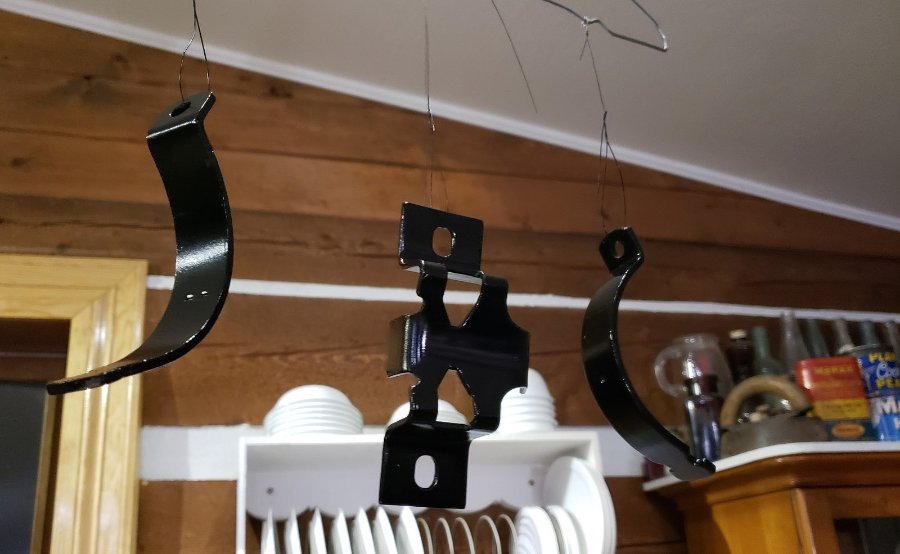
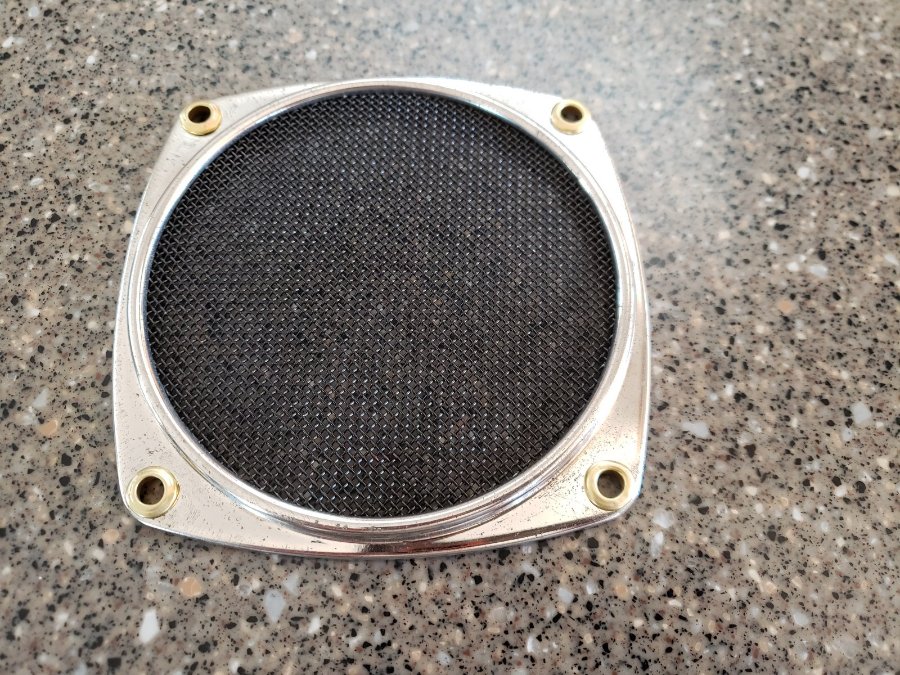
Fab'd up a heater shroud for the fresh air system, figured I'd never find the correct one. Used 1-1/4" flat stock, formed a box and two side brackets. Attached the brackets to the box. Painted it up and added a trim of self adhesive Velcro® A couple of photos of the shroud installed. I made the Velcro® trim seal about 1/4" too long so it would compress tightly to the heater core area.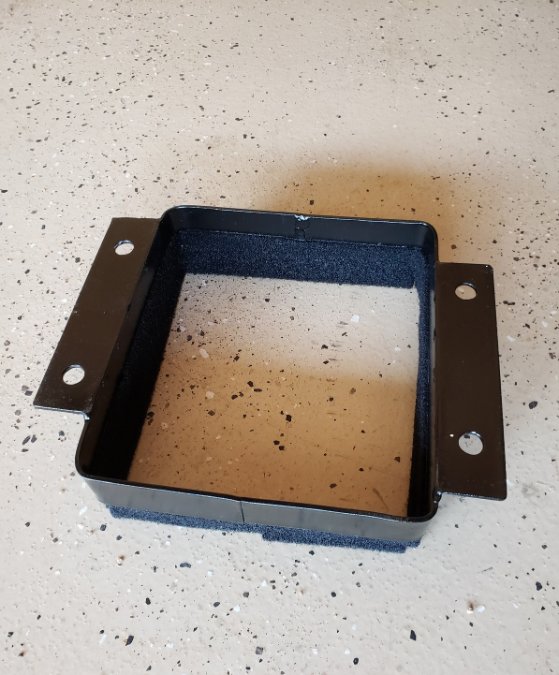
-
Looking at a couple of heater switches for the Truck Master heater. They are not MoPar parts but I think they would work. Opinions from the 'Electric Gurus' VULCAN, 1949 1950 1951 1952 DODGE 49 50 51 52 DESOTO 49 50 51 52 CHRYSLER HEATER SWITCH This would only be a 2 speed, I am guessing VULCAN, 1940 1941 1942 1946 1947 1948 CHRYSLER DODGE DESOTO PLYMOUTH HEATER SWITCH This would be the three speed. Not sure if the shaft will accommodate the knob correctly. I have no idea what the resistor values would be on the correct, 1189-651 switch. Any opinions? I did see a 'correct' NOS 1189-651 Switch at $145, a bit steep IMO.
-
I feel your pain, I did one in the 80s with red oak, on a sorry, 79 Datsun pickup during the mini truck craze. I don't remember what oil concoction I was using but I think I went through 10 good coats before it actually stopped just soaking in. That's looking really nice though.
-
FINALLY - My 1948 B-1-D Build Thread, 33 Years Later
billrigsby replied to billrigsby's topic in Mopar Flathead Truck Forum
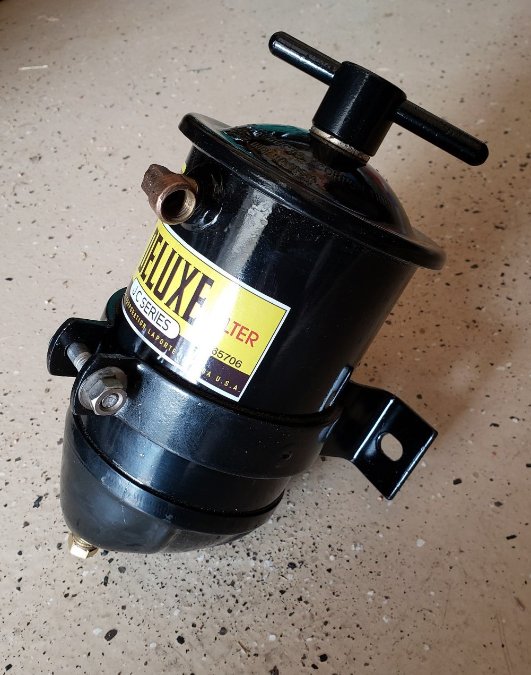
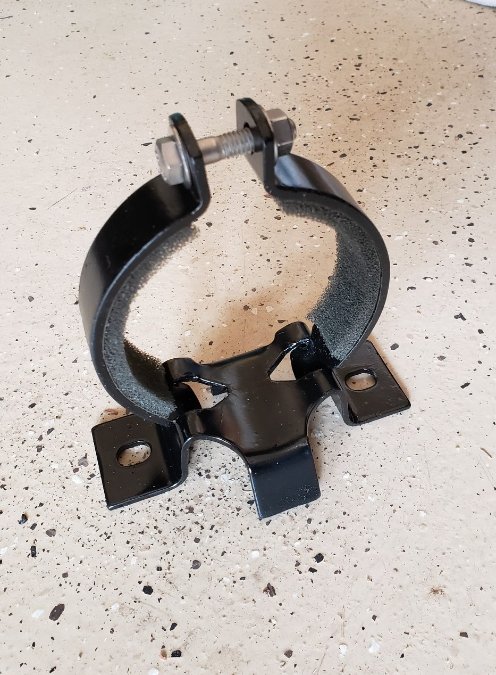
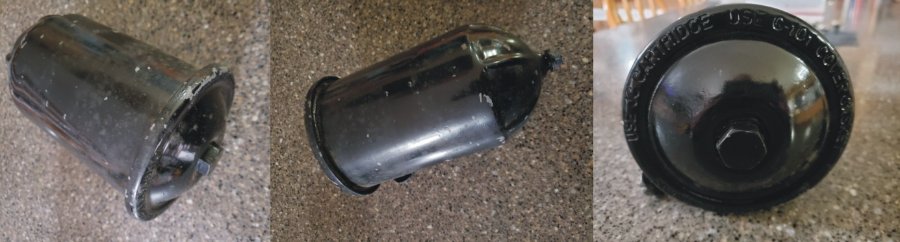
Found the correct mounting bracket for my oil filter, cleaned up and painted. Came with a filter I do not need, but cheaper than a NOS one on EBay. Some foam tape and ready to install.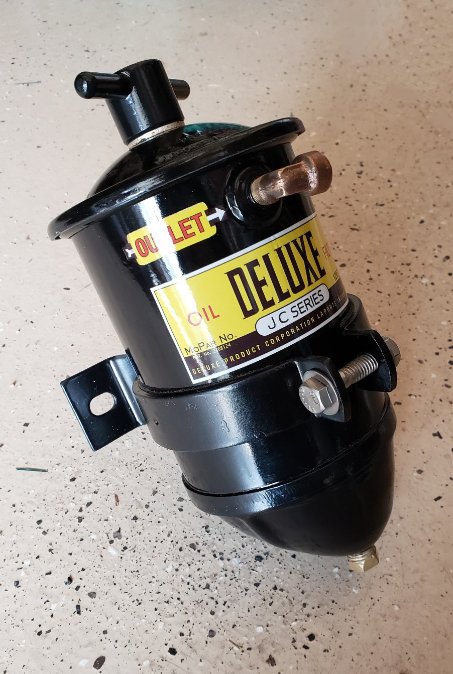
-
OK, I do have the smaller ones for the front, albeit not chrome and no D logo. I'll PM you with the shipping address to send those to. ?
-
Those look nice, I don't think I have ever seen a D (1 Ton) with caps? Need to double check all my wheels. Do they attach with those clips?
-
Aluminum, that's very strange.
-
Stainless Steel? - Unlikely.
-
Is anyone remaking the heater control cables, part number for all three is 1261 045. Also the same number for the Choke and Throttle cables. Did see some but not with the 'D' end to go into the knob label plate. Been searching high and low, found a NOS for $198.00 ?
-
FINALLY - My 1948 B-1-D Build Thread, 33 Years Later
billrigsby replied to billrigsby's topic in Mopar Flathead Truck Forum
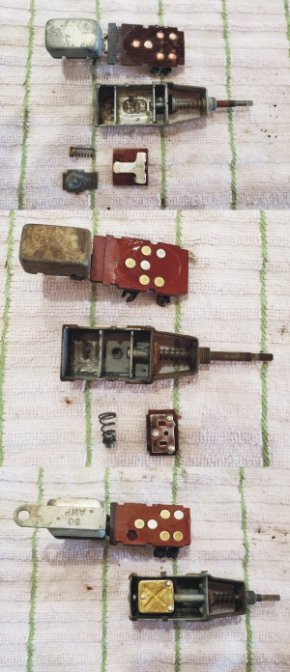
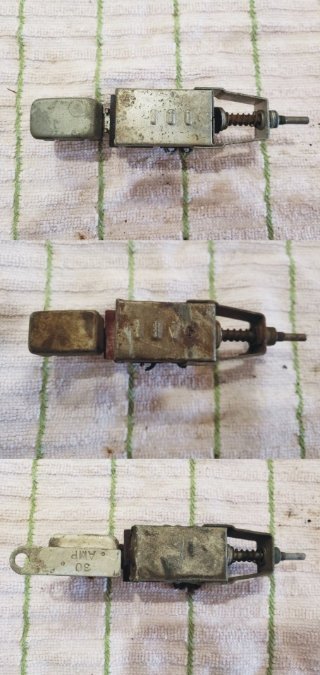
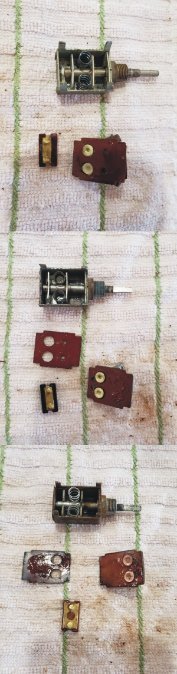
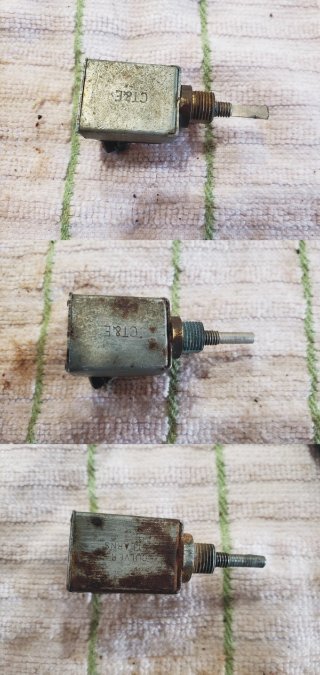
Going through switches today. Headlight switches, got three good ones, not sure which to use? Same with the panel switches, three good ones, the Culver Stearns still grabs a bit after opening and cleaning, the fiber board is warped a bit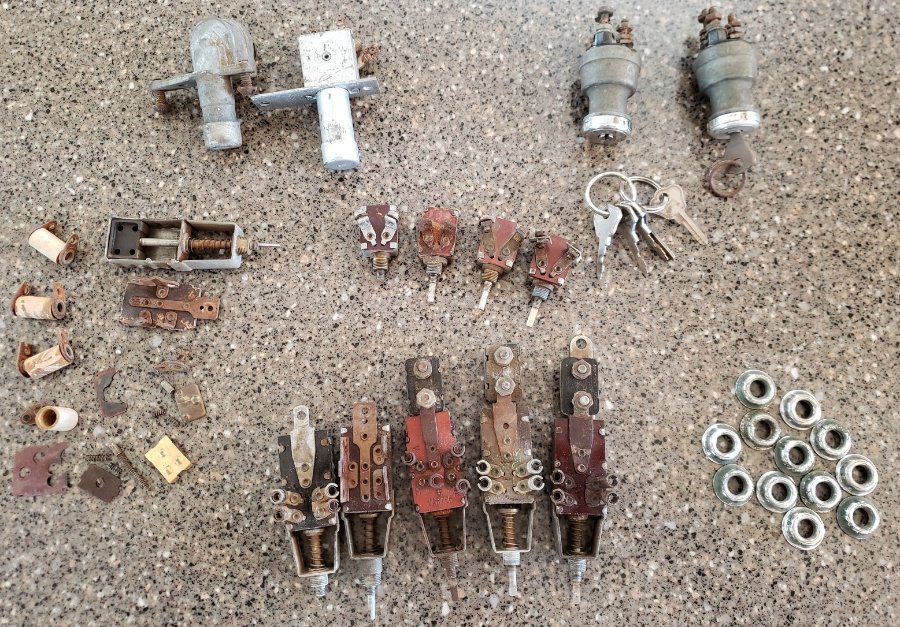
-
FINALLY - My 1948 B-1-D Build Thread, 33 Years Later
billrigsby replied to billrigsby's topic in Mopar Flathead Truck Forum
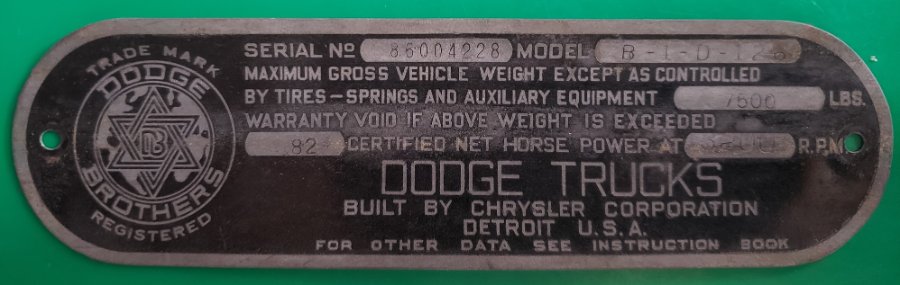
Looking over old photos, engine bay markings, wonder if anyone knows why they would have put the last four of the VIN here? Was this normal?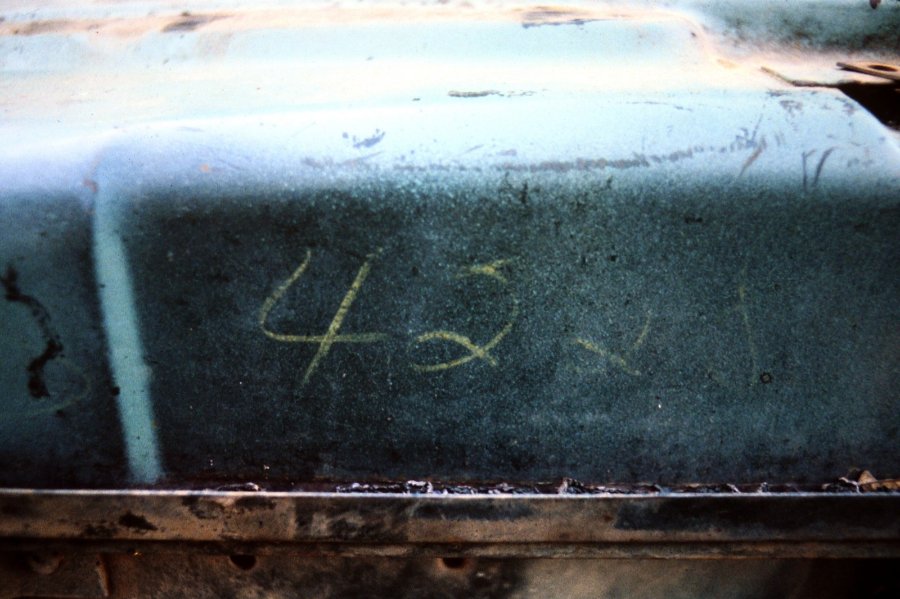
-
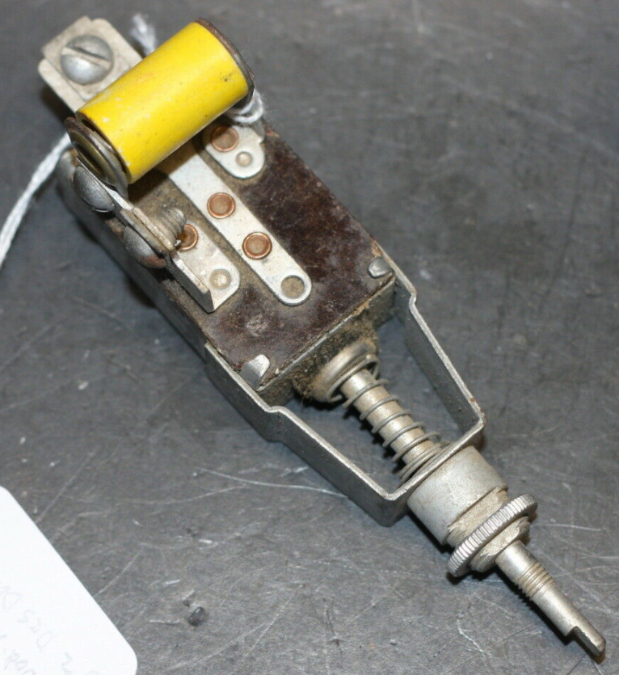
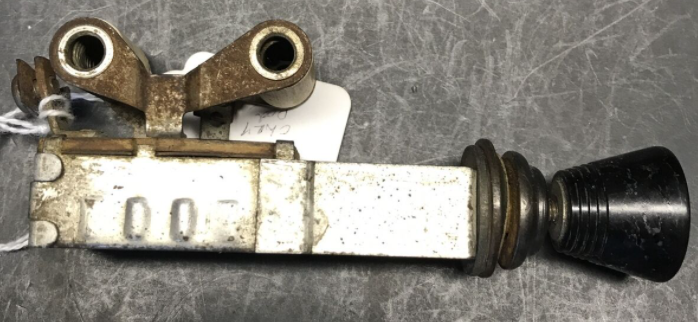
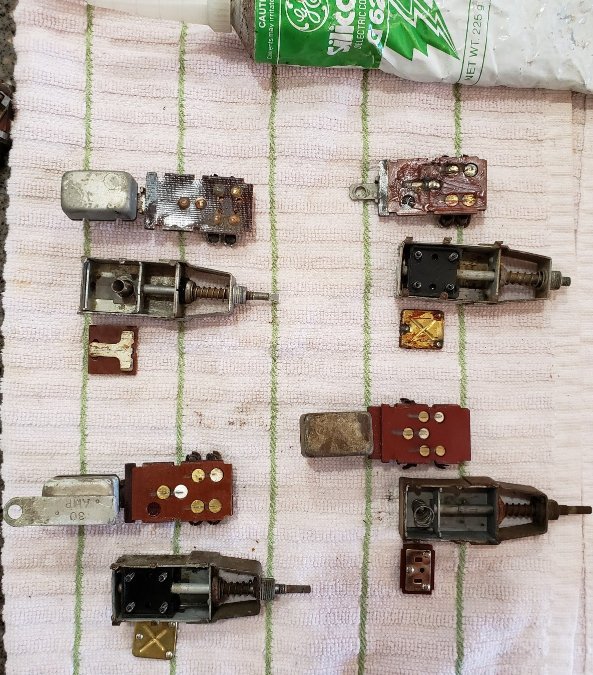
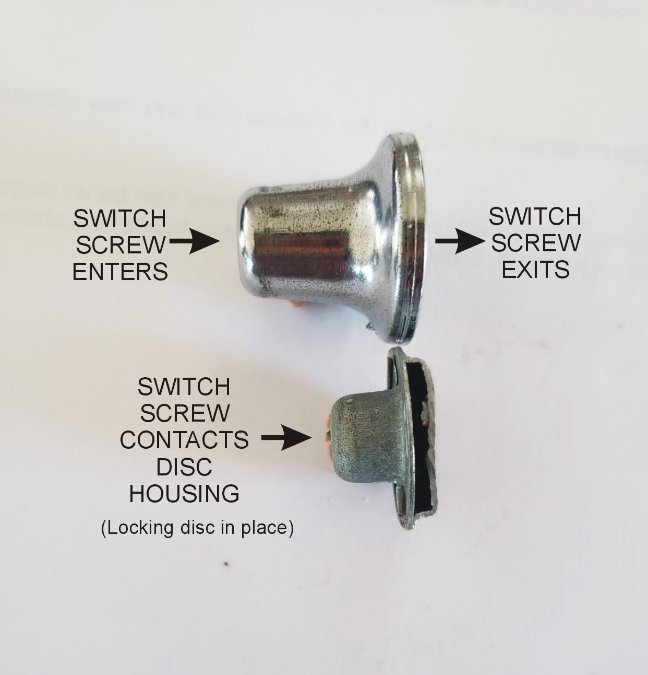
Here is the inner workings of one of the knobs;

-
FINALLY - My 1948 B-1-D Build Thread, 33 Years Later
billrigsby replied to billrigsby's topic in Mopar Flathead Truck Forum
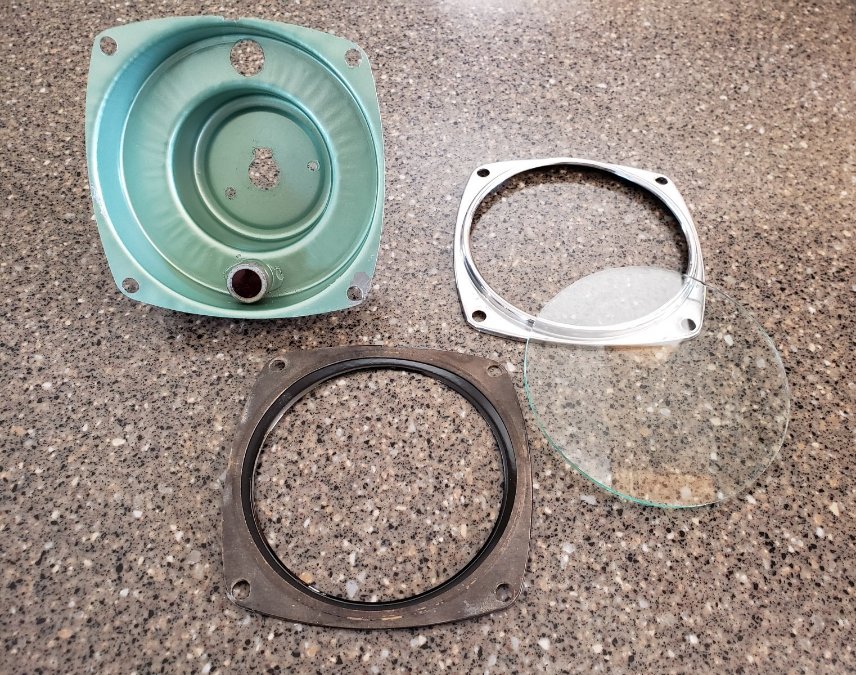
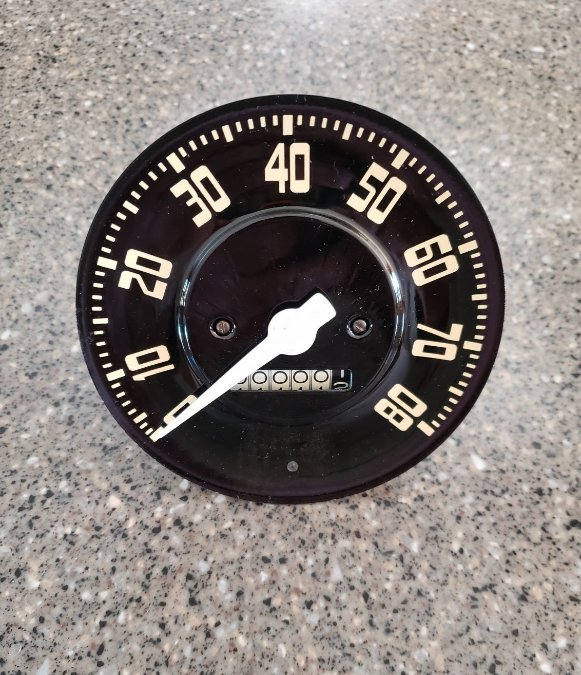
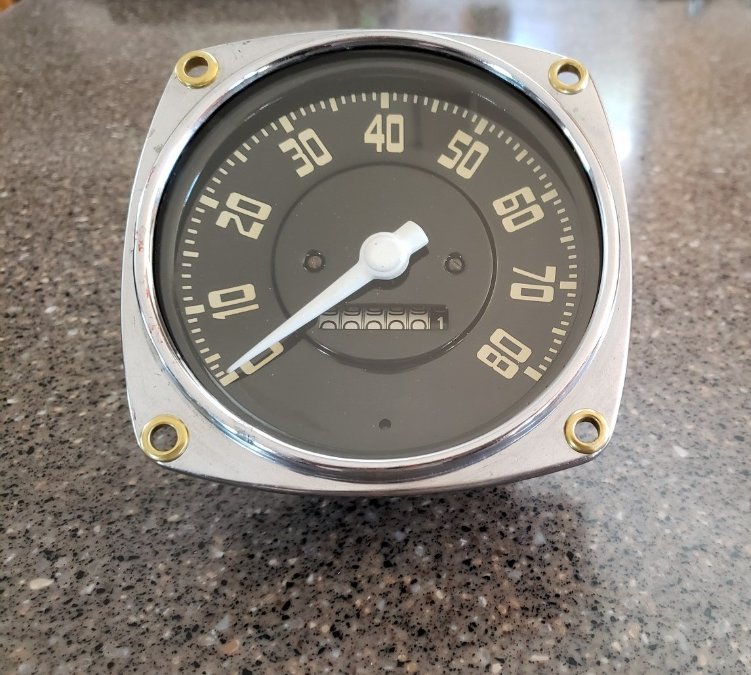
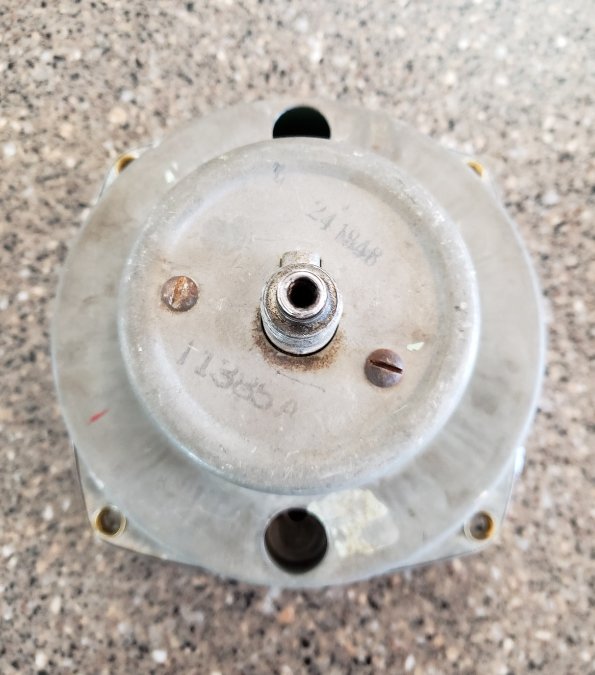
.....the Speedometer housing was also painted way back when. Speedometer, reset to 000000 Assembled Speedometer. Not a gauge, but since I am at it.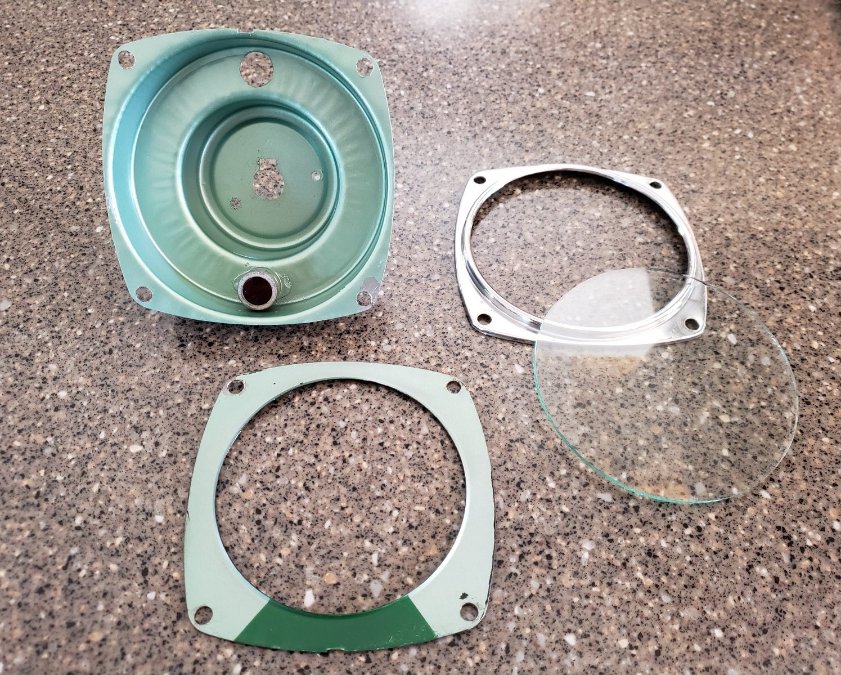
-
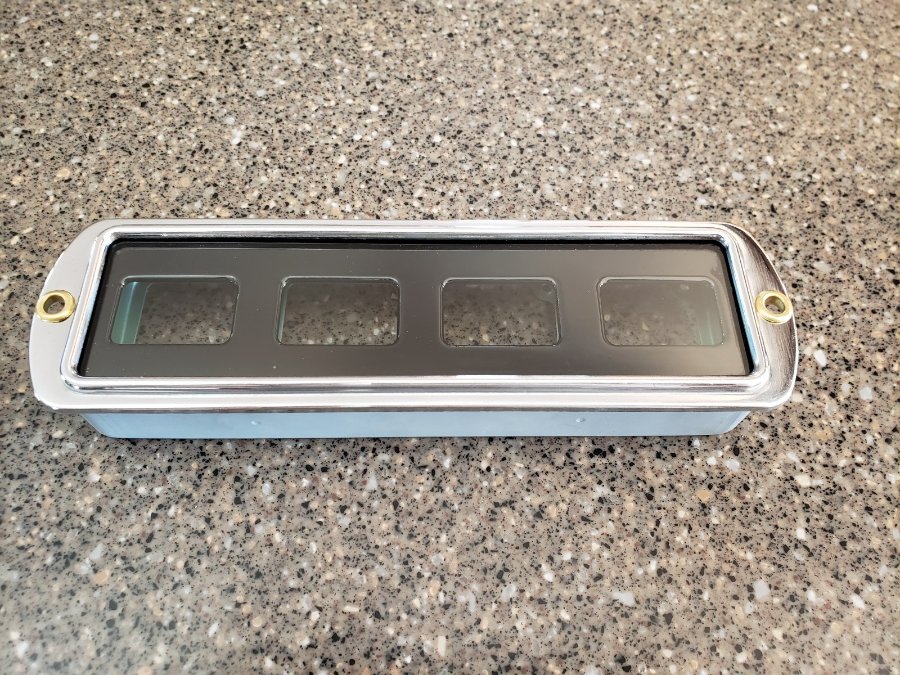
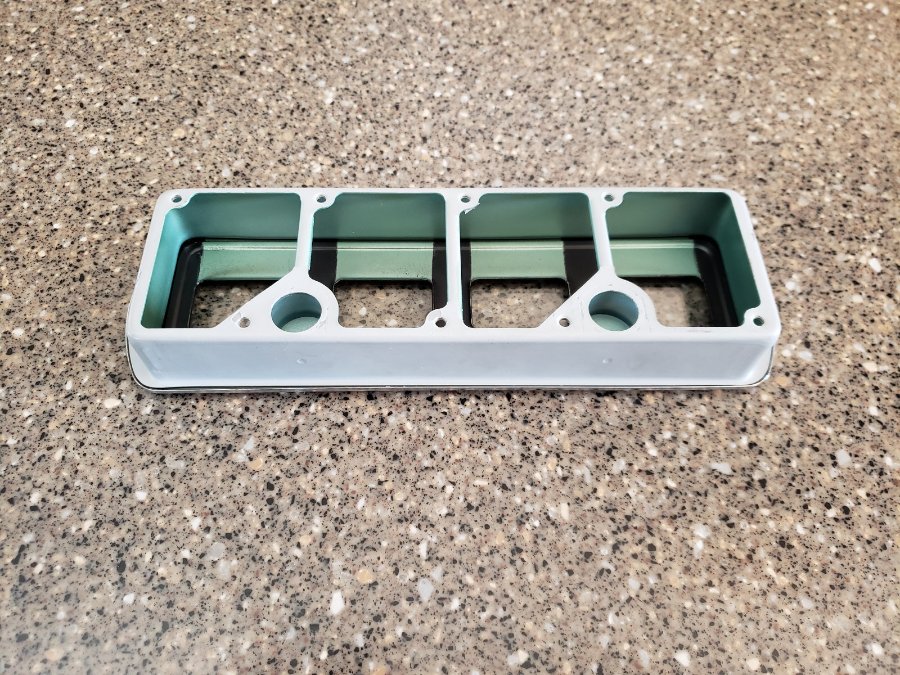
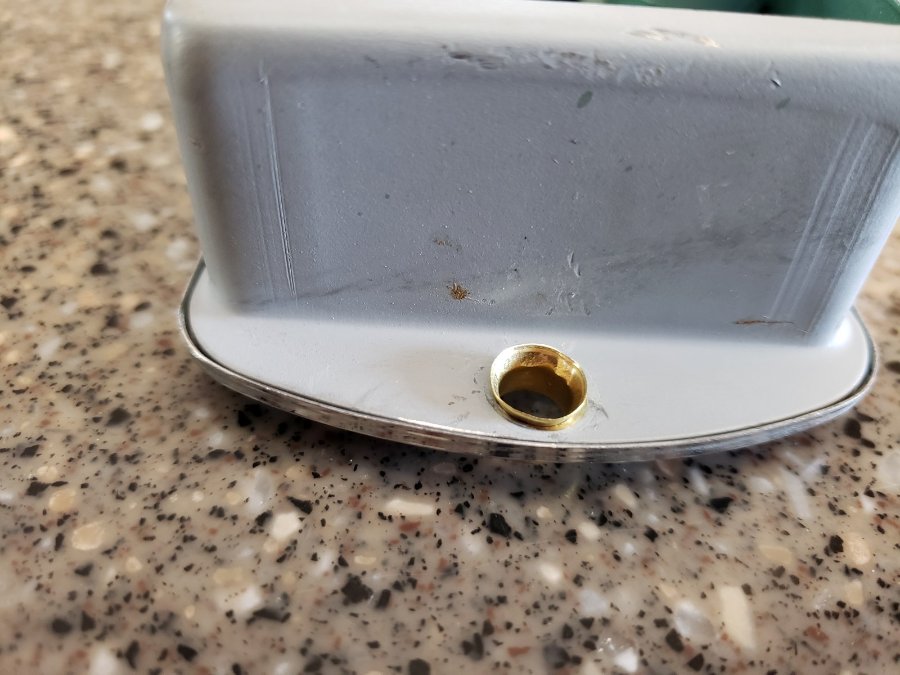
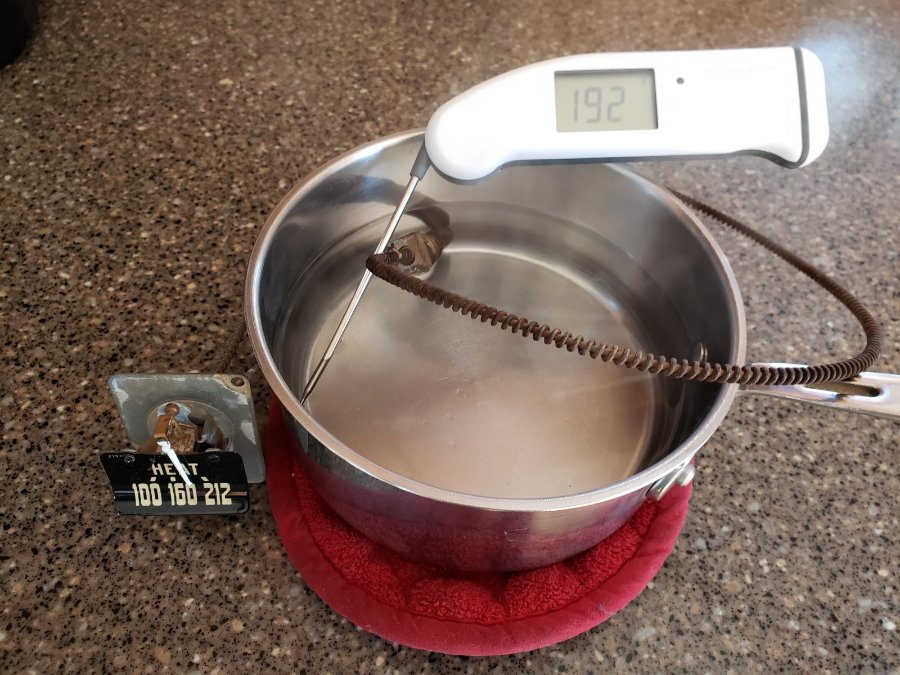
FINALLY - My 1948 B-1-D Build Thread, 33 Years Later
billrigsby replied to billrigsby's topic in Mopar Flathead Truck Forum
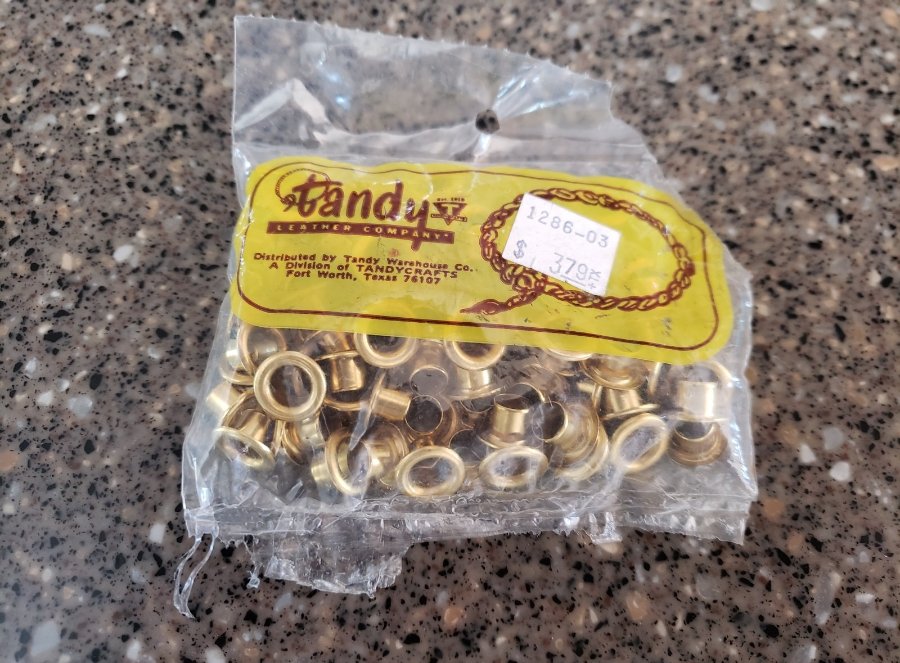
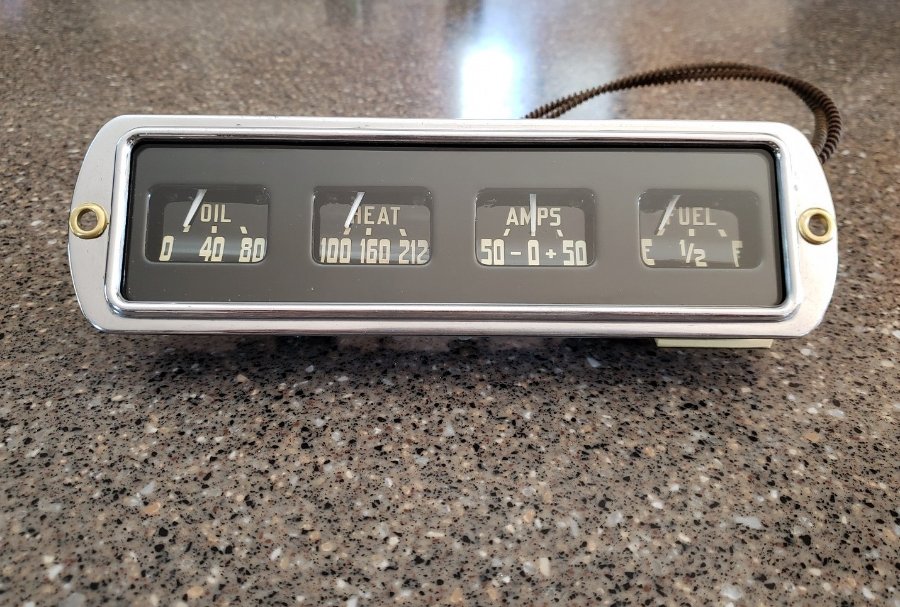
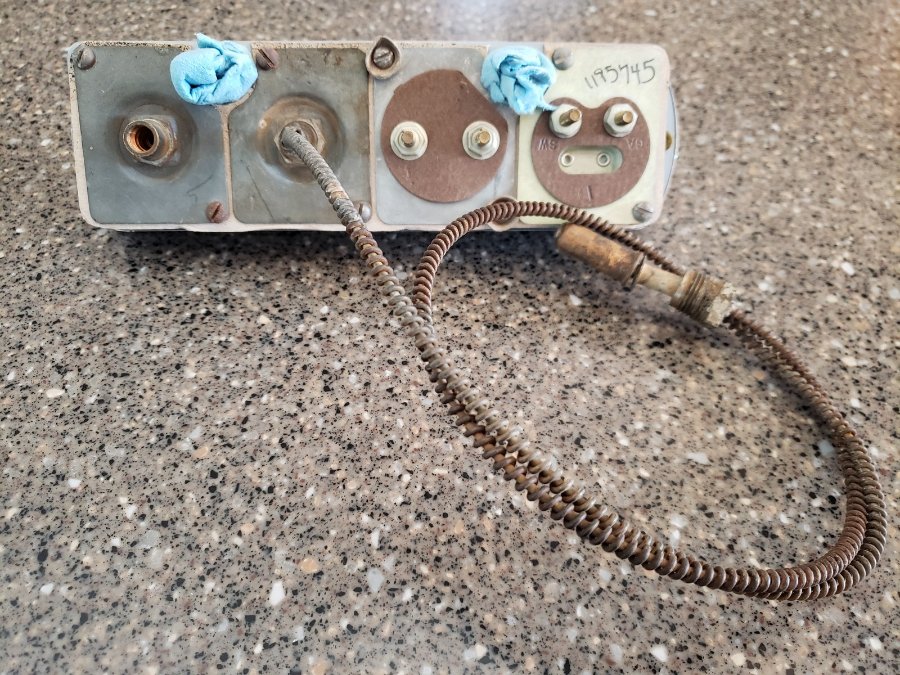
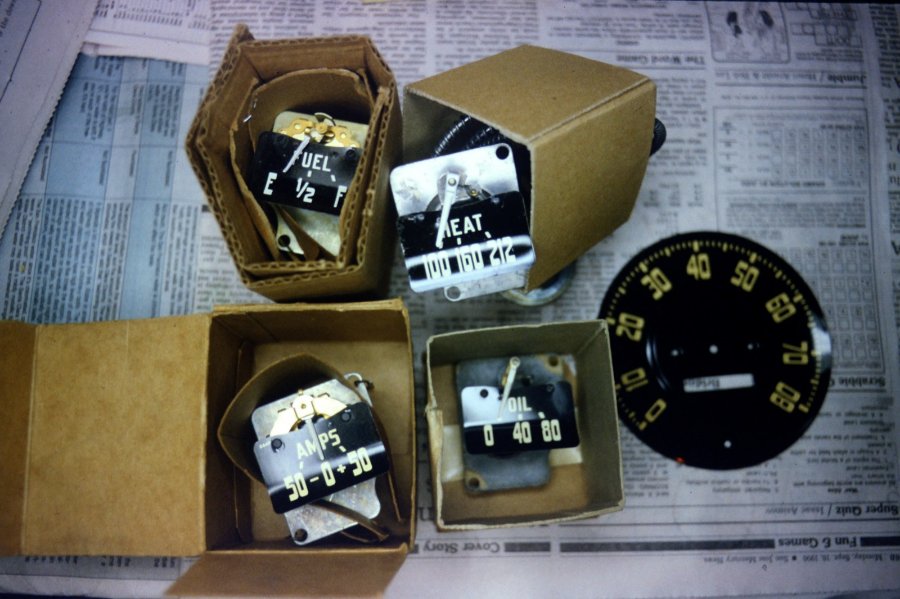
Some gauge work today, the housings were previously stripped and repainted Cleaned up and ready for assembly. Brass rivets from Tandy Leather Assembled housing. Checking Temperature gauge accuracy before assembly, these are all NOS so should be accurate. That looks to be pretty close to centered between 160° and 212°, looks to be pretty close to accurate. Assembled gauged cluster. On to the speedometer.....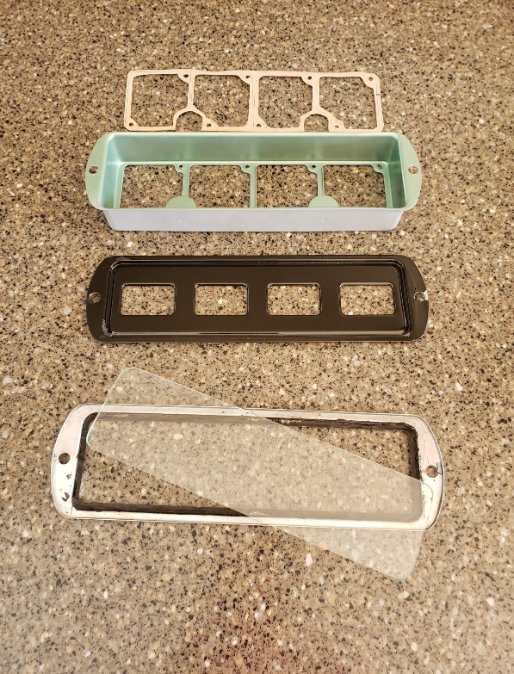
.JPG.f107326fbf9758c1f9d9e1fbd4bacd72.JPG)
-
It is my understanding that you want the label disc to rotate so it can be properly aligned during installation. I found that when I was threading them on a long screw to act as a handle to buff them, once the screw got tight, the disc did not rotate.
-
Original Dodge Dealer Poster
billrigsby replied to Roadkingcoupe's topic in Mopar Flathead Truck Forum
I concur, It is a really nice piece.


