-
Posts
471 -
Joined
-
Last visited
-
Days Won
5
Content Type
Links Directory
Profiles
Articles
Forums
Downloads
Store
Gallery
Blogs
Events
Everything posted by sidevalvepete
-
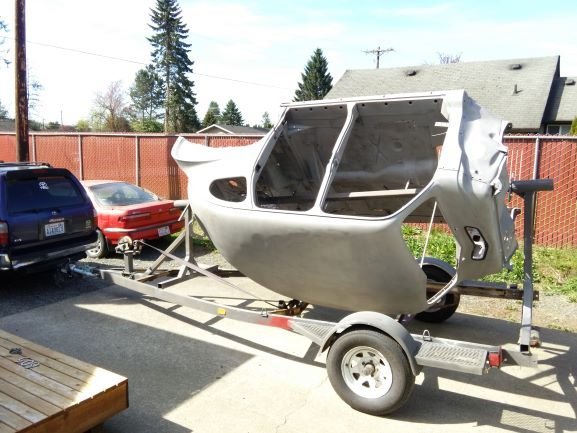
Pic is from Vins post on your other topic about removing the body. I would give serious thought to this. Fab up or adapt an old trailer into a rotisserie. Body then accessible from all angles for repair through to paint. Also is mobile. A bit of organising but will save time and effort further into your build....
-
Just guessing here.......looks like bolt position holder type of cap. May not fold around either. Might just clip over adjacent part to stop a loose bolt at a required point. A nut would be like a slotted castle nut with cotter pin etc. So what sort of bolt needs to be held in a certain position but not perhaps tight.....? Maybe on the handbrake mechanism.....? Nothing like this part on my car but this is a decade later.... of course it may be a rogue bit that doesn't go with the car at all. Not much help here Clay but hopefully started the ball rolling. ?
-
This is for the Forum Administer Selecting a topic to view
sidevalvepete replied to desoto1939's topic in P15-D24 Forum
I understand what you are saying Rich but hasn't happened to me yet......... -
It is a stone deflector. Probably protects the shocks. I have them on a 38 Dodge as well.
-
Until I got a couple of new hips I couldn't tie shoes or put on socks without an aid. Now get both done easily but can't squat like that. Hard case watching my grandkids do that every time they pick something up though........we all could once I suppose. Now, in my mind, that would look amusing too....?
-
Not sure Clay. No experience with the column shift mopar. Had a few instances in my build though that I chose paint and then redid in zinc plating because I had issues with movement between parts. If someone with the same setup could photo theirs as either with paint or without......
-

Coolant Temperature Probe Ports Across The Years
sidevalvepete replied to keithb7's topic in P15-D24 Forum
Neil Riddle in Washington has a couple available for $24.50. Not sure what shipping is from there but have always found him a good bloke to deal with. Ebay is Seaplym. Listing number: 313408471222 -
Like the others it's a welcome from me too. Always liked that colour in the late 40s cars. More pics please! Don't be shy!☺☺?
-
I agree with you Frank. It's like a bunch of friendly, knowledgeable old car folks turned up in your shed to help you through an issue that has you stumped. Love it! You are all a great bunch of people. Long may it continue. ???
-
Fine looking automobile Paul. Can just about smell it from here.....pics are great.
-

Interesting photos I have run across.
sidevalvepete replied to Don Coatney's topic in Off Topic (OT)
The guy who resurrected this lives about 4 miles away. He is well known for finding and restoring veterans and then rallying them - not putting them in a museum. He has done pre 1920 Ts, Cadillacs ( one a 1906 single cylinder ) and is very clever with the home engineering required for this passion. Which a lot of you people are too...... As there seems to be some interest, I will call in and see if he will let me take some pictures to post here. -
Great to see your pics! Look forward to seeing your progress updates ?
-

Interesting photos I have run across.
sidevalvepete replied to Don Coatney's topic in Off Topic (OT)
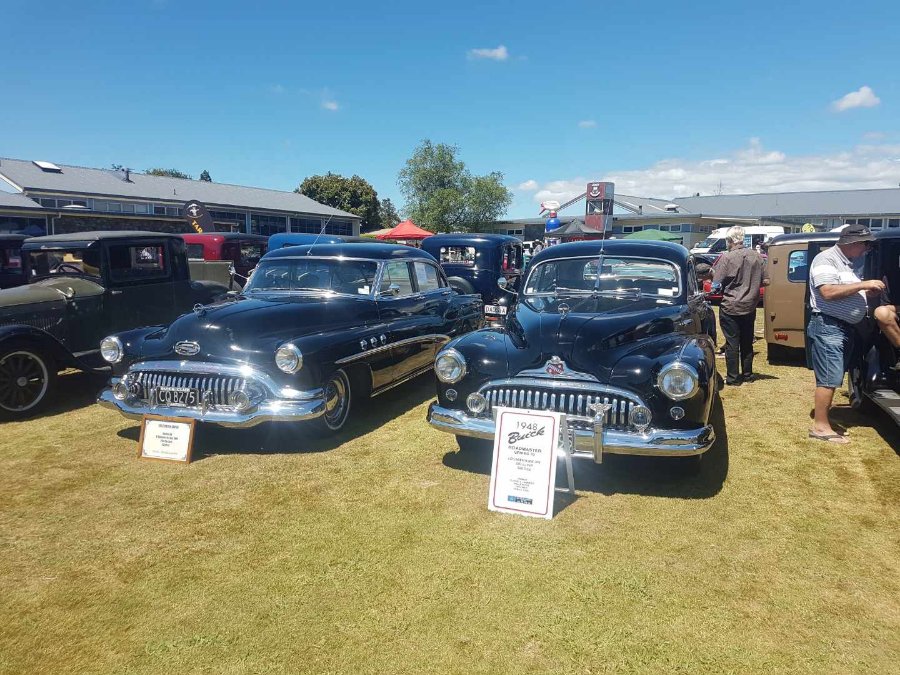
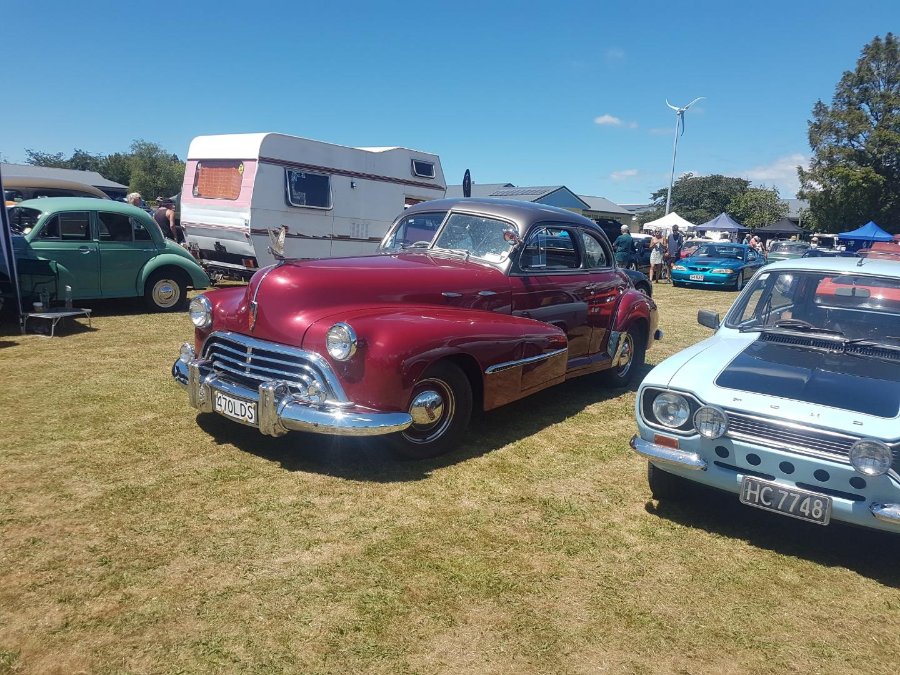
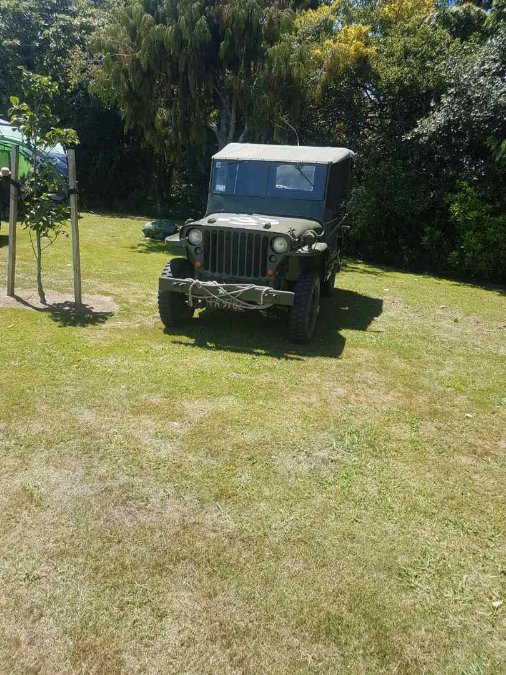
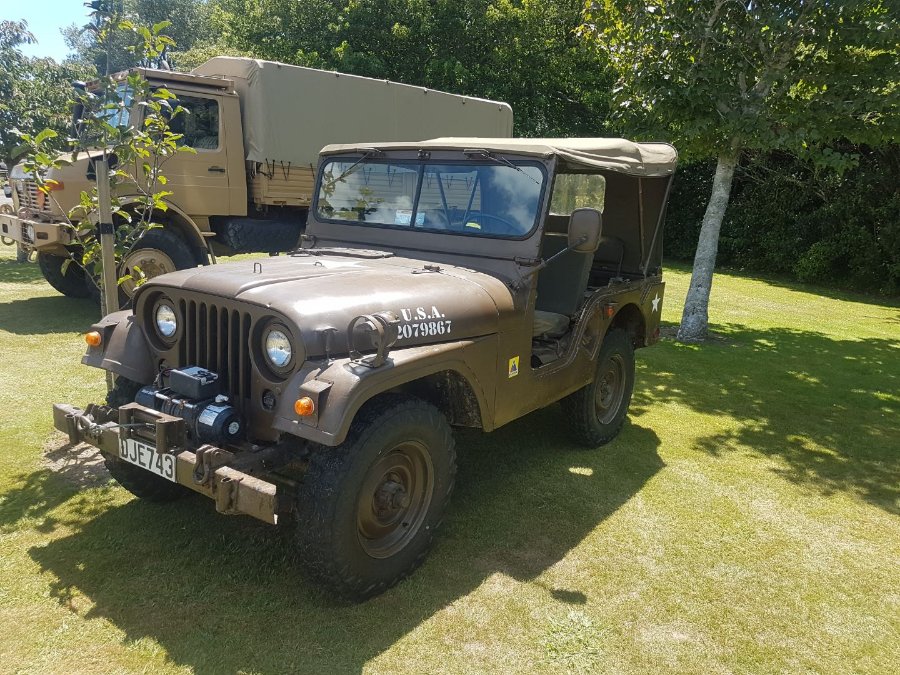
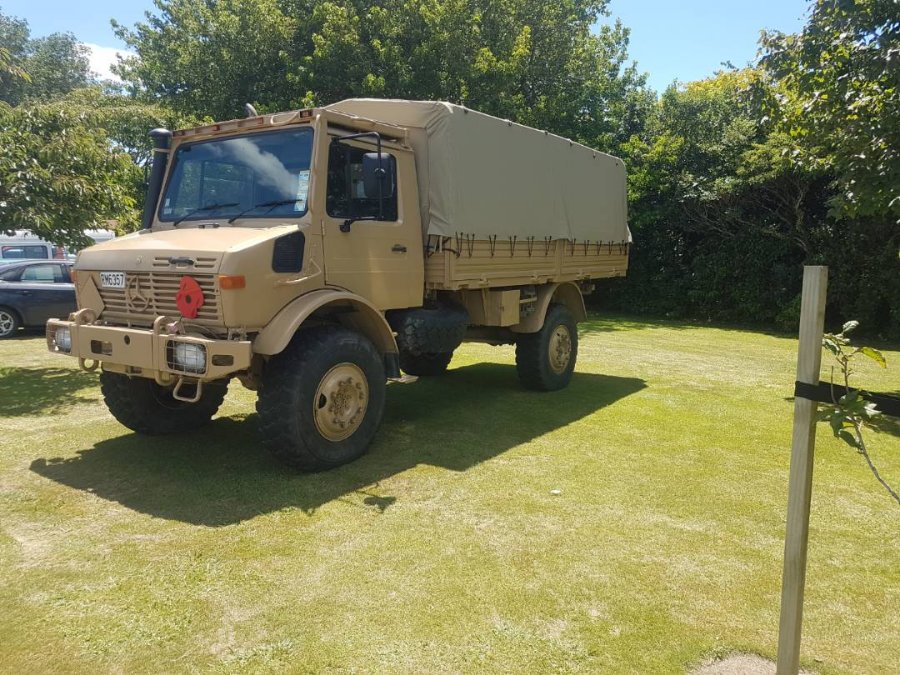
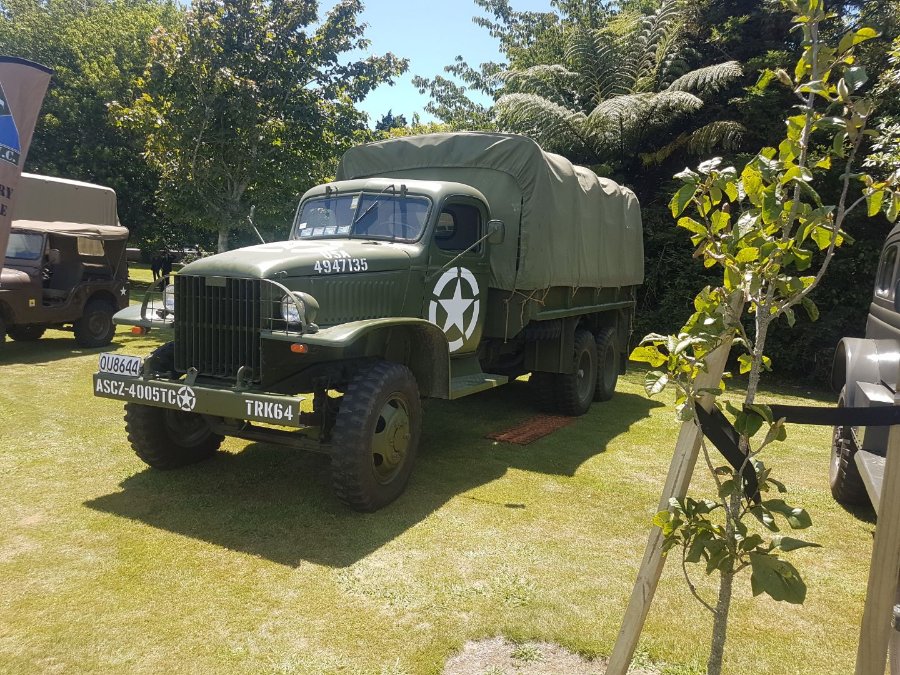
1948 and 1952 Buick Straight Eights. Owned by same local guy since 1959. 1947 Pontiac Frod Jeep Willys Jeep GMC 6x6 Unimog A few others of interest at the show. Posted some Mopars on the main Forum.......kept the others to this Off Topic...... -

Interesting photos I have run across.
sidevalvepete replied to Don Coatney's topic in Off Topic (OT)
1906 Model N Frod. Predates the T and back then Henry was a right hand drive man.......... at a local car show last weekend. Not mopar and apologies if I am disrespecting Don's memory by piggybacking his thread....no offence intended ? Thought the genuine US rhd was interesting..... -
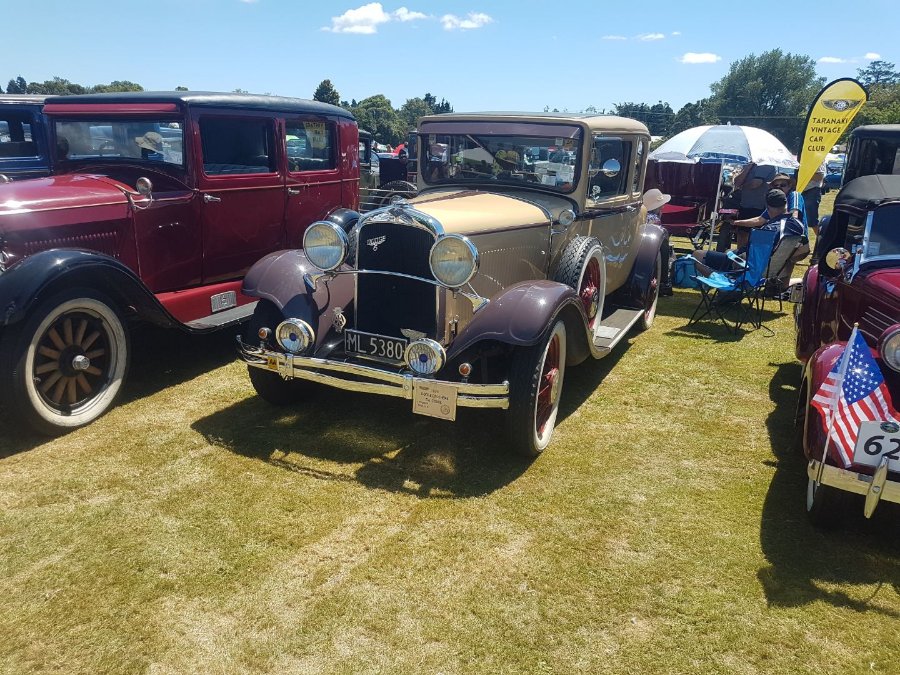
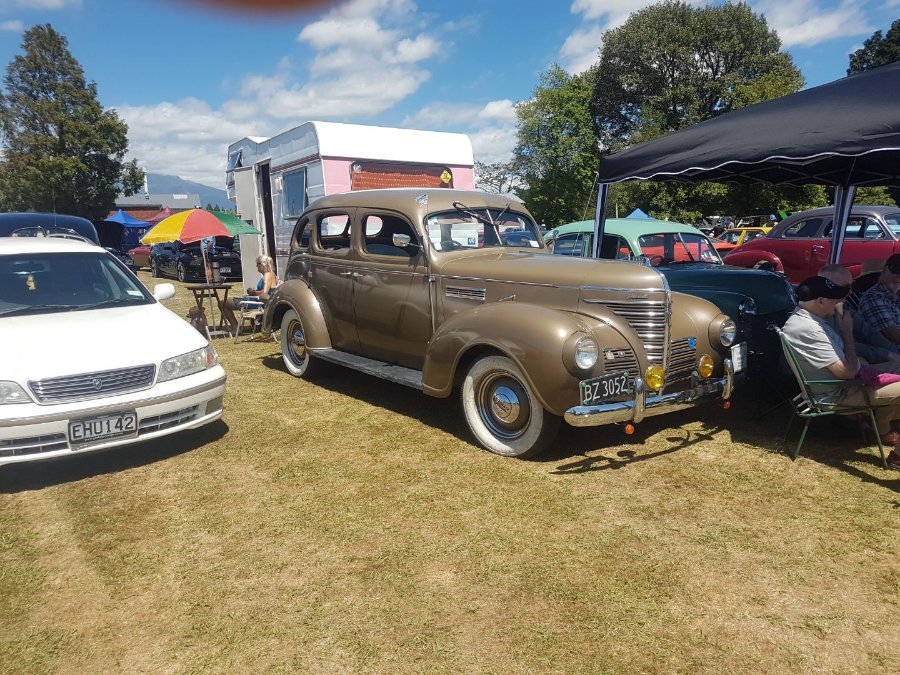
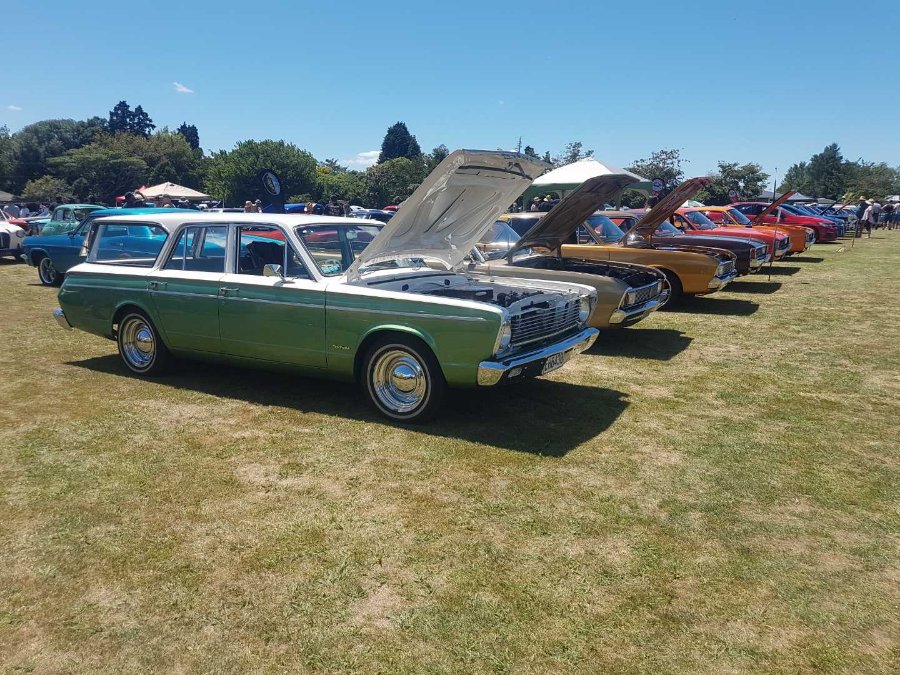
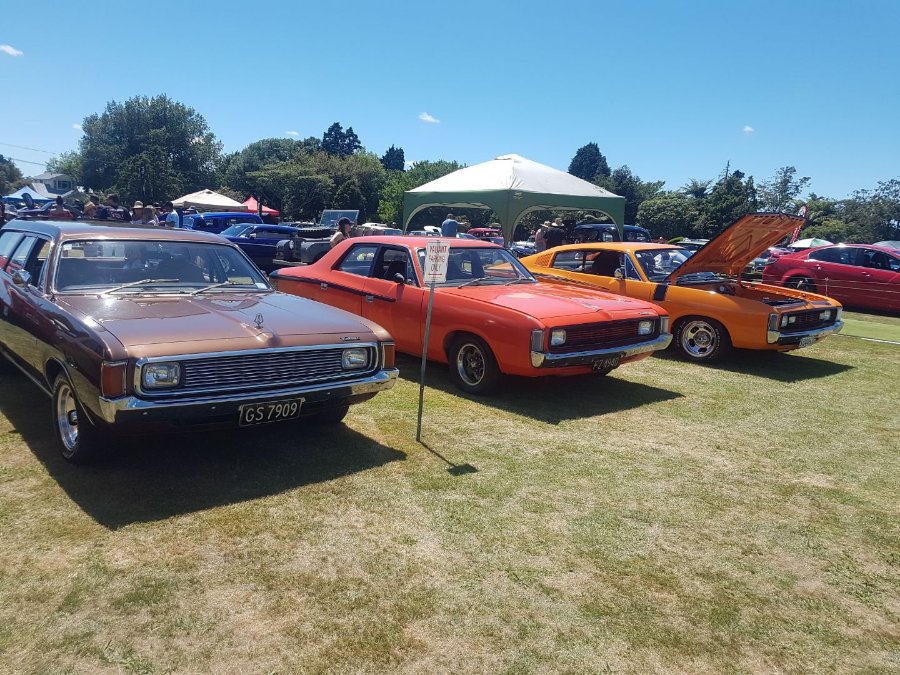
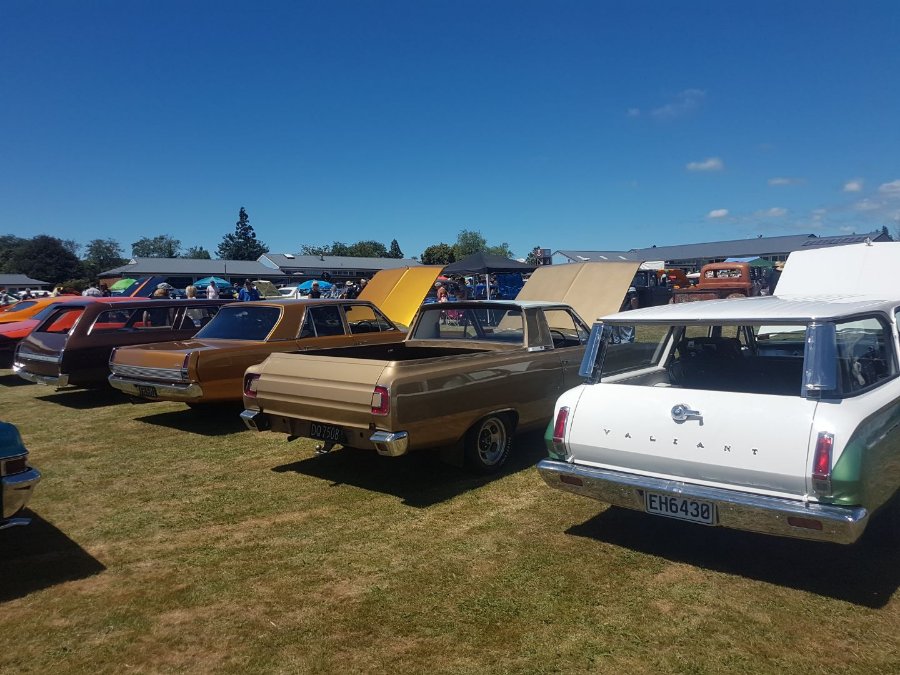
Yesterday was our local annual Rotary organised Charity Car Show. The 26th since started to raise funds for local projects and held at the local High School. Always been well supported by local car enthusiasts and the public. Wide variety of display vehicles from veterans, vintage, classic and moderns. These pics stick to mother mopar. Might put up some other interesting ones in off topic thread. 1929 Dodge DA Coupe 1939 Plymouth Touring Sedan Mostly Aussie Mopars, late 60s and early 70s 1942 Dodge Command Vehicle
-
Excellent! Thanks for your help Rich. And your library!
-
Also, do you have Don Axlrod's contact information. Would be interested in tapping into his knowledge...
-
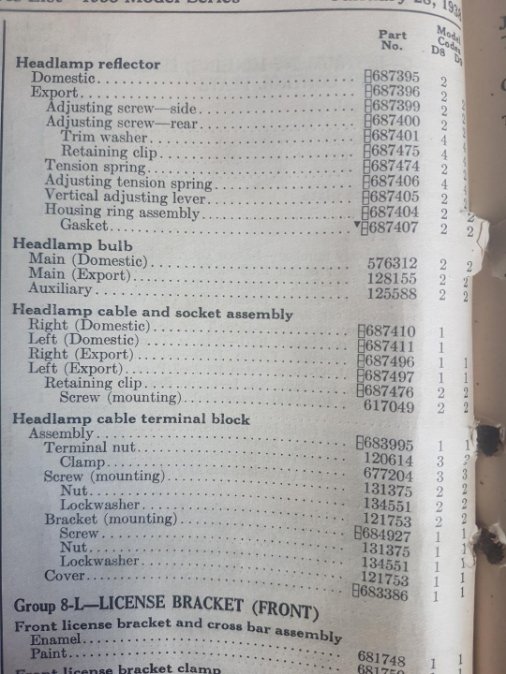
Many thanks Rich. Will use this info as I finalise this. Will get some 2331 bulbs and work out if I need to alter the orientation of the sockets. As you can see in my Parts Book, the Export version is different across lens, bulb, socket and reflector. To complicate it further, the Part no.s for the bulbs have a Chrysler no. and not 2331, 2330 etc. Would be good to cross reference these numbers somewhere.
-
You have given me a start. I know the 2331 bulb matches the US setup so will source some 2330 bulbs to try. If I go completely US configuration I will need matching reflectors and bulb holders for this model. Thinking about the high beam/low beam, left and right hand drive differences in beam angle and design of lens pattern shows how advanced the thinking and what was supplied into the market for motor vehicles was in those pre war days. Am still keen to see some literature around this. Thanks to all for replies so far.☺
-
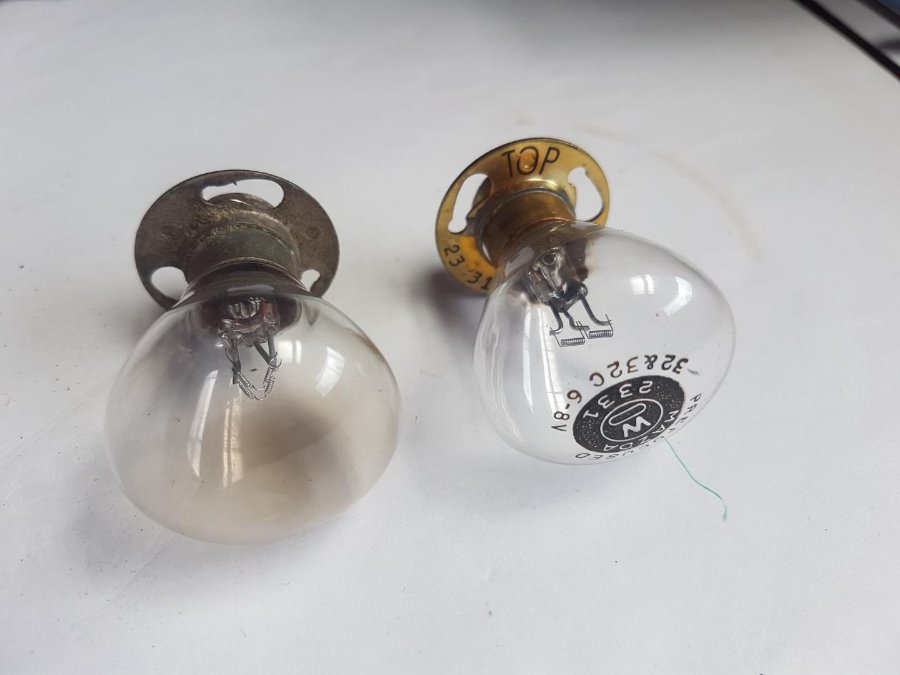
I am endeavoring to up skill on how the headlights function on my late 30s mopar. In particular the relationships between the bulb, bulb holders(cable and socket assembly in the parts book),reflectors and glass lenses. My vehicle is a right hand drive version and perhaps this is a factor too. One of my original headlight lenses was cracked and I haven't been able to get a replacement yet, hence my quest to understand how they work. I bought a matching pair of USA domestic lenses to see if they would work, to match my 1938 Dodge. They fit the bucket and are identical in shape to my single original lens but have a different pattern. My original is held on the left and as well as the different pattern it has "EXPORT" embossed on it under the Made in USA script. See picture.... My reflectors, like the single original lens, have "EXPORT" stamped on them. So the car was equipped with the complete EXPORT light assembly. The two versions are listed in the parts book. The parts book also has a different bulb for the EXPORT version. As are the cable and socket assemblies. See difference in picture. The reflectors, cable and socket assemblies and bulbs fit together one way only that I presume aligns to make the beam at its brightest, focused and with the low beam dipping and maybe to the side. I say to the side because this would explain the need to be different between left and right hand drive vehicles. Is this why the lens options differ too? I have put Mazda 2331 bulbs in which are correct for the USA domestic headlights but align at about 2.00 o'clock not 12.00 o'clock like they should. An unmarked bulb I removed from car at disassembly is on the left in picture... Does anyone have knowledge or technical data about this subject? Nothing in my Shop Manual or 1936-42 Mopar Service Manual to help me. My next step if nothing comes from this enquiry is to set up the car with a light board in front and do the trial and error thing with a range of different bulbs. Apologies for the long winded post but trying to make my conundrum clear.
-
It seems this post came back from the twilight zone after being lost for 8 years.....
-
Welcome from the land of the kiwi!! There are folks from all around the globe here, all with some degree of obsession with mother mopar. And pretty much everyone likes pictures so we are looking forward to the grandkids helping you out!
-
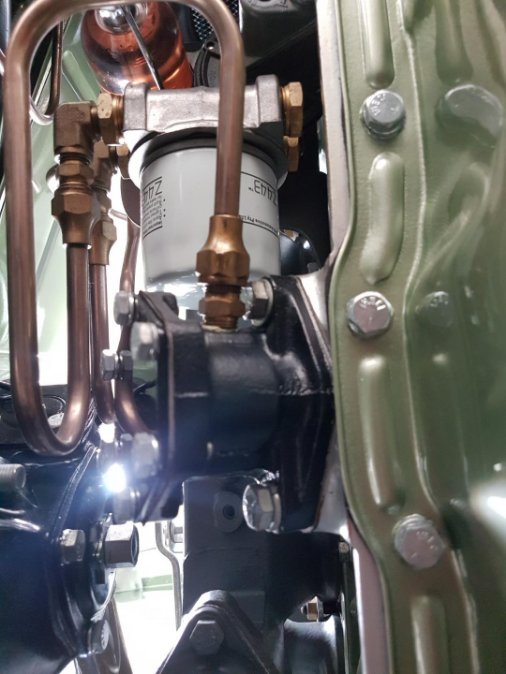
I suppose you could say both really. But the original passageway from pump to block is plugged with welch screw so all oil has to go through filter before returning beyond the plug into the same gallery pathway, this time in the block. I looked at JBNeals link and this is nearly the same setup but tapped into the block ( same gallery ) for both into and out of the filter. Also has a plug inserted in the gallery between the two taps. The plumbing on this looks better able to attach to a filter mount up on the firewall or inner guard etc. Largely the same operation with the oil pump though.
-
From pressure side of oil pump, a hole tapped and plumbed to pump through filter. Then oil returned to block by tapping into the corresponding gallery. Also blocked off this gallery with grub screw just behind where pump is mounted. This to stop any possibility of recirculating oil - ensures it is full flow filtering. Hope this makes sense.
-
Yes, your pics are great. I look forward for each update as you progress! I have found these new smart phones are so good at taking the pictures and then uploading them compared to having a digital camera that needs to be connected to the computer and then uploading. Let alone no digital camera at all when I started on my project ?


