Leaderboard


Popular Content
Showing content with the highest reputation on 03/14/2025 in all areas
-
hub goes on first, next pulley, then damper.2 points
-
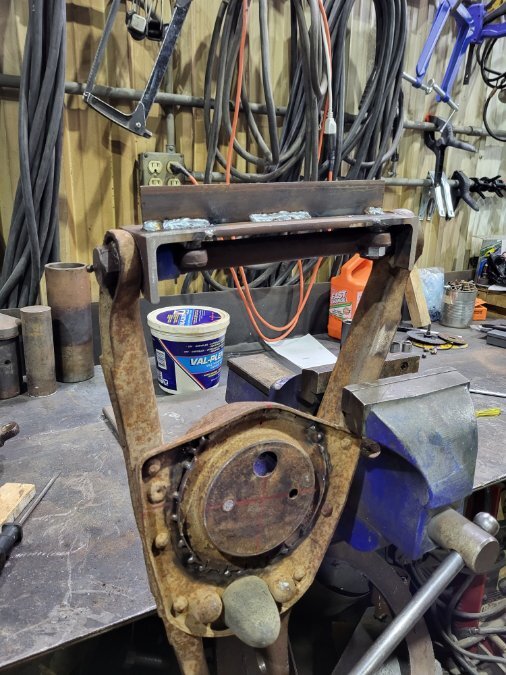
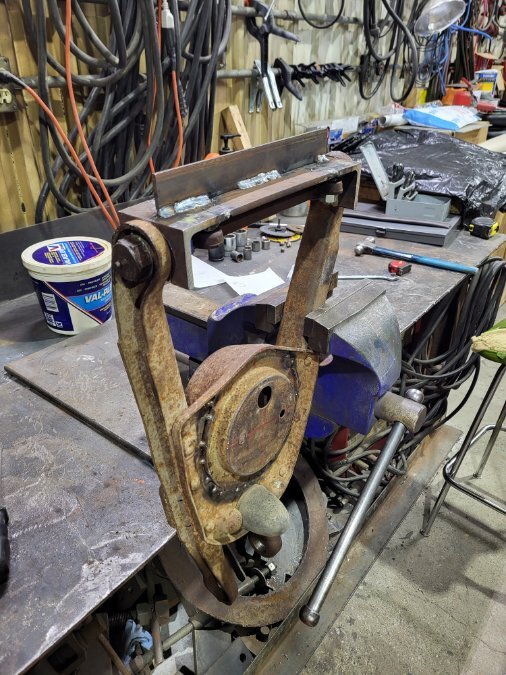
Built a tool yesterday to assemble my lower control arm and torque the lower inner control bar bushings on the 40. Heres what i did. I took a good known front suspension from a 51 desoto. Measured the 51 lower control arms and control arm bar as an assembly. i found the measurements matched exactly from left hand to right hand control arms. I felt it was a safe bet to make a jig from this. Once I transferred my completed jig over to the 40 control arm I found that these old arms had been cranked in without a jig in the past (1/8 - 1/4" approx). I used a floor jack to spread the arms and install the jig. Torqued the control arm bushing to 150ft lbs. Life is good.
 1 point
 -
It reminds me of something
 1 point
 -
That diagram is a riot! Just as Abraham Lincoln once said, "Don't believe everything you see on the internet"...................1 point
-
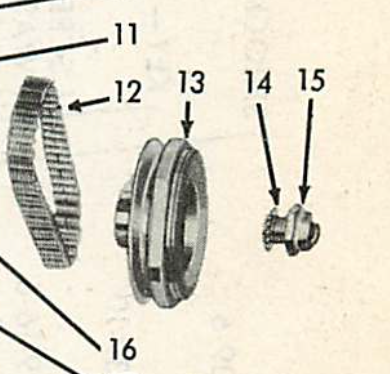
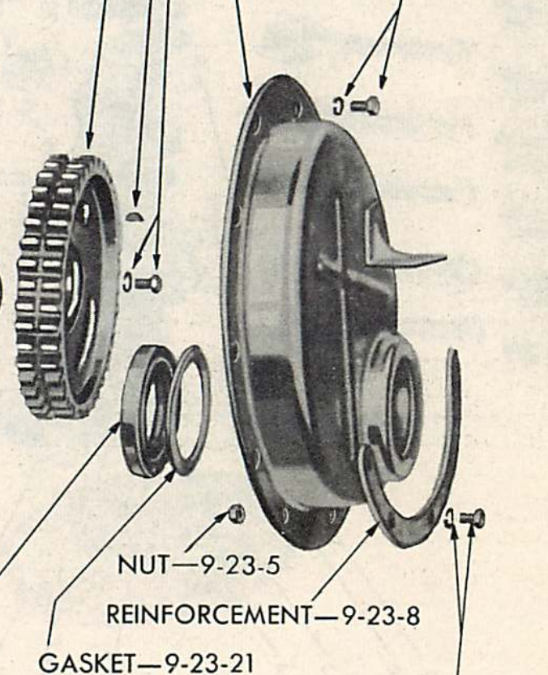
If looking at the post above this one and refer to number 13 you will notice that the vibration dampener and the pully can come as a complete unit. refer to number 47 on the grid below. The numbers on my grid are also factory number and come from a Mopar vender Tristate catalog that the Mopar supliers used and is the same as the michell catalog number. When I replace the vibration Dampener and pully is was a single unit that already had the hub on the unit. Rich hartung Desoto1939@aol.com
 1 point
 -
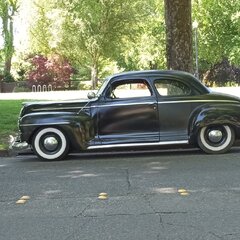
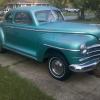
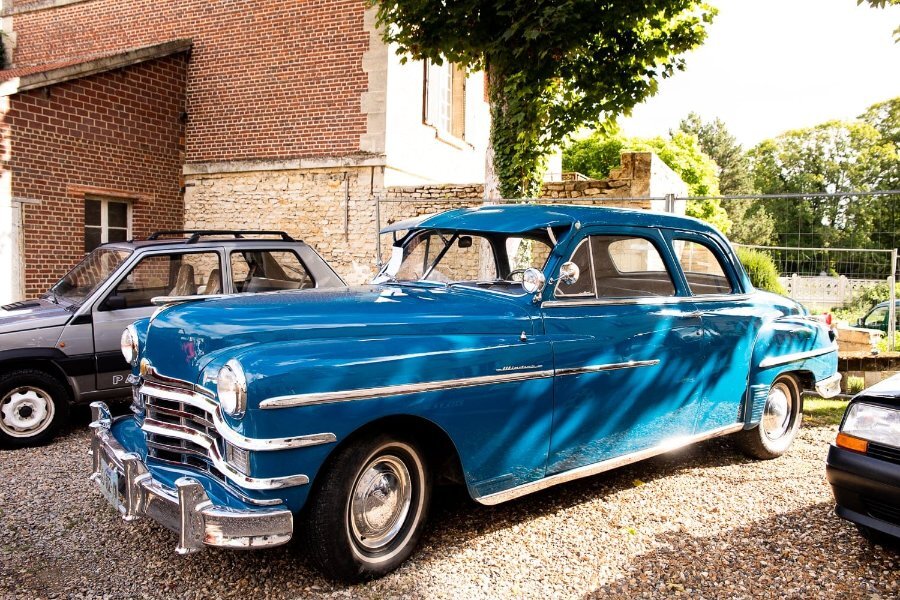
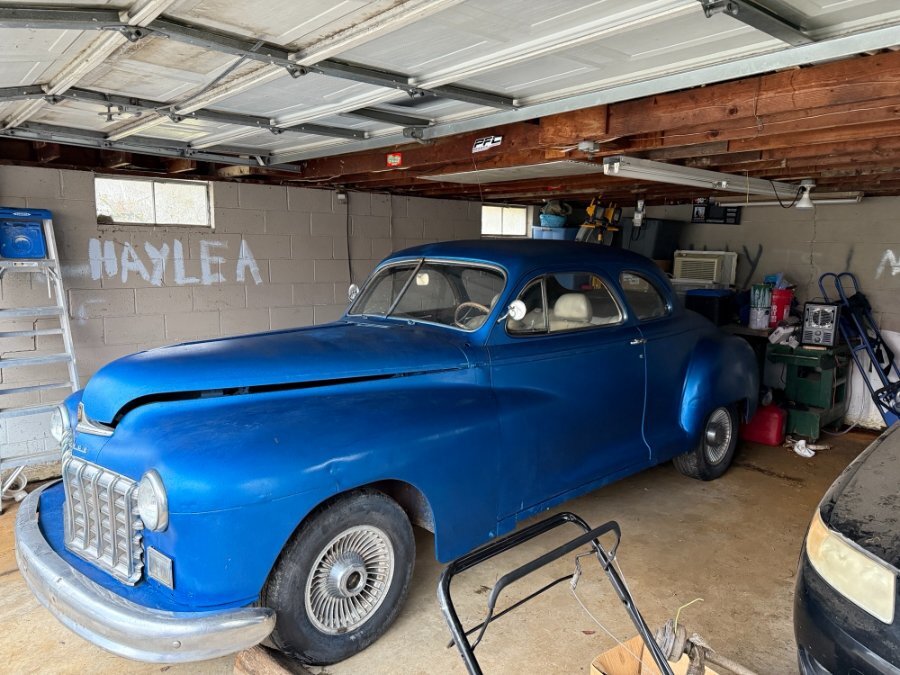
Thanks everyone for your help. Now that I have the proper terminology to use, I can search for further answers and have been reading a bunch on here about this topic already so my apologies for another thread! Please enjoy a photo of my project in the works!
 1 point
 -
I looked in the factory parts book for a better pic and it also shows the hub and pulley as one piece. I checked both the Plymouth and Dodge books and couldn't find a more detailed view.
 1 point
 -
You guys are talking about two different things. Below the carb is the heat riser. Towards the firewall also on the exhaust manifold is the automatic choke for the carb.1 point
-
Yea it is ! I've got it set up on air bags on all 4 corners1 point
-
Downloads section has a lot of info about the set up of this device.1 point
-
1 point
-
The part in the center of your picture is a Sisson automatic choke. You have a truck or Plymouth carburetor on your car with a manual choke cable. It looks like the outer part of the choke cable isn’t secure, so it is moving, but the choke butterfly is staying in the choke position. The lower device, under the carburetor is the manifold heat control.1 point
-
It seems the arm moves freely I may remove it to ensure which direction is closed until I can get a block off plate. It seems there should be connections made to it but I cannot seem to find where they would come from as it is not currently connected to anything. Appears to have a threaded hole on the top left and the arm on the back side from this view looks like it could attach to something as well but nothing looks directly related to it.1 point
-
I believe its the carb pre-heater. When the engine is cold, the coil is short. It routes Exhaust gasses the just below the carberator to warm it up faster on cold weather starts. When the engine warms up, the coil expands closing the butterfly so the exhaust gasses dont overheat the carb causing fuel boil. Many people have just blocked this off and claim it doesnt have a noticable affect on drivability. however if it rusts open, it can lead to fuel boil. just make sure the inner pivot moves freely.1 point
-
this should be oriented to the rear.....as per the pics I have of my car when converting to disc brakes...1 point
-
My 48 is set up the same way. 1st pull parking lights, 2nd pull the front parking lights go out and the head lights come on. When I wired in the turn signals, the signals work with the headlights on. I believe this is the case for most cars from back then. The parking lights were the notice the car but not for the driver to see anything. The headlights were to let the driver see in the dark and the parking lights did not add to the area of effect to see surrounding details. Also to note, by not using the front parking lights with the headlights it lessened the strain on the generator by about 2-3 amps. Each incandecent bub draws about 1 to 1.5 amps. It may be more as the 6v systems are 1/2 the volts twice the amps of a 12v system. (I believe) The gennys had to spool up to about 1500 engine RPMs to reach full output. So at low speed/idle your lights drained the battery. Hence the lights brighten when you revved the engine. With the advent of alternators (set output at low speed) when the engine is at idle, you still get full power, so no need to manage your electrical systems. Joe Lee1 point
-
And I am headed to Sierra Blanca for a job. Good thing I am not paying for the gasoline0 points