-
Posts
358 -
Joined
-
Last visited
-
Days Won
6
Content Type
Links Directory
Profiles
Articles
Forums
Downloads
Store
Gallery
Blogs
Events
Everything posted by johnsartain
-
More than likely so, thank you!
-
I know, but it looks soooo good for quite some time. Having a hardener in the paint does help some in keeping the paint finish intact longer. There is a lot of vapor in the engine compartment due to the venting of blow-by from the vent tube and fill cap in these older engines. The older the engine the more vapors. Those vapors tend to cling to whatever they touch and when its a hot engine, they get baked on along with the dirt and road grime.
-
Are the wheels riveted or welded? If they are riveted and you're running tubeless(and totally without a tube), you're very lucky they are staying up. There have been some people who have had luck welding in the rivets or welding the centers to the rims, but there is a risk of balance problems and weakening of the rim. Is it possible this may be what you have? If your rims are riveted it will be obvious when you look at the back of the rim as you will see the steel rivet head holding the center to the rim.
-
How original do you want to keep it, are you going for restoration, trailer queen restomod, or daily driver. If the first option, the only recourse is to locate and buy a set of original rims. Keep in mind that the original rims have centers that are riveted to the rim, this means you will also need to run a inner tube and a boot with the tire you select. If a restomod them you could be open to go with some sort of custom rim. If it's a daily driver then the rim you have is fine. Get some chrome outer rims and baby moons and ride till your heart's content. You seem to be at a point where you need to commit to a direction. One thing for certain is that original hub caps will not mount to the wheels you have. If all you want is the original script on a hub cap, then there should be a vinyl sign company that can create the lettering to put on a set of baby moons. That Ok for a driver but not for a restoration.
-
I used Nason Ful-thane color code 1J w/ Silver Effect Single stage. after priming the engine with epoxy gray primer, 1 pint with medium reducer and hardener was enough to paint the entire engine, bellhousing and transmission and provide a really nice bright finish. Yeah, I know its not original but the dull aluminum finish from the color code I got for factory original paint color just didn't appeal to me. The pedals were painted with original engine color and you can see the contrast.
-
DCM Classics has a reproduction part B-260 for $85 each https://dcmclassics.com/search?controller=search&orderby=position&orderway=desc&search_query=hub+cap&submit_search=
-
By the way, Dodgeb4ya. You may know what the size and spline count actually is. I think VPW has one that will fit if ot the 11/16” - 3/4” tapered spline wheel that they sell. I talked to a sales person at Grant once and he told me he thought the 4290 adapter kit would fit. I would rather get the VPW wheel if I knew for sure it would fit.
-
Another point to be made Reg is to put the relays closer to the Headlights. Out under the hood between the battery and the headlight is typically good enough, either mounted on the firewall of the inner fender. The shorter the run the better rather than making all the loops under the dash . I got my 6V relays from Amazon https://www.amazon.com/gp/product/B00LQOSZSI/ref=oh_aui_detailpage_o06_s01?ie=UTF8&psc=1. I got the pigtails as well https://www.amazon.com/gp/product/B0002ZPUMG/ref=oh_aui_detailpage_o06_s00?ie=UTF8&psc=1 I used 2 for headlight relays and one for the horn.
-
Day late and a dollar short, story of my life.
-
By chance is that steering wheel for sale? Would it fit a B2B?
-
I had talked to a guy at Grant a couple months back and just now ran up on the email he sent. I am not sure for your steering column is the same as the one in my B2B, but his recommendation for a Grant installation kit was for the Grant 4290 kit. According to him it should match the splines on my column.
-
My water pump came with it's gaskets. I got my thermostat from Andy Bernbaum. It is different, at least mine was. The actual thermostat was atop of a tube similar to how one for a Ford 8n tractor is. My thermostat housing was the original cast iron one and was quite tall similar to as pictured.
-
The part number for the halogen headlamp is H6006. The H indicates Halogen. If the part you get is just a 6006, it is a regular incandescent headlamp.
-
That looks very similar to the rubber grommet/bushing that is used on the shift linkage of the Dodge, Durango/Dakota/Ram X500 four wheel drive shift linkage. Dimensions would confirm this. The bushing I am speaking of is about a 1/2 - 5/8 hole in the shift lever and is designed to fit a 5/16 or so linkage shaft. I have a transfer case out of a truck I can look at this evening if you need me to. I am only guessing at the dimensions.
-
Yes, I did bench bleed the MC. I figure you're right on the cracks at the fold. One of the main reasons for going to the copper-nickel line. I probably couldn't spot the crack if my life depended on it. I did reuse one of the old lines that looked ok but from what I hear they can have a lot of corrosion in the inside.
-
Today I started the engine for the first time even though I have had the engine built for quite a while, I am still working on the gas tank but there's nothing wrong with filling the float bowl and pouring a little fuel into the body of the carb. After retarding the timing from where it was it hit right off the bat. I had to fight an oil leak at the filter because I thought I never would get it tight enough. There was good oil flow though as it didn't take long to make a good puddle in the floor. Whenever I get the fuel tank and enough gas to keep it running for a while I can set the timing with the timing light. I had worked most of the morning trying to bleed out the brake lines without any luck. I had used steel brake lines which is all the parts houses in these parts had. I must have a air leak because vacuum bleeding makes it worse. I can get enough pressure to turn on the brake lights, but that's about it. I tightened all of the lines to the point something is about to strip out. I think rather than more brute force I will just back up and get some copper-nickel lines from Summit. I have all new wheel cylinders, a new 2 stage master cylinder, new combination/proportioning valve and residual valves on each end. I don't see fluid leaks, I just can't get any pressure. Any pointers guys?
-
Southern AZ B2B Build Thread
johnsartain replied to johnsartain's topic in Mopar Flathead Truck Forum
No, they're American Racing Outlaw Rims, they don't make them any more so I am told. The center caps have American Racing Logo's. I had those given to me for hauling off junk from a co-workers garage. I was just going to use them to roll it in and out of the shop but they are sort of growing on me. -
Southern AZ B2B Build Thread
johnsartain replied to johnsartain's topic in Mopar Flathead Truck Forum
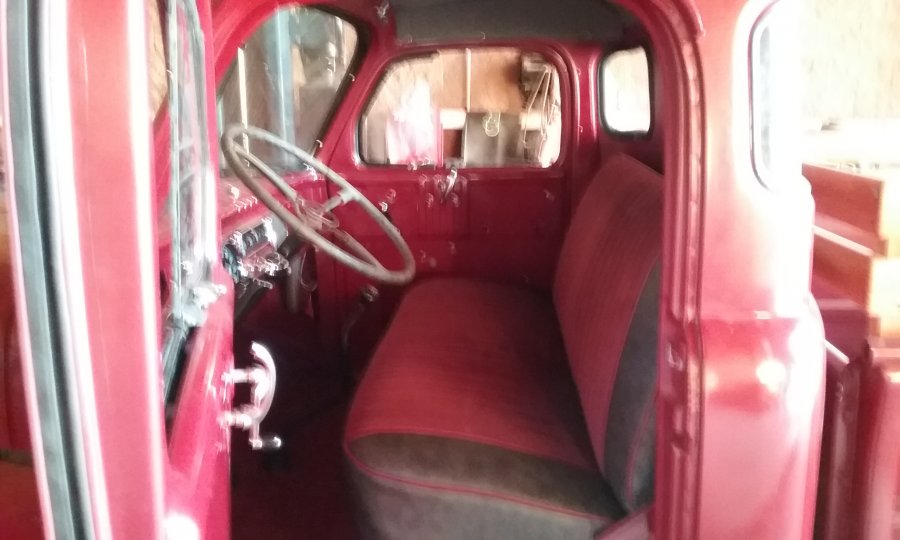
Last weekend I installed carpet and pad, and Friday night I got newly upholstered seats and installed them. While I was at it I also had to work on the clutch as the socket head cap screws that held the bearing retainer to the transmission were too tall and interfered with the clutch fork. I removed them and installed button head socket cap screws. They have a shorter profile, fixing the problem and gave full travel of the clutch pedal. Today I will install the seat belts and work on the door panels. I have some edge glued tongue and groove cedar I need to cut to size and finish. I ahm also going to bleed the brakes which I haven't done since I reworked the brake assembly. All that's left is the gas tank but I may fill the float bowl, start it up and give it a spin around the yard. -
Southern AZ B2B Build Thread
johnsartain replied to johnsartain's topic in Mopar Flathead Truck Forum
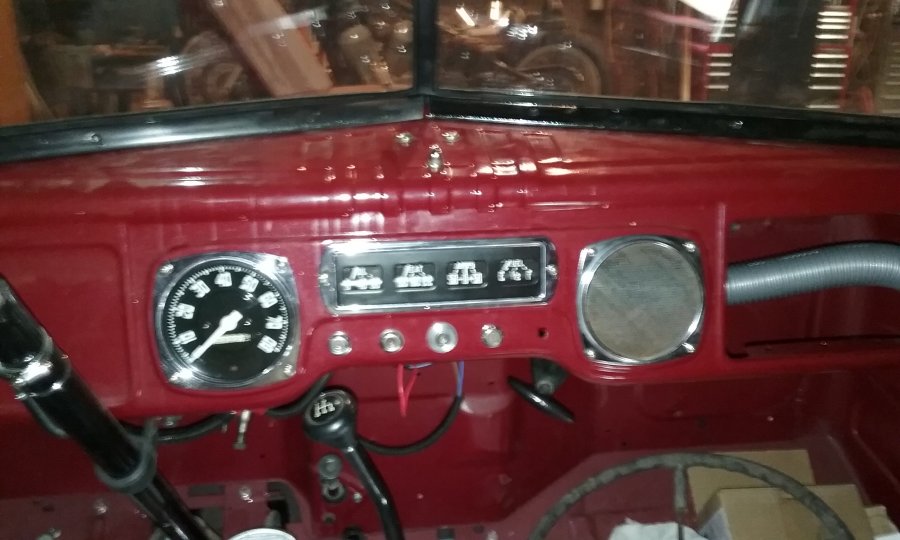
I sent the Gauges off to B1B Keven a few week ago and recently got them back in tip top shape. They look as good as new! I have them installed. All I lacked on that was a fitting to the back of the oil gauge and thanks to Jerry Roberts for his help on obtaining that. -
Making an assumption that your steering wheel is black plastic with a metal rod core, then using the steering wheel as is should not be a real big issue as long as the metal rod core has not been compromised. Typically the core is in good shape. The real issues is that the steering wheel looks ugly. VPW has 17" black plastic steering wheels, some of the keyed variety, some with splines, all to fit different size shaft. Their price is $195 if one will work. Getting set up with everything for a grant steering wheel could easily cost just as much. Beside the steering wheel you're looking at a mounting kit and a horn kit.
-
They still make them, I bought one from sears back about 1980 to balance the carbs in my MG Midget. https://www.speedwaymotors.com/Edelbrock-4025-Uni-Syn-Carburetor-Synchronizing-Tool,267.html for $29.99
-
You can also resize the image in Paint. Resizing to a different resolution will reduce the size in kb/mb of the picture.
-
Yeah, no problem, done just like that.
-
Thats the one and its what I I thought it was. Mine was missing the parking brake cable. at some point when I change rear ends I have to figure out how to tie the parking brake handle to the rear end. That'll be a hoot I bet.
-
I am curious about what the bracket attached to the frame is holding and what it goes to/where it come from. I have that same bracket but it isn't attached to anything. I cant think of anything it may go to with the exception of maybe the Hand brake cable.


