-
Posts
1,646 -
Joined
-
Last visited
-
Days Won
8
Content Type
Links Directory
Profiles
Articles
Forums
Downloads
Store
Gallery
Blogs
Events
Everything posted by falconvan
-
Very true; I’m putting Dakota steering and suspension under my 58 Dodge truck for that same reason.
-
Very cool truck! Leave it stock.
-
-
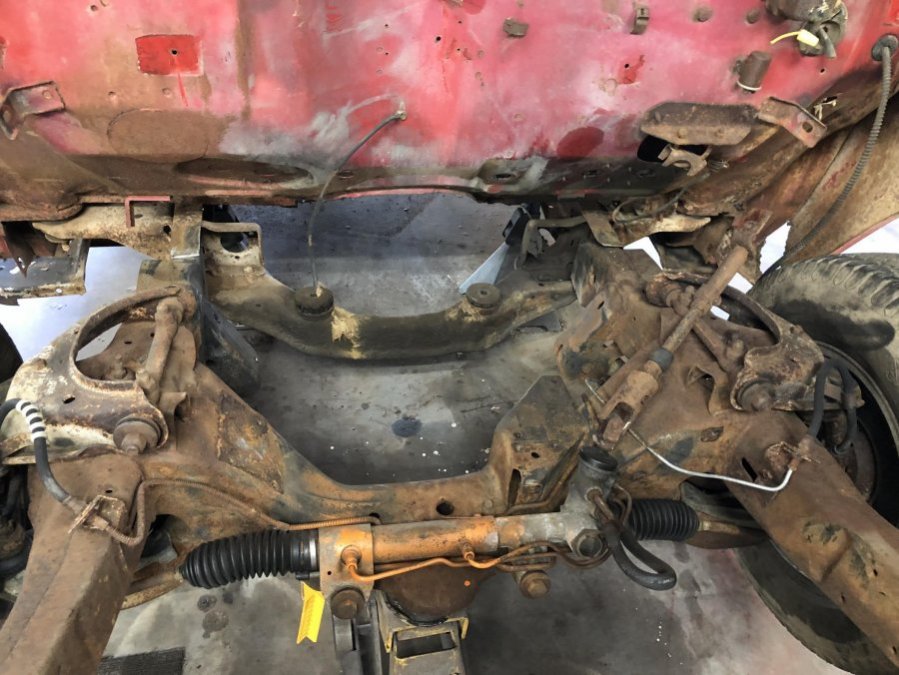
I got everything boxed and braced today; my old welder got a serious workout. I’m going to break out the power washer tomorrow. I also think I’m going to go ahead and change all the A-arm bushings, ball joints, and tie rod ends. Might as well start out fresh.
-
I’m glad I backed up and redid this; it came out much better.I set the motor in to see what it looks like loaded and it’s just about right. The weight of the trans, front sheet metal and radiator should bring it down a little more. Now I just need to add some more braces, clean up and paint the frame and firewall, and start on the drivetrain.
-
Wish I had the space, I'm just a little south of St Louis. I'd put the front clip back on and sell it as a project on Marketplace. There's a big hot rod culture here in Missouri and surely someone would take it as a project, even without the original drive train. If I didn't have two project cars now I'd take it. Another route might be to call Clay and Sons in Catawissa, MO. They have an all vintage Mopar salvage yard and may take it off your hands.
-
If I could go back to the beginning I’d definitely use a Mopar engine. But to do it now would have meant a different transmission, cross member, driveshaft, fabricating new motor mounts , etc. Didn’t want to get into that, this was basically a bolt it with few mods.
-
Thanks, I used a standard Chevy throwout bearing and a slave cylinder conversion kit from Novak. Very cool piece.
-
Andy Bernbaum still sells the stock ones. https://www.oldmoparts.com/parts-springs.aspx
-
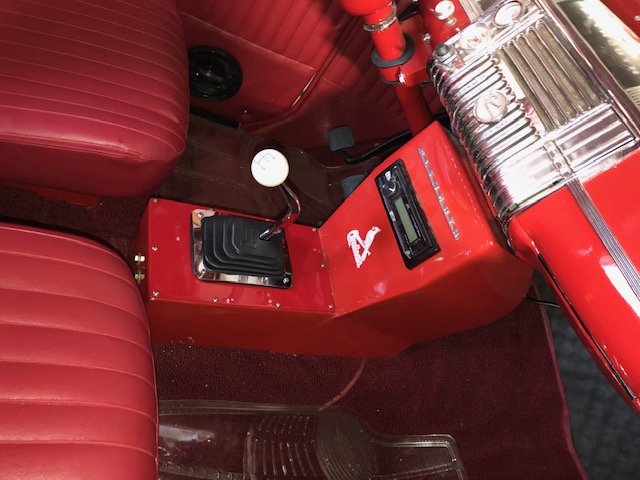
Haven't posted on this in a couple years but it's finally back on the road after a long stretch of dry dock. It developed a hideous noise that seemed to be coming from around the torque converter. After having the trans in and out a few times I decide to change it to a four speed manual trans and then realized it was not the trans but the LS motor devouring the rear cam bearing and the cam. So after much frustration and letting it sit for a while I sold off all the LS stuff and just bought a new base 350 crate motor from GM. Been driving it around for a few weeks now and finally seem to have all the gremlins out of it.
-
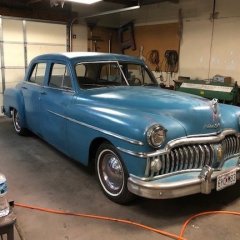
Dakota swap, clip or whole chassis?
falconvan replied to Steve-L's topic in Mopar Flathead Truck Forum
That’s what I’m doing except I’m keeping the flathead -
Nice! Love the bed and the pushbutton trans on that truck.
-
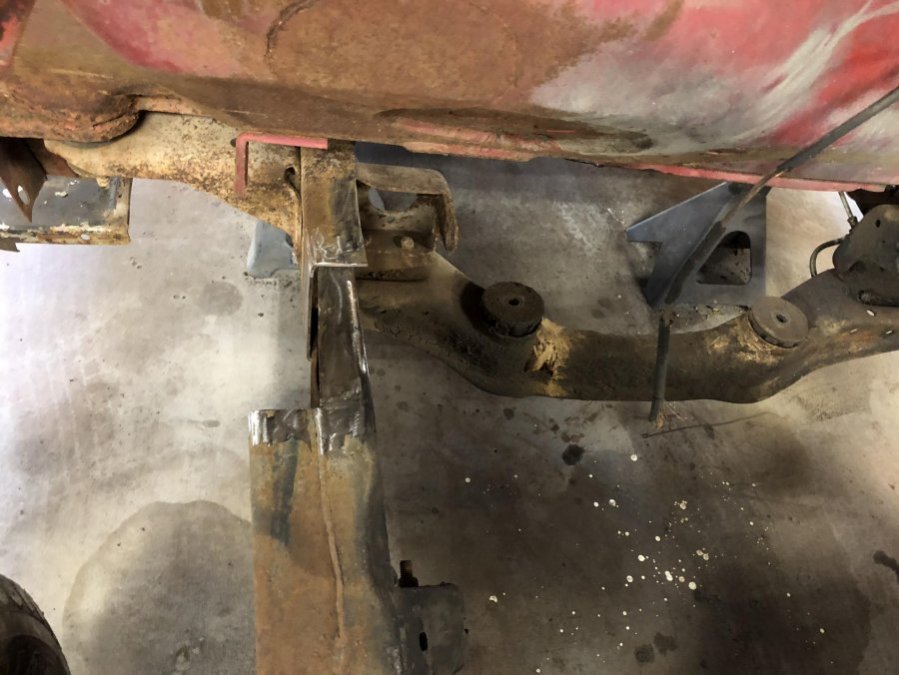
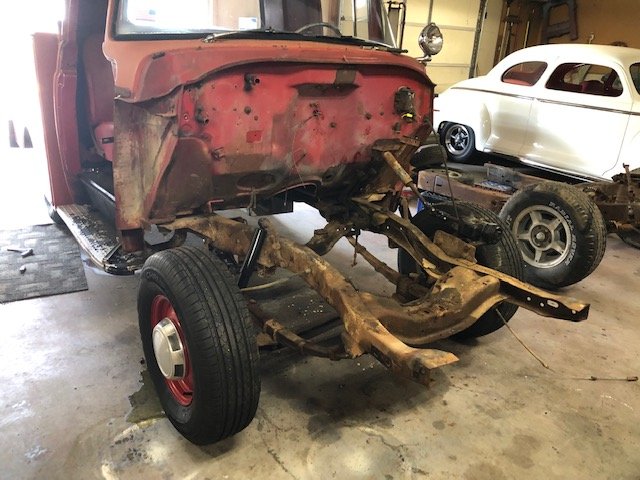
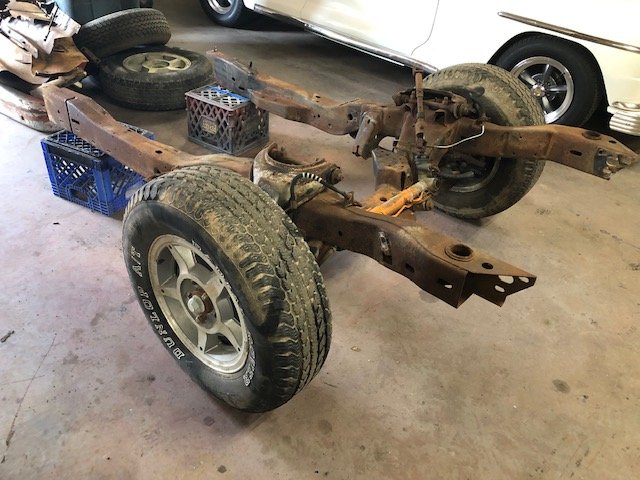
After a lot of thought I realized this is going to sit way too low and 10 times as much work to finish if I leave it this way. Doing a C notch on the rear would be a nightmare; it'd mean cutting the frame, bed floor, and possibly raising the engine and trans to get the angles right. I do still want it to be functional as a truck, just with better brakes and steering. I had a late night last night cutting the front clip loose and remeasuring. I don't want to do anything crazy to the rear end other than have the springs de-arched to take it down a few inches. Taking the overload springs out already took it down quite a bit. So I'm trying to calculate where the front end needs to be to have it sitting level after the weight of the drive train and front sheet metal are back on. So I think (hope) this is going to be the right place. Ended up with about a 4" offset between the original frame and the Dakota rails so I'll have to build some 1/4" fish plates to bring it together. We shall see once the weight of the engine is on it and I have the frame off the jack stands.
-
Oh yeah; 1/4" plate both sides, top and bottom. It's not going anywhere.
-
So I got the clip welded in solid; need to go back and put in some supports later but it’s good to finish the rest of the setup. I cut the front of the old frame off; this is where the core support and motor mounts mounted. Rather than trying to recreate this, I’m going to cut off the front of the Dakota frame rails and splice this in. I marked the location of all the mounting holes on the concrete using a plumb bob and a tape measure before I cut the frame so I should be able to get it back in the same spot.
-
Got the front measured, cut off the original frame, and doing some trial fitting on the Dakota clip. Looks like by notching the Dakota framerails, I can slide about 6" of them into the original frame rails and then weld in supports. Also looks like the original underfloor pedals are not going to work so I'll using a firewall mounted master cylinder, hanging pedals, and converting the clutch to hydraulic.
-
I’ve converted several 6volt cars to 12volt and I always just leave the starter as is. Never had an issue.
-
Nice! Those Sweptline trucks had some beautiful beds.
-
-
Not many wires in these old trucks, is here? The whole truck on one page.
-
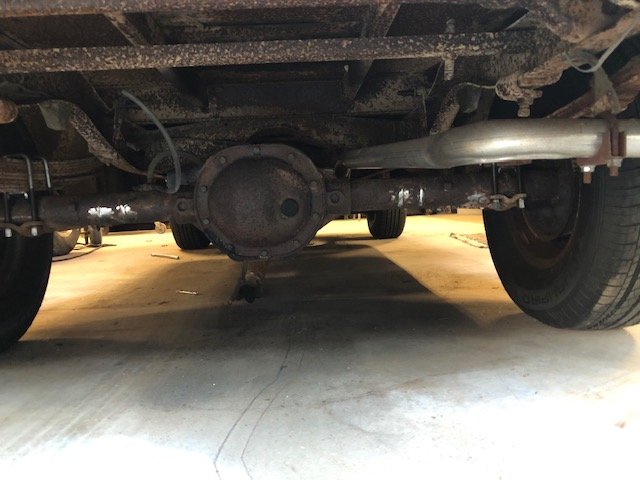
Got the Dakota rear swapped in; perfect fit. Even the driveshaft will work with a u joint change. Just leaving it bolted in loose until I get the front clip in and see what the front ride height looks like.
-
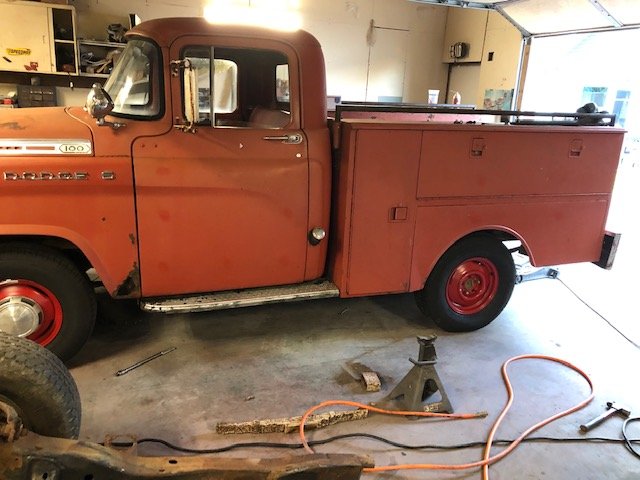
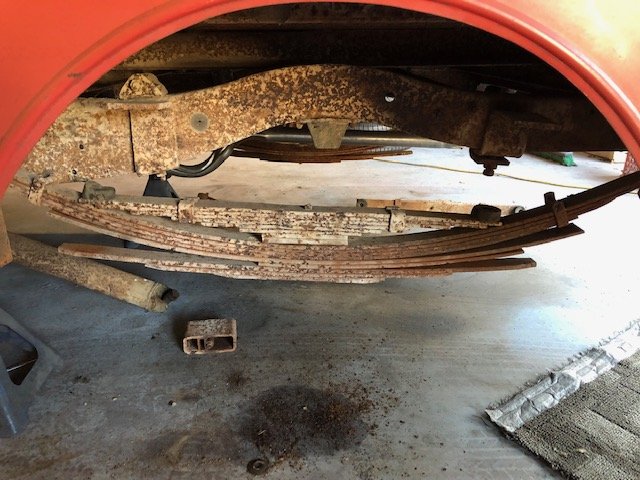
From what I read the first generation Dakotas are the best to use. Not sure on the wheelbase; I'm not using the whole frame so I wasn't concerned with it. The Dakota frames have a kick up past the cab that would not have worked with the service bed unless I wanted to raise the floor in it. I'm going to cut the frame at the firewall and mate the Dakota front stub to it; plus change to the Dakota rear end. You think it had enough rear springs? The Fire Department that had this must have really hauled around some heavy gear to need all this.
-
Awesome build! Man, you dont mess around.
- 695 replies
-
Nice! Good looking truck.
-
I had a similar issue on a Rambler; the wire that went from the coil to the points was brittle and cracked and was shorting out to the distributor body where it went through the hole. Replaced wire from points to coil along with a new rubber grommet.


