-
Posts
805 -
Joined
-
Last visited
-
Days Won
9
Content Type
Links Directory
Profiles
Articles
Forums
Downloads
Store
Gallery
Blogs
Events
Everything posted by tom'sB2B
-
-
I’m still in the process. Finding a machinist that still knows these engines and will work with you regarding buying parts, proper machining and pressing in valve guides. Ect. Utilize this forum and your service manuals. You will find everything you need to know from this forum. Including some great and knowledgeable build threads. The prep work... bagging and tagging everything and then properly cleaning everything. Makes the rebuilding portion so much easier and enjoyable. i like to make lists, which helps me prepare knowledge wise for what I need to do next and if I can tick off one or two things a week, I feel like I’m making progress. Honestly. I’m the last person you should ask. This is my first rebuild..and I ain’t close to being done. Hopefully some more knowledgeable people can chime in.
-
Stick a fresh piece of cardboard under it and see where the major leaks are coming from..rear main seal, timing cover gasket, etc. the valve covers can be reached without removing the manifold, though you may have to remove the tire and lower inner fender to get at them.
-
-
http://www.curbsideclassic.com/blog/the-amazing-maltese-bread-van/
-
After reviewing some old posts, I think you are right about it being backwards. Thanks for saving my butt!
-
-
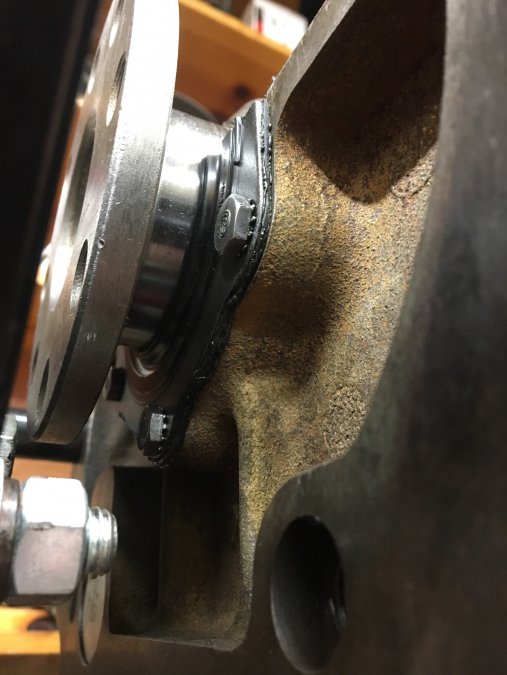
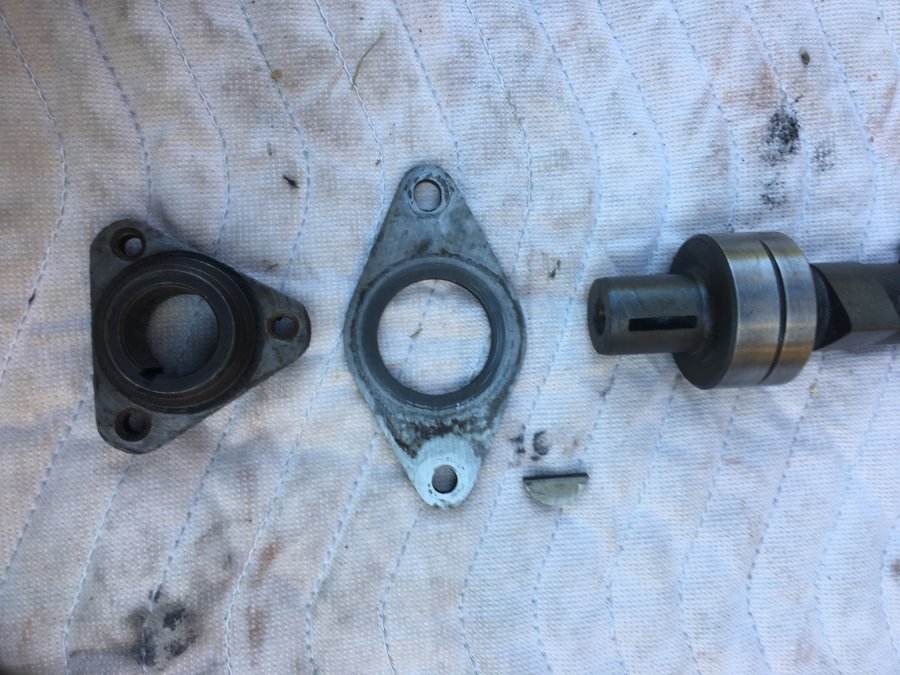
As for the seal. This being my first build. And no instructions came with the gasket. I assumed that the seal “lip” would be matched with the sloping outside angle of the thrust plate. Maybe someone else help?
-
Beebe5, thank for checking out my work. I’ve been following your build thread and using it as s guide for my own. You did a amazing job. As for the flange bolts. My car has fluid drive. The bolts are attached to the fluid drive unit and nuts are then attached behind the flange
-
-
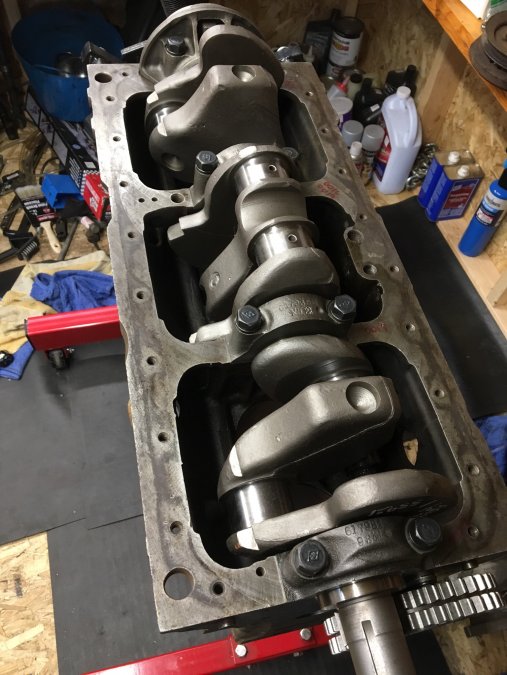
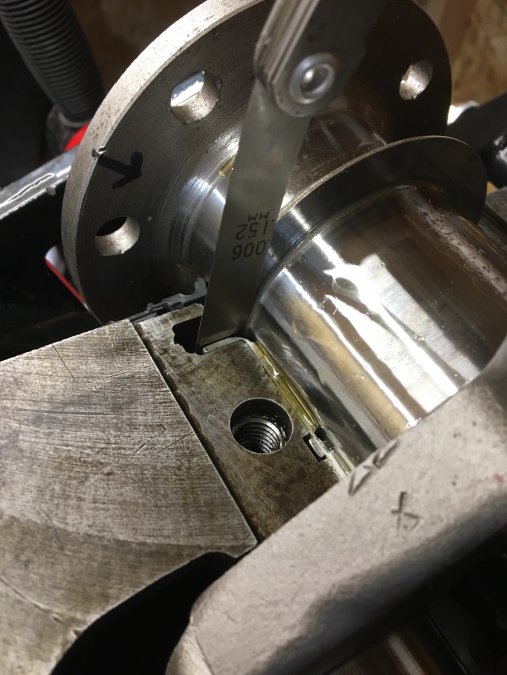
Installed crank. Put in top of rear main seal. Put the first three caps on. Checked the end to end play before putting on the rear cap.
-
-
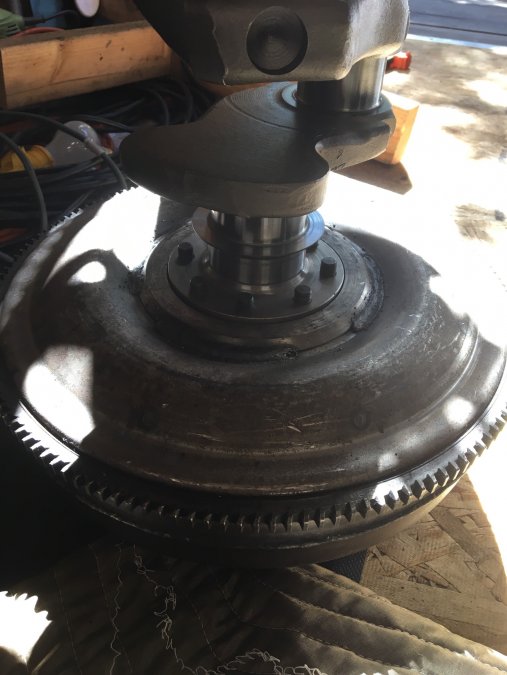
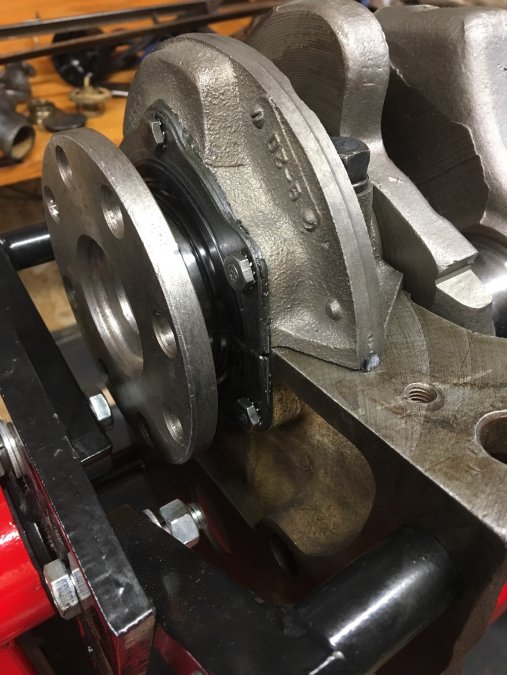
This might or might not help On the right is a crank with an 8 hole flange. On the right is a four . On the 8 hole, from the rear main cap to the flange is 1/4” longer than the 4 hole
-
-
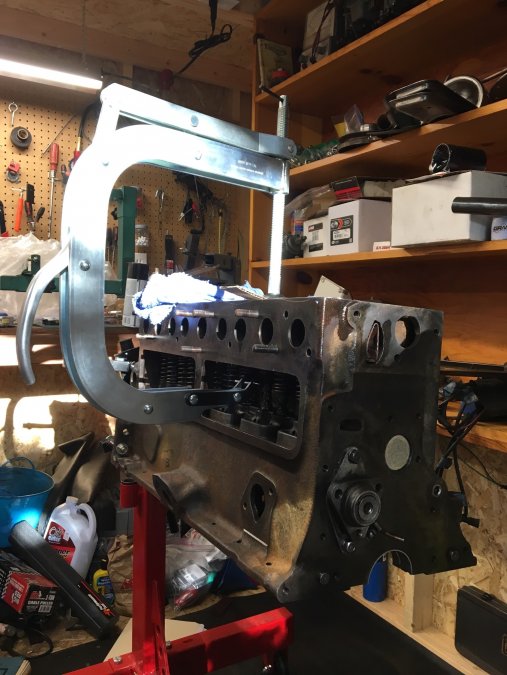
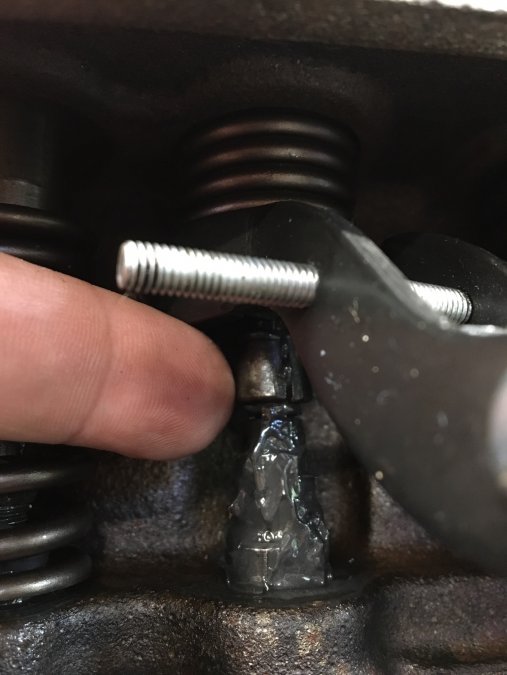
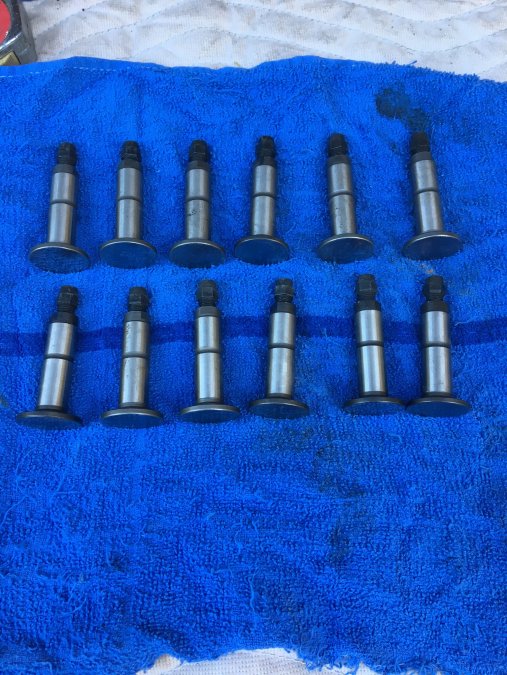
It’s exciting to finally start assembly. Started on the valves. Lubed all valve and lifter guides. Lubed lifters. Assembled front of cam.
-
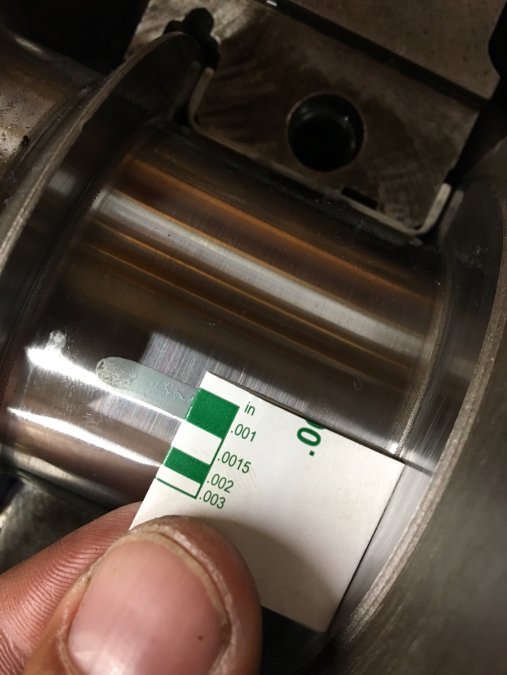
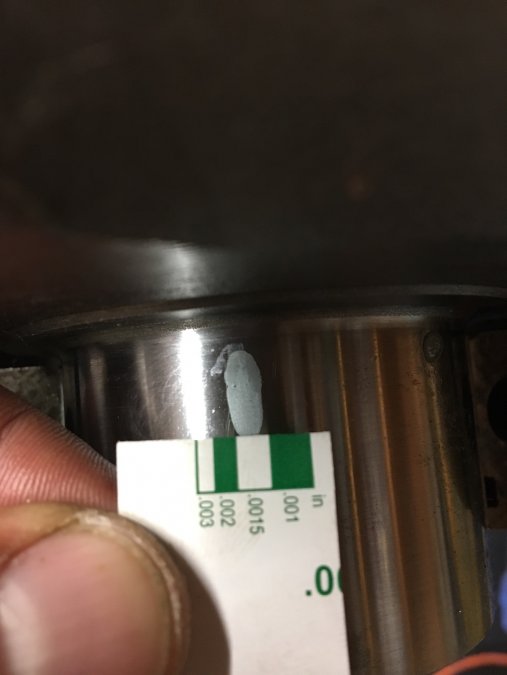
Thank you. That gives me peace of mind. I measured the clearances three times with the engine upside down in the stand and found all main bearings between .001-.0015 . I will stop worrying about it.
-
So I talked to my machinist. He used a bore gauge to measure the main bearing clearances. He got .0020 .0016/.0019 .0019 .0022 I used pastigauge and measured .0010 .0010 .0015 .0010 what measurements should I believe? If I believe the bore gauge, and I have too large of a clearance, what should I do? Try to find bearing shims? Or..?
-
As a side note. I was going to have the machinist set the crank in but he said he needed the flywheel bolts. I frantically searched for them thinking the were lost. After I brought the crank home, I realized that the fluid drive unit has the bolts that go through the crank flang... sigh.. what a dummy I am!
-
Thank you for all the brass welsh plug references. i ran into my first snag/question. I had the machinist install and mix the main bearings. He measured them as: Rear .0020 .0016/.0019 .0019 Front .0022 Looking at my book. I realized that a clearance of .05-.0015 I then plastigauged the mains (torqued at 80lbs) and came up with measurements which I think are within the requirements. The crank was sent out to be ground and I purchased bearings .010 . I’m going to call the machinist tomorrow, but any thoughts would be appreciated
-
I assumed when I bought the plugs from Bernbaum’s they were going to be brass. I guess I’ll have to search for brass ones.


