
Leaderboard


Popular Content
Showing content with the highest reputation on 02/11/2024 in all areas
-
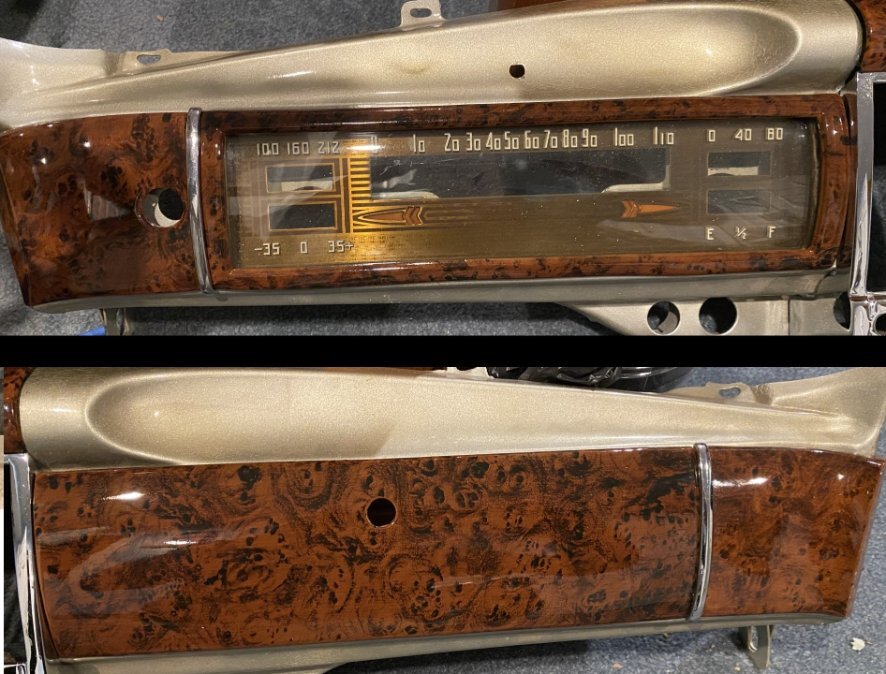
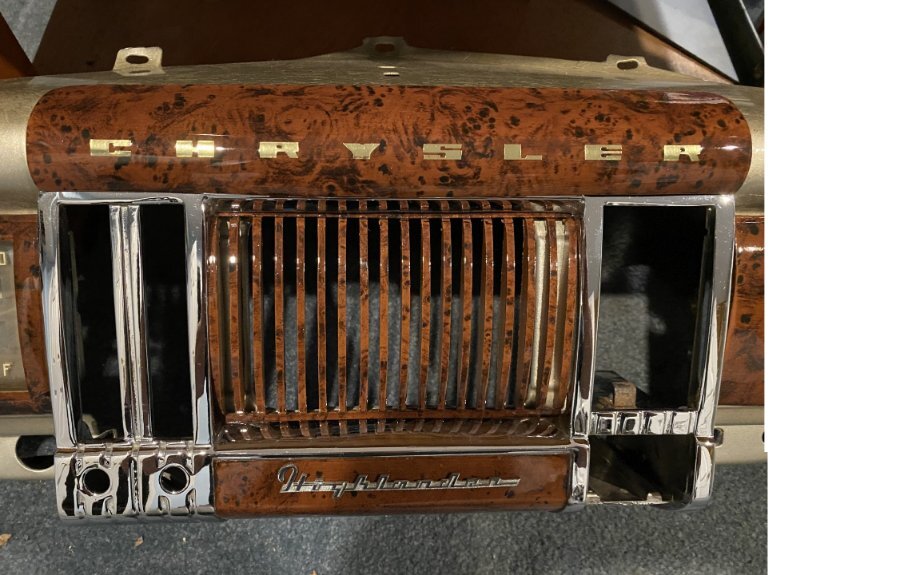
Just finished this set of 41 Chrysler plastic this past weekend and was So happy with how it came out that I had to post it. It looks better in person than the pictures can show, the shine on that clearcoat is amazing! My first try at woodgraining came out really good, nod to Grain It Technologies, but what's really cool about this set is...all of these pieces are copies, made from silicon molds, and cast in my basement. Nod to Smooth-on for the mold making and casting part of the project. I'm probably jumping the gun a bit by calling this a 'set' since I haven't quite finished the door strips yet, but I'm working on it...
 7 points
 -
Good questions, thanks! I'm happy to go into more detail and I'll get some in progress pics as I continue to make more. These are two completely separate and distinct processes. I started out several years ago just trying to solve the glove box door issue, then onto the gauge surround, and one thing led to another and I wound up doing all the dash pieces. I only started thinking about woodgraining a couple of weeks ago. To make the set above, 5 of the 6 pieces were test pieces I cast years ago, the gauge surround was the only one I had to make fresh. I was thinking about ordering the woodgraining stuff piecemeal but once I started adding up all I needed just to get stated it made sense to bite the bullet and get a kit. I got their midrange set that came with one 6" roller and one large pattern stamping sheet. Its a bit pricy but given I can make multiple sets of plastic it made sense to me\for me. For the mold making, here's a good video of a Smooth-On guy making a parking light lens. The overall shape of that lens is a pretty good analog for the dash end pieces. I'll go into more detail and will add some more pics, but theres a certain football game on TV today that needs to be watched! How To Make a Replacement Car Lens Using Crystal Clear 202 (smooth-on.com)2 points
-
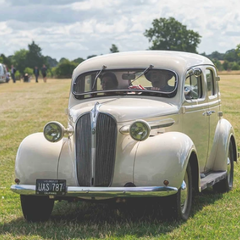
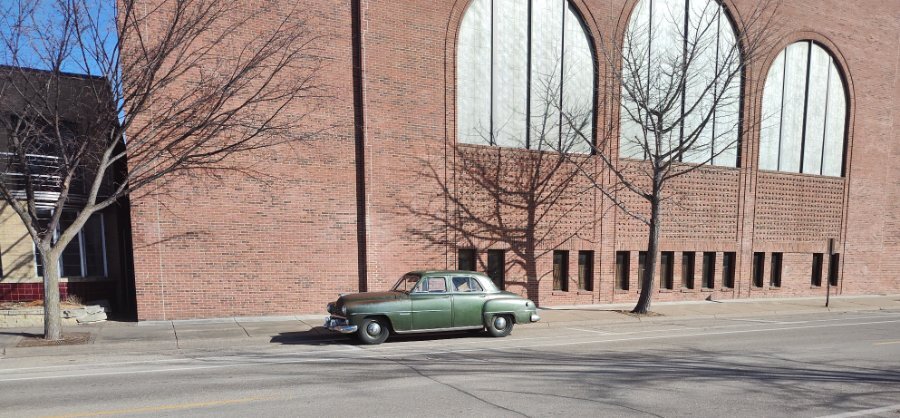
2-10-24: Out on a sunny Saturday running some errands. Parked across the street from the post office while there mailing tax documents. Also zipped over to the co-op for spelt bread and organic apples. Attempted to stop on 3rd St for a photo op (see previous post), but the traffic was too heavy.

 2 points
 -
Well, a new Edgy head for the 25" flathead, when available, sold for $1950.1 point
-
Nice to hear from you again, I've always enjoyed your posts & the car looks just as nice.......regards from Oztralia..........andyd1 point
-
About enough work for a day, at least it's tacked together .
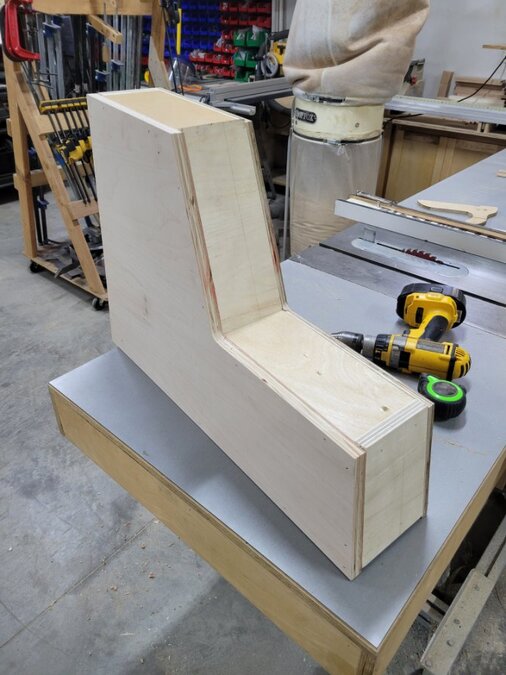


 1 point
 -
Back home in Minnesoota, Sven, and Oly went ice fishing. They got out to the middle of the ice and started drilling a hole. Suddenly they heard a big booming voice that said, "There's no fish under the ice"! So they packed up their stuff and moved to a different spot and again started drilling a hole. Again they heard that same big booming voice, "There's no fish under the ice"! They looked at each other and scratched their head and Sven said, "Lord is dat you"? The big booming voice answered, "No, I'm the skating rink Manager"!!1 point
-
I couldn't tell you exactly what I used but I think it was 3M Adhesive. It accomplishes both tasks of holding the cap centered AND holding it tight against the cap so when the edge(s) are peaned you get a good,snug fit - which would prove to be a difficult task without adhesive unless you made some kind of a press to pean the edges - similar to what the factory did.1 point
-
I did replace the skins on my hubcaps several years ago. What I did was remove the old skin by prying the "lip" up. Then I sandblasted the metal hubcap to get a nice smooth surface - then I primed them to prevent rust. I then installed the new "skins" (which I believe were $40.00 each) by using a strong adhesive which I let dry - then I peaned the edge to wrap around the cap. I have yet to install the "new" hubcaps on my car - they are still in the box. I know $100.00 each is a lot of money BUT....if you rechromed yours it would probably be about the same cost (or more???) BUT...then you have to paint the CHRYSLER script lettering - which never seems to look good. It isn't very difficult but it is time consuming. Centering the skin is probably the most difficult part of the process.1 point


