-
Posts
152 -
Joined
-
Last visited
Everything posted by westaus29
-
We are locked down here as well, but being down under is a bit of a bonus in these troubled times, Our biggest issue has been with a number of cruise ships with sick passengers. One came into Sydney a couple of weeks ago and they let everyone off without any checks. That has now spread all the way to us in the west. We have had three ships come into Perth that have been handled a lot better but still have one with sick people coming off it daily and its probably not in a position to leave anytime soon. Meanwhile we are going nowhere. I'm making rapid progress on the 38 in the shed, the wife is busy quilting, and the 29 and 55 Plymouths are gathering cobwebs. Weather here is beautiful, autumn at its best, so different to you guys struggling out of winter. I spent 7 years in Northern Ontario above Lake Huron, and dont miss the cold one bit..
-
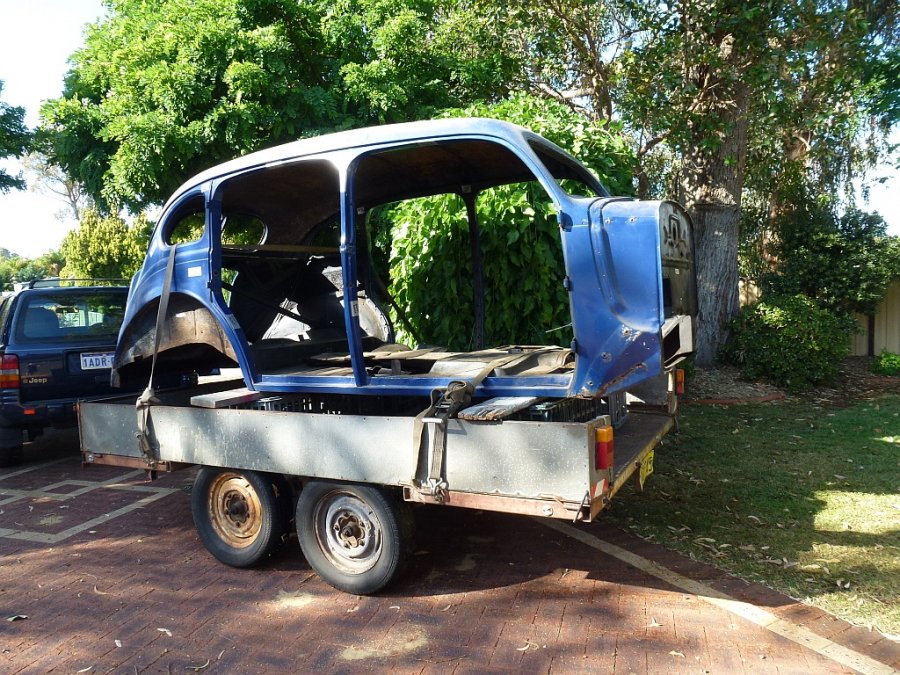
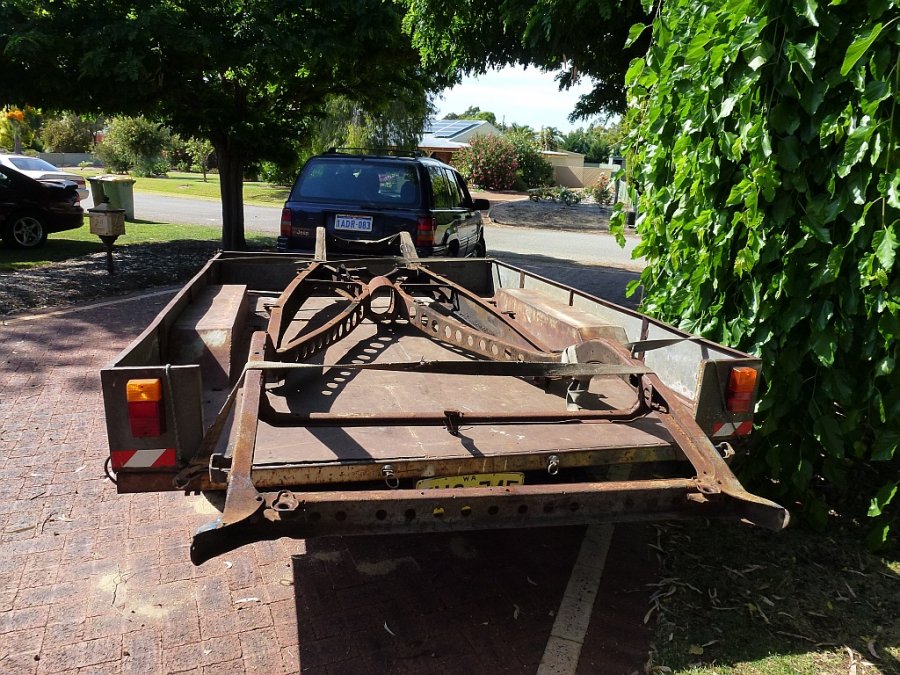
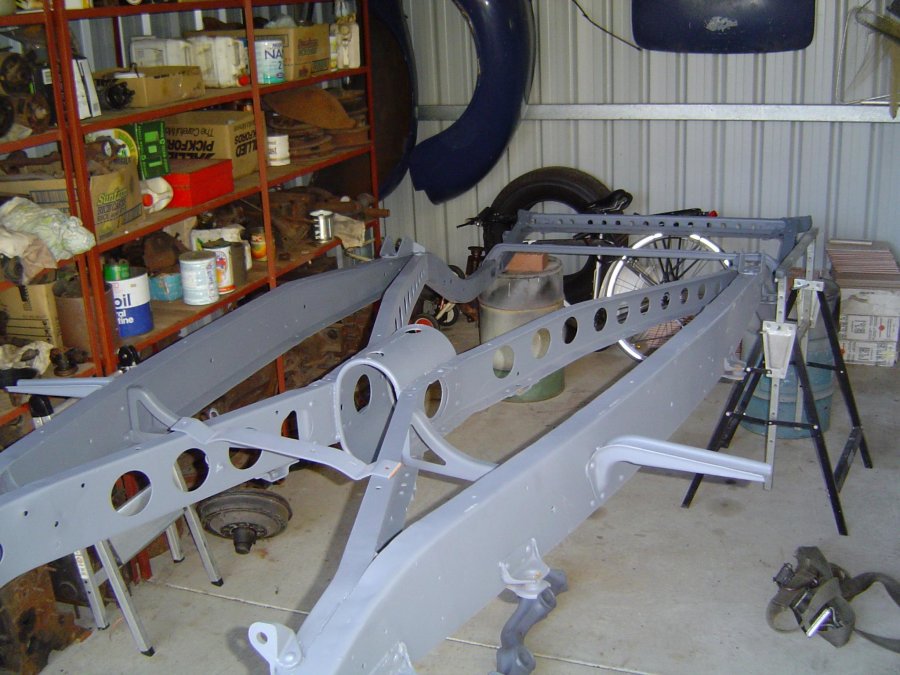
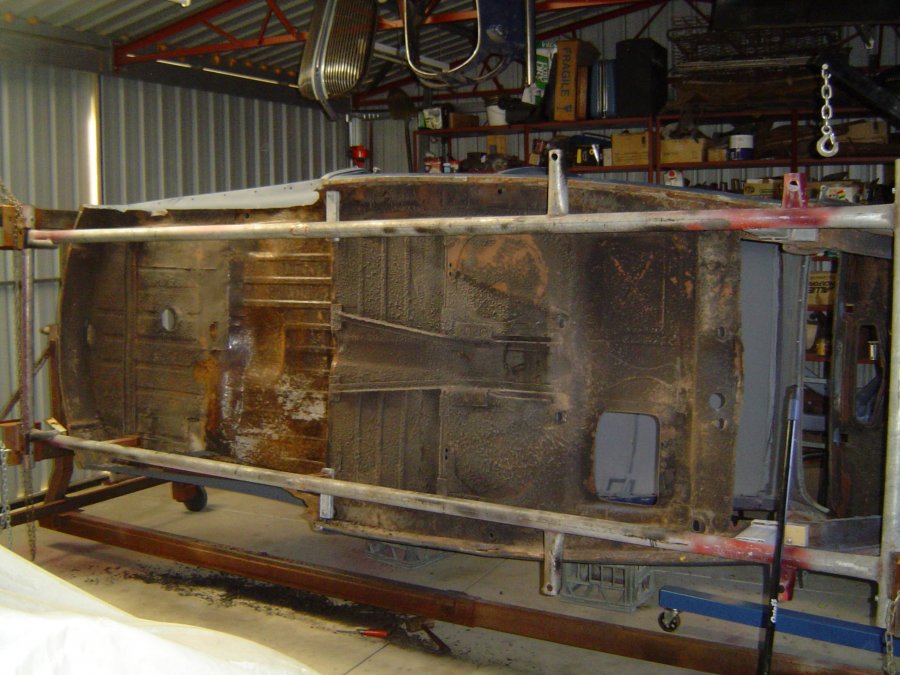
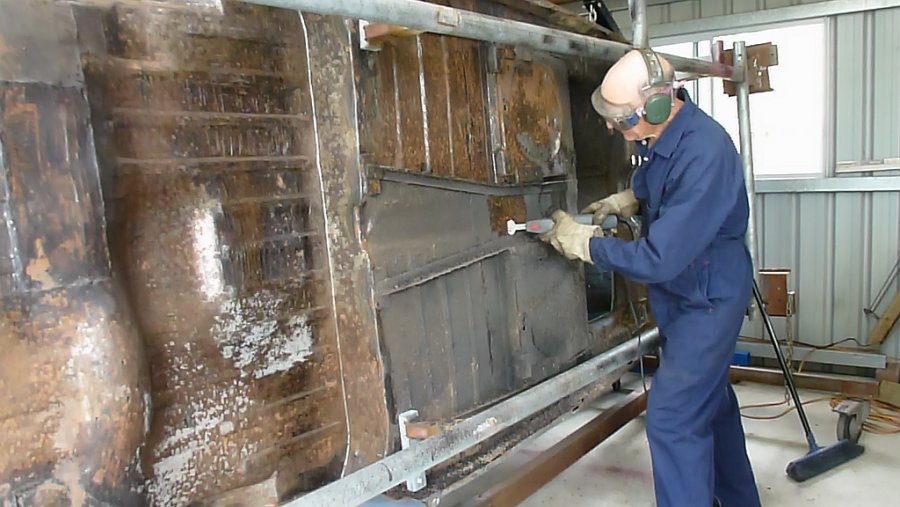
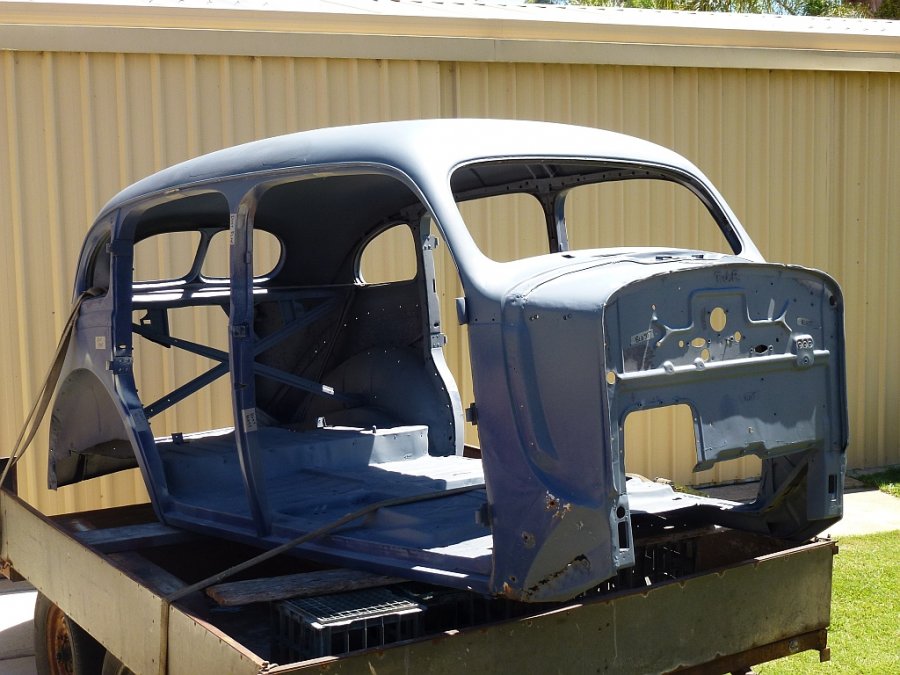
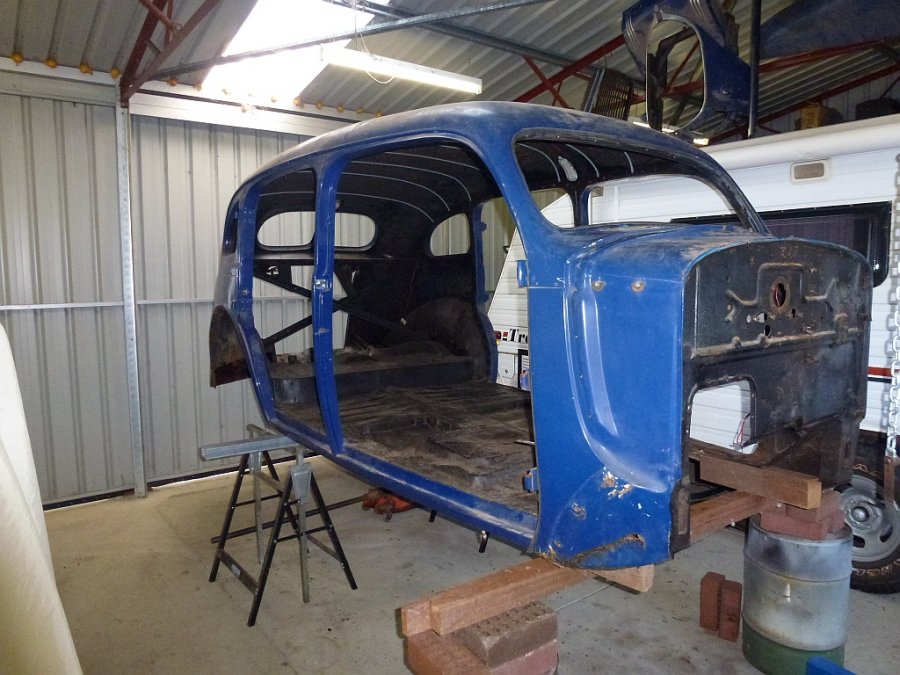
Body and chassis off to sand blaster. One of my mates found this guy less than a km (half a mile) from here who is passionate about old cars, and one of his workers knows how to treat panel work gently. My only other alternative would be to take it to Perth on the back roads, a good 90 min trip. The chassis came back in a week, looking great in epoxy primer But the body got recycled back to me ... too much underbody coating, cant sandblast it they said. My mate supplied a rotisserie he had built when restoring his 55 Buick coupe, and we set it up and I started scraping. Rapidly realised my wrists wouldnt last the distance. Another friend suggested try an electric paint scraper, they're cheap at Bunnings (where all my presents come from). So for $A35 (about $US20) I got a Chinese one with 12 month warrantee and started again. Turned out it was the bees knees for removing underbody, as long as it hadnt been anywhere heat (like previous weld repairs). Two days later it was done and back for sandblasting, but I had missed the window and had to wait another month. That paint scraper is still going strong! Finally back home. I didnt get the whole body done, only where there was rust or bad paint, as I had a good idea what was under the blue paint, as did it myself back in the 80's. Next time I wouldnt get it primed, as due to the delays another guy did the job and I much later discovered he had put primer over rust on most of the roof and firewall. But for now I was happy.
-
I have stacks of photos on pc and phone, backed up on external hard drive, google photos and Microsoft Onedrive, all free. Probably overkill but my wife takes way more photos than me and we have been trying to get them "all in one place" and in a usable format. I have settled on Google Photos as it is super easy to organise into albums and view from pc or phone. However it is a pain when it comes to pasting in an email or on this site. Have decided to live with that. Microsoft photos was too hard to organise. I am sure there are other opinions and ways but I am a bit of a cheapskate and choose the free option. One problem I have when I go to put photos online is that I always seem to miss taking a photo of an important stage, like I'll have one of the restored article but not one of what I started with, or how it should go together again. I really admire posts where there is a good sequence of photos, because it shows you have to keep checking and taking photos, when all you want is to get the job done. I sometimes have to go back and take a couple more photos, and with google photos you can easily change date stamping to keep the story in the right order.
-
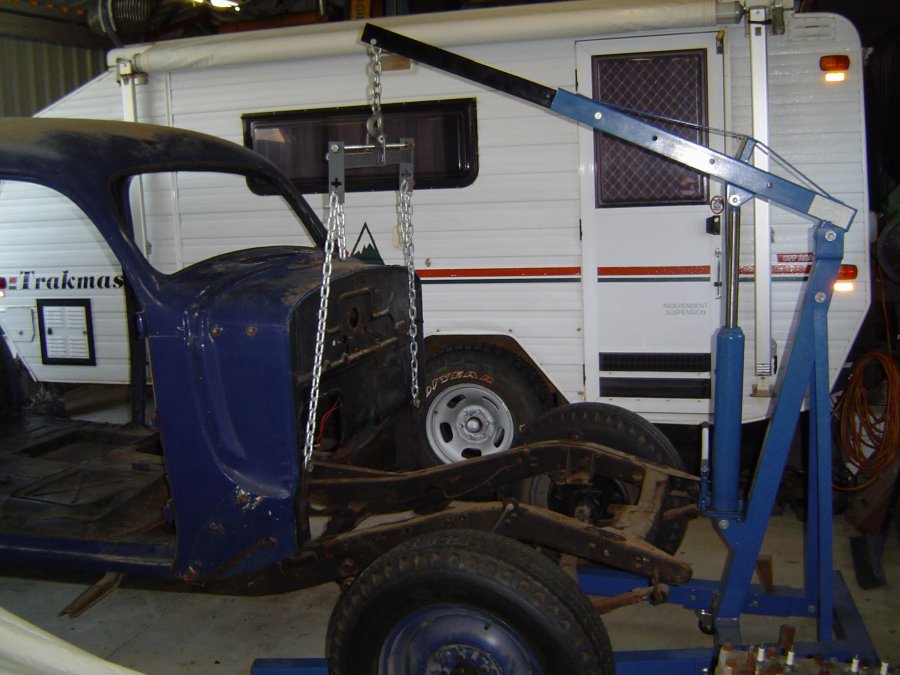
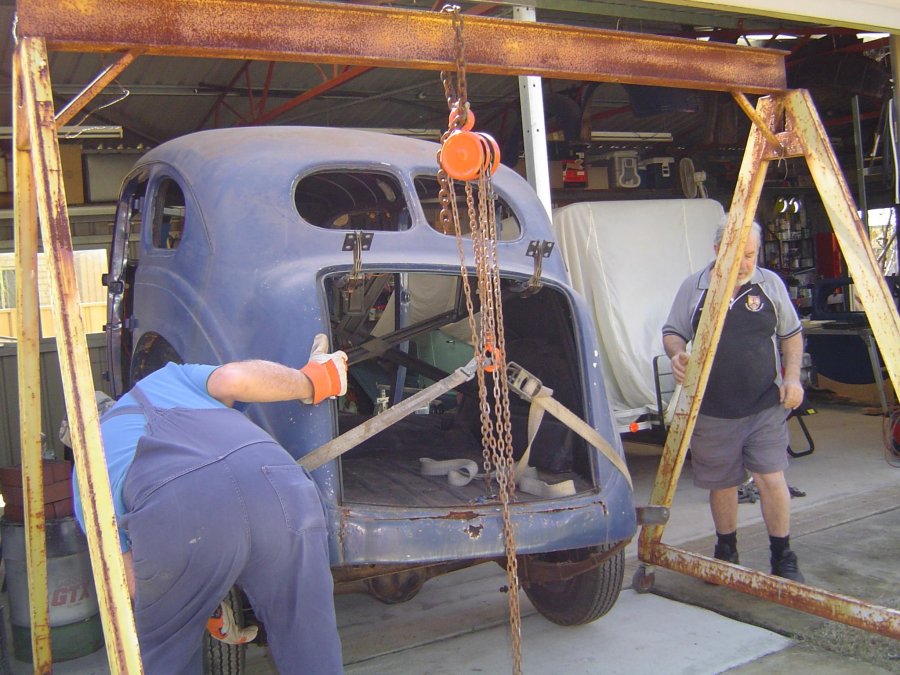
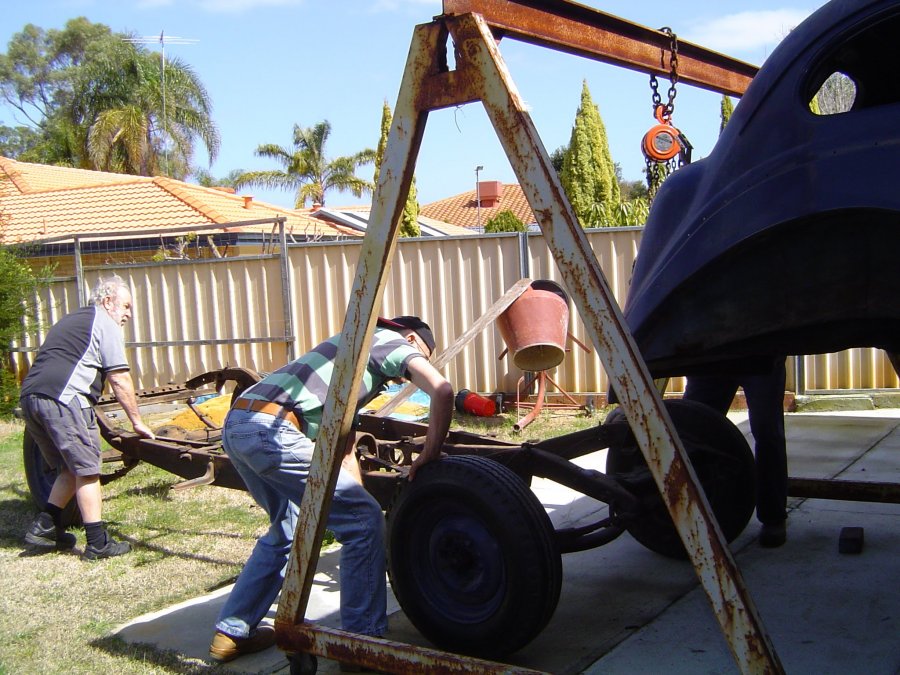
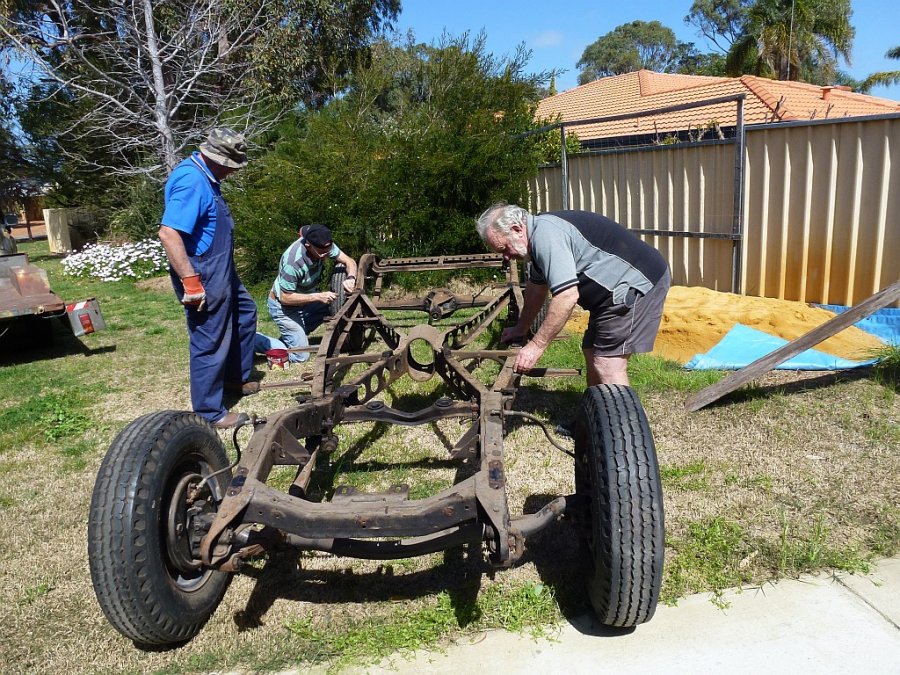
Time to lift the body off the chassis. Used and engine crane and leveller at front, borrowed "A" frame at rear, two helpers Rolled chassis out from under and lowered body onto temporary supports. A big beast! Took multiple photos of body mounts for later
-
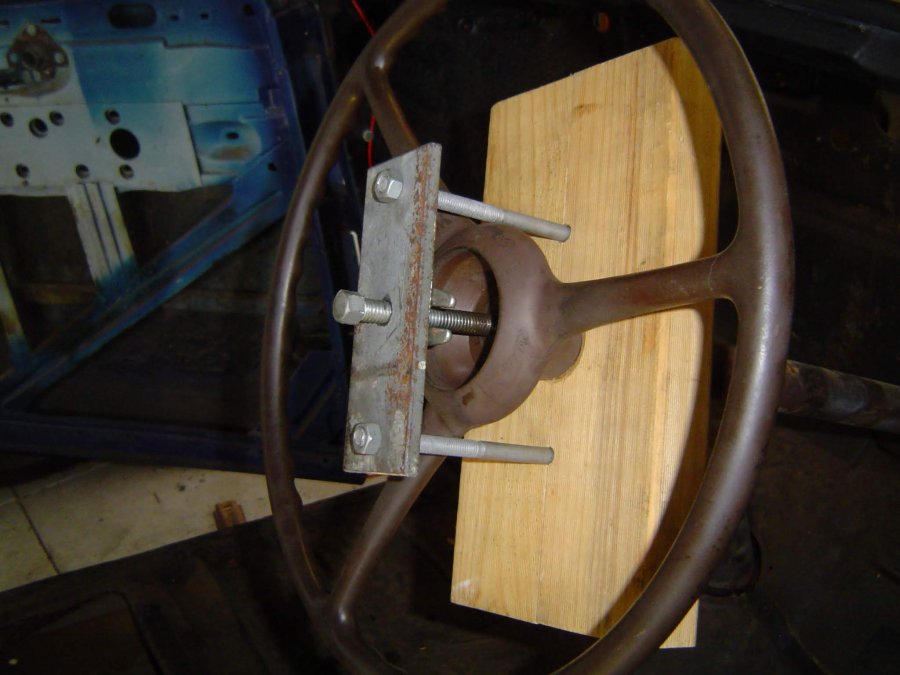
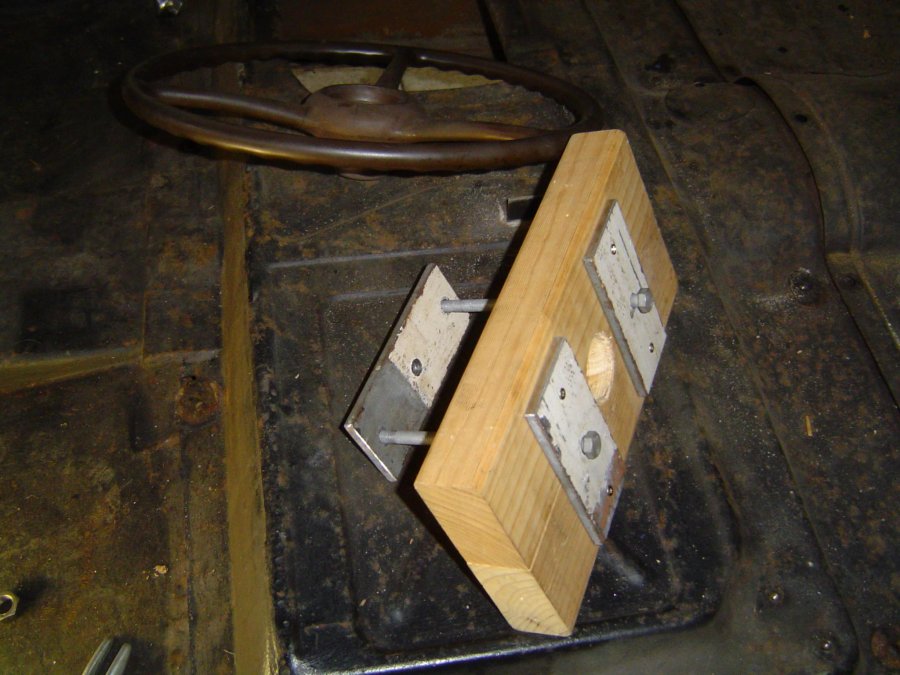
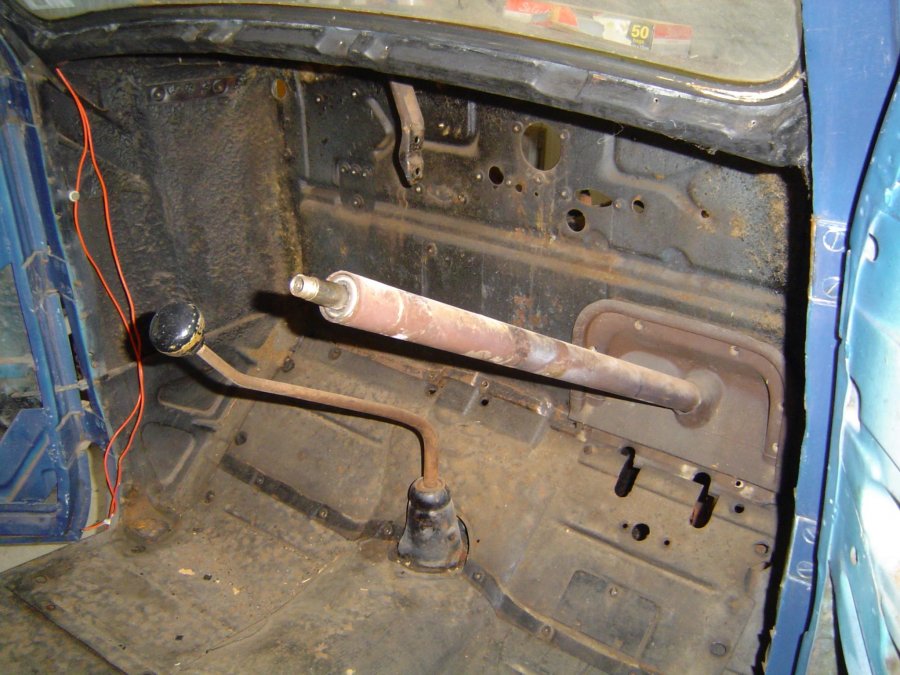
Took photos under dash then removed it, wont bore you with photos as much of wiring was a mess. Used a patented puller to remove the steering wheel. Floor is in pretty good shape
-
-
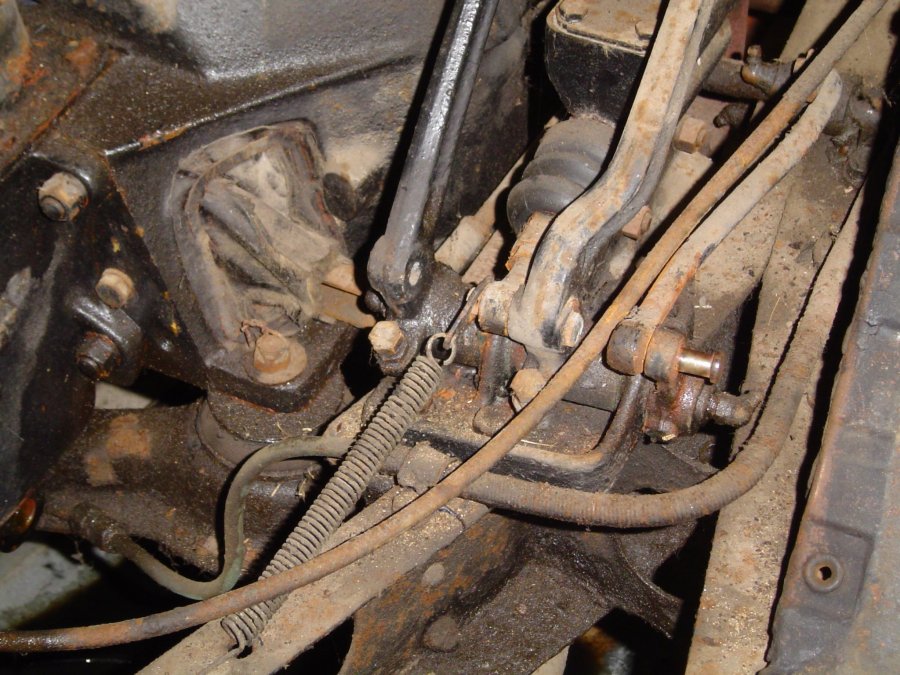
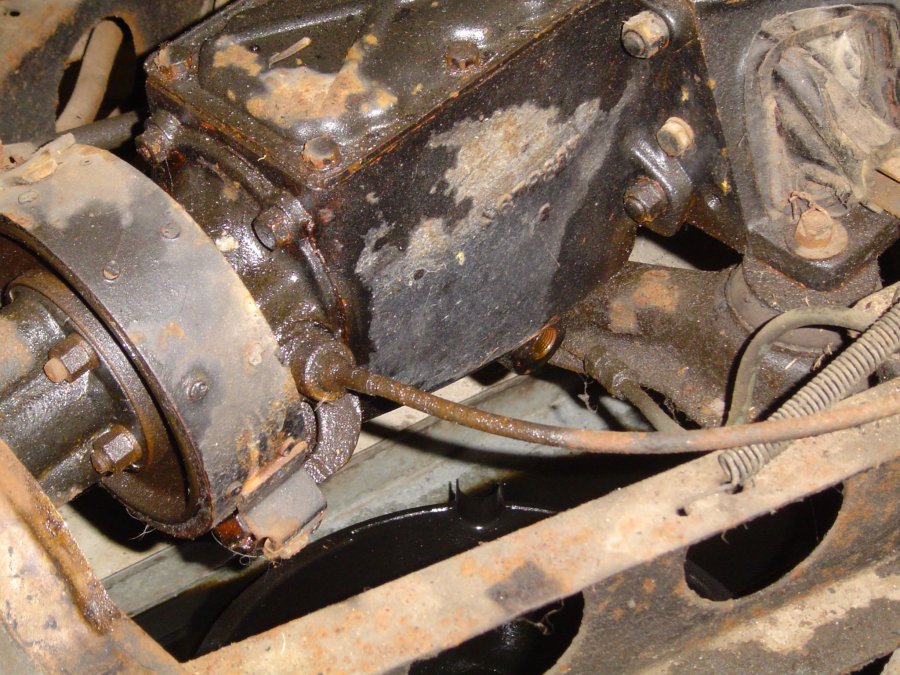
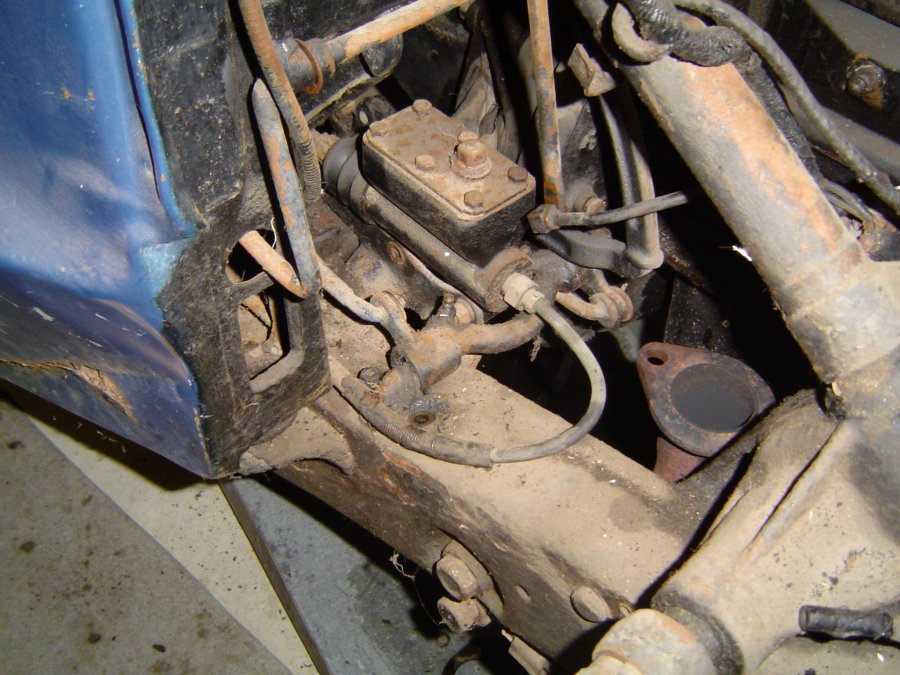
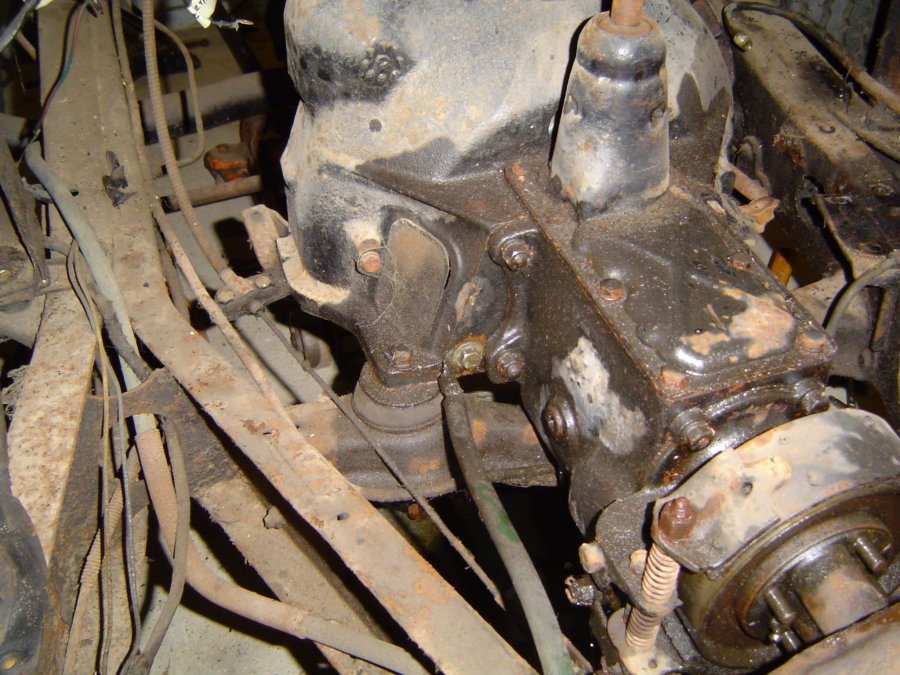
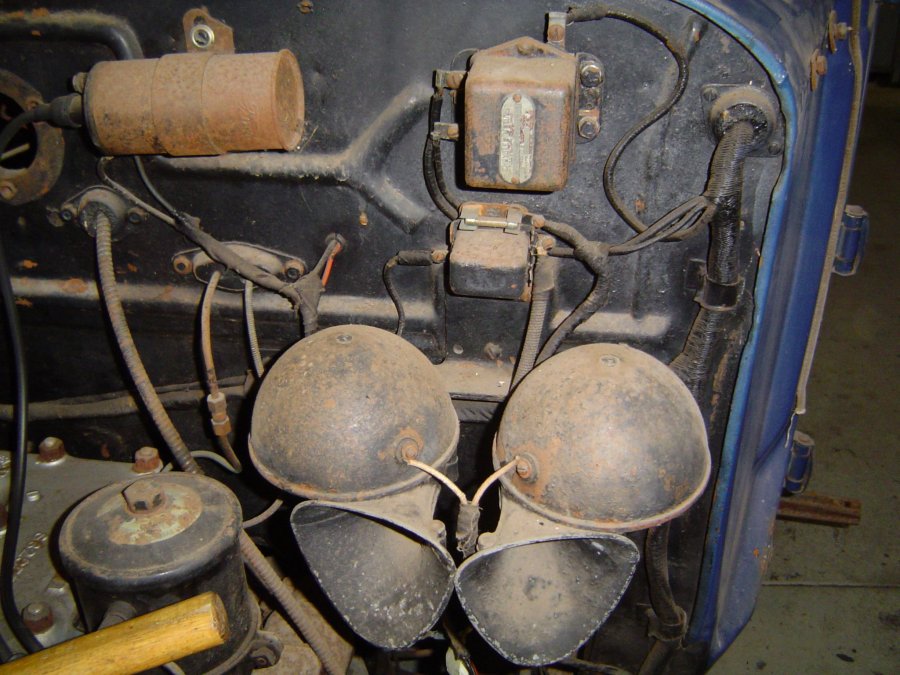
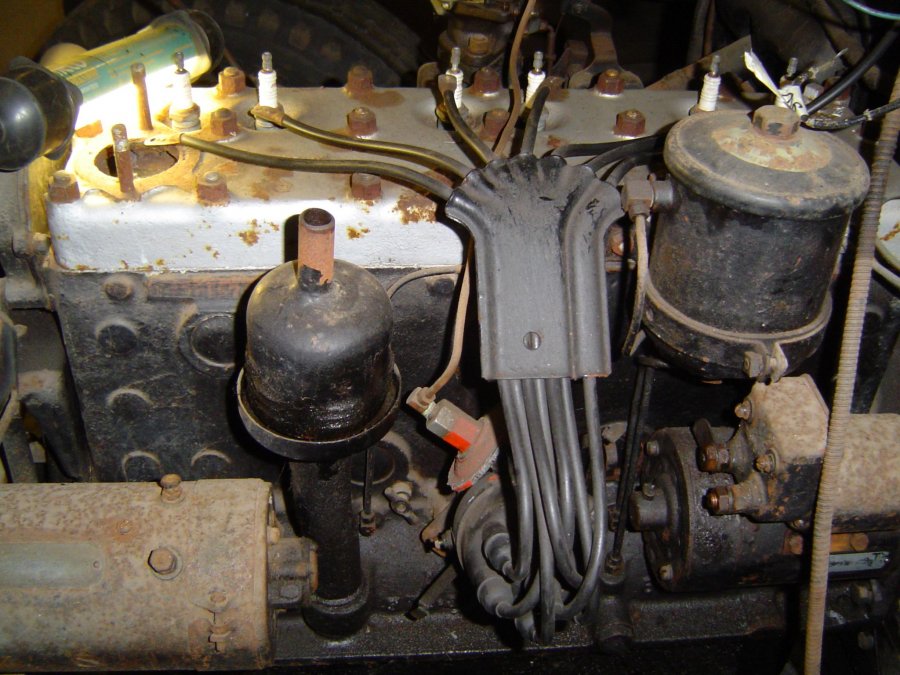
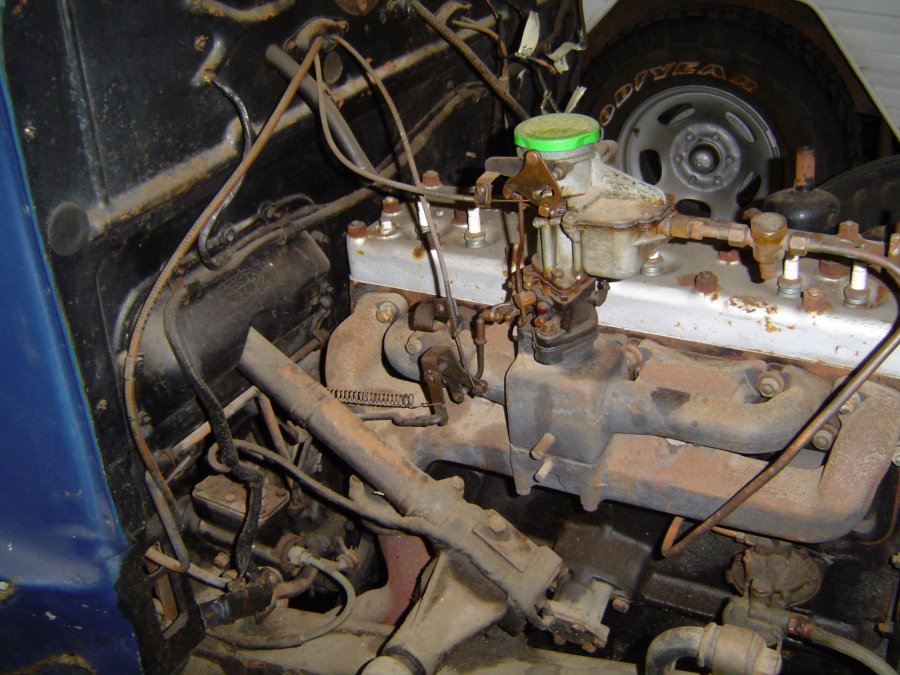
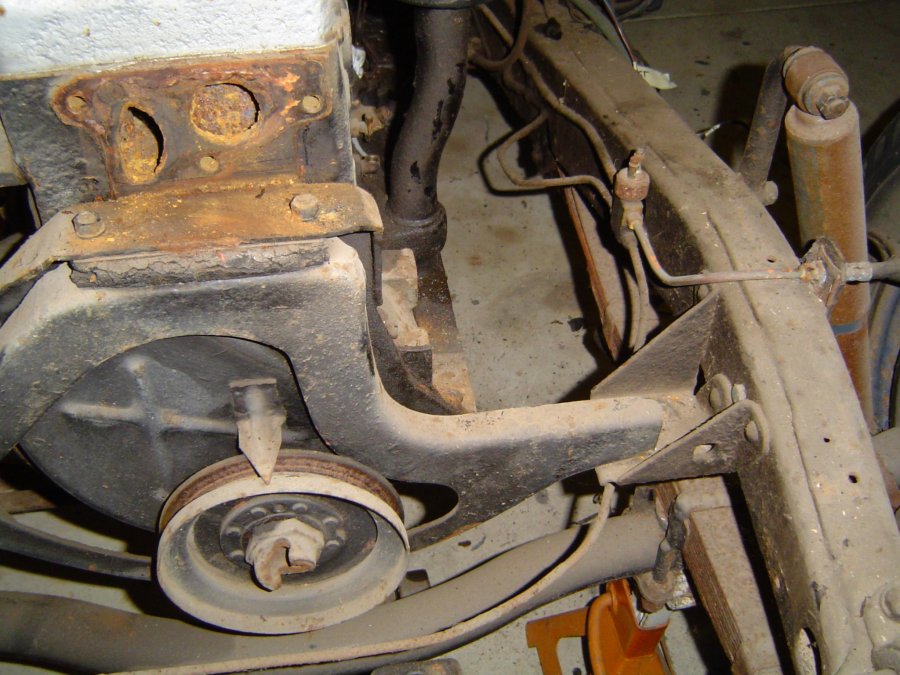
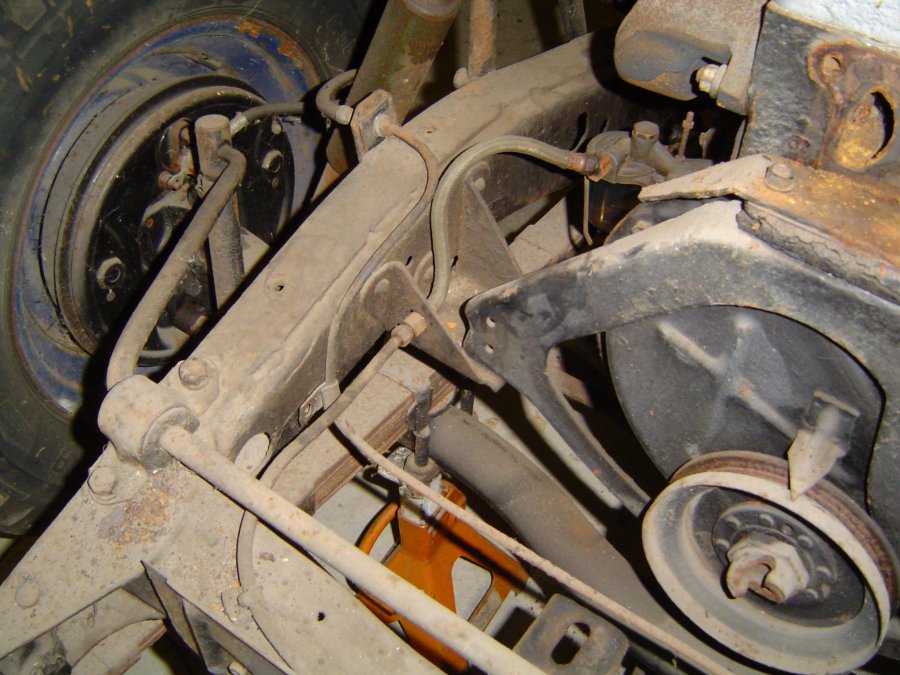
Before starting to remove the engine I took photos to record the setup. Much of the wiring is the original loom (not the coil!). I am planning to have a new loom made by Vintage Wiring Harness in Melbourne. They did my 29 loom and it was very professional. Some more photos showing the brake and fuel line installation, which I will sure need when I get to putting it back together. This forum is a pain when it comes to photos, wouldnt initially let me load any in this post as says I have exceeded 3 MB. This is due to my previous post. I have found I have to close the Chrome session and reopen to get around it.
-
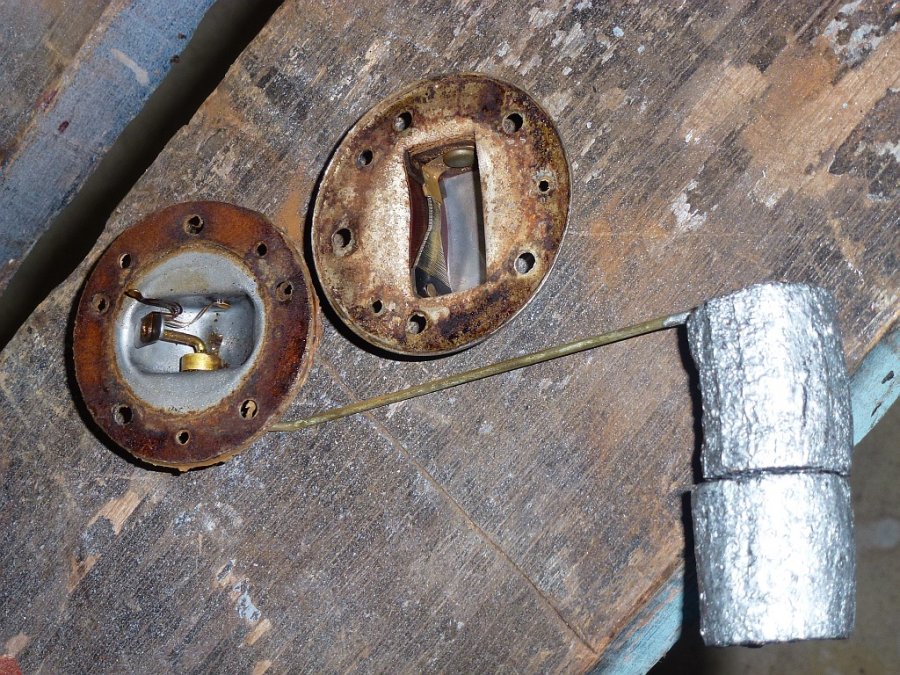
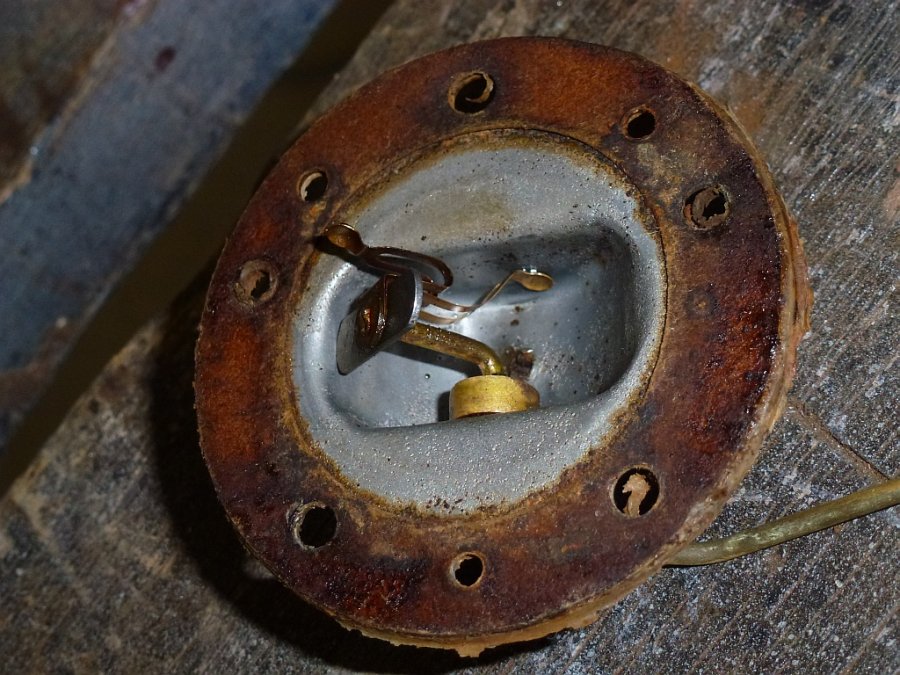
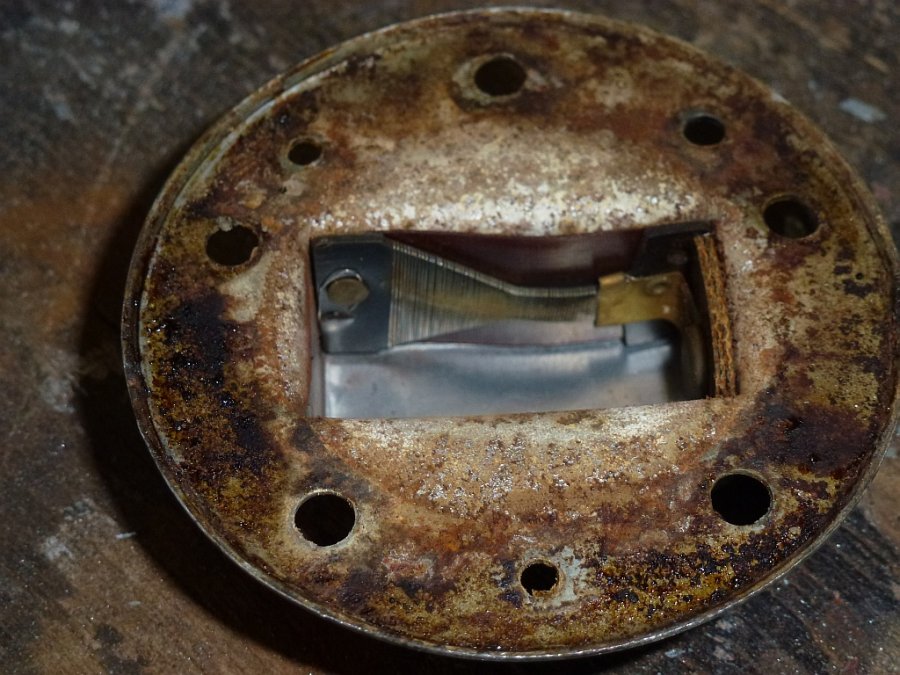
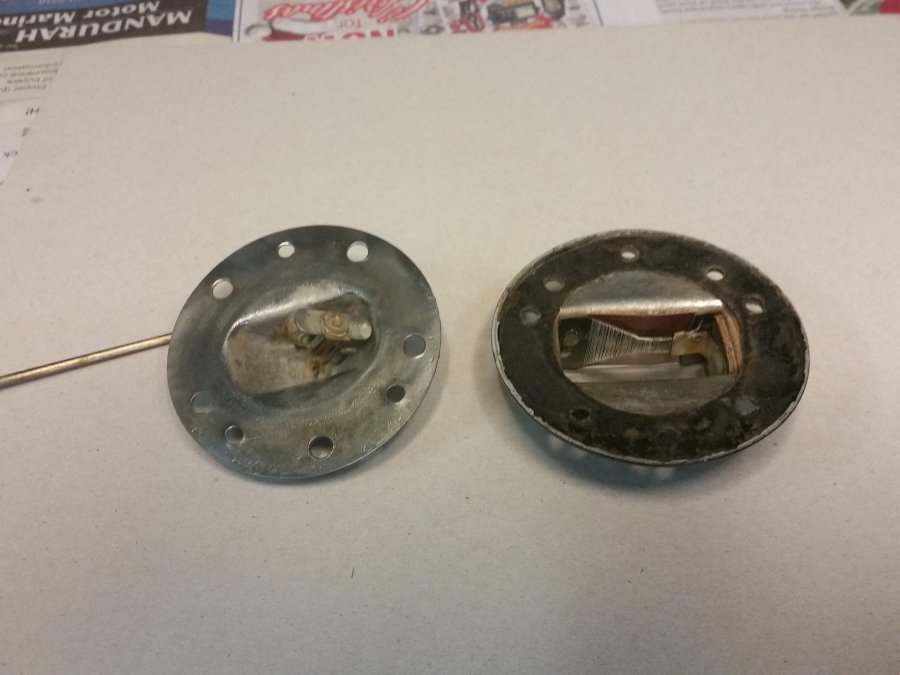
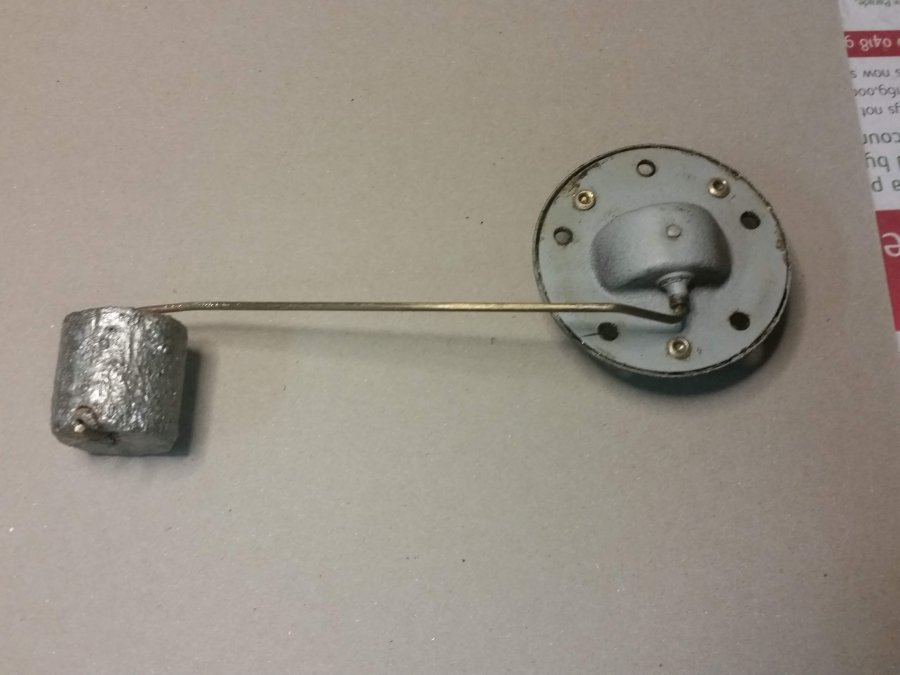
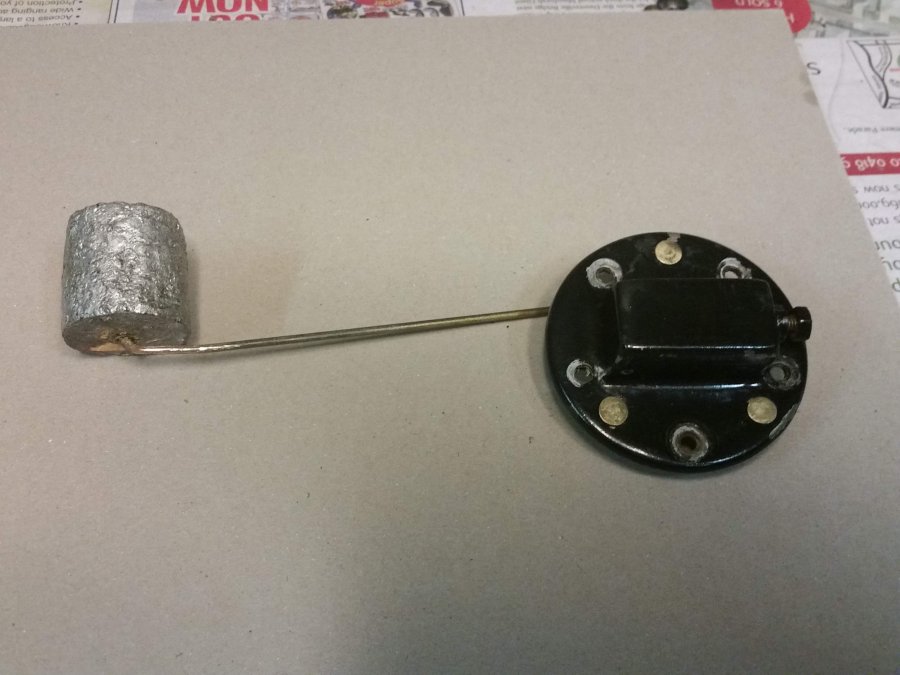
After reconditioning the fuel tank, decided to check the fuel gauge sender rather than try and get a new one from the U S of A. It is held together by three rivets .. drilled those out to inspect the innards .. not too bad. The cork float has been coated in the POR tank sealant. So cleaned it up, gently polished the contact surfaces Then riveted it back together and checked operation .. resistance varied smoothly from about 5 to 110 ohms. Used brass brake shoe rivets, cut to length for neat result. Removed one of two cork floats as had been damaged by POR and my spare has only one cork.
-
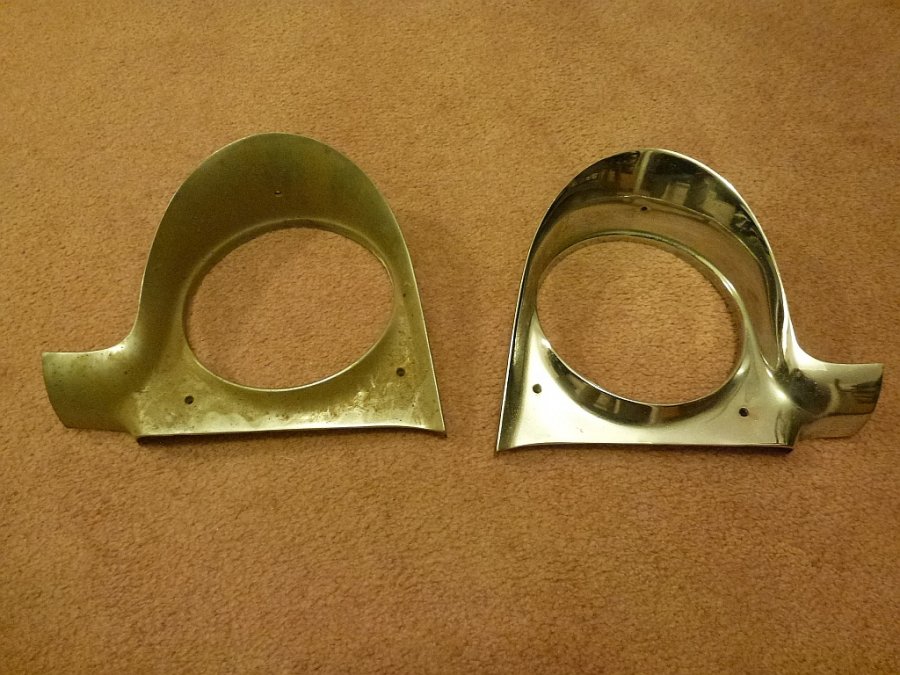
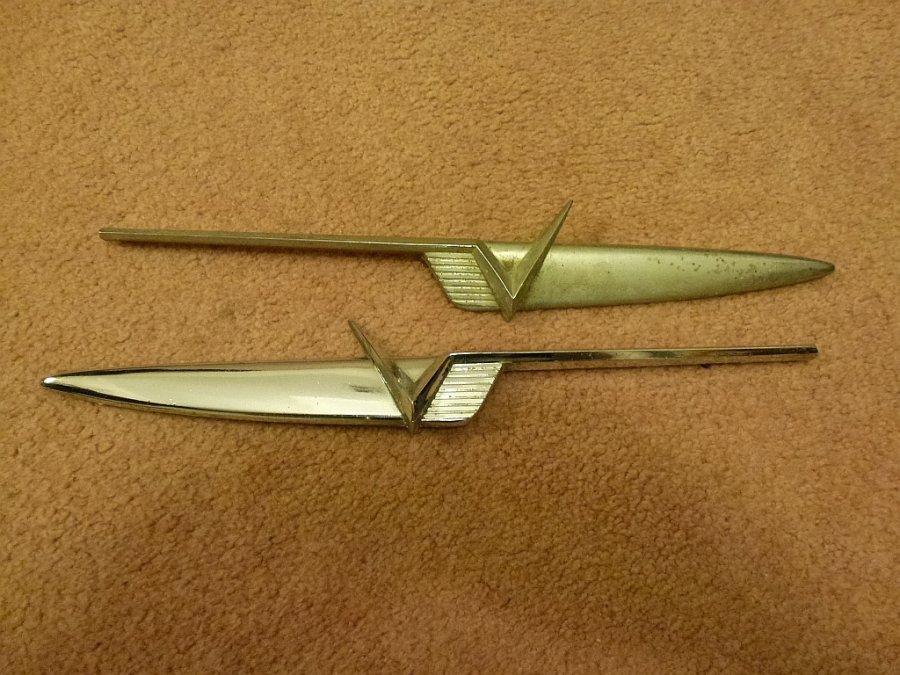
When I bought my 55 Plymouth ( sorry, I know the car is off topic but the chrome is still relevant) it had some dirty, tarnished and pitted chrome loose in the back. Applied some elbow grease and see the result. They now on the car and look great. Could have spent couple of hundred on ebay and no better off. Not a show car but draws lots of comments
-
Hi keithb7, yes it has the same 201 engine and 3 speed but the diff is originally 4.3 compared to standard 4.1. I changed the diff to 4.1 as we travel typically long distances here, and it fixed the speedo reading so I suspect the gearbox had been replaced at some stage. They were used as taxis and funeral cars here and are pretty rare, but I do know of three in Aus, one other here in WA and one in SA. The chassis were imported RHD and the bodies built in SA at T J Richards factory which later became Chrysler Australia. There is lots of good info about that on the web.
-
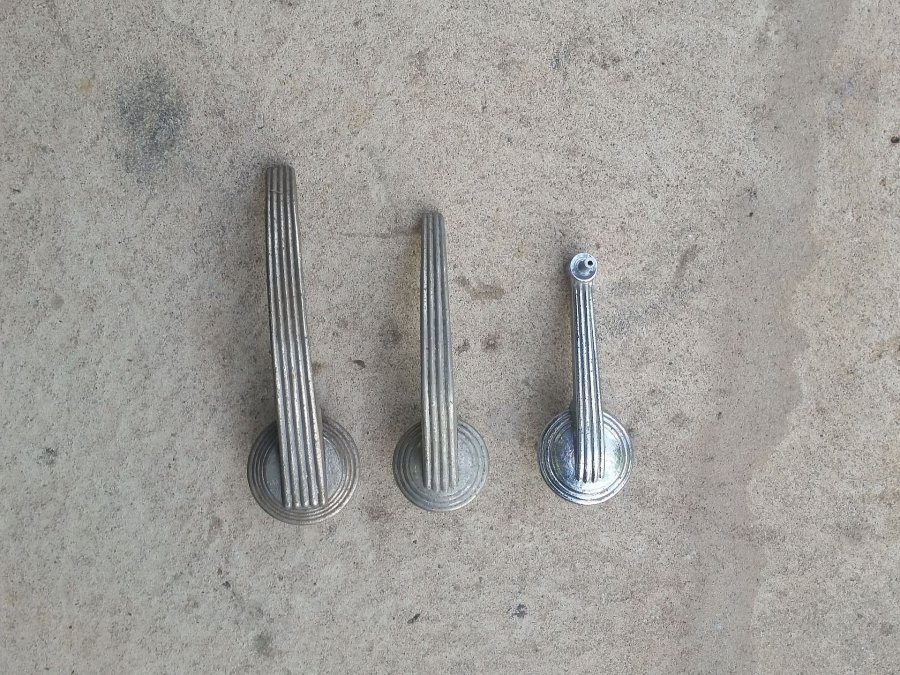
Thanks Andyd, that is a nice job. Thanks for confirming the history of the door handles. I think there is a brand stamped on the casing, will look later today. Looks like I may go for the Rare Spares window window winders but use the original door handle which will come up reasonable.
-
The same design of socket is used on some early GM Holden cars in Aus but they also are getting hard to find and expensive. Next episode will be a bit more interesting, removing engine, gearbox and body.
-
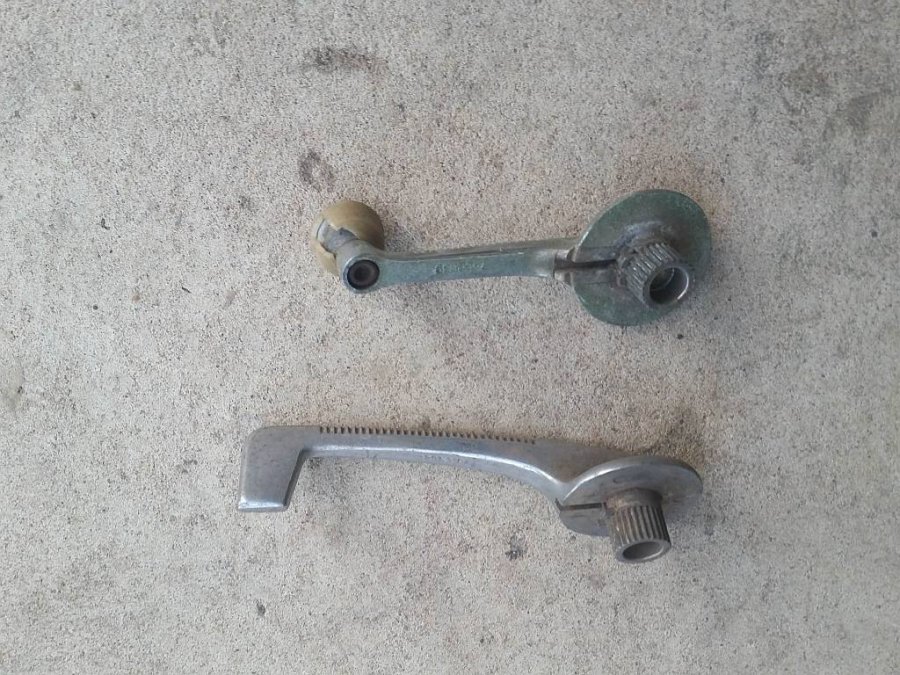
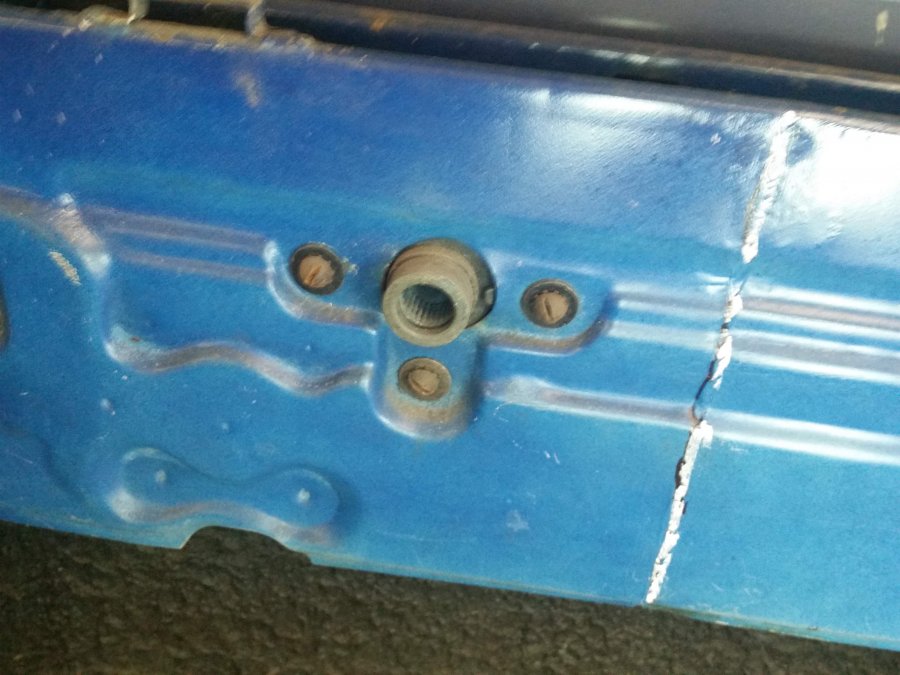
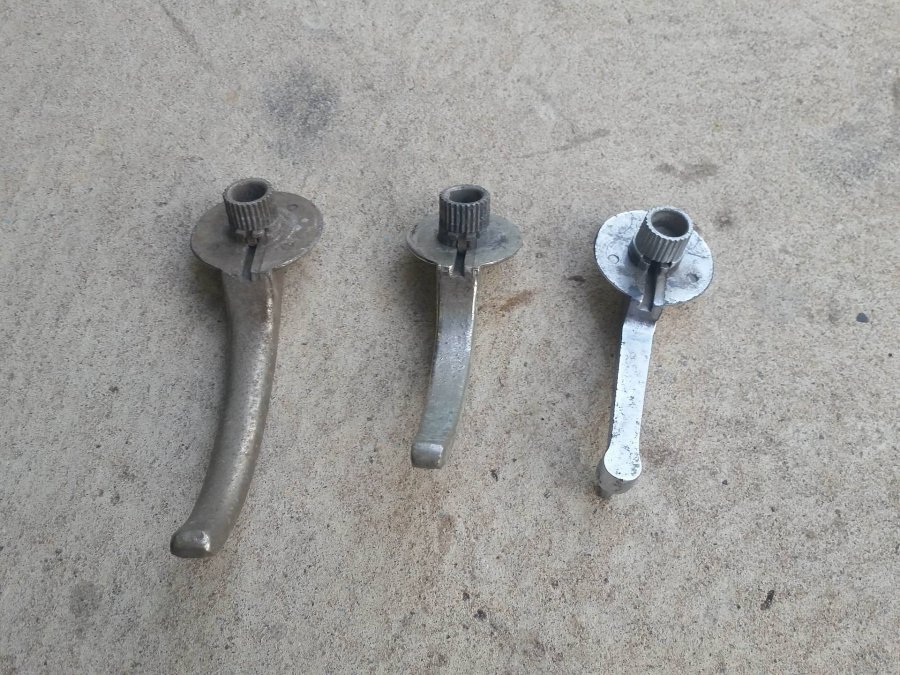
You may have noticed that the handle mounts have a large splined socket quite unlike USA cars, and USA handles don’t fit. Probably just as well because I have seen them on eBay for $400 Aus for 2 doors, plus $100 Aus postage. I have collected door handles over the years but have had no luck with window handles, just one damaged repro one.
-
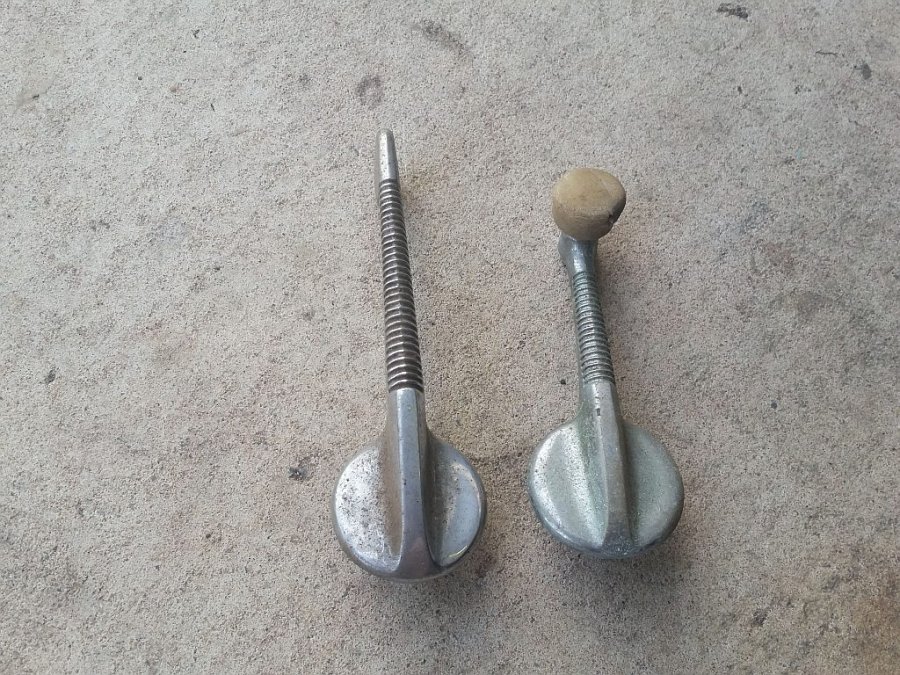
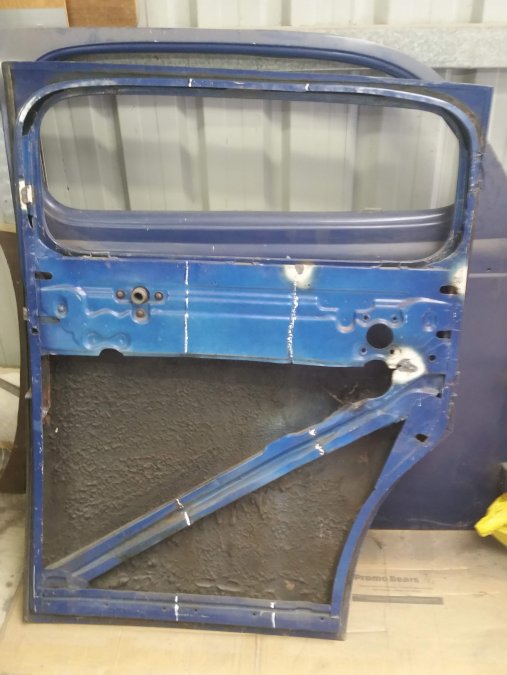
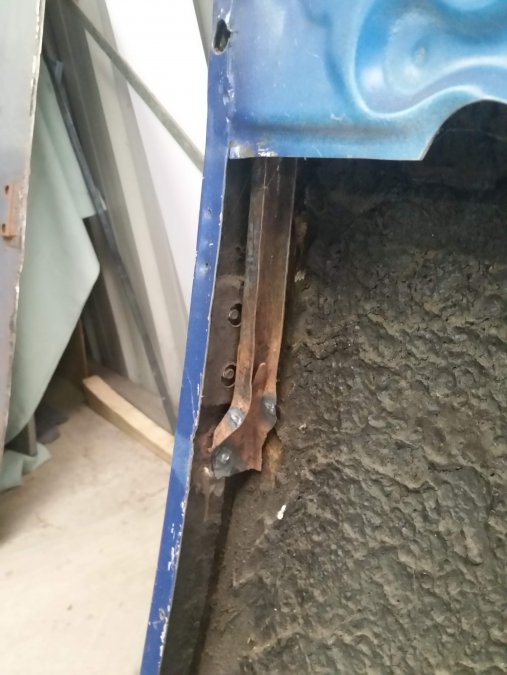
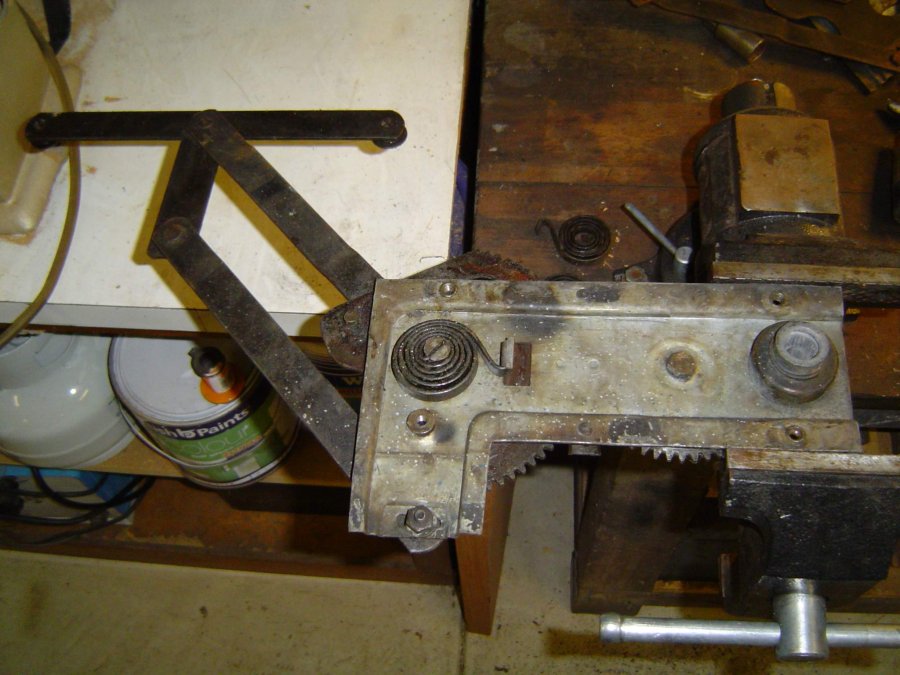
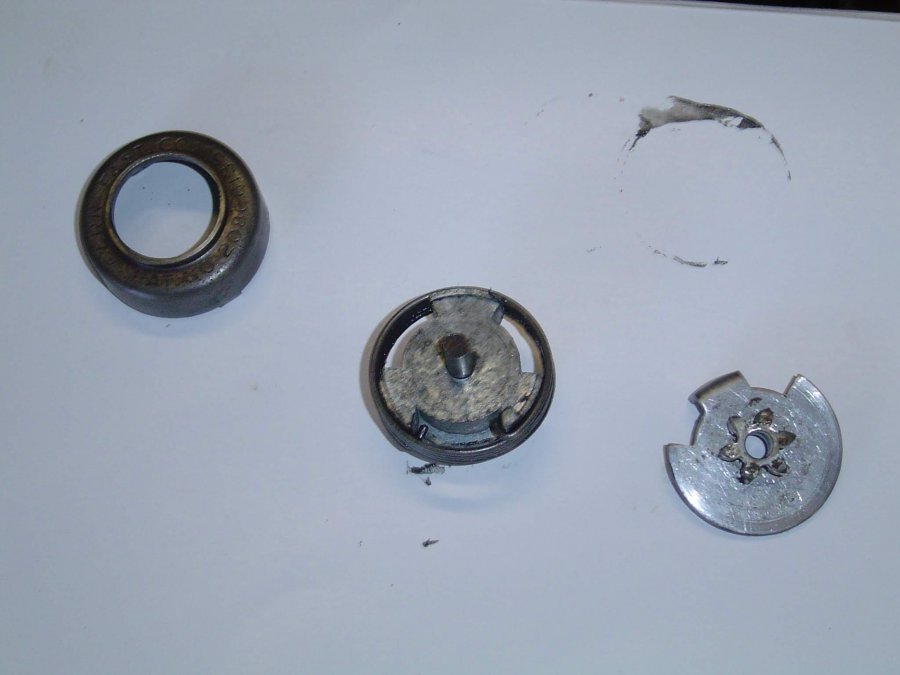
Overdue for an update on the 7-pass. With the arrival of coronavirus in WA I am stuck at home in self isolation with my wife, on the insistence of our 4 kids. We are both well and would like to stay that way, and it is good to have time to spend on this project. After storing away all the easily removable bits of the body, next step was the doors. Boring but necessary! They were in good shape having had rust repairs years ago, but some of the locks and window winders were seized or broken. There were a few cracks in the inner door frames, and the RH rear window had never wound down properly, so it was a good time to fix them rather than wait till after they were painted. Here is the guts of the rear door. I have marked in chalk where 9 inches has been added to the frame. A very rough job. The outer skin is one piece. The front doors were stolen from the coupe and have three hinges. The 7-pass body overall is 20 inches longer. I made a hardboard template of the rear door glass rather than risk breaking it, and after checking clearances found that the rear guide had come loose at the top. Fixed that and still no go. Further checks showed that the front guide was installed crooked at the bottom, causing the glass to jam. Must have been like that since day 1. That involved drilling out the weld and moving the guide into alignment. I decided to bolt it on rather than weld it as otherwise it was impossible to remove the door lock mechanism for cleanup. Made the same mod to the other door. The door handle mounts were simple and just needed de-rusting, cleaning and lube. The window winders were in good nick except for the handle mounts which are a strange design with built in brake which seems to be an Aussie special. I had to grind off three lugs to get them apart, then found that they had a central diecast hub which had expanded and jammed in the housing. I turned them down a little which fixed that. The rest was just clean and lube then try and get them back together. They have a spiral spring which has to go in just right and I wouldn’t like to do it again!
-
Thanks Sharps40, that makes a lot of sense and is enough to get me sorted. I still think the studs came from there but there isnt room in the frame rail to install and tighten a nut and the rail is quite narrow at that point and cant fit the standard donut in there. I have made a small rubber donut from a shock absorber rubber, held it on with a thick washer, tightened a nut onto it and installed it from below, then the rest is as you described. I agree a bolt would work fine.
-
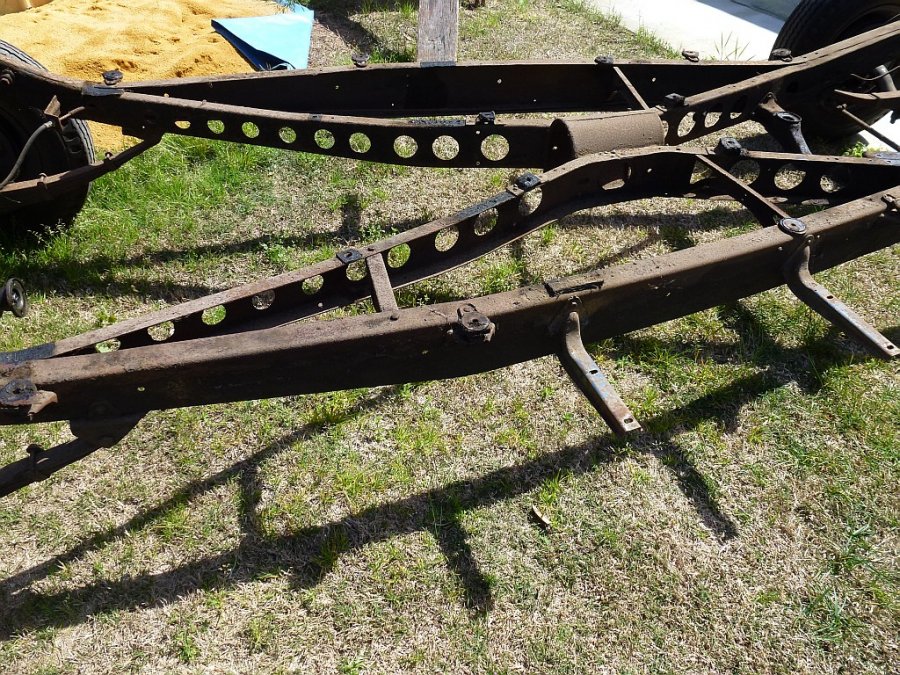
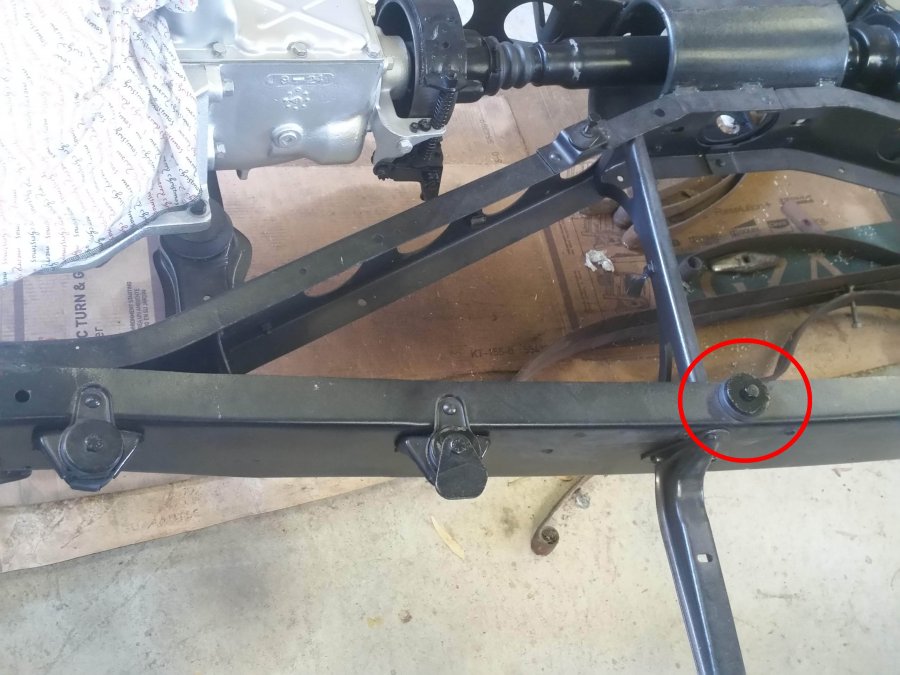
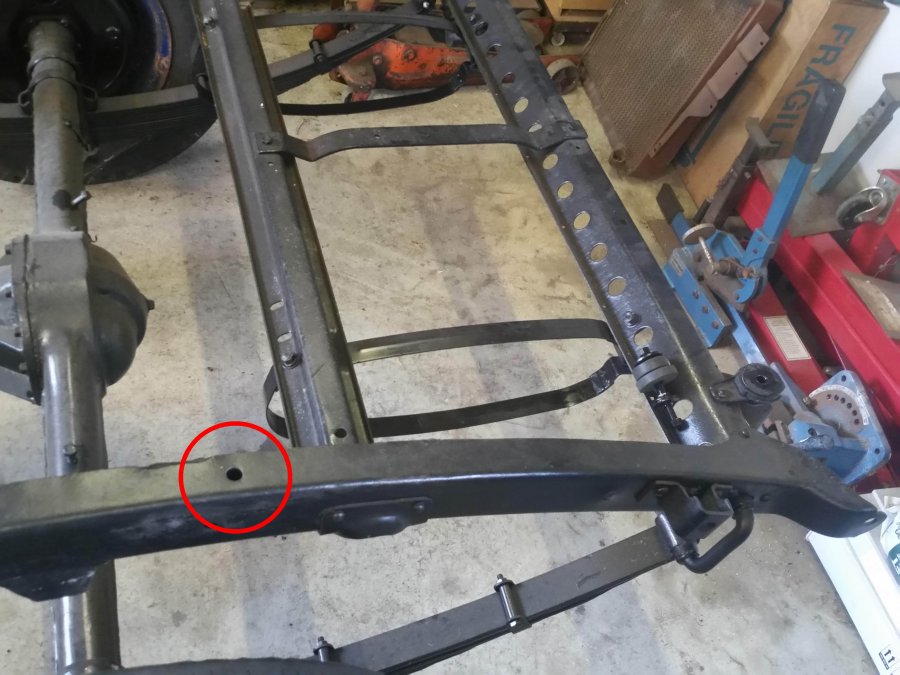
I am about to mount the body of my 7 passenger back on the chassis temporarily so that I can properly align the trunk floor replacement panel, but have struck a problem which I hope someone can help with, as it should be common to the 5 passenger sedan. Suggestions would be appreciated as if I dont get it right it will affect the rear alignment quite a bit. I have new rubber and fixings for all the other mounting points and have worked out where they go, all except for the mountings just behind the rear seat. I may be short of rubber for these as have had to guess what extra I needed for the 7 passenger. I have a photo of that area just after the body came off and there are two studs visible in that location which I have circled in the photo below. It looks like there is a rubber pad on each between the chassis and the body. I cant recall if there were also rubber pads inside the chassis rails as well but I feel they are needed there as the threaded part of the studs is quite long so something is needed (see below). The studs also stick up a long way which makes me think there should be more rubber pads inside the body I am pretty sure I have found the studs and I have 2 Steele rubber pads 40-0230-48 and two pads 40-231-48 (the pad with a neck) left over. A photo of these bits is below. I have already used a couple of sets of these pads on the third row of mountings from the front of the body, see photo below, but that is a simpler setup with a bolt thru it. The neck on the 40-231-48 fits into a hole in the chassis. I have added a final pic of the area waiting for a solution. The hole for the stud in the chassis is smaller than the one for the "third" mounting so it doesnt match the "neck" on the 40-231-48
-
Strange! I cant access oreilly auto website from Down Under, says access denied no matter how I try. Would be useful to have another source
-
Job well done!
-
Your pic shows the clutch fork sitting on the bearing. It should be further back and turned 90 deg, sitting on the two arms of the bearing sleeve, held there by the spring clips. Are you saying the sleeve is too wide to fit there?
-
For recommended torques see ply33.com/Repair/torque for a good summary of available info. My Aussie manual does not show any torques. The mainshaft flange nut has to be good and tight. Specs say about 100 ft lb but you do have to line up for the split pin. I had to trim the pin short to get it into the recess. Good work!
-

Best source for flathead rebuild kit?
westaus29 replied to '41 Fat Bottom Girl's topic in P15-D24 Forum
How do you find out what stock Terrill Machine has? They dont appear to be on web -
Congratulations! I think the rear treatment of your 56 looks more classy than my 55 4 door suburban but the extra seating comes in handy
-

Best source for flathead rebuild kit?
westaus29 replied to '41 Fat Bottom Girl's topic in P15-D24 Forum
www.ply33.com has lots of info on parts -

Best source for flathead rebuild kit?
westaus29 replied to '41 Fat Bottom Girl's topic in P15-D24 Forum
I have found Egge good for pistons and rings but their complete rebuild kits are expensive. I have used Andy Bernbaum or Roberts Motor Parts for miscellaneous engine parts and both are good quality. They have websites which are reasonable. Vintage Power Wagons are worth a look too. Complete gasket sets are available at reasonable cost from a number of suppliers.. -
I had a bit of trouble aligning the countershaft but have done it three times now, twice on my good box and once on the spare. The best way I found is to insert countershaft and reverse idler shaft only part way so their far ends are just starting into the case. That holds everything together while you align the shafts and they are easier to twist. Tap the retainer plate in place at this stage and slowly tap both shafts in all the way. I put a bit of sealant here and there to hopefully minimise oil leakage To get the reverse idler gear out I used a long brass drift inserted at an angle thru the input shaft hole. It doesnt seem to be as tight a fit as the countershaft.


