Ivan_B
Members-
Posts
1,171 -
Joined
-
Last visited
-
Days Won
13
Content Type
Links Directory
Profiles
Articles
Forums
Downloads
Store
Gallery
Blogs
Events
Everything posted by Ivan_B
-
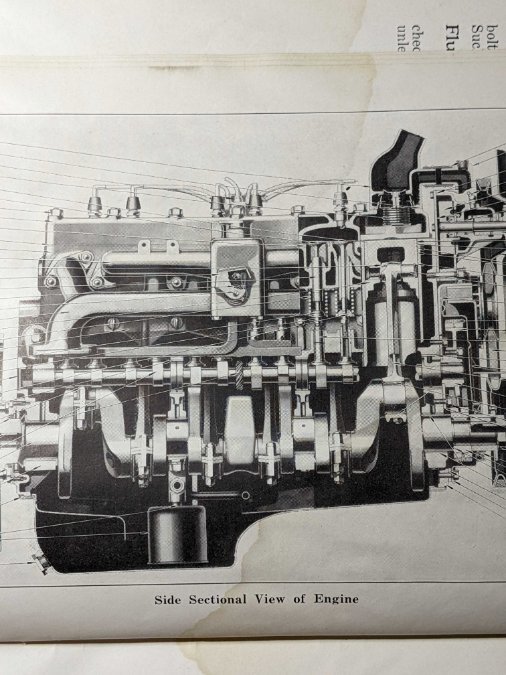
Motor in? Looks more like the motor is on, based upon the available illustrations ? Are you planning to do a cold break-in? I've read that this is really useful, especially with all the fluids and everything else connected. This way, you can listen for any odd noises, and make sure that nothing is leaking anywhere it is not supposed to.
- 21 replies
-
- hei langdon
- flathead six
-
(and 2 more)
Tagged with:
-
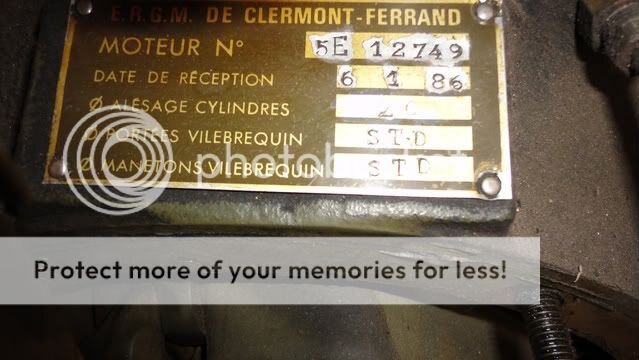
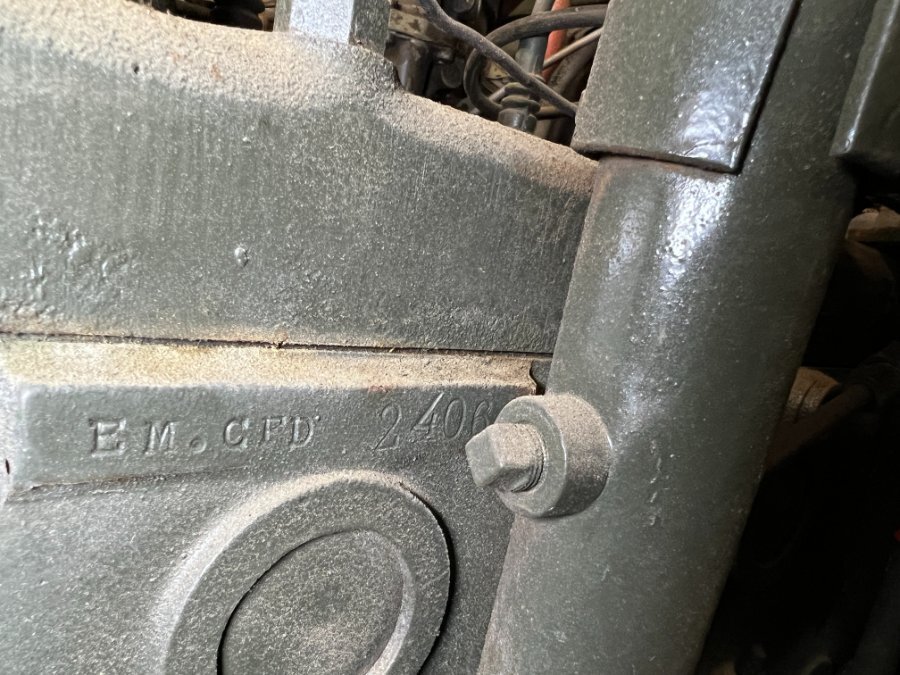
That might be a felony is some jurisdictions, so be careful As for the French, this engine was rebuild in Clermont-Ferrand factory, France, in 1966. The engine type is identified as E5, what ever that is. The rest are just the specs. Here is another similar plate from some 20 years later, on a different engine, so that E5 is probably meaningless for us. Also, it looks like your Cylinders were bored 0.4mm
-
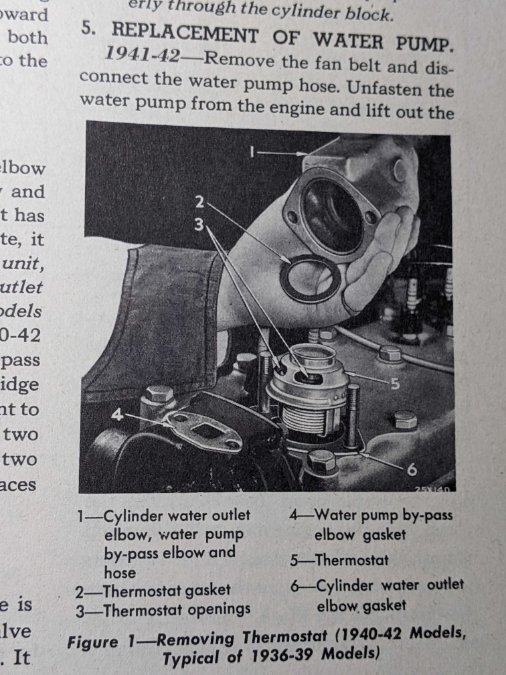
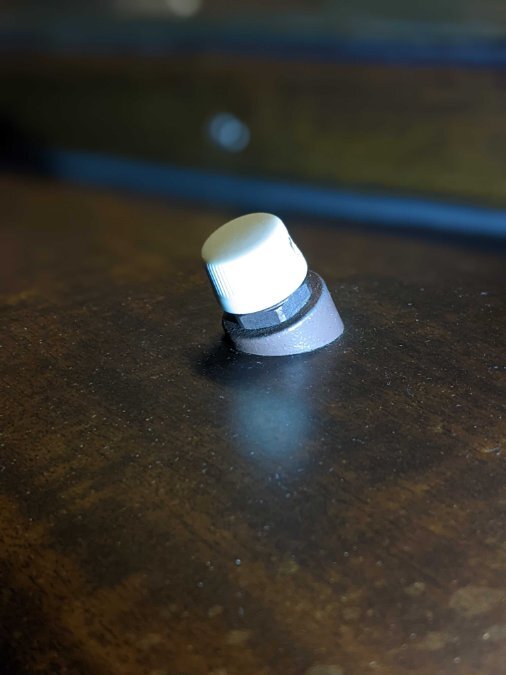
Rich, Thank you for checking. I did see these Jeep shields, two types. The large rubber ones are definitely not it, but the small Bakelite ones look correct. Although, the eBay ones are newly-made, and i would rather prefer to find the originals, if I can. I know someone probably have a bunch of those laying around in some random-unknown-old-stuff drawer in the garage somewhere. I just need to find this person. The 2 OEM shields I found were in the glove box, among some other random trash. I did not even know what these were, but I was smart enough to take everything out and put it away pending further investigation. And then, one day I was reading through the manual and noticed something familiar... So now I want to install them Here are a couple of illustrations I am referring to. These are from the 36-42 service manual (straight terminals): And this one is from the P9-P10 1940 Owner's manual (90-degree terminals): So, I think the small Rain Shields are undoubtedly stock, but the correct terminal-style questions still remains ?
-
Here is what mine looks like. So, unless they changed the design, you might be missing things. This should screw-on, sandwiching the dash in between. The shaft should be held suspended from the top.
-
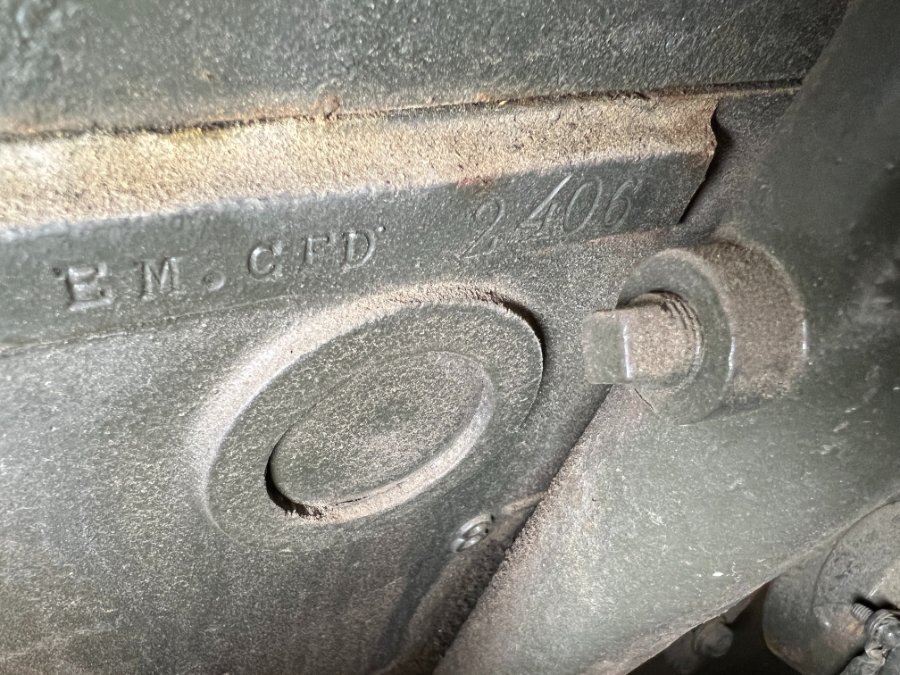
Okay, the military rebuilt is congruent with the engine "number" and they block is from 53? BTW, I do not believe it is very common to install an older engine into a newer car, especially within 10-year difference (unless in was a brand new engine from conservation, maybe). It is usually the other way around, right?
-
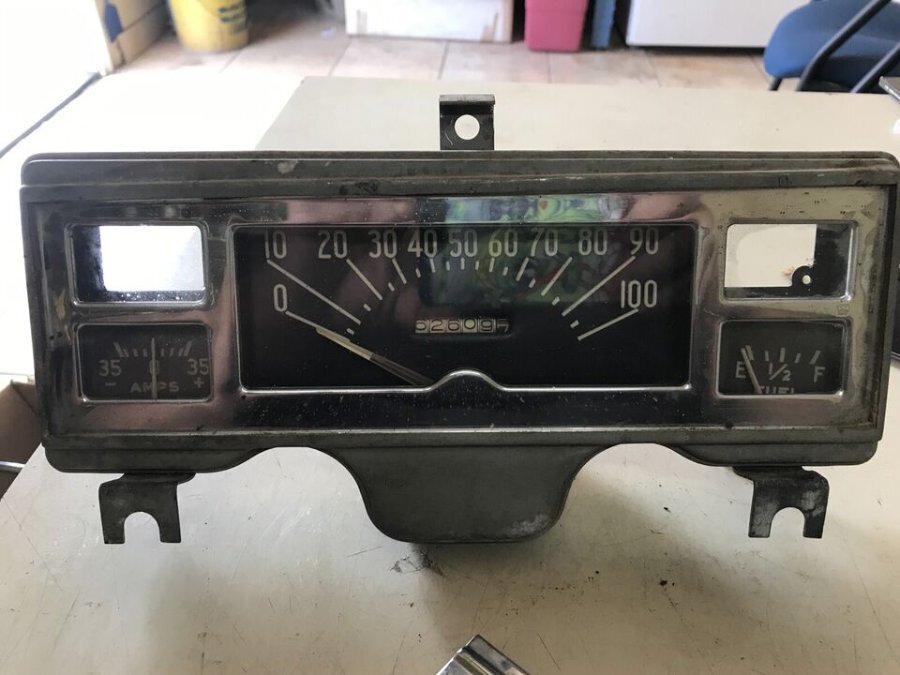
Do you have the OEM service manual available? I am pretty sure that the cluster is bolted to the dash panel, from the back. You just need to undo a few small nuts, all around, holding it in place. The cables should have nothing to do with it, although, it might be necessary to remove them to slide the cluster out from under the dash. Later: my mistake about the cables, but here you go:
-
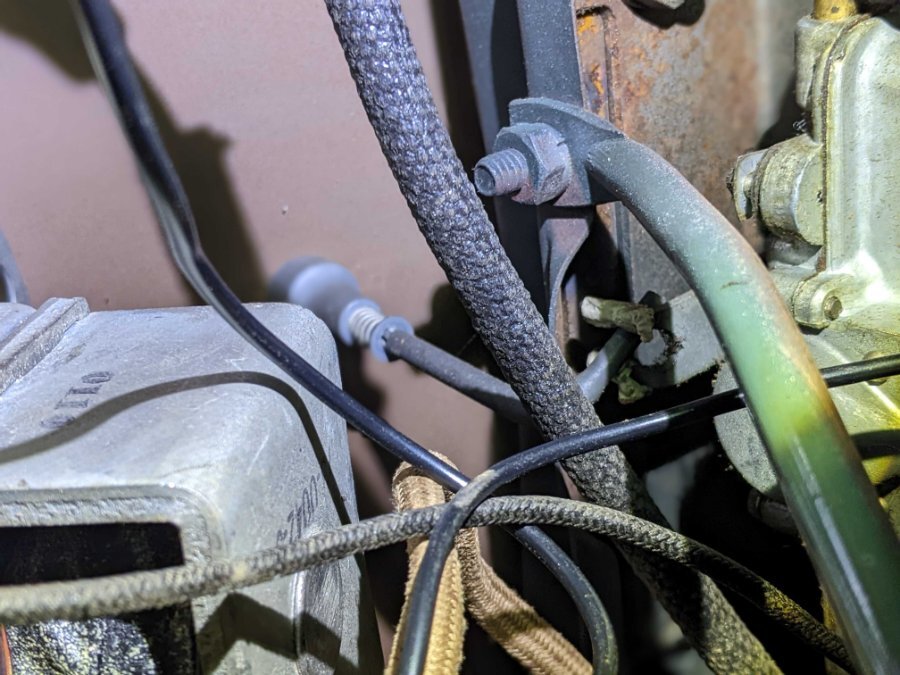
Yes, but these are something else, so the connector is also different
-
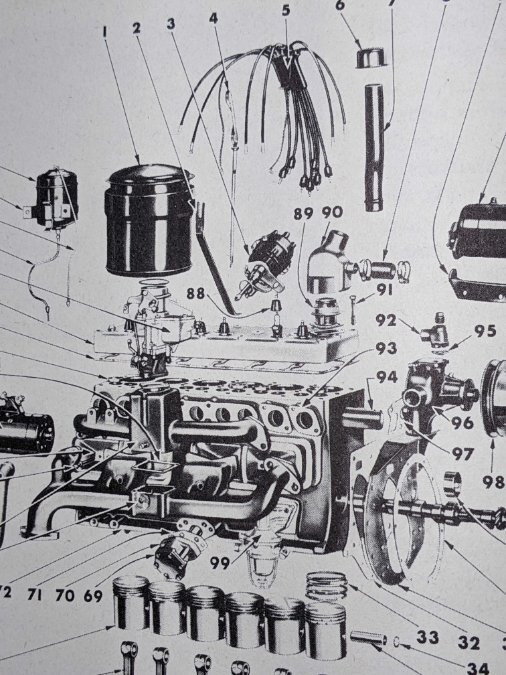
I am referring to these. They are identified on the blow-out engine illustrations in the service manual. I also saw them installed on at least one restored car, except that the author is using a more modern wires
-
But you are still the better man, right? ? Don't worry about jerks. They are probably just jealous that you are the one driving a fancy antique car. And to compensate for this, the "baboons" attempt to assert their "dominance" over others around them, which, of course, is usually expressed in a way offensive to a reasonable and intelligent mind ?
-
Possibly a rebuilt motor? The block/head years should still be ascertainable
-
Quick question: does anyone have an image of what the OEM spark plug terminals should look like for a 1940 car? I looked around but could not find a definitive answer. There aren't any vintage engine photos seem to be readily available. According to the illustrations in the service manual, the terminals are straight snap-on's, installed over Bakelite rain shields (which, I assume are held down by a standard spark plug snap-on terminal nut). But these illustrations are hand-drawn and do not necessarily reflect the actual setup. On the positive side, I think I still have two OEM rain shields, and that's better then none ?
-
How old were those NOS covers you've used? Probably not from the 40s? ?
-
I would guess ~9x12? The construction is similar to the old-school supports miners used, except that they did solid jenga-style columns.
-
If I recall the service manual correctly, you should not do that. The steering box should be disconnected from the wheels and centered on its own, with the wheels, then, connected in the straight-ahead direction.
-
No problem, that's what the forum is for. I hope I could be more helpful, though, but Google did not find any better illustrations. Maybe someone with exactly the same mechanism as yours can chime in with some insights...
-
Not at all, old fabric would be rather fragile and unreliable, even assuming that the moth, mold, or the UV did not get it. Like an old pair of your favorite pants you still try to wear, it just falls apart. That's a good point.
-
I would take it out, clean, and lubricate with graphite or copper. Depending on your color preference.
-
A lift is the best, for sure. That steering rack ain't supposed to be there, though ?
-
Under the frame.
-
Okay, this is way different from what I have in my sedan, sorry. But, according to this diagram: it actually looks about right... Except that are these original parts? Is there a lever that is pushing back toward the brake drum-shoe mechanism, when you pull the cable, somewhere above? If these parts are original, how much movement does this black bracket/lever has? Would it still bump the housing if you tighten the shoe a bit, to reduce the lever travel necessary to engage the brake?
-
Do you have a picture of what you currently have in there?
-
I saw those covers on eBay, but then decided to make my own. If your front seat back rest can be disassembled (like the ones on coupes) you can attach simple one-material covers folded from fabric, no need to sew anything. Alternatively, you just take the old fabric off, undo the seams, and trace and cut the same pieces from new fabric.
-
The brake cable on my 40 sedan is running along the drivers side of the housing, next to the transmission shifter cable. There should be a metal bracket holding the brake cable at the corner of the housing. Takes some pictures of your current setup.
-
Yes, the use of standardized parts is great, especially among different manufacturers through the decades. This way you can easily find part you need quickly, at any local store, and still find things for way older vehicles, which is especially useful for us. The only two unique things useful for a perfectly utilitarian vehicle are probably just the body and the interior

