


DonaldSmith
-
Posts
2,439 -
Joined
-
Last visited
-
Days Won
24
Content Type
Links Directory
Profiles
Articles
Forums
Downloads
Store
Gallery
Blogs
Events
Classifieds
Everything posted by DonaldSmith
-
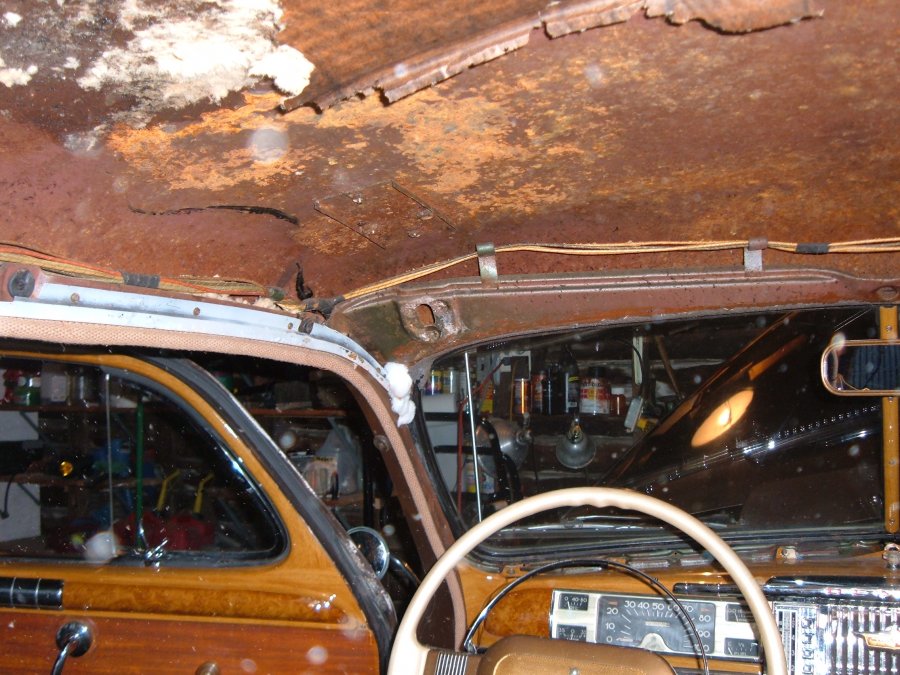
I rewired my DeSoto, the hard way. Never got the wrinkles out of the headliner after I reinstalled it. No, you can't just fish the wires through, behind the headliner. You could consider running the wires below the edges of the carpet.
-
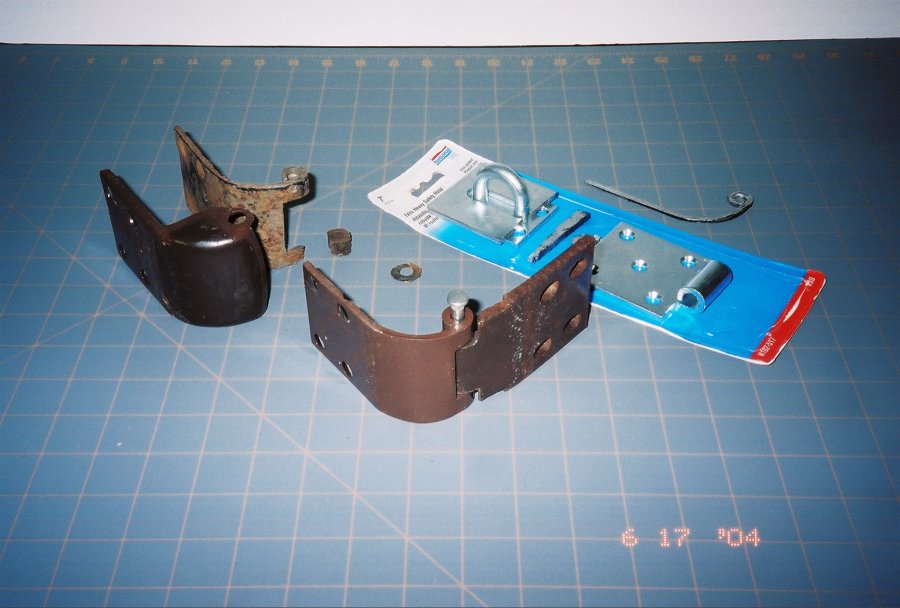
Repair, right rear door, lower hinge, quick and dirty, 2004. Suitable for light duty and occasional use. I sacrificed part of a door hasp, beat it into shape, trimmed the width, and drilled some holes.

-
30 amp circuit breaker for a cigar lighter? (My 47 DeSoto has a separate cigar lighter circuit that bypasses the ammeter. I haven't checked for a circuit breaker at the lighter. )
-
Yep, hex-head sheet metal screw. I bought a few at the local Ace Hardware for my snow thrower, to match what was on there. Different diameters and lengths. For screwing the plastic shroud to sheet metal. Holes already drilled in the sheet metal,so self-drilling not necessary.
-
This is what happens when political opinions creep into the discussions. Guys I like, on opposite sides of the yelling match. Breaks my heart. Come on, guys let it go. Mr.webmaster, shut this down.
-
Remember, it takes two revolutions of the crankshaft for one revolution of the camshaft. Turn the crankshaft twice and the dots will line up twice. One time, No. 6 is ready to fire. Once more, and No. 1 is ready. You can tell which is No. 1 by the valves being closed, or by the old thumb-on-the-spark-plug-hole trick. So, with the crankshaft approximately at TDC and No. 1 ready to fire, the distributor should be installed with the rotor pointing to 7:00 o'clock. It sounds like more than one guy has lined up the dots, installed the distributor, and found that he has to run the No. 1 spark plug wire to the 1:00 o'clock position to have the engine run.
-

ANSWERED My First Car -- P15 1947 Plymouth Deluxe
DonaldSmith replied to NickPickToo's topic in P15-D24 Forum
Re: Post 238 and collapsible steering column: The safety consideration had bothered me on my 47 DeSoto. I think I solved the issue when I installed power steering. I cut the steering column jacket just below the shifting apparatus at the cowl. I and added a bracket to support the column and a bushing to support the steering shaft. I cut the shaft and had a splined plug welded in. Then I added U-joints and D-shafts to connect to the power steering gearbox, whose shaft was not in line with the steering shaft. It looks lke the U-joints and shafts would now allow for collapse in case of a front-ender. If you had the U-joints and shafts in line with the steering gear, I don't know if the assembly would fold in a crash. There are telescoping shafts available, but I didn't have room for one in my setup. (I typed this in 16 point font; the better to see the typos before posting. Usually, I post my message and then I see the glaring typos.)
-
I used a Harbor Freight transmission jack. Better than just a floor jack. The transmission jack has a strap, to keep the transmission from rolling off, especially important with the heavy semi-automatic. The jack also has an angle adjustment, to help line up the transmission. The jack has to raise the transmission as the transmission is drawn to the bell housing. Using all-thread to help line up the transmission is a good idea. I used bolts with the heads cut off. As I remember, the semi-automatic has limited bolt space, so I was switching long and short bolts as I used the bolts to draw the transmission to the bell housing.
transmissionjack.JPG.d4b192ddf017f0464a81fecb6250dec5.JPG)
-
P15 Inner Fender hole Identification Question
DonaldSmith replied to 3046moparcoupe's topic in P15-D24 Forum
I wouldn't touch the metric system wth a 3 meter pole! (Edit: The spark plug holes are metric.) -
Answer to Cold Bliue: The top red hoses are for the dual heaters (Top-of-the-line DeSoto). The lower red hose is the drain hose for the air distribution box, or whatever they called it. In theory, any water that gets in the cowl vent, drains out. Right.
-
From the "It ain't stock. but it works" department: (4 Seasons 74828, a sheet metal zee, and some plumbing parts)
.JPG.3b30a58fdd1f5c21b5c9c6541d98e09d.JPG)
-
What an awful welding job! Looks like something I would do. Maybe the experts will chime in, with helpful suggestions. Good luck - we're all counting on you.
-
Per Post #37, the 7-ohm resistor is working fine with my Pertronix with semi-automaitc transmission (M-5)
-
For my M-5 transmission, the Pertronix techs suggested adding a 7-ohm resistor to the "grounding" circuit. "Grounding" is in quotations, because the wiring of the Pertronix is opposite that of the conventional points-type distributor. Points-Type: One wire to the coil is hot when the ignition switch is on. The other wire, the "ground" wire, is intemittently grounded by the points. When the points open, the coil fires. For my M-5, the PRI post of the transmission relay is conncted to the ground side of the coil, momentarily grounding the circuit, preventing the ignition from firing, so that the engine slows down for the shift. Pertronix: The ground side of the coil is always grounded. The Pertronix unit plays with the hot side. The hot wire from the ignition switch powers the Pertronix unit in the distributor. The other wire from the distributor goes to the hot side of the coil. It is to this hot post that the circuit with the 7-ohm resistor goes to the PRI contact, to interrupt the ignition momentarily. Clear?
-
This is begining to sound like deja-vu all over again, like the discussions on oils and vapor lock. Maybe the sitemaster should start a category of "Perennial but Unresolved Discussions" for such topics.
-
Did you call Pertronix for helpp and a replacement unit? How long did you have the Pertronix unit in service? I've got a Pertronix igniter and now you guys are scaring me.
-
The purple people eater is slowly disintegrating
DonaldSmith replied to thebelvedereman's topic in P15-D24 Forum
My hubcap story, told before. Hubcap lost on the way to a DeSoto convention. Passersby saw it, and called out, so I knew generally where to look. Scoured the area several times afterwards, no luck. Months later, DeSoto magazine had an ad by a co-worker of the man who found the hubcap. The co-worker was a club member. Reconnected with the hubcap. Happy. After that, I marked my name and pnone number inside all my hubcaps. Buick limos with special hubcaps? Believable. The long wheelbase Mopars had heavier duty running parts, including heavier hubcaps. -
The body screams '55 Chevy. But with the appropriate moldings and tail lights, it will be a Pontiac again. I wonder if the instrument panel was exclusive to the Pontiacs.
-
From the time my wife was nine years old, her father would give her the keys to the truck, to drive around the gravel pit while he caught up on some Saturday office work. She quickly mastered the stick shift. 40 miles on the odometer, one Saturday. Grandma did not know that she was driving over roads right along the deep pits. Fast forward to senior year driver's ed. Anyone want to try driving the manual shift? Llike a champ. The instructor called her father, to compliment him, and perhaps fish for some info. Thanks, but not a word about the gravel pit escapades.
-
If your blockoff plate is thinner than the base of the fuel pump, make sure to use appropriately shorter bolts, or else the fuel pump cam can bend a bolt, making it a challenge to back out that bolt. Don't ask me how I know.
-
46 dodge exhaust manifold gasket replacement
DonaldSmith replied to Black betty's topic in P15-D24 Forum
(Don's photo is of an upside down engiine block ((25-inch DeSoto engine that went tnto his recently departed Pymouth.)) The stud by the two valve lifter covers is the offending stud.) -
Sure, blame it on the cat.
-
Parting is such sweet sorrow. I know, Don, that you put a lot into that car. But you still have the photos. And you still have the Dodge, with the famous Fluid Drive, that will make it easy on your knees. j
-
When I got my car from the PO, I found the No. 1 spark plug wire plugged into the 1 o'clock position, instead of 7 o'clock, and all the other wires following around in the correct firing order sequence. It must have been easier to change the wires than reset the distributor shaft I never mentioned to the PO that the distributor shaft was 180 degrees off.
-
I'm not following. You set cylinders 1 and 6 at top dead center. The distributor shaft is now set where it is. Now you rotate the distributor body until the rub strip of the points is on the nearest lobe. To rotate the body for minor adjustment, loosen the screw at the base that is looking at you. If the rotation is not enough, loosen the bolt on the underside of the body (major adjustment). Here's where the illustrations and procedures in the shop manual should help. I've been through this; the more carefully I read the manual, the better it turns out. I learned this after blowing out the muffler and having a half-hour ringing in my ears.

