Leaderboard


Popular Content
Showing content with the highest reputation on 01/21/2025 in all areas
-
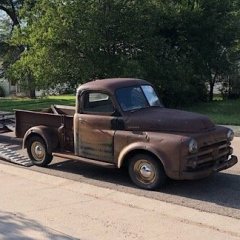
My 47. I just completed a 55 mile drive to our lake cottage.
 5 points
 -
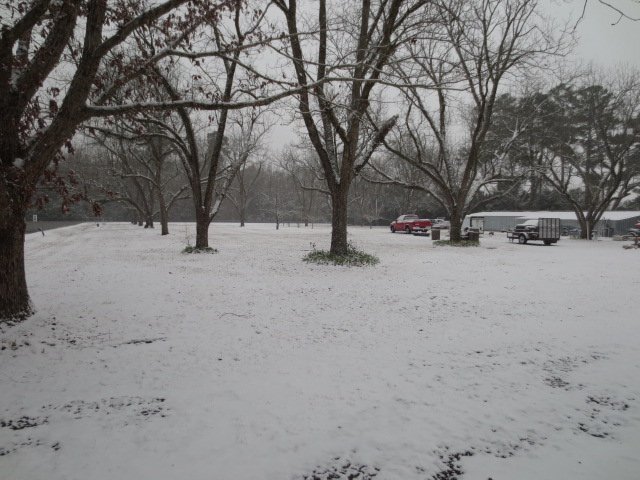
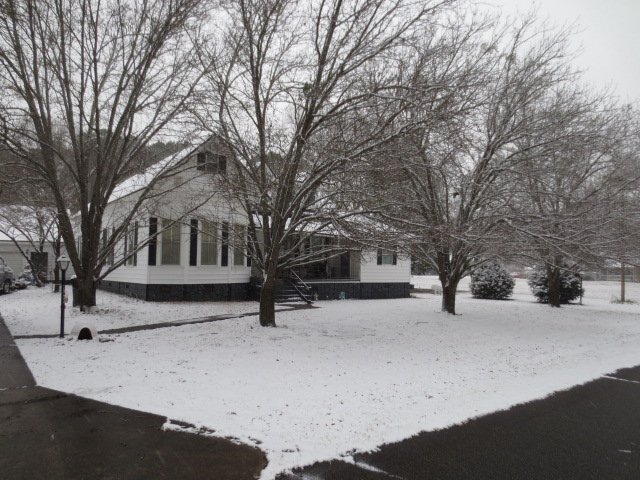
time to move a bit further south I am thinking...4th snow in 30 years.....that is 4 too many
 1 point
 -
https://youtu.be/85ztYz5Rc6A?si=oXcvqvlu9ccBvJRh https://youtu.be/nWHSw9J86jE?si=YoBEs5b3LG0AYxuA LISTEN TO WHAT HE SAYS about the Coolant distribution Tube, and about infrequent and low operating temperature conditions in the 2nd link. Some valuable wisdom learned over many years of experience and many trips to training sessions. Run them often, run them hot, run them so they work. parade speed runs to the ice cream store once a week are not doing them any favors.1 point
-
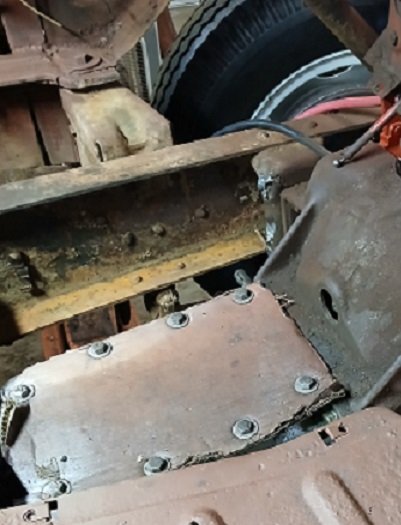
I would try and put a block of wood between the jack and block. The larger area the wood covers the more the weight will be distributed. ..... No idea how much space you are looking at, the more area covered the less stressful it would be on the block. ..... probably could lift it without wood ... I would want to protect it all I could. @Bobacuda is correct. By removing the timing chain, this allows the crank to be turned without the cam and lifters. It is a common trouble shooting task to determine if the issue is in the top end or the lower end .... possible it can be both. Will be easier to separate the two and fix individual issues. Example: I had a engine with a frozen bearing and 3 stuck lifters. With the chain removed I found the bad bearing and got the lower end to turn ... then just needed to work on the lifters. I would at least have the bearings and caps in place, even if the bolts were snugged up by hand .... just to support the weight of the crank .... Bolted to the flywheel leaves a lot of weight hanging on the cast crank bolting flange. I plan to replace mine in the vehicle after I measure and verify the bores are OK. This is how it was done in the 30's-60's along with valve replacement. Also at least lap the valves .... the seats get rusty when sitting with the valves open. I would suggest replacing the rear main seal while in there .... they all seem to leak a little. Also replacing the bad rubber mounts is a good idea, as they get old and compress, they will throw things out of alignment such as shift linkage .... replacing the mount can improve shifting gears. Good luck.1 point
-
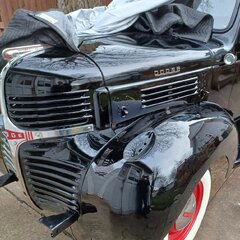
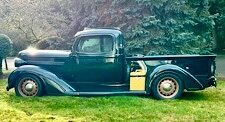
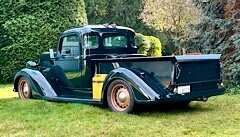
Here’s some pictures of my 38 Dodge completed project.

 1 point
 -
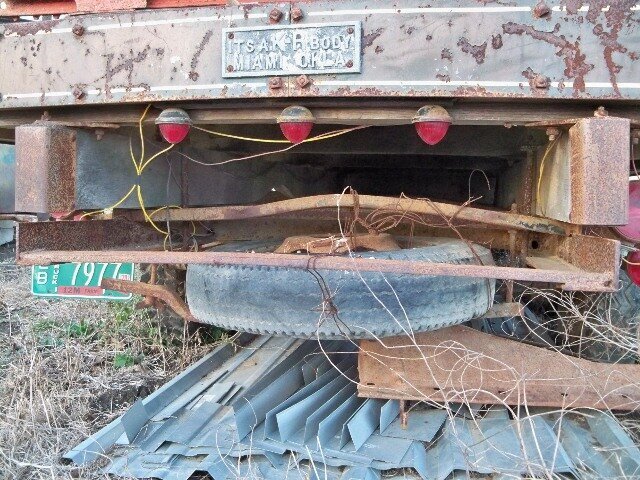
All of my parts are originals that I obtained from Larry Frank, who was a used parts suppler out of Leadville Colorado back in the late 90s. It's possible the parts were from a larger truck although I don't know if tire hangers were similar between models. I found this picture in my searches and it shows a nut on the bottom side of the forward cross member which is what I ended up doing to mine. I like the idea of adding a hole down lower so the castle nut can be engaged properly. I need to replace my 25 year old brand new tires before I start driving the truck so I'll take care of that task at when I have the new tires mounted.
 1 point
 -
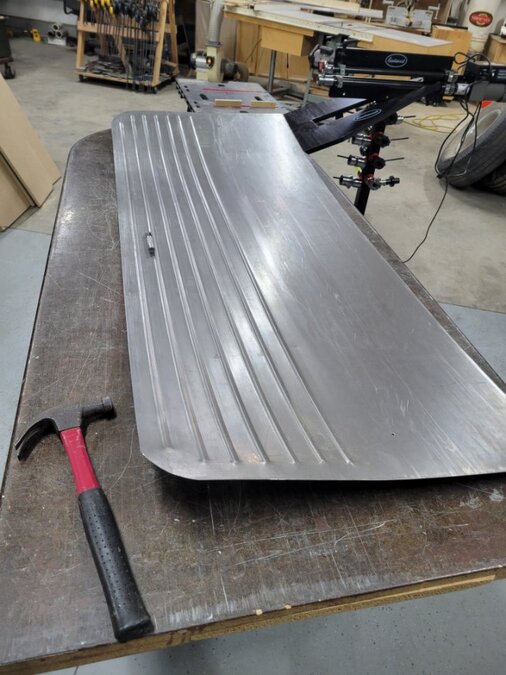
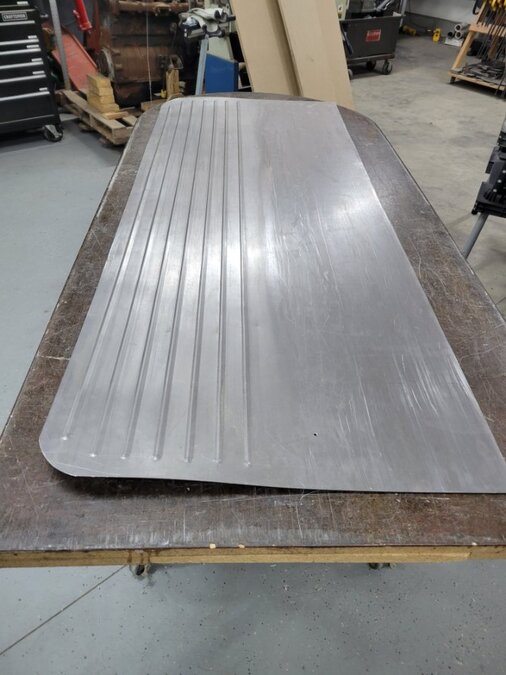
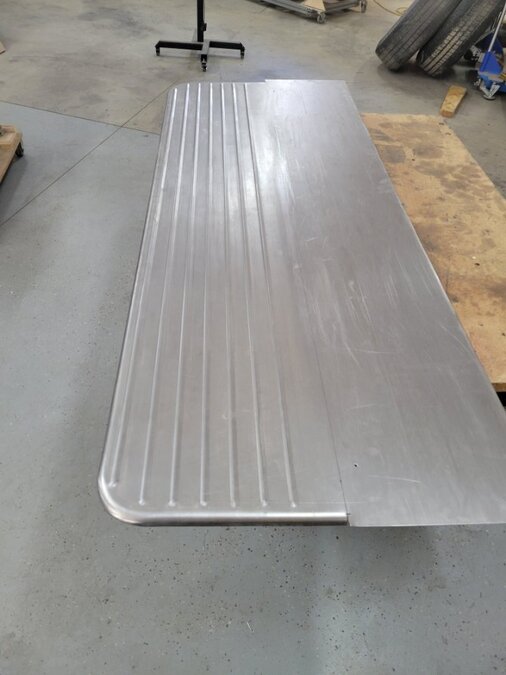
Passenger side done....as usual the second one looks better...I figured out a way to jig the beads so it would run straight. Way less stress on me and a better look.
 1 point
 -
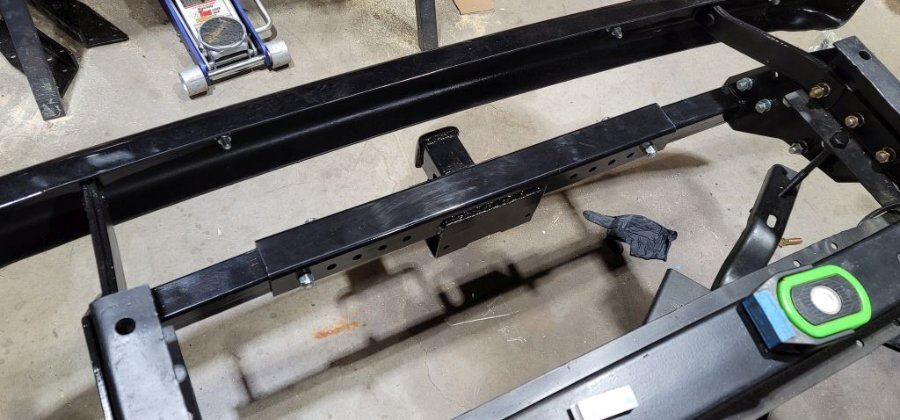
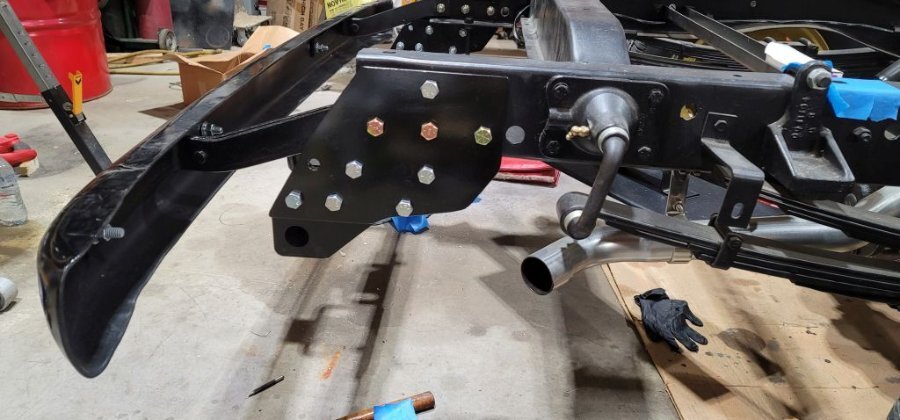
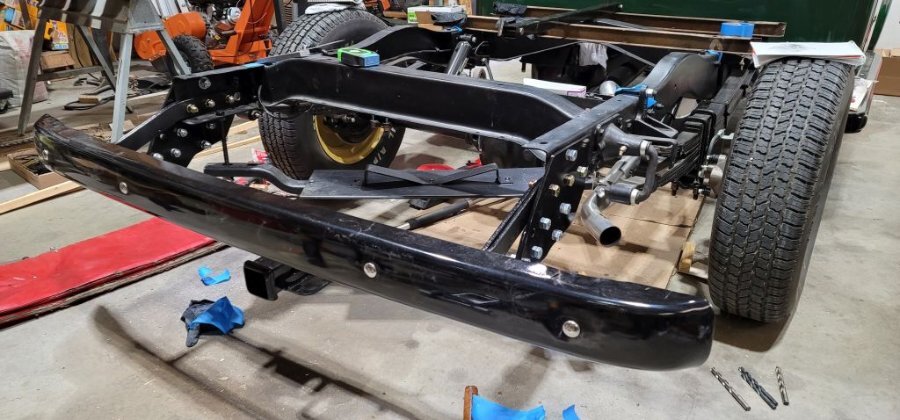
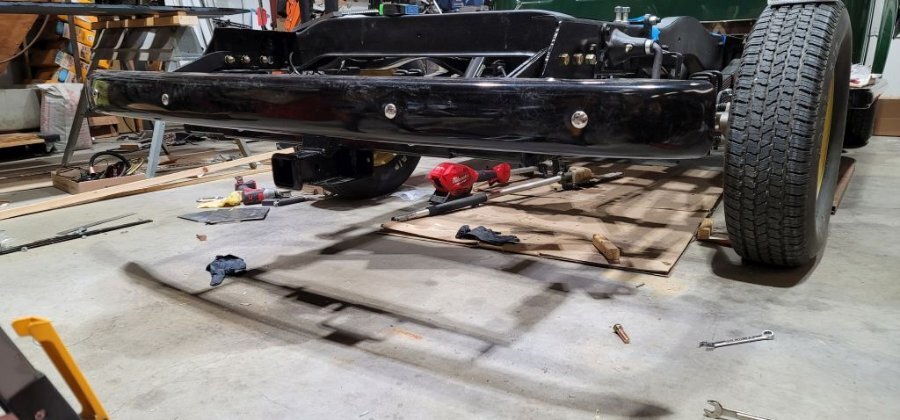
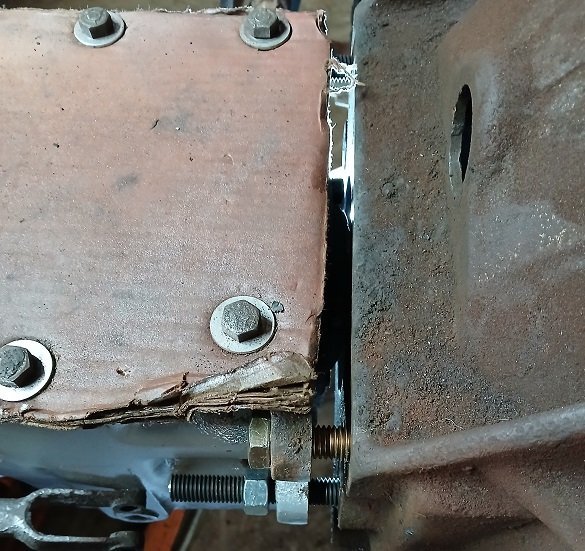
Just wanted to add these hitch installation pictures to my main build thread.

 1 point
 -
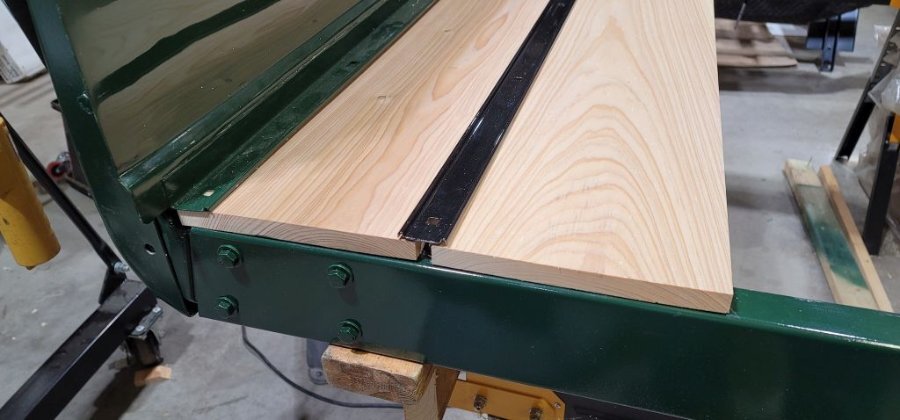
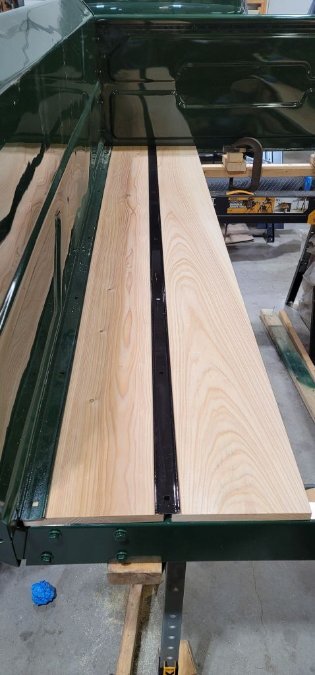
The holes in the stake pocket for the L brackets are a really close tolerance fit. There is no movement in the L bracket once all of the bolts are started (but not tight). I spent most of the afternoon looking at various areas of the bed and the shovel rails that are spot welded to the bed sides. What I found is there was more downward angle on the shovel strips that I original thought (possibly from handling over the last few months). After some tweaking with a large adjustable wrench and some blocks of wood I managed to get the shovel strips straightened. Once that was complete I found that by rabbiting the end of the plank 1/16" provided just enough clearance that I could get the planks to slide under the shovel strips. The most likely explanation for the problem was my installation of the shovel strips. The bed sides aren't 100% flat which contributed to the issues with the strips. Bottom line is the truck is going to be a 10' looker, just don't get any closer 😄 I'm now at the point where I need to rabbit three more planks and then rip the center boards to the correct width. After that I'll be painting for a while. Both the planks and the four frame cross members need to be painted. I'm hoping to have the box completed by January 10th
 1 point
 -
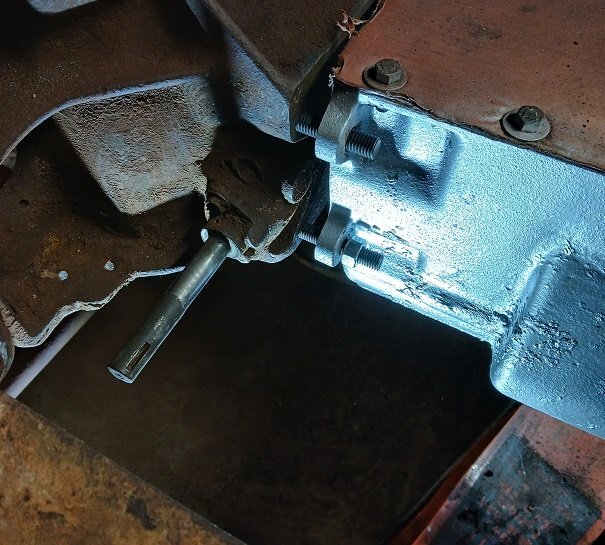
Transmission is in. I went toe to toe with it for 4 hours. It wore me to a nub. Pix are of the all thread pieces I used to guide it home. Also finished priming the back of the cab where I replaced the rust. Back to wiring today. Ray J.
 1 point
 -
It really helps in paying the bills! As more and more ad blockers are used in the various browsers it has a large impact on the revenue generated by Adsense ads. Donations really help to make up the difference. Fredrick, thank you again!1 point
-
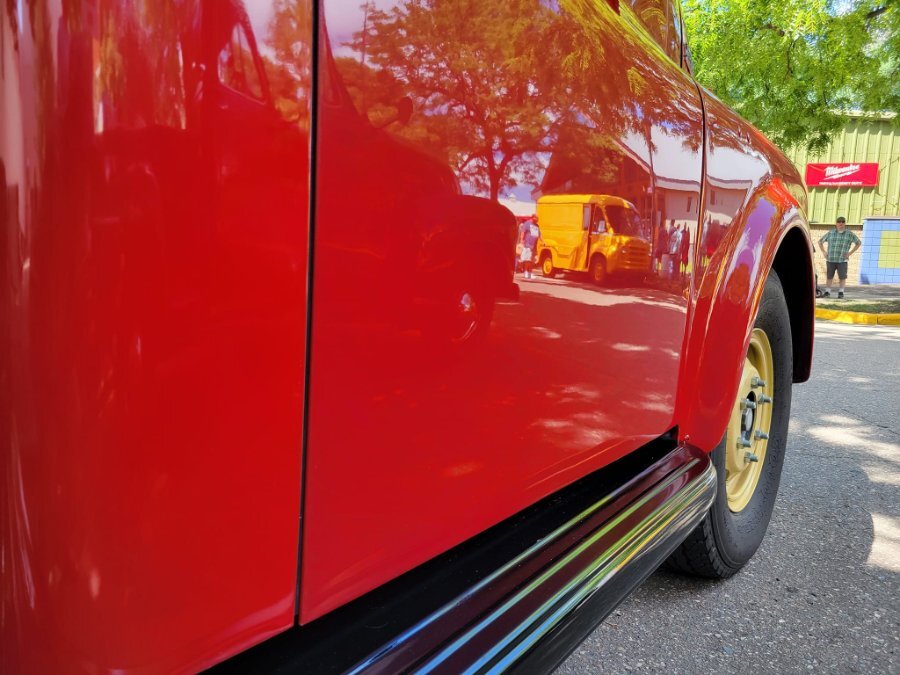
John T got artsy at the 50's this year...so, I did a different arsty shot of Joe's route van off my door. Waiting for John to post no longer! Hard to get a pic with no people!

 1 point
 -
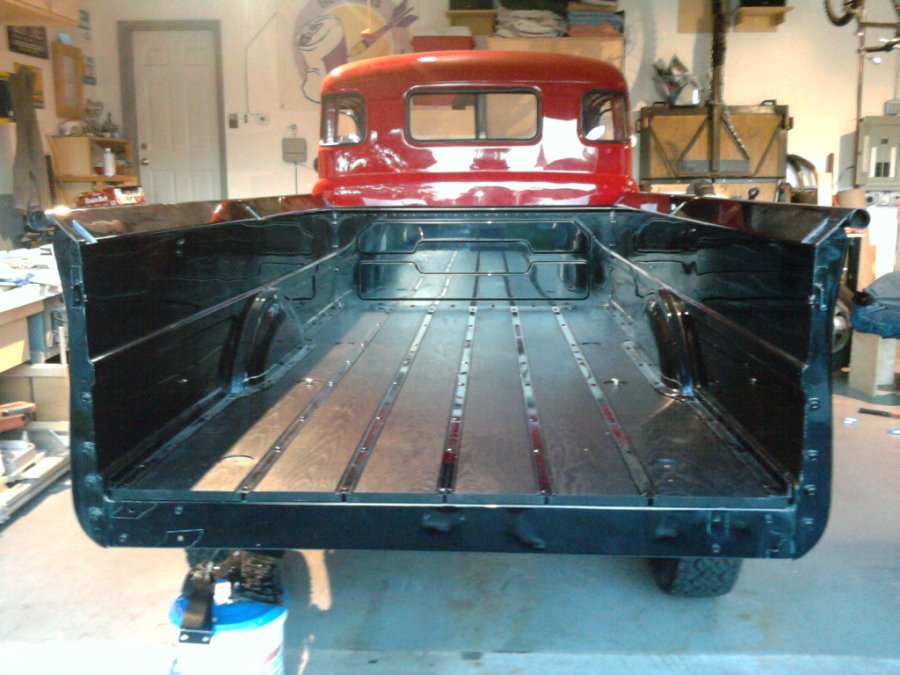
I wanted a custom look but not the typical really light colored beds many install. I used pine boards with ebony stain.
 1 point
 -
lifted the bed on last ngiht and all the holes align well with the frame. Again, measure CAREFULLY and check square!
 1 point