Conn47D24
-
Posts
776 -
Joined
-
Last visited
-
Days Won
10
Content Type
Links Directory
Profiles
Articles
Forums
Downloads
Store
Gallery
Blogs
Events
Everything posted by Conn47D24
-
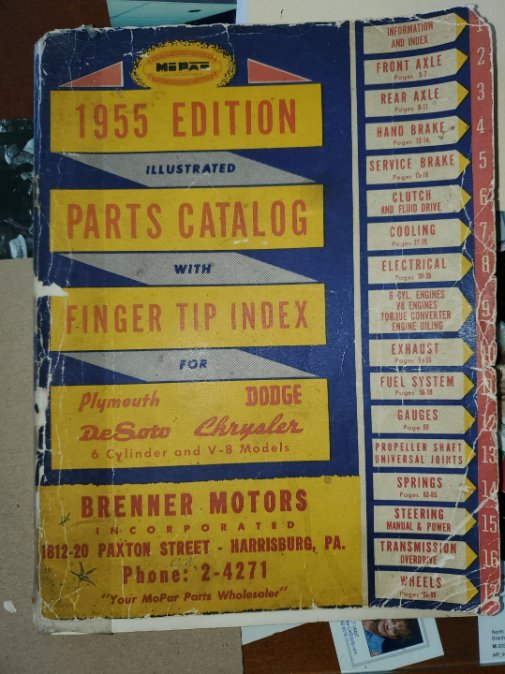
My Parts book shows: Google - Ebay by part #. Try Andy Bernbaum


-
John, bought mine from Mitchell's, Obsolete Mopar. At least 8 years ago.
-
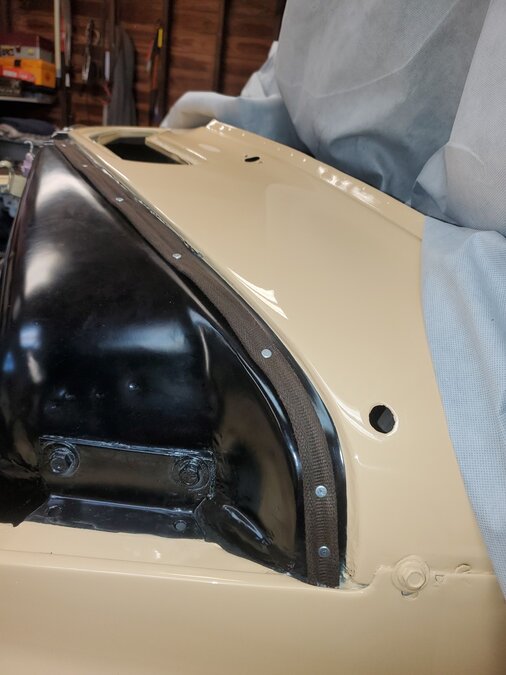
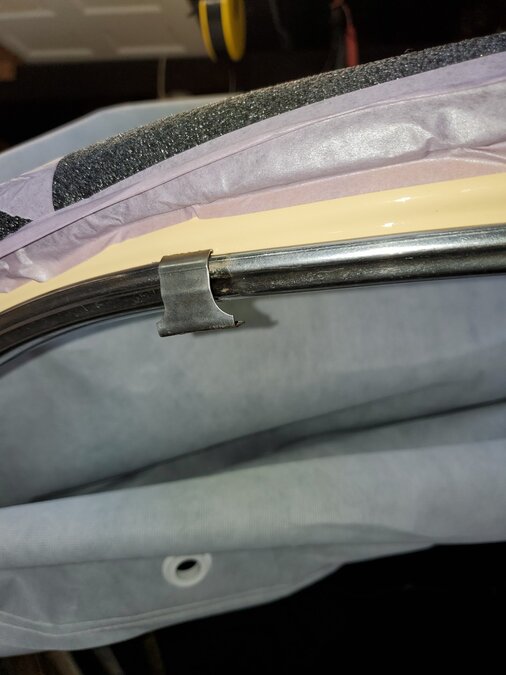
I found this photo here on the forum. Seems the clips sit with the TAB under the sill. The "weird " clips spot welded at the back end also sits under the sill edge. Makes sense seeing it. Only issue I may have is the sills that were installed years ago run even with the rear fender. Ill mock it up and see how it looks. Thank you all.

-
Ok Thanks again.
-
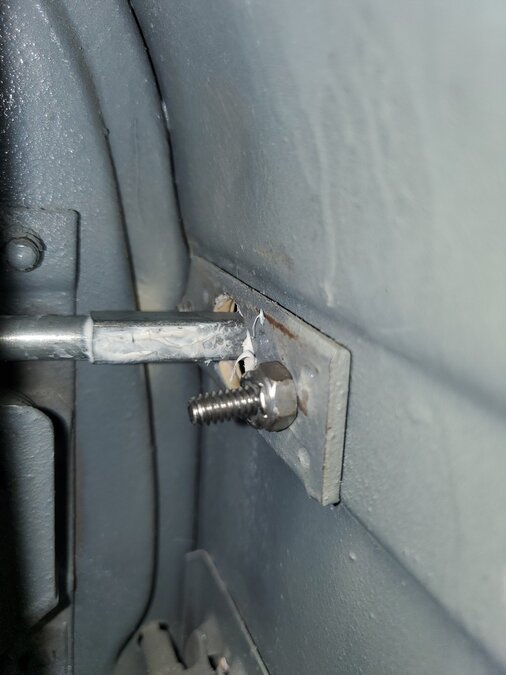
PA, Thank you. How about the clips with the TAB sticking out? Do I have it in wrong, if not how does this rig set flush against the body?
-
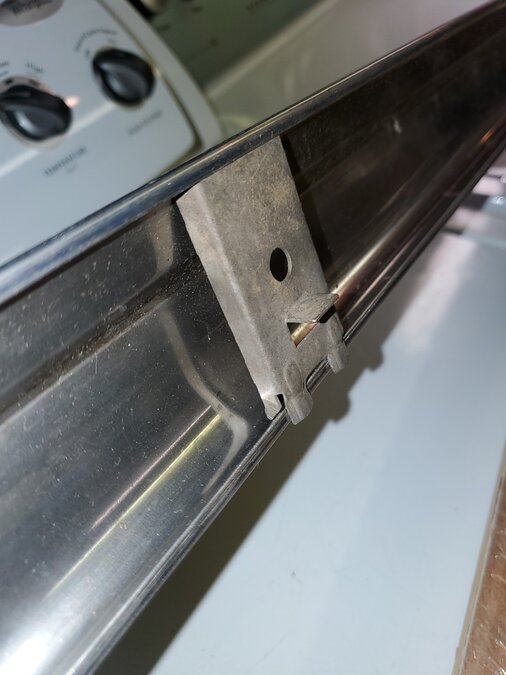
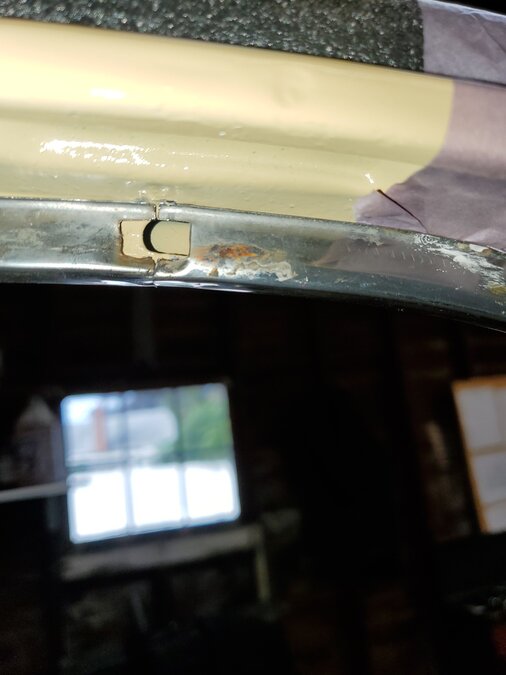
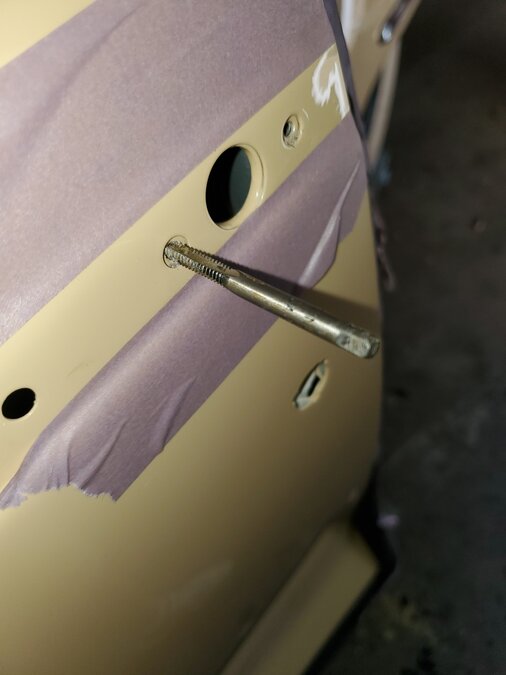
Getting set to tackle this trim for the rockers. I bought these several years ago, original paper wrappers, but not Mopar. Obviously OEM / After. Part numbers are correct for my D24 Club Coupe. Two forward clips / bolts are spot welded in place. One odd bracket at the rear also spot welded. SEVERAL question if you all could help me out again. First , what is this weird clip at the rear, and why is it a horizontal? Also, I've mounted a clip, is it in correctly ? If correct , how can the moulding set flush against the body with this TAB sticking out ?


-
Great thread guys! Marc, thanks for all the photos an videos. I've done all this a few years back. All the same challenges. I forgot how I got the upper bushing in without the Miller 736 shoe horn. Rich Hartung let me borrow the other Miller tools. Could not have done this without them. This post will be a great help to other members!
-
Installing vibration, heat, and sound insulation kit.


-
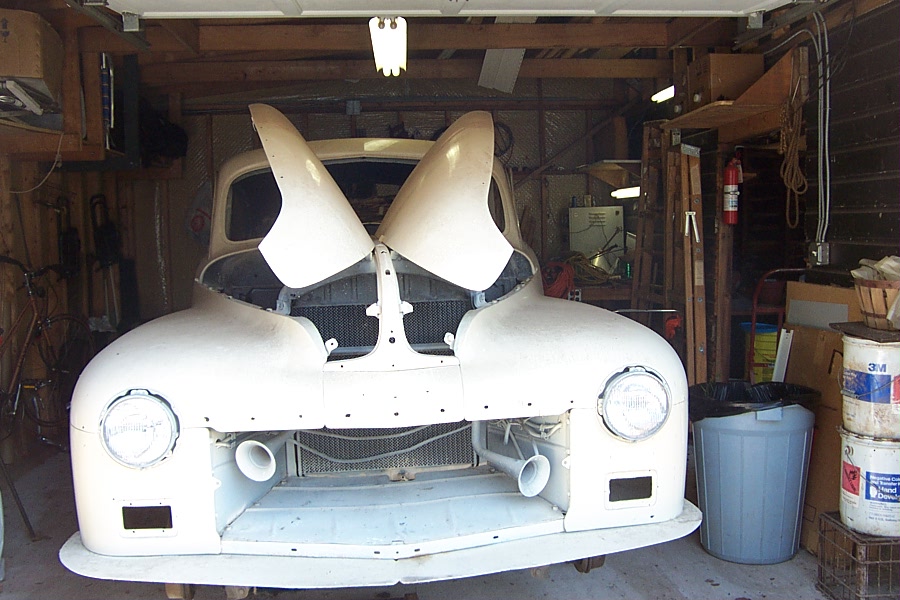
No help from me on this topic. However, I am comforted by how often other members here have the same story as me. Stripping our cars down 30-40 years ago with all good intentions of restoration. Not giving up, stockpiling parts, and learning here how to get back on track. Youth, time, life, experience. What a ride!
-
One more

-
Asbestos gasket keeps it from getting cooked. Just warm enough to open the choke.
-
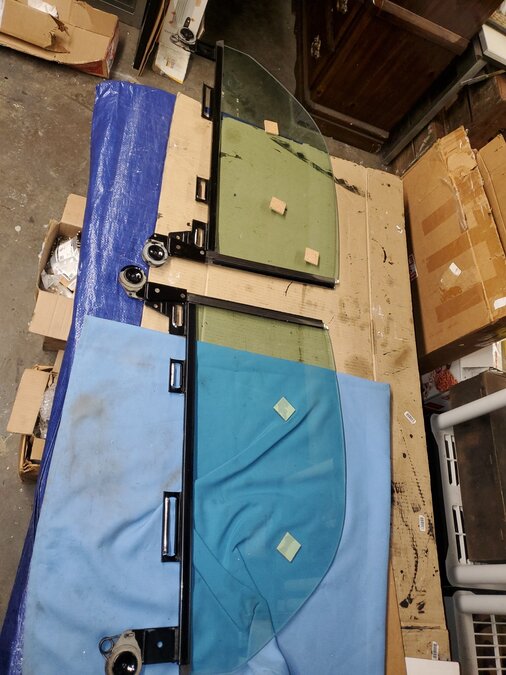
Side window glass. Thanks to 41 Plymouth Mark, and his detailed videos.


-
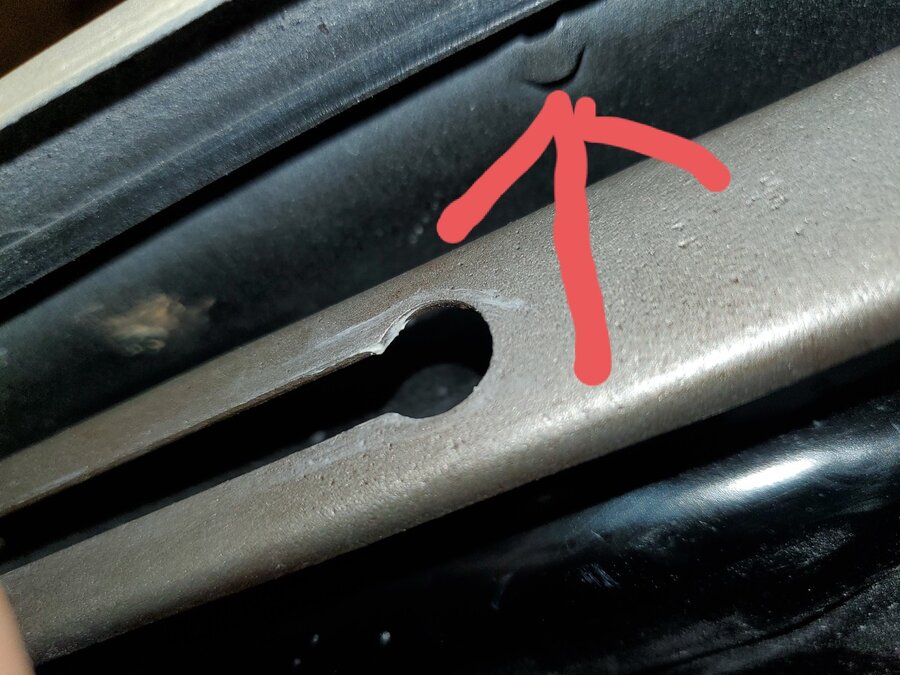
This is the tiny notch stamped into the top, inner lip of the fenders where the front end of the springs for the hood latches attach too. Thanks Dan Hiebert for this detail!
-
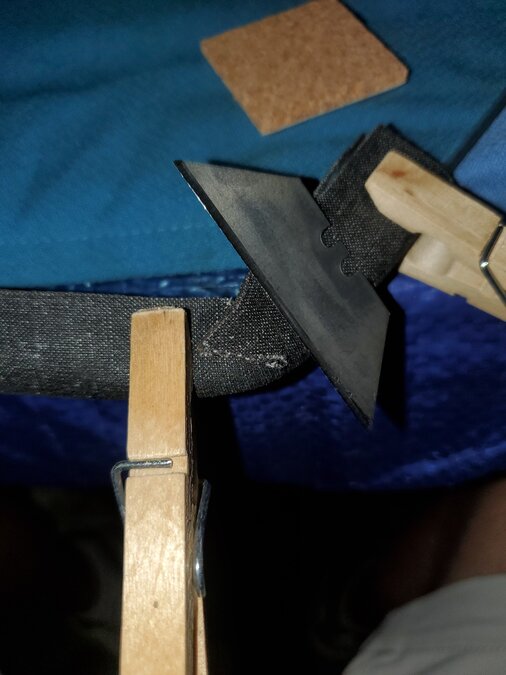
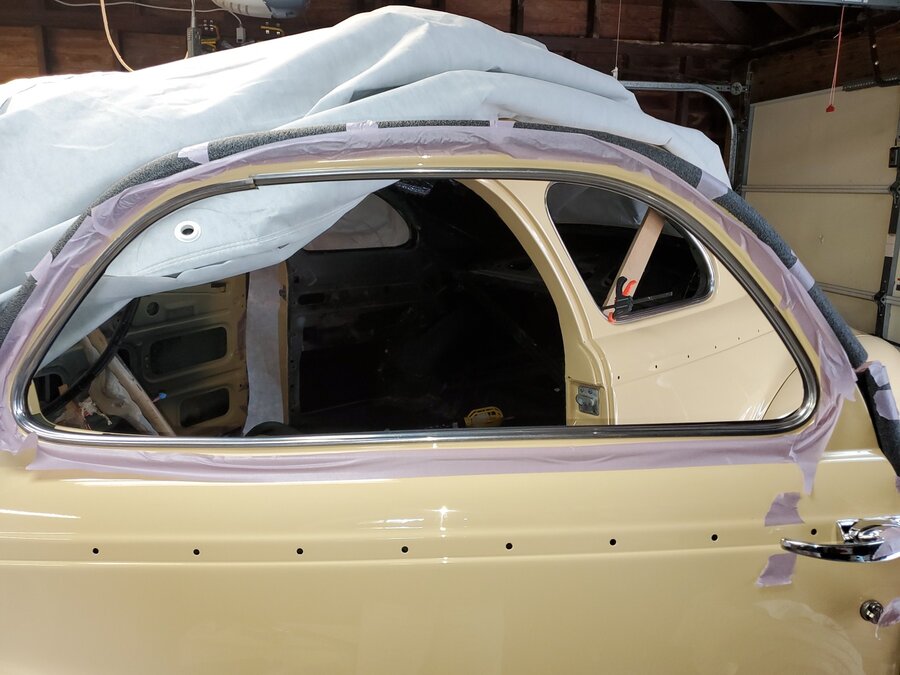
Exterior stainless trim installed. 40 years since I remove this trim so putting it in was intimidating. Turned out very easy after all. Lots of tape to protect the paint. Push it all firmly into place until the two ends lineup with the slot in the body ,on the interior side of the door. Clip over the seem, tab on back bends into the door frame slot.

-
Door locks in.

-
Welcome !
-
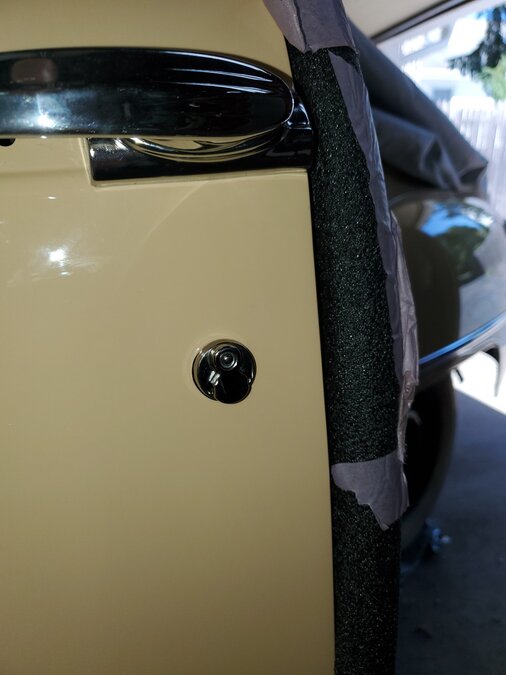
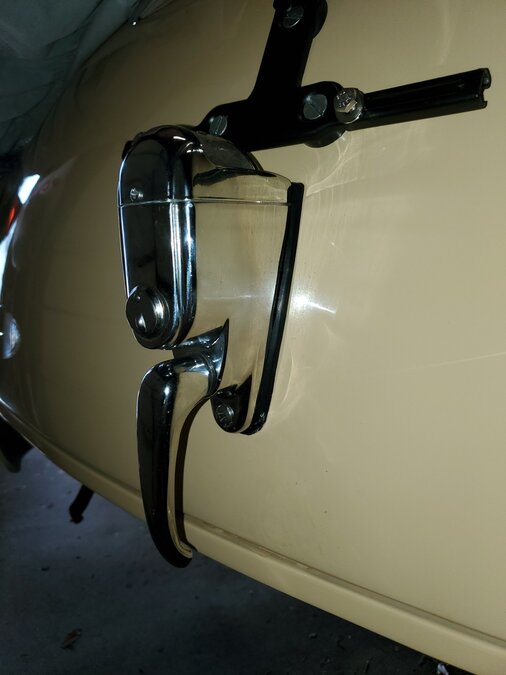
Door handles done. Tapped new threads 10-24. and added a nylon lined nut to each. Very solid feel. Taping to prevent scratching the paint has worked well.

-
This was a lot more involved than I thought, and looks. But done, and looks great!
-
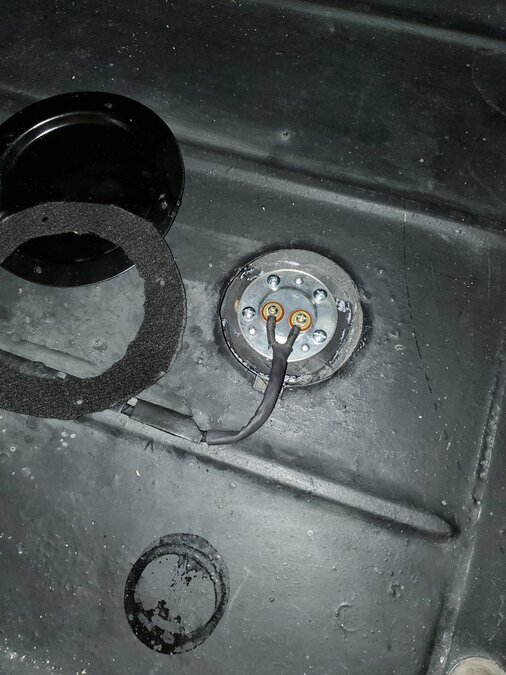
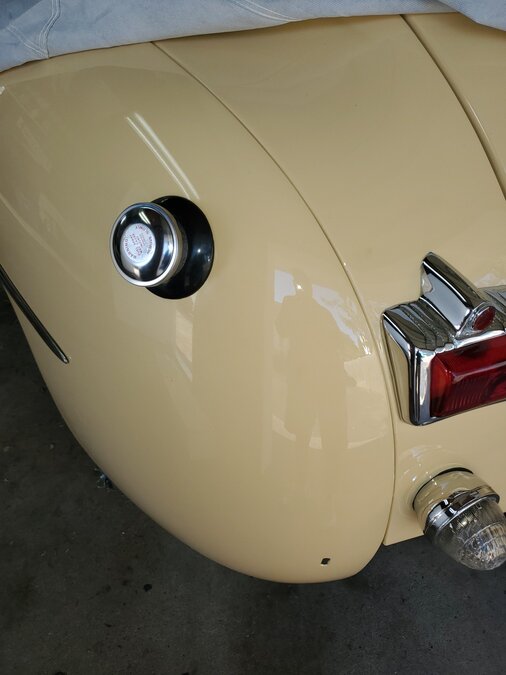
Fuel gauge sending unit in place.
-
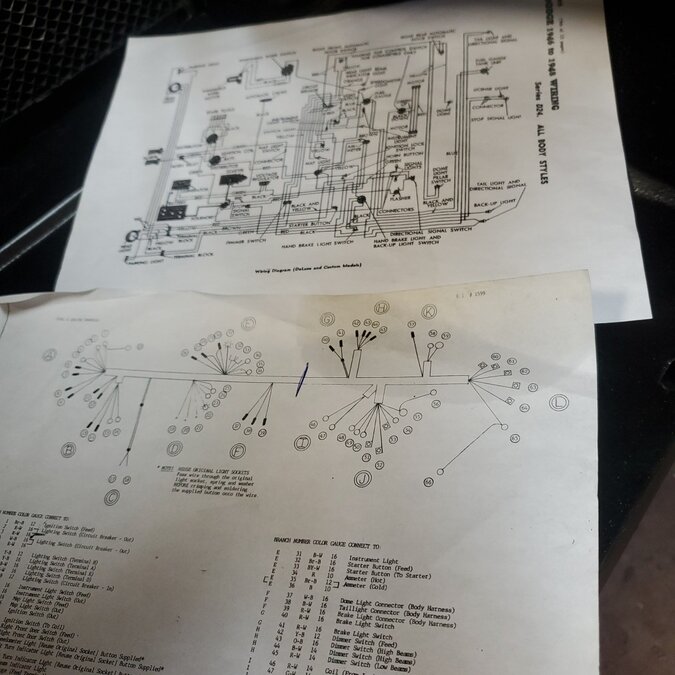
Last night, one easy task, gas filler neck. Also one more detailed, wiring blocks. Wiring break down chart from RI Wiring came with my harness. Invaluable in helping as is has the color and gage. Unlike the diagram. Both came in handy.

-
Excellent Dan Again , thank you for checking this. ?
-
These center trim / hinge bolts are listed in the parts book as the same part #. It appears that one has elongated bolt holes. Are these for adjustment purposes? If so, does that one mount in front, or back on the cowl? Or no difference as the book shows after all ??

-
Hi Frank, Back in the late 80s I sent my original harness to Rhode Island Wiring and they made me a new one. I stored it with the car. Then installed the engine section last year to start the engine after rebuild. Some color fade for sure, and dust from the body work, but working fine. Ill be testing all wires as I build the dash, and before I finish interior. I plan to feed extra runs of wires to all covered interior and trunk areas just in case. Thank you for taking a close look, I appreciate a 2nd and more sets of eyes here. ???
-
New hood cowl welting.