bkahler
-
Posts
1,945 -
Joined
-
Last visited
-
Days Won
39
Content Type
Links Directory
Profiles
Articles
Forums
Downloads
Store
Gallery
Blogs
Events
Everything posted by bkahler
-
It does look like a pretty gentle plane crash
-
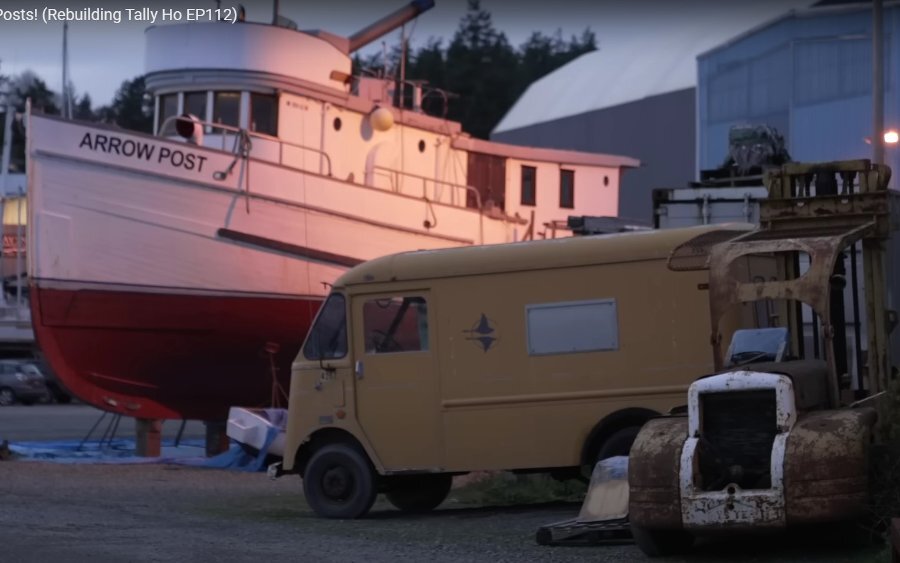
I don't know which is more interesting, the old Dodge or the plane in the roof....
-
That looks to much like real work to me...
-
51 B3B build thread - after all these years
bkahler replied to bkahler's topic in Mopar Flathead Truck Forum
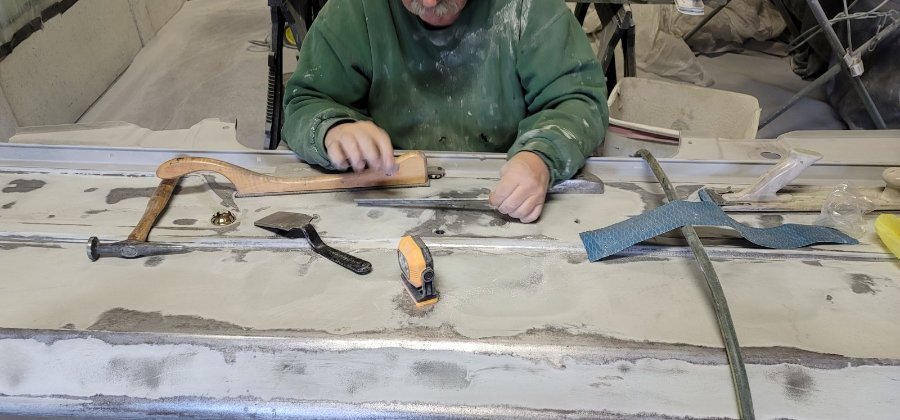
Bed panel repairs are moving slowly but still moving These pictures were taken a couple of weeks ago. He's working on getting the last section flat. I believe the panels are now ready have primer applied. The weather has been on the cold side so he's waiting for slightly warmer weather before doing so. After about 28 years of waiting I just might get to drive the truck on the street this spring!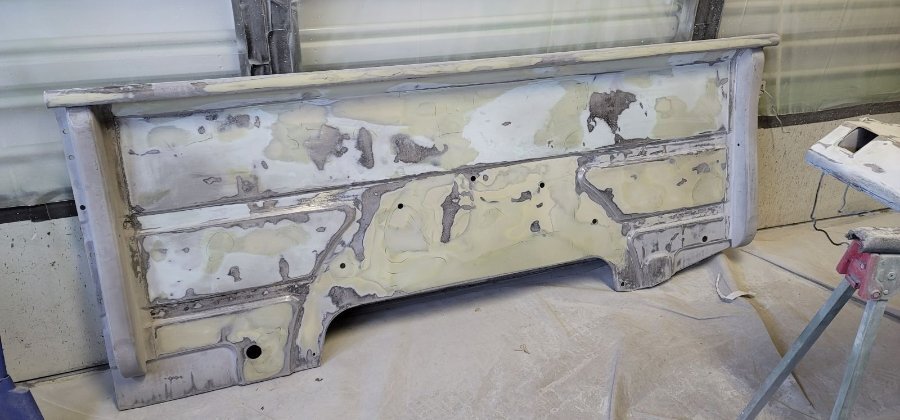
-
51 B3B build thread - after all these years
bkahler replied to bkahler's topic in Mopar Flathead Truck Forum
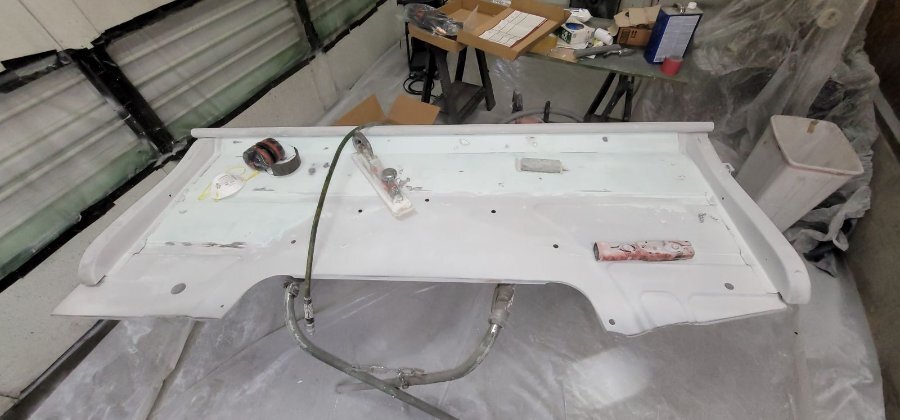
More progress on the bed panels. First coat of primer on both and he's starting to add filler for all of the rust pits.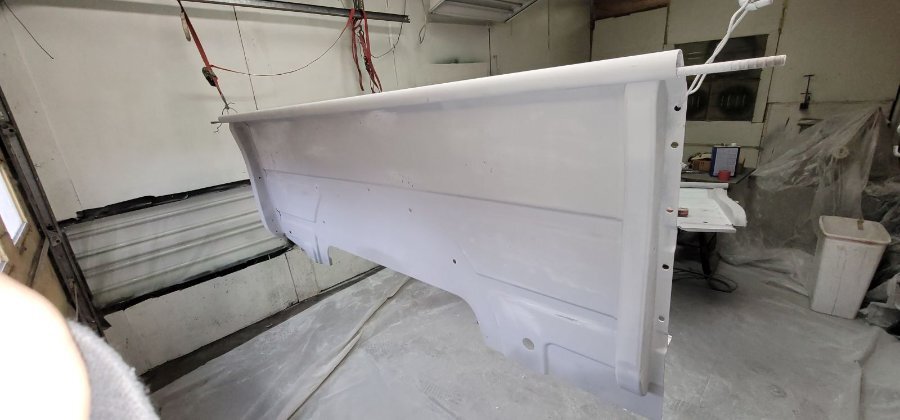
-
51 B3B build thread - after all these years
bkahler replied to bkahler's topic in Mopar Flathead Truck Forum
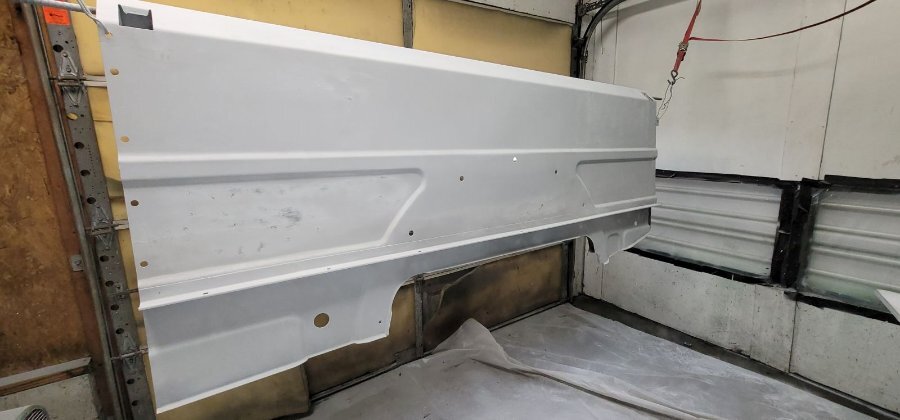
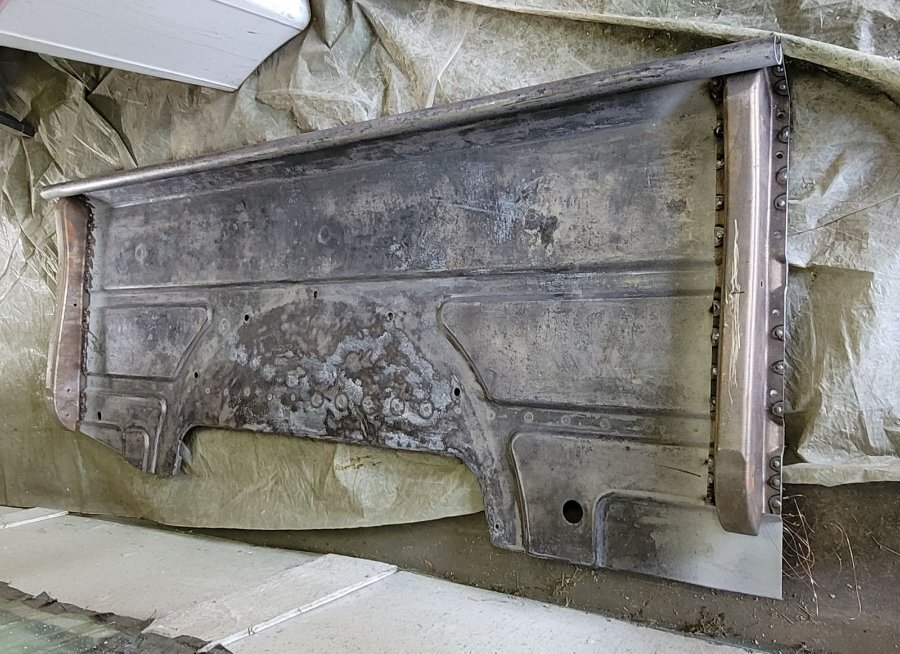
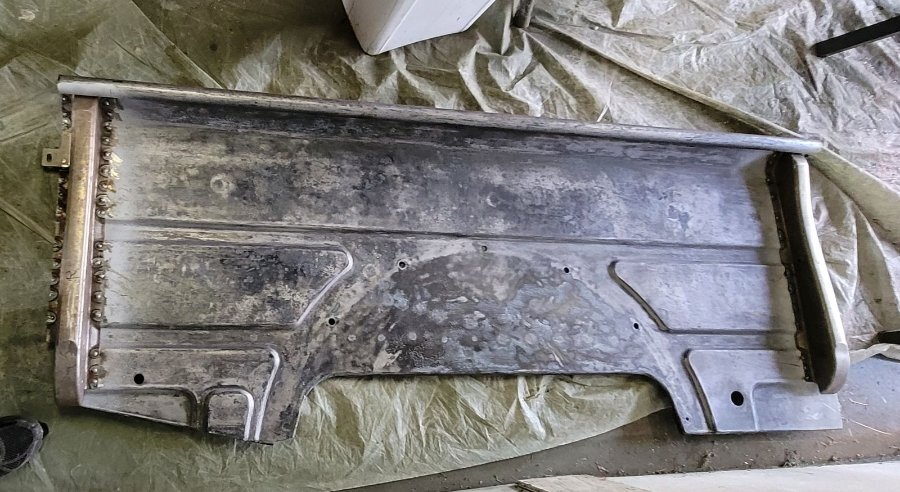
One step closer to getting the bed side panels painted. Last week we welded the stake pockets and bed rail to the passenger side panel. This weekend we welded the pieces to the drivers side panel. It's in surprisingly straight condition now. Both panels are now being prepped for paint. There are a couple of flat spots on the top tube of the panel and we were trying to use one of those harbor freight tubing expanders, unfortunately the smallest one they have is just a bit to large to be able to comfortably slide it down towards the middle of the tube without getting stuck. As an alternative he's considering JB Weld as a build up material and shaping it to match the curve. As long as I own the truck it's not going to be a work truck so that might be the easiest option. Its about time for me to start milling the lumber for the bed floor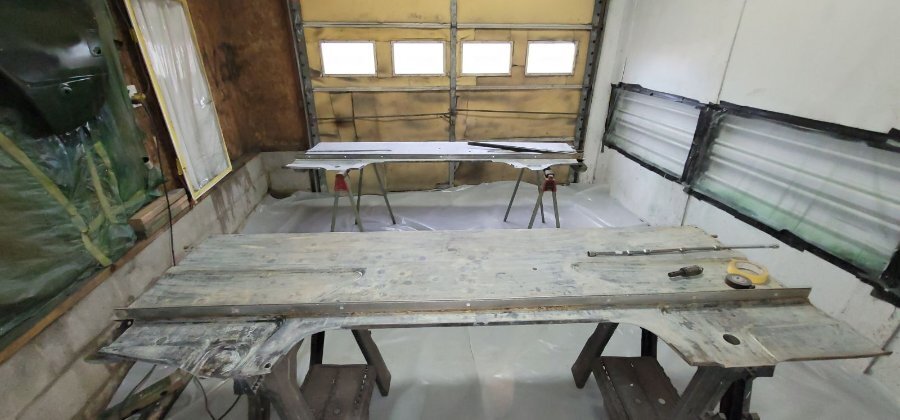
-
51 B3B build thread - after all these years
bkahler replied to bkahler's topic in Mopar Flathead Truck Forum
Beg, borrow or steal one of these drills. They are great for getting into tight spaces.
-
ggdad1951 truck project montage: FEF!
bkahler replied to ggdad1951's topic in Mopar Flathead Truck Forum
What's the cardboard for....? -
51 B3B build thread - after all these years
bkahler replied to bkahler's topic in Mopar Flathead Truck Forum
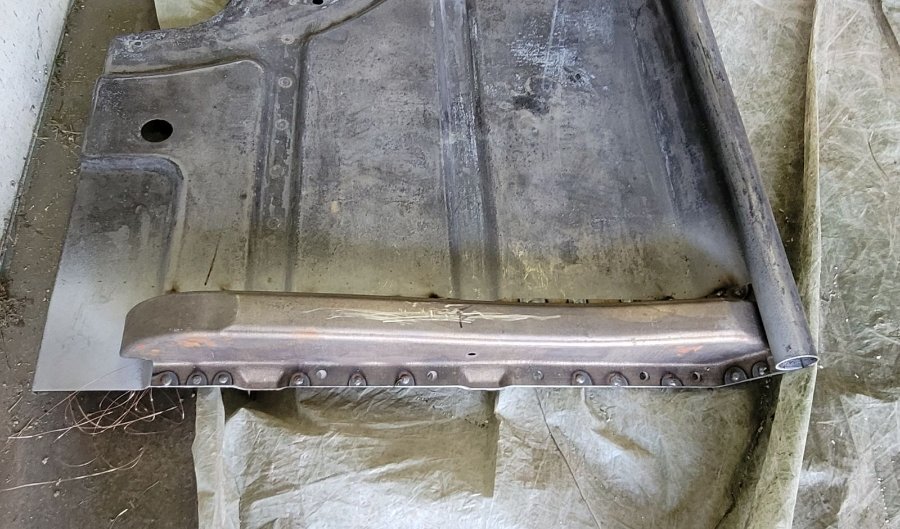
Sorry about the radio silence, I'm slowly figuring out this whole retirement thing I haven't really done much of anything to the truck but progress has been made by the guy doing the body work on the bed. In early October I took a trip back to my home town to visit family for a couple of days and then headed to Minneapolis to pick up a pair of bed side panels (thanks Mark!). I wouldn't call the newly obtained panels "new" but they are in considerably better condition than my originals. Mark had previously removed the rusty stake pockets from the panels but he had new replacements available so that's what you're looking at in these pictures. I will say the Bruce Horkey replacement stake pockets look to be identical to the originals, they are very well made reproductions. This panel is the passenger side, it was the better of the two so we figured to start with the good panel and hopefully learn along the way. The panel did require some straightening and shrinking but I'm happy to say it turned out pretty darn straight. The drivers side panel is pretty much straight along the top tube but the panel itself is somewhat of a banana shape, although we both feel it's workable. Maybe in a week or so I'll be able to post some pictures of the reworked panel. By the way, the reason for me not working on the truck is because my Cushman Truckster engine finally blew up so I'm in the process of replacing the engine. I really need the Cushman running as it's my workhorse for getting things done on my property. Brad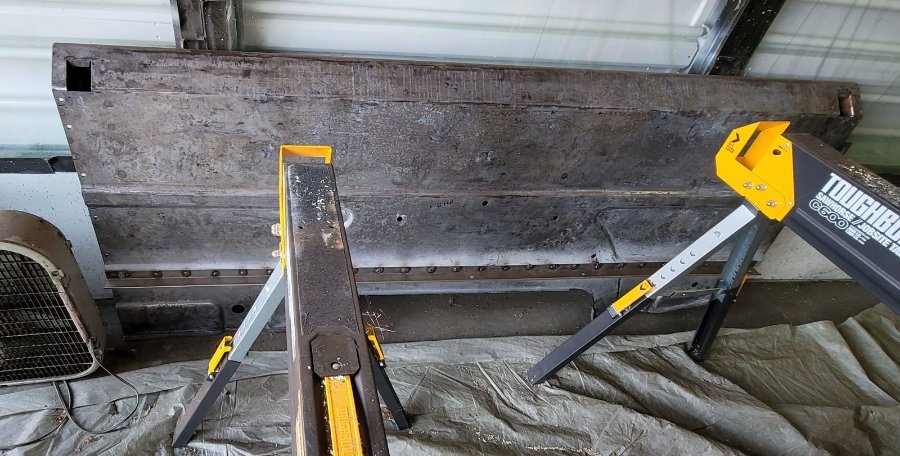

-
My one big experience with water in the gas is the engine would run a little rough at first, and then run rougher and rougher until the float bowls filled up with water at which point the engine stops running. I confirmed this was the case by pulling the fuel bowls (Triumph Spitfire twin carb engine) and dumping the water out. I'd reassemble everything and the engine would start, run rough until the float bowls filled up with water again, at which point the engine would stall out. We were able to get about 1-1/2 to 2 miles before I had to repeat the process. I was fifteen miles from home so I got the routine down pretty good
-
Super! I'm glad the driveshaft solved your problem. There were numerous times over the past year where I almost hauled it to the dump. I guess the old saying "One man's junk is another man's treasure" is true Have you driven the truck with the new drive shaft installed yet?
-
Interesting. My problem was just the opposite. My driveshaft is/was the Cleveland style u-joint and the trans was Spicer. I ended up replacing my diff with a later model so I had to find a driveshaft with a Spicer end.
-
Wow! Is that the complete driveshaft or just the slip joint section? Either way, good deal. When I was looking I checked with DCM, Vintage Power Wagons, Vic's and several other places and came up empty.
-
I think at this point finding a decent used driveshaft and/or components is going to be more of a crap shoot than anything else. The odds probably aren't very good. If you're doing a full blown restoration I understand your dilemma, if not then you might consider just having one made. I took that route, it was $534 for a complete shaft with u-joints. When I realized mine original shaft was no good I also spent time looking for used replacements and had zero luck. On my truck the diff had the Cleveland strap style but on the transmission end it used the Spicer style. Someone prior to me had done some swapping around.
-
I don't know that fuel will evaporate once it gets into the crankcase, at least that wasn't my experience recently with my Cushman Truckster that recently suffered this malady. I do know that if enough fuel gets into the crank case the bearings will eventually fail.
-
The covers the full face of the fender lip.
-
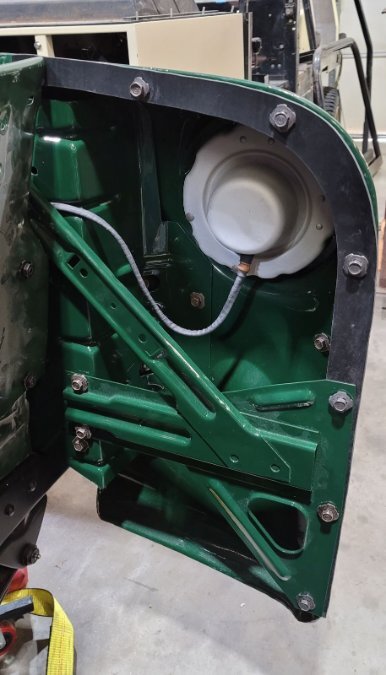
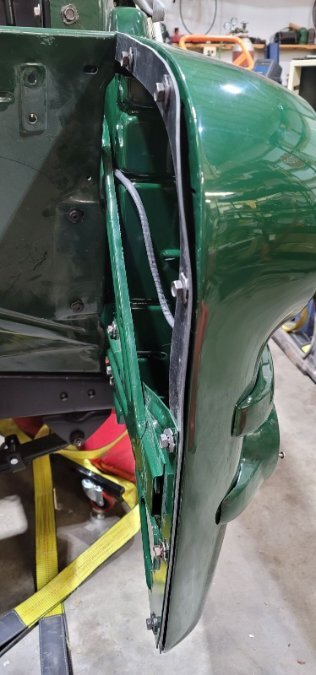
My 51 had a rubber gasket between the fenders and the front grille. I'm in the process right now of mounting the fenders. I made gaskets out of 3/32" rubber sheet. I traced a pattern by setting the front of the fender on top of a sheet of construction paper. I then cut out to rubber gaskets and punched the holes. Later today I'll snap a couple of pictures and post them. Brad
-
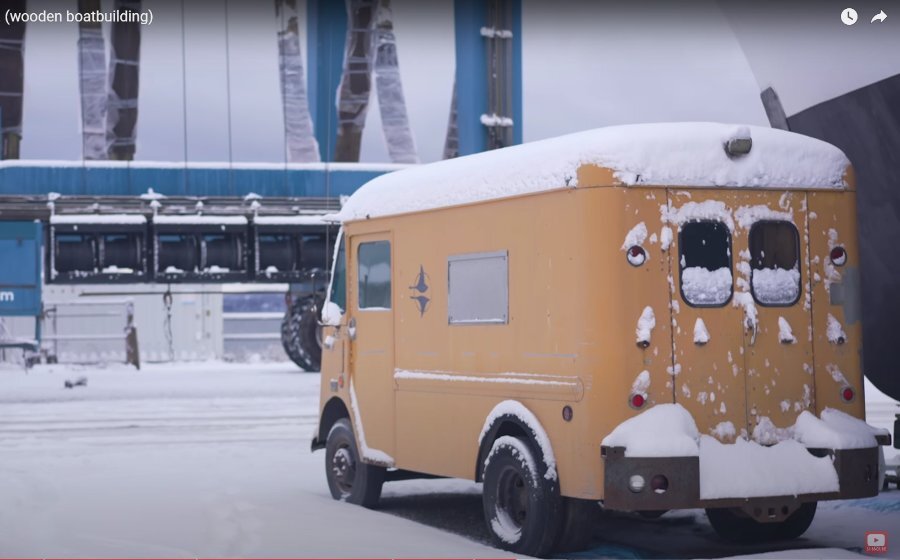
A few more pictures showed up in a different episode. Neat old truck.

-
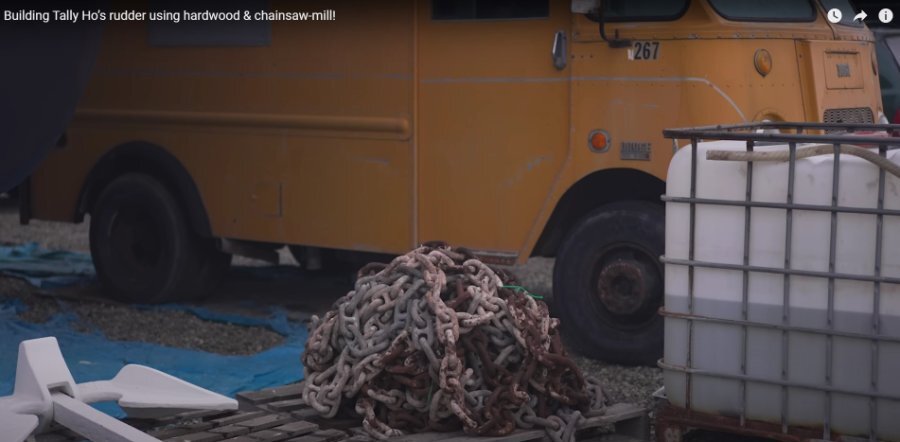
These aren't necessarily vintage pictures but they are pictures of an old dodge van being used in the Port Townsend board yard in Washington state. I ran across these pictures while watching videos of the Tally Ho boat restoration project.

-
Dan's 1953 B4B 1/2 Ton Restoration Project has started
bkahler replied to Dan693's topic in Mopar Flathead Truck Forum
Dan, sounds like a great project. You need to get some pictures posted so we can watch your progress. Check with DCM Classic's in Wisconsin and Vintage Power Wagons in Iowa. There are several used part sellers on Facebook Market Place as well. Brad -
51 B3B build thread - after all these years
bkahler replied to bkahler's topic in Mopar Flathead Truck Forum
I'm now at the point where I'm need to install the front fenders. I have the front rubber gaskets made for the front fenders to nose and I have the two seals that go on the back of the fenders, but I'm waiting for the split rivets to arrive before I can fasten them. I should have the split rivets on Tuesday afternoon. That means I should have the fenders installed by the end of this coming week. In the mean time I'm been tinkering with some small stuff like headlight buckets, parking lights, door handles, and sun visors. I did notice that the drivers door roll up window seems to be out of alignment so I need to do some research on how to correct that problem. Also, I have a hunch my cab is not bolted squarely on the frame. I may end up loosening the four cab bolts to see if I can move it around slightly. I'll know more once the fenders are in place. Brad -
51 B3B build thread - after all these years
bkahler replied to bkahler's topic in Mopar Flathead Truck Forum
Well, so far retirement seems to be off to a good start I'm getting things done and I'm enjoying not having to deal with the pressure of getting something done before having to go to work the next day. No wife in the picture so that really simplifies things! That's sort of what my thought process is, get the truck done so I can use it as a parts and errand runner. -
51 B3B build thread - after all these years
bkahler replied to bkahler's topic in Mopar Flathead Truck Forum
Thanks on both counts -
51 B3B build thread - after all these years
bkahler replied to bkahler's topic in Mopar Flathead Truck Forum
After much tweaking and bending we mostly have the doors in proper alignment, assuming proper alignment means the door strikers line up correctly and the gaps are more or less close More on that to come shortly.... -
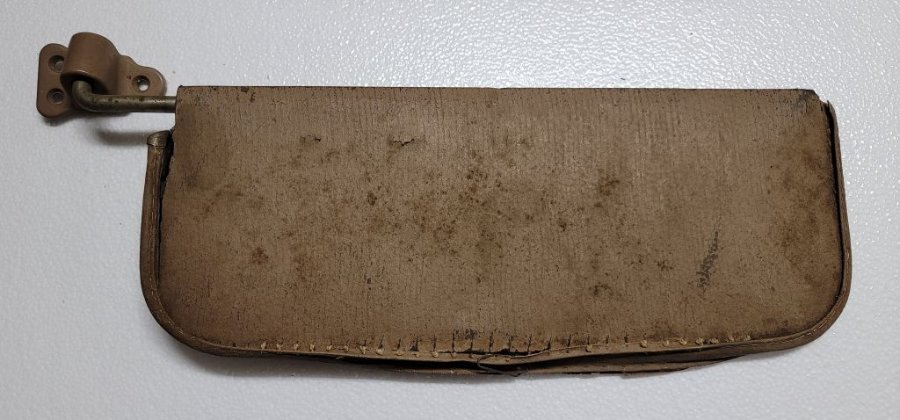
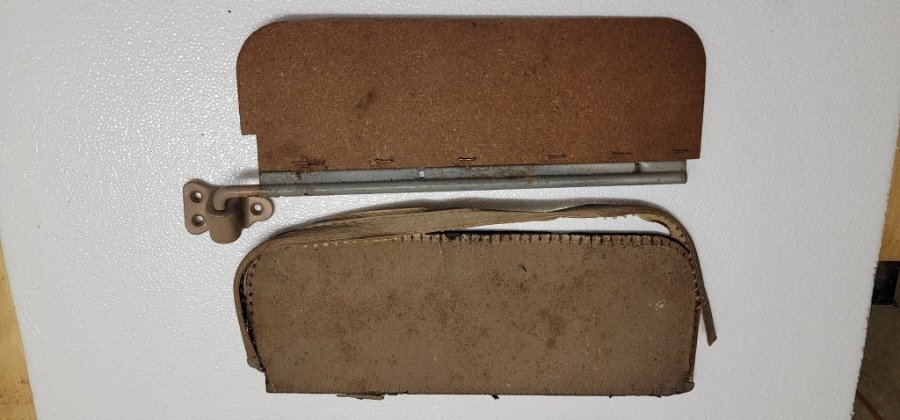
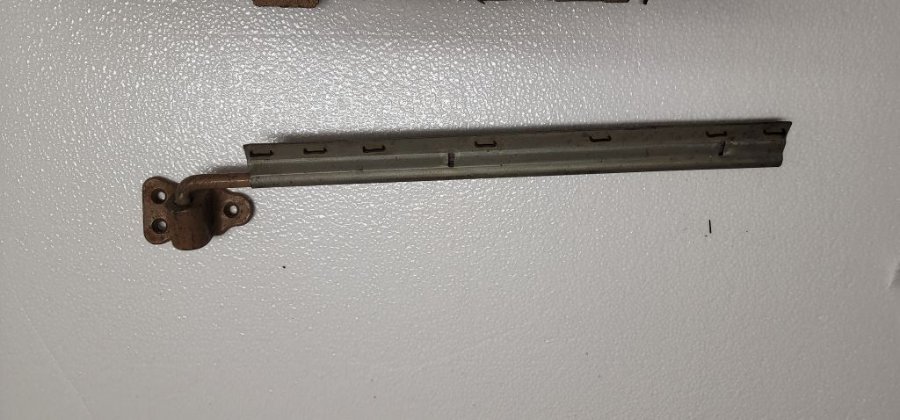
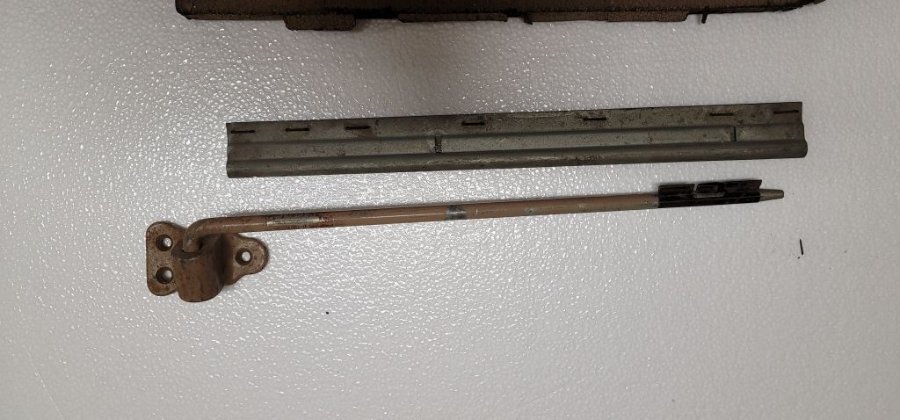
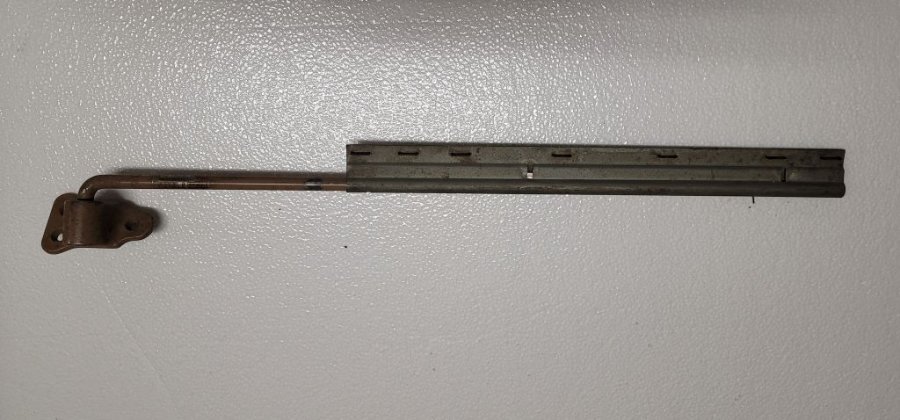
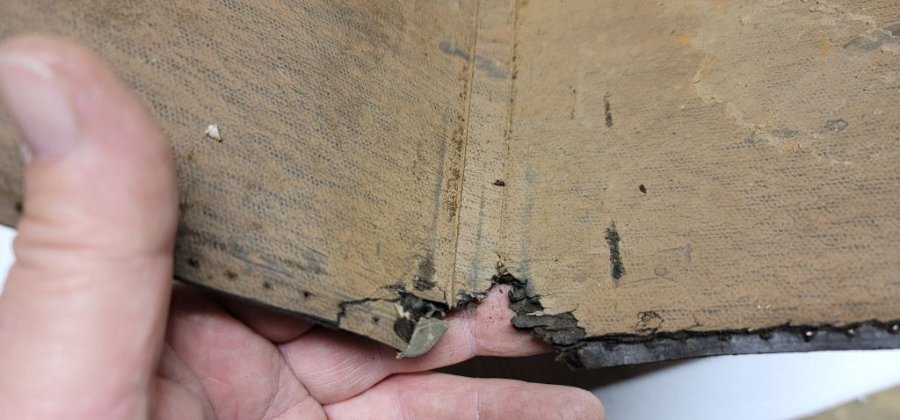
While doing a little searching for sun visor info I came across this thread. My 51 originally came with both left and right sun visors and they were mostly intact and at some point I salvaged a spare (not sure which side it's for). While looking at the spare salvaged arm I realized the visor is designed to slide on the shaft about 6" allowing the visor to be place in a better position to block the sun. I then checked my two original visors and they both have the sliding feature. I had not heard of this slide feature before and I'm wondering just how many others have noticed this feature? The main reason I'm posting is what can be done to replace the original cardboard visor material? I've done some searching and so far having come across any potential sources for replacement material. Any suggestions on where to source potential replacement material? Thanks, Brad