


bkahler
-
Posts
1,947 -
Joined
-
Last visited
-
Days Won
39
Content Type
Links Directory
Profiles
Articles
Forums
Downloads
Store
Gallery
Blogs
Events
Everything posted by bkahler
-
51 B3B build thread - after all these years
bkahler replied to bkahler's topic in Mopar Flathead Truck Forum
A couple of days ago I placed the left over piece rubber piece hose that I used for the air cleaner adapters in a cup of gas. I pulled it out today and you can see the results. The rubber was sitting about 1/2" deep in the gas. Oddly the area that expanded was the part that was not sitting the gas. Or maybe it shrank! I guess I need to check what the original OD was. Regardless it's pretty obvious I'm going to have to come up with a different solution for the adapter. At the moment I'm thinking of turning a couple of adapters made of ABS on the lathe. The ABS won't be quite as forgiving as the rubber but I don't think the gas will affect ABS. Brad
-
51 B3B build thread - after all these years
bkahler replied to bkahler's topic in Mopar Flathead Truck Forum
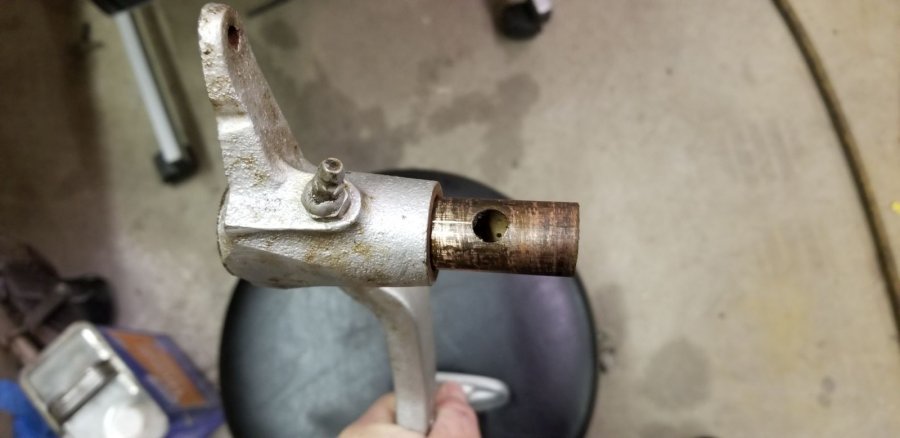
I think I mentioned a while back that the bushing I ordered from VPW for the clutch fork shaft was shorter than the original by a good 1/4" or so. So in my last order with DCM Classics I ordered a couple of their brake pedal bushings. I was a little disappointed in that their bushing is about 5/8" shorter than the brake pedal bushing on my truck which is about 2-1/4". I then realized that if I used the DCM bushing along with the VPW bushing that would take care of the length difference. So today I pressed out the old bushing and pressed in both of the bushings. That seemed to do the trick. The only thing left to do on the pedal is drill out the grease zirk opening in the bushing and then paint the pedals black. I'll shorten the other bushing from DCM and use it for the clutch fork bushing in the bell housing. Brad

-
At least you still got a memory! That is one of my bigger problems, remembering things and it isn't getting any better.
-
51 B3B build thread - after all these years
bkahler replied to bkahler's topic in Mopar Flathead Truck Forum
Hmm.....your message was about an hour and 30 minutes to late ? Fortunately this fan doesn't use rivets. The fan blade is laid on top of the squirrel cage and both were pressed onto the hub and then crimped. The other thing is right now my blast media is mostly powder because its been in use for a long time. With luck I don't have anything to worry about! One thing I did learn, this is a fan from a 12 volt heater. It turns out it's identical to the 6 volt fans with the exception of the bore for the shaft. The 12 volt motor has a smaller diameter shaft. Brad


-
51 B3B build thread - after all these years
bkahler replied to bkahler's topic in Mopar Flathead Truck Forum
Well I finally got good news for a change. This latest (3rd) heater core is good so other than pulling the fan blade for sandblasting and painting I've got all the bits and pieces of the heater ready to go. Cleaning and testing was $12. Not to bad in this day and age. Brad -
It kinda makes you wonder if they paid much attention at the factory when they were building these trucks! Do you remember if the short panel had bolt holes in it? It's my understanding the bed wood doesn't screw into the short cross member. Thanks! Brad
-
Radiator Identification for Non-Pressurized Systems
bkahler replied to JBNeal's topic in Mopar Flathead Truck Forum
This radiator looks exactly like mine although mine doesn't have the gash in the tank! Now I'm wondering, could mine be a replacement radiator from a DeSoto? Just found that it could also have come from a 46 - 48 Chrysler Windsor. Just when you think you have things figured out then out of left field comes this! One of these days if you can lay your hands on that spare radiator let me know and I'll shoot you some dimensions to compare to. The Stant 10203 cap looks correct. I didn't see a picture of the Napa cap. -
Merle, After my initial post I decided to go back and look at the few pictures I took of the truck as I was dismantling it to see if I had anything of value. I don't normally look at these pictures as they are in 320x200 format which makes it really hard to see anything in detail. The attached pictures have been enlarged to 800x600 which helps. It appears the third cross member on my truck is the floater as it has the rubber pads with the nipples and no bolts. Numbers 1, 2 and 4 seem to have some sort of belted rubber under them with the large bolts and washers for mounting to the frame. Just the other day I was digging through a box and found some of those rubber pieces. I'll have to look tonight to see if I can still find them. I wonder if at the factory they randomly chose which of the cross members was going to be the floater? Thanks! Brad


-
That's interesting, you have the short one all the way to the front. All the write-ups and pictures that I have seen previously show the short one at the back.
-
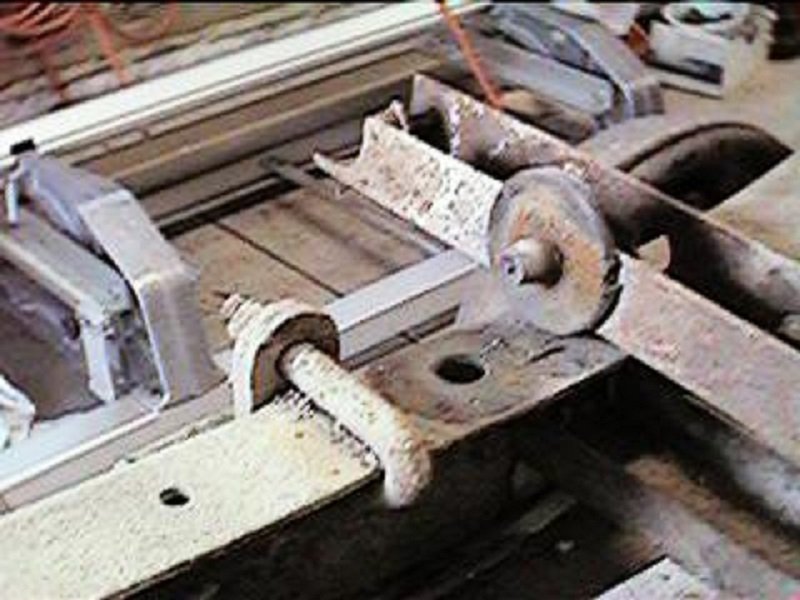
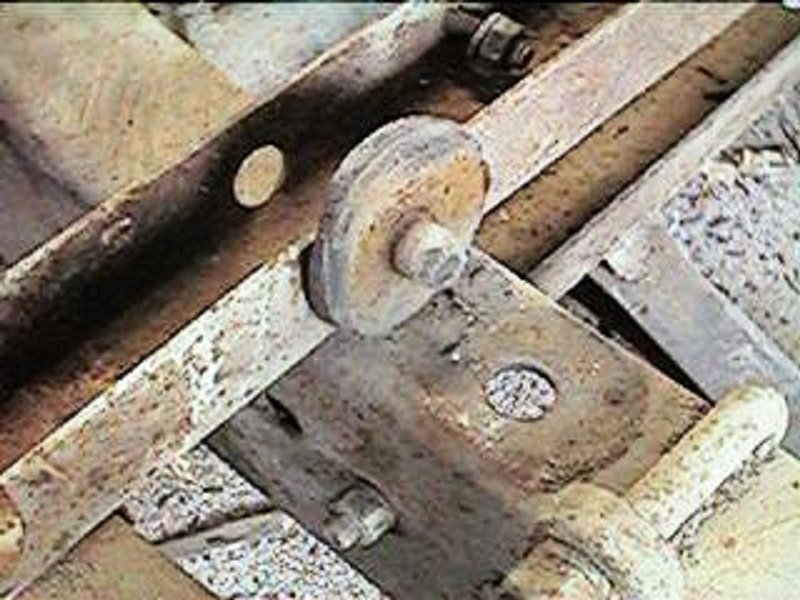
For the most part I think I know how the bed is assembled and where all of the piece and parts go. There is one thing however that has me baffled and that is the three longer C-channels and the one short C-channel. It's my understanding the three long C-channels sit on the frame with the open part of the C pointed rearward. The shorter C-channel (it actually has an inner wall) points forwards. Also, all four channels line up with large holes on the frame rails. From what I can gather the shorter of the channels sits on two pads that have a nipple that sticks into the hole in the truck frame. This shorter channel does not bolt to the frame, it just sits on the pads. What confuses me is many years ago I ordered a bed rail pad set that came with six pads with nipples on them. I would assume all of the longer channels also need pads under them. However if I use any of the pads with nipples that I have then there is no way to run the long bolt from the top of the wood down into the truck frame. It seems to me the three long channels should be sitting on pads with holes in them. What am I missing here?!!! Thanks, Brad
-
Radiator Identification for Non-Pressurized Systems
bkahler replied to JBNeal's topic in Mopar Flathead Truck Forum
Brian, Great article. The NAPA 7031400 comes back as a 14-18 psi cap. The Stant 10203 looks good although pressure is listed as N/A which I assume means no pressure Interestingly my radiator part number appears to be 972210F which doesn't seem to fall anywhere in your list.
-
51 B3B build thread - after all these years
bkahler replied to bkahler's topic in Mopar Flathead Truck Forum
The second air filter arrived today so other than an extended handle for the filter adapter I've got all the pieces. I've decided to make a switch to the Rusty Hope dual intake manifold in lieu of the Offenhauser intake. I talked it over with Charlie and decided that's the direction I want to go. So sometime in the near future I'll be pulling the manifolds so I can paint the engine one more time to hopefully get rid of 20 years of surface rust and at the same time install Charlie's dual intake. More on that later.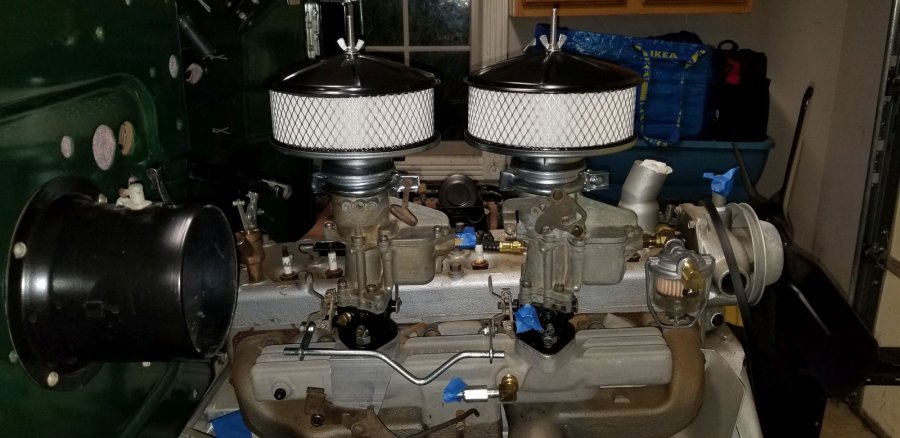

-
Now you have me curious. I'll have to look at mine this evening......
-
Did the 50 models have painted bars? I never noticed that.
-
Now you have me wondering, where'd you find the part number on the radiator?!
-
Yes, that's been my understanding. Something about certain metals being vital to the war effort. The 51 dodge pickup was the last to have the large stainless JOB RATED emblem on the front. The later years were I think just post metal. Also stainless grille bars and the ram hood ornament disappeared at the same time. The grille bars are the proverbial hens teeth!
-
When I got my 51 B3 back in 1996 it had a non-pressurized cap on it. Also the radiator has the little dome or cap on the top that has a tube running down to the ground. I believe that also indicates a zero pressure system. Brad
-
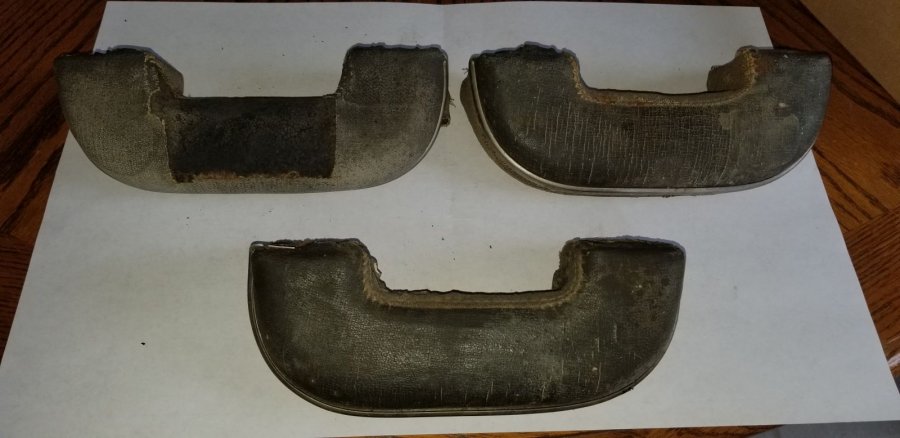
Ok, never mind. After googling for a while I've found that they are from a 49-52 Chevrolet fleetline coupe ? Sorry to have bothered all ya'll
-
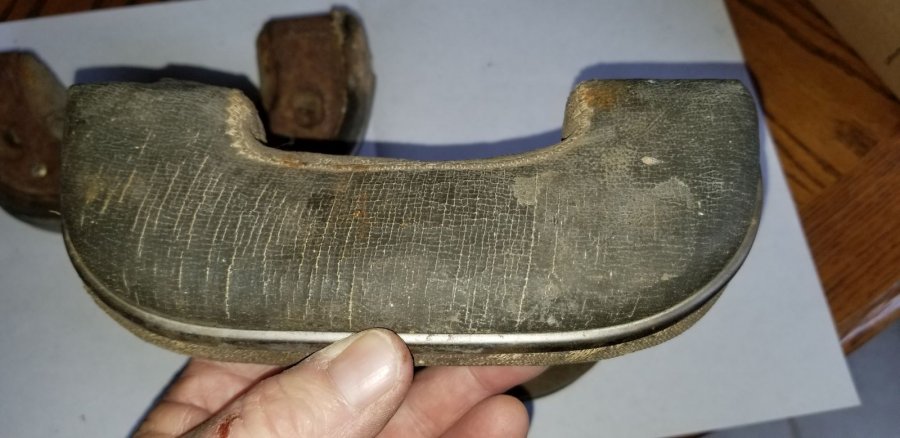
The metal strips have me baffled. They are stainless so are likely pre Korean war or post Korean war. Maybe these are for the Custom or Deluxe cab models
-
I thought I'd post these pictures on the car side of the forum to see if anyone recognizes these armrests. I pulled them from a couple of B series trucks about 20 years ago. Any clues?! Thanks, Brad


-
51 B3B build thread - after all these years
bkahler replied to bkahler's topic in Mopar Flathead Truck Forum
I've got enough parts for you to assembly a Model 61 heater minus the core -
51 B3B build thread - after all these years
bkahler replied to bkahler's topic in Mopar Flathead Truck Forum
Just heard from the radiator shop. The latest heater core is a good one! ? Who knows, I just might have the heater installed before Christmas, just have to apply the color coat to the housing clean up the motor assembly. Brad -
51 B3B build thread - after all these years
bkahler replied to bkahler's topic in Mopar Flathead Truck Forum
My tank is sitting on the work bench so if you need dimensions, etc let me know. Enjoy the holidays, the parts will still be there waiting....! Brad -
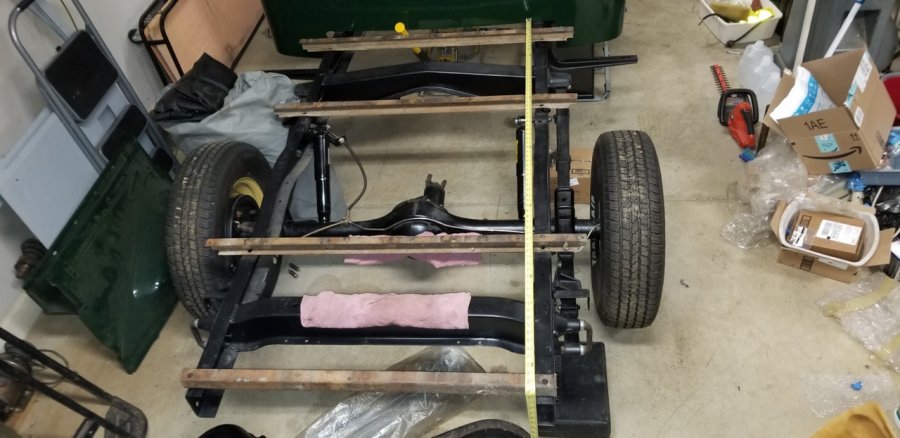
Ditto what JBNeal and ggdad1951 said, engine first. Make sure your engine is viable before dealing with the frame. The only caveat to that approach is don't do like I did and wait 20 years before starting the rest of the work or you could have a frozen engine! (I was lucky in that mine wasn't frozen) There are lots of different methods to building something that will allow you to test run your engine. Here's the Engine test stand I built for the 454 that I installed in my motorhome. Brad
-
512 cid C series on Dakota chassis- build thread
bkahler replied to Radarsonwheels's topic in Mopar Flathead Truck Forum
Chewing I had great success using 3M 08509 window glazing and bedding compound. It sealed my motorhome windshield that had several bad leaks. It stays semi soft. Applied from the outside by lifting the gasket and applying a bead underneath. Good luck with the install.

